I start with the blocker in front of me—story, traversal, Disc, Diving Suit, crafting, Buggy, weapon, or puzzle—then follow the route that actually removes it.
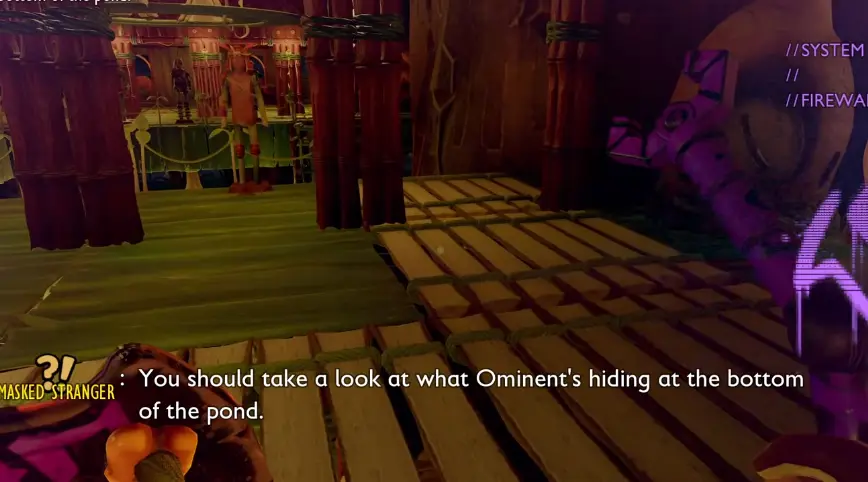
I enter the Network Center through Wendell's Statue, get the Access Key, repair the dead network, check every relay, then prepare for the Masked Stranger.
I get the Bridge Disc first, climb Gnarly Bark next, then save the deep Pirate Ship route for last so each underwater unlock makes the next trip easier.
Find the Toe Biter Egg in Gnarly Bark, use the memorial to reach Papa Toe Biter, beat him with Spicy damage, collect an egg and take the safe route out.
I bring three Sap Bandages, follow the Toy Excavator cable to every sparking break, repair all three sections, then activate it and use the changed terrain to reach the upper cave.
If web-covered terrain is stopping me, I check the
Upper Park route.
Once Skunk Pond becomes the main progression area, I use the
Into the Abyss route.
From there, I solve the exact blocker rather than treating every underwater
problem as the same problem:
missing unlock → Aquatic Optical Disc
Diving Deck closed → full Diving Suit
Quartz Glass missing → fix the production chain
Horsetail or Bubble Diffuser missing → solve Horsetail first
need the Egg → Toe Biter Egg route
have the Egg but need the mount → Toe Biter Buggy route
Grounded 2 rarely leaves me with nothing useful to do.
That is exactly why it can be hard to tell what I should do next.
There is almost always:
another cave;
another resource;
another creature;
another Science Shop purchase;
another base project;
or another route that looks almost reachable.
The question I use is not:
What can I do right now?
It is:
What is actually preventing me from reaching the next meaningful part of the
game?
Once I answer that, most of the park becomes much easier to sort.
If I Have Lost the Main Progression Thread
If I am no longer sure whether I should be upgrading, chasing another Disc,
finishing the story, getting another Buggy, or moving into a new region, I reset
with the
Grounded 2 progression guide.
That route takes me from the early Omni Tool and first Buggy systems through
Networking, Spider Buggy, Upper Park, Skunk Pond, and the Abyss.
When I lose the main thread, I stop clearing random markers and identify whether the next wall is story, tools, traversal, equipment, or environment.
I use that page when the problem is broad:
I genuinely do not know what comes next.
If I already know the exact thing stopping me, I use the more focused route
instead.
If Networking Has Sent Me Into Wendell’s Statue
Once Networking is active, the Network Center is no longer an optional
landmark.
I finish the
Networking Quest instead of leaving the
facility and looking for another prerequisite somewhere else in the park.
That route covers the access, power, relay, vertical progression, Masked
Stranger encounter, and BURG.L objective.
The conclusion I keep here is simple:
If the story says Networking, I finish Networking before expecting the next
major traversal phase to open.
If Web-Covered Terrain Keeps Stopping Me
I can reach large web routes before I have the right traversal ability.
When that happens, I do not build an elaborate workaround or keep testing the
same jump.
Once the relevant story progression and Spider Buggy are ready, I follow the
route into Upper Park.
Web terrain is one of the clearest traversal gates. If my current setup cannot use it properly, I come back when Spider Buggy progression is ready.
My decision is:
no Spider Buggy → remember the route
Spider Buggy ready → treat the route as current progression
That saves me from trying to solve a traversal-system problem with another armor
upgrade.
If Upper Park Is Open but Everything Feels Too Expensive
Getting into Upper Park does not mean I immediately clear the whole region.
A new area can expose:
stronger enemies;
higher Omni Tool requirements;
resources I cannot harvest yet;
and equipment costs my old route never demanded.
I use the first few trips to identify which of those is actually blocking me.
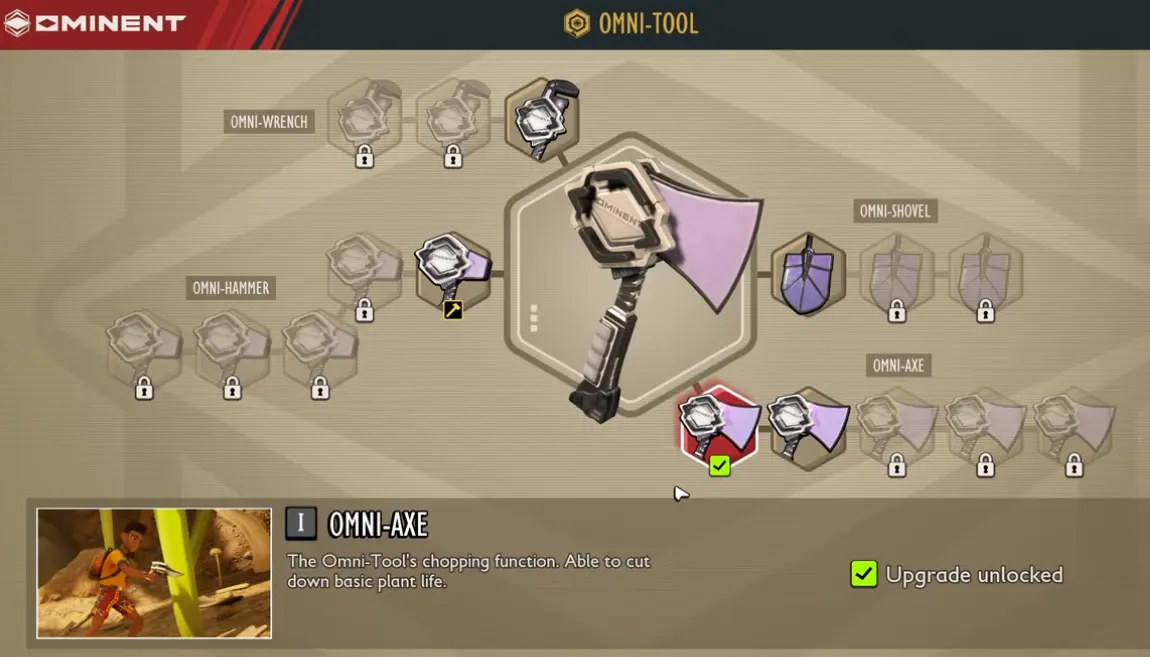
If a resource refuses to harvest, I check the Omni Tool tier.
If normal combat burns through healing and durability before I reach the real
objective, I improve my equipment.
I do not assume entering the region means I am ready to finish every route in
it.
When Skunk Pond Becomes the Main Story Area
The Pond changes what preparation means.
Now oxygen, Chill, underwater movement, return routes, and equipment durability
can all end the trip before the objective does.
Once the story sends me toward the bottom of Skunk Pond, I treat the water as a new progression phase rather than another quick resource trip.
If the problem is broad—
I know I need to go deeper, but I do not know the actual route
Once the recipe exists, I stop blaming the Disc and look at the next blocker.
If the Diving Deck Will Not Let Me Through
Reaching the Diving Deck does not mean I am ready to enter the Abyss.
If the gate is rejecting my equipment, I finish the
full Diving Suit rather than searching for a
second entrance.
The Helmet, Chestplate, and Boots solve that gate as a set.
That page also covers when I use the pieces separately during normal Pond
exploration, the Diving Boots’ weighted movement, and the Emergency Repair
upgrade.
I do not repeat those equipment decisions here.
The only question I need to answer on the Hub is:
Is the Diving Deck still the blocker?
If yes, I finish the suit.
If the Suit Is Unlocked but Quartz Glass Is Stopping Me
Once all three Diving recipes exist, the problem can change from progression to
production.
If Quartz Glass is the thing I am missing, I stop making blind Pond runs and
finish the
Quartz Glass production route.
That route covers the Phantom Quartz chain and the stations required to turn it
into the final material.
For me, this is an important change in diagnosis:
missing Diving recipe → Disc problem
recipe unlocked but Glass missing → production problem
Solving the wrong one wastes an entire trip.
If Horsetail Stem Is the Material I Cannot Finish
Horsetail has several uses in the Pond phase, but I do not search the entire
shoreline whenever I need more.
I use the
Horsetail Stem route for the farming area,
harvesting tools, and the Bubble Diffuser unlock.
That is also where I go when the question is:
Why is the Bubble Diffuser missing from my build options?
or:
Where can I collect Horsetail efficiently instead of finding one plant at a
time?
The full Quartz production chain stays with Quartz Glass.
The full Toe Biter hatch stays with the Buggy.
Horsetail itself is the problem I solve here.
If I Want an Underwater Ranged Weapon
If my objective is specifically the Harpoon Gun, I use the
Harpoon Gun guide.
I treat it as a weapon progression problem, not as the thing that opens the
Diving Deck.
That distinction matters when I am short on time or Raw Science.
A weapon can make the route better.
The mandatory equipment gate still comes first when the story is blocked.
That route handles the Gnarly Bark memorial, Papa Toe Biter, the Egg, and the
escape.
I do not use the Toy Excavator as a prerequisite for that route.
The two are both around Gnarly Bark, but they solve different problems.
Once the Egg is safely home, I stop treating the Egg location as my blocker.
If I Have the Egg but Still Cannot Get the Toe Biter Buggy
Once the Egg is secured, the remaining problem is the mount itself.
I switch to the
Toe Biter Buggy guide for the unlock, Hatchery
requirements, incubation, Nest, and underwater behavior.
I keep one progression distinction clear:
Diving Suit = story gate
Toe Biter Buggy = underwater efficiency
The Buggy becomes increasingly valuable once I am repeating Skunk Pond and
Abyss routes.
I do not wait for it if the full Diving Suit is already ready and the main story
can continue.
If Repeated Underwater Work Is the Problem
Not every Pond problem deserves another story unlock.
Sometimes I can already reach the area.
The problem is that I keep repeating the same cycle:
swim down
→ work for a short time
→ return for air
→ swim all the way back
If I am working repeatedly in one underwater area, I start thinking about local
support rather than another main-story route.
The Bubble Diffuser is one of the first tools I use for that, and its unlock
starts with
Horsetail Stem.
For longer repeated travel, the
Toe Biter Buggy solves a different part of the
same efficiency problem.
I do not currently treat a large underwater base as mandatory progression.
A useful air point and faster repeated travel can solve the immediate problem
without turning one story dive into a huge construction project.
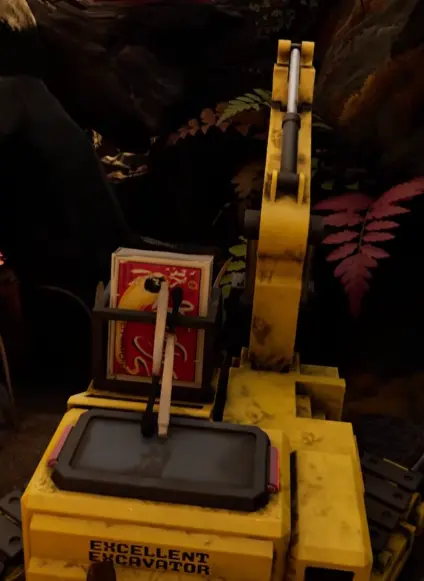
If the Toy Excavator Controls Do Nothing
The Toy Excavator looks like it should need a remote key or another quest.
It does not.
If the controls are dead, I use the
Toy Excavator puzzle and solve the cable route
around the machine.
The Excavator is a local puzzle. If the controls do nothing, I solve the machine and its cable route instead of searching the wider map for another prerequisite.
Once the machine has changed the terrain and the higher route is available, I
stop treating the controls as the objective.
The puzzle has already done its job.
When I Am Stuck, I Diagnose the Wall Before Choosing the Route
When the map starts feeling overwhelming, I reduce the problem to one question.
Is this a story wall?
If the main quest is unfinished, I finish the relevant story chain before
forcing later systems.
Is this an unlock wall?
If the recipe does not exist yet, I check the Disc or progression requirement.
Is this a tool wall?
If I can see the resource but cannot harvest it, I check the Omni Tool instead
of searching for another location.
Is this a traversal wall?
If the terrain clearly expects a Buggy ability I do not have, I come back when
that traversal system is ready.
Is this a crafting wall?
If the recipe exists but an intermediate material such as Quartz Glass is
missing, I fix the production chain.
Is this an equipment or environmental wall?
If oxygen, Chill, durability, or normal combat consumes the whole trip, I
improve the setup before repeating the route.
Is this only a repeat-trip problem?
If I can already complete the route but keep wasting time repeating it, I look
at efficiency upgrades such as the Toe Biter Buggy or Bubble Diffuser.
That is how I keep Grounded 2 manageable.
I do not need to solve every open problem every time I get stuck.