How to Get the Potato Beetle Buggy in Grounded 2
Unlock the Potato Beetle Buggy, find its egg under the Broken Bridge, hatch it, and use its Veggie Cannon, healing, and ammo refill.
Updated:
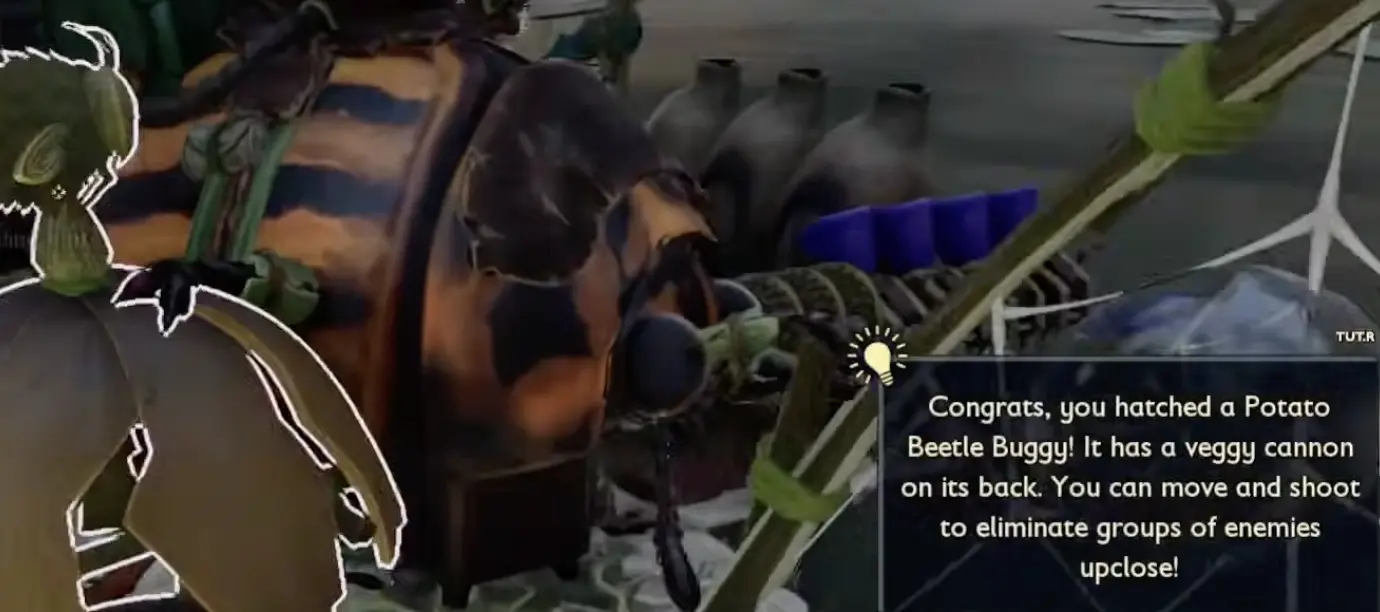
Quick Answer
Buy the Potato Beetle Buggy unlock from a Ranger Station Science Shop for 5,000 Raw Science, once it appears under Optical Disk Unlocks.
Find a Potato Beetle Egg underneath the Broken Bridge in the Bridge Area. Bring it to a Hatchery with 3 Chrysalis Leather, 3 Black Ant Parts, and 3 Pinecone Pieces. Incubation takes 12 in-game hours.
Be careful carrying the egg: nearby Potato Beetles become aggressive while you have one.
The Potato Beetle is a Tier III combat Buggy introduced in the Rot and Ruin update. It has a Veggie Cannon that fires spreading projectiles, a stronger charged shot, an active heal, and a way to turn defeated creatures into ammunition.
The unlock costs a substantial amount of Raw Science, but the actual hatching process only requires an existing Hatchery, one egg, and three types of saddle materials.
The most important preparation happens before collecting the egg. Carrying it angers nearby Potato Beetles, so arriving with the materials ready and a clear route home is much more useful than collecting the egg and deciding what to do afterward.
Unlock the Potato Beetle Buggy at a Ranger Station
Open the Science Shop at a Ranger Station and look under Optical Disk Unlocks.
The Potato Beetle Buggy costs 5,000 Raw Science. If you have already collected and returned the relevant Optical Disks during earlier progression, the purchase may already be available.
If the entry is missing, check your outstanding Optical Disk unlocks before collecting an egg. Picking up a Potato Beetle Egg does not automatically unlock its Hatchery recipe.
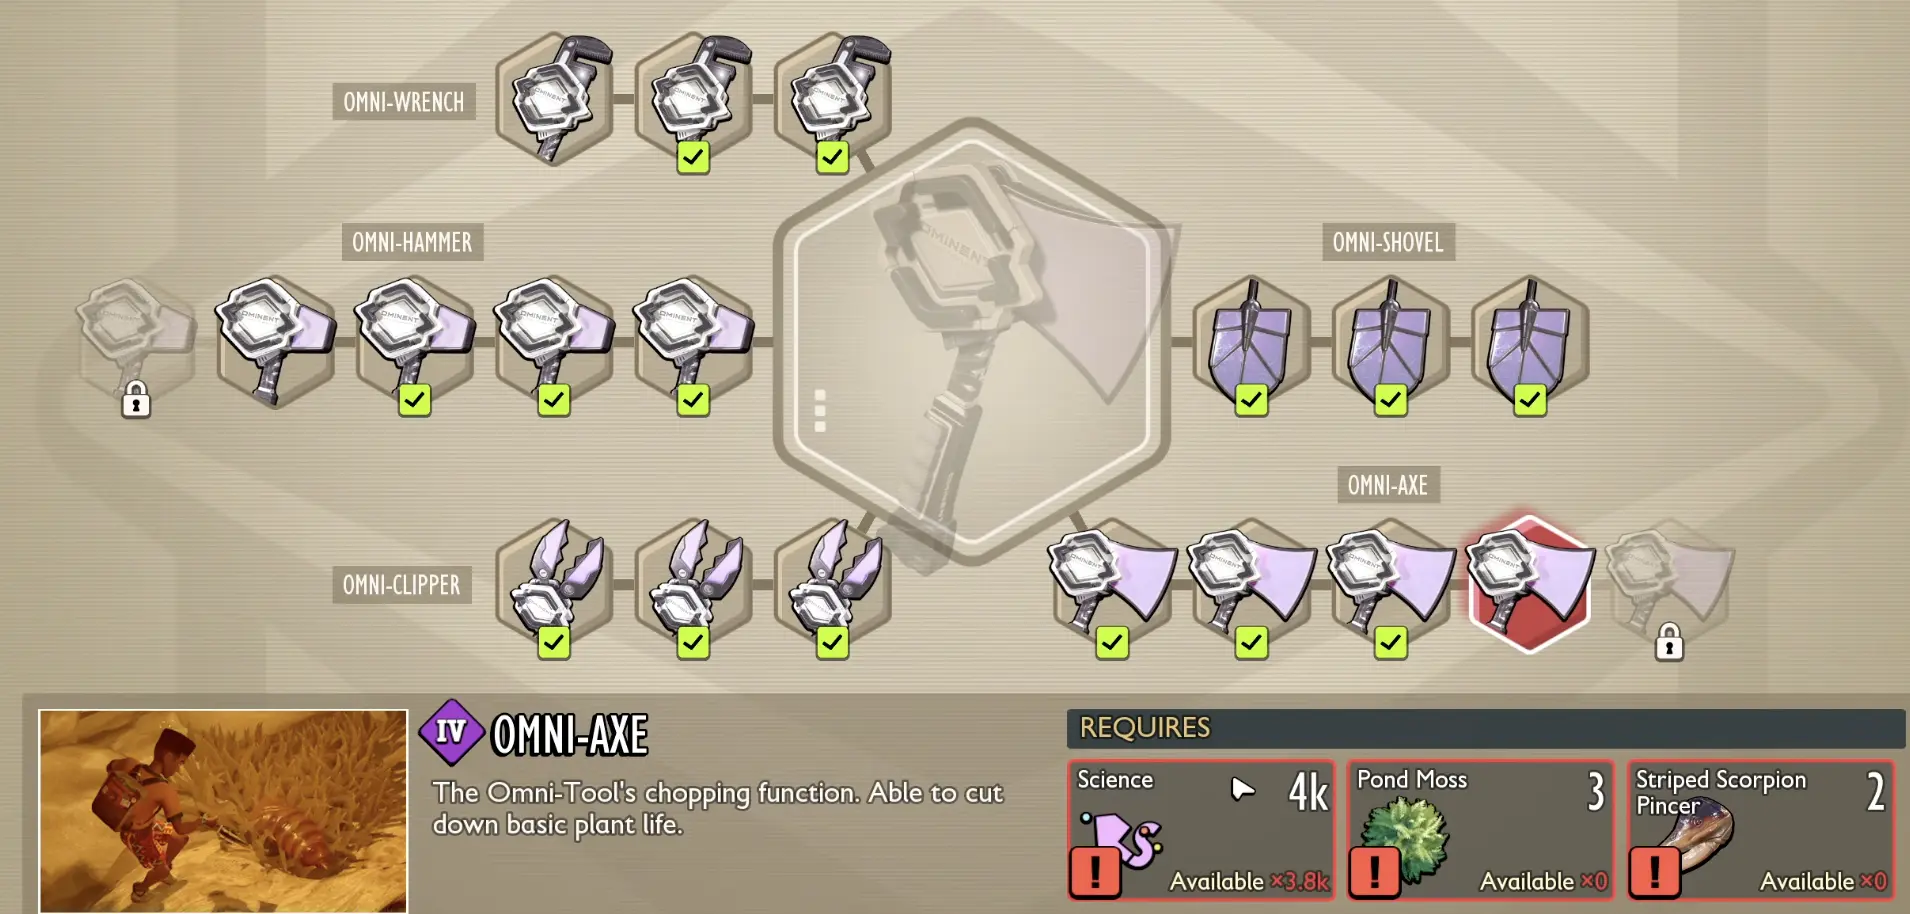
Purchasing the unlock makes the Buggy available for incubation. You still need to find an egg and provide the saddle materials.
There is no need to build a second Hatchery if you already have one. Use your existing structure after its current incubation finishes.
If you are short of Raw Science, consider whether you need another major upgrade first. The Beetle is valuable in combat, but a required Omni Tool upgrade or traversal ability may be more important for your immediate objective.
Where to Find the Potato Beetle Egg
Travel to the Broken Bridge in the Bridge Area, near Skunk Pond.
The Potato Beetle Egg can be found underneath the Broken Bridge. Search below the bridge structure rather than limiting yourself to the upper crossing.
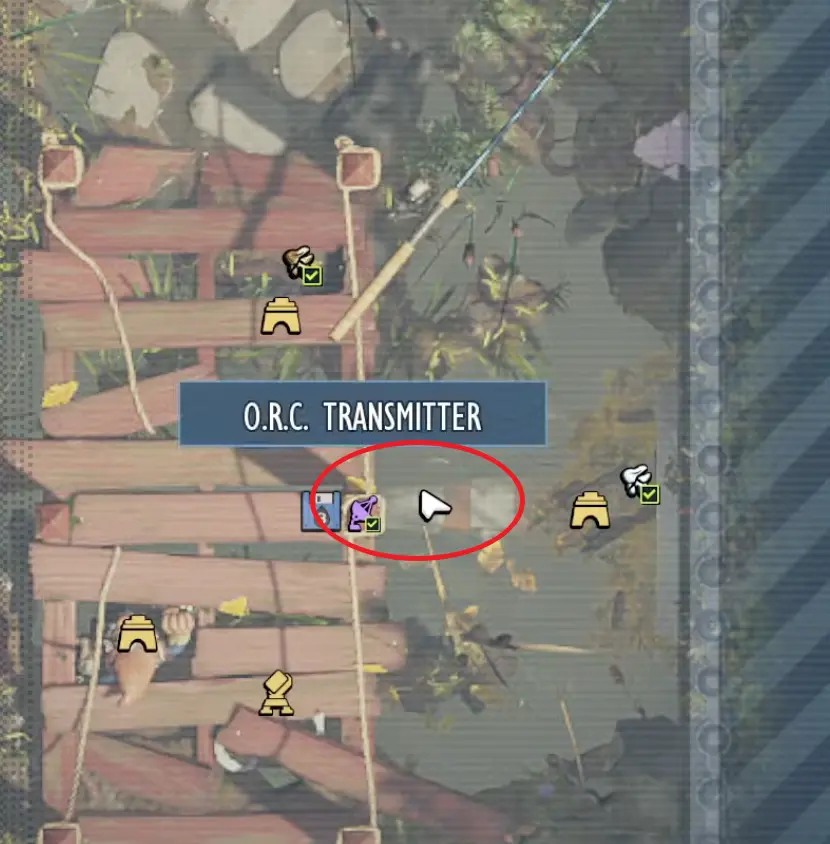
You need one egg for each Potato Beetle you intend to hatch. If you only want your first mount, collecting a single egg is sufficient.
Carrying the Egg Makes Nearby Potato Beetles Aggressive
This is the main danger during the return trip.
The Potato Beetle Egg’s item description states that carrying one will anger nearby Potato Beetles.
Prepare for the return journey before picking it up. Nearby Beetles may attack even when you were able to approach the area without trouble earlier.
A practical approach is to:
- Clear nearby threats before collecting the egg, where possible.
- Bring enough healing and keep your equipment repaired.
- Use a Buggy capable of helping with egg transport when available.
- Avoid unnecessary detours after collecting it.
- Return to your Hatchery rather than stopping for unrelated exploration.
The water around the Bridge Area can also make carrying a large egg inconvenient. Plan a return route you can complete with the egg rather than assuming your normal travel shortcuts will all remain available.
If you need more eggs later, return after the first Beetle is safely hatched.
Potato Beetle Buggy Hatchery Recipe
The Hatchery requires the following items for one Potato Beetle:
- 1 Potato Beetle Egg
- 3 Chrysalis Leather
- 3 Black Ant Parts
- 3 Pinecone Pieces
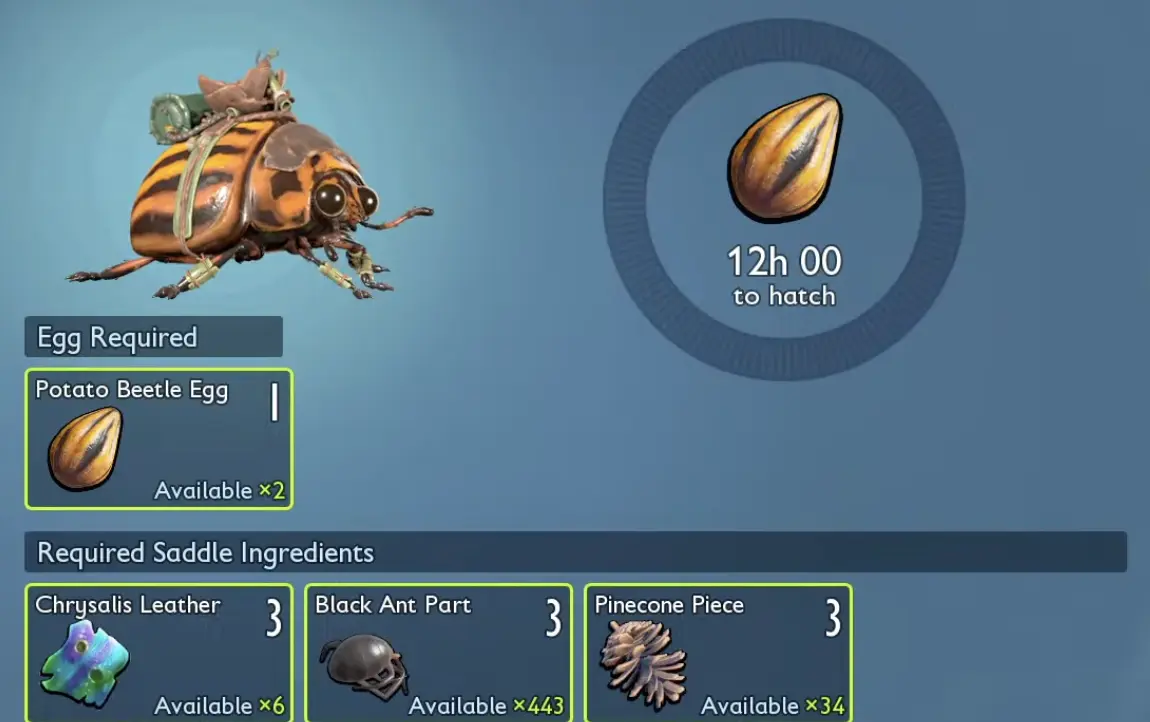
You can prepare the saddle materials before traveling to the bridge.
Chrysalis Leather must be processed from Chrysalis materials. Check whether you have finished leather rather than only the raw material.
Black Ant Parts come from Black Ants, while Pinecone Pieces are obtained from harvesting Pinecones.
These ingredients are consumed when incubation begins. Hatching another Potato Beetle later requires another egg and another set of materials.
Nearby Storage Can Supply Hatchery Materials
You do not necessarily need to move every saddle ingredient into your character’s inventory.
The Hatchery can recognize eligible materials stored in nearby containers. Its interface shows how many nearby storage containers are in range and whether each ingredient is available.
For example, if your Hatchery shows enough Chrysalis Leather, Black Ant Parts, and Pinecone Pieces under Available, those resources can be supplied through nearby storage.
If the recipe reports a shortage even though you have collected the materials, check that they are stored within the Hatchery’s effective range.
This is particularly helpful when your crafting materials are distributed across several storage containers at your base.
How Long Does the Potato Beetle Take to Hatch?
Once the egg and all saddle materials are available, interact with the Hatchery and select the Potato Beetle Buggy.
Confirm the incubation.
The timer starts at 12h 00, meaning 12 in-game hours.
You can continue gathering resources, crafting equipment, or working on your base while incubation proceeds. Sleeping advances the game clock if you want to shorten the wait.
When incubation finishes, return to the Hatchery and claim your Potato Beetle.
If another Buggy is active, return that mount to its nest before switching to the Potato Beetle.
The new mount arrives equipped with its saddle and cannon, so you do not need to craft a separate weapon or saddle after hatching.
How to Use the Potato Beetle’s Veggie Cannon
The Potato Beetle’s main offensive ability is its Veggie Cannon.
Unlike a precision weapon, the cannon fires a spread of projectiles. It is particularly effective when enemies are close enough for multiple projectiles to connect.
You can also charge the attack to deliver a stronger shot.
Against a single dangerous enemy, create some distance, wait for a clear opening, and release a charged blast. Against smaller enemies that are already close, a normal shot may be enough without committing to a longer charge.
The cannon performs best when you can control the distance between the Beetle and its targets. Firing repeatedly from too far away wastes part of the projectile spread.
Its ammunition is limited, however, which makes the Beetle’s corpse-processing ability essential during extended exploration.
How to Refill Veggie Cannon Ammo With Pulverize
The Potato Beetle can turn defeated creatures into ammunition.
After killing an enemy, approach its remains while mounted and use Pulverize.
The Beetle processes the corpse to refill its Veggie Cannon reservoir.
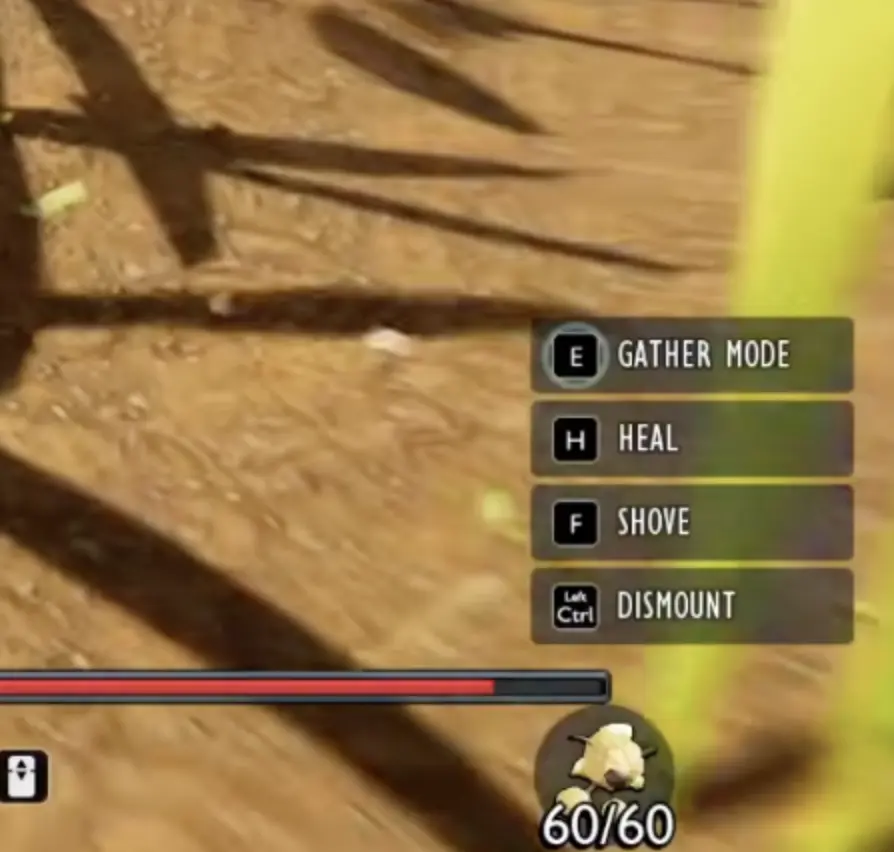
The ammunition display can reach 60/60.
That makes the Beetle useful for fighting multiple groups of enemies without returning to a crafting station between encounters.
But Pulverize introduces a tradeoff that matters whenever you are gathering resources.
Harvest or Pulverize: Which Is Better?
A defeated enemy can provide crafting materials through normal harvesting. If you pulverize it instead, you use the corpse for ammunition.
The choice depends on what you need at that moment.
Harvest the corpse when:
- You are collecting materials for a weapon or armor recipe.
- The enemy has a drop you specifically need.
- Your cannon already has enough ammunition for the next encounter.
Pulverize the corpse when:
- Your ammunition reservoir is running low.
- You do not need that creature’s crafting materials.
- You are preparing to fight another group without returning to base.
For example, when collecting Termite materials around the Woodpile, harvesting those creatures is often more useful than converting every corpse into ammunition.
If your goal is crafting Termite armor or the Splinter Cannon, prioritize the relevant drops and refill your Beetle using enemies whose materials you do not need.
This becomes a meaningful advantage during ordinary exploration. A weaker enemy can effectively supply ammunition for the next dangerous encounter.
You do not have to pulverize everything the Beetle kills.
Potato Beetle Healing and Shove Abilities
The Veggie Cannon is only part of what makes the Potato Beetle a strong combat mount.
Its other abilities help it stay alive and create room during a fight.
Healing
The Potato Beetle can actively restore its own health.
This is particularly valuable during prolonged encounters, where ordinary mounts might need to retreat after taking repeated hits.
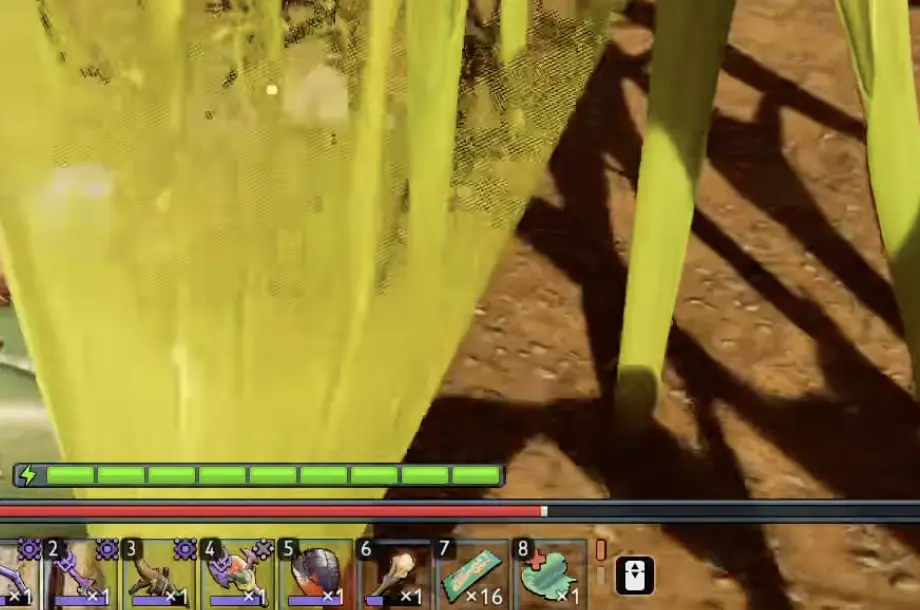
Watch the Buggy’s health instead of waiting until it is nearly defeated.
Healing is most useful when you have enough space to recover without immediately taking another series of attacks. Repositioning before using the ability can preserve more of the health you restore.
Shove
Shove gives the Beetle a way to push enemies away when they move too close.
It is especially useful when several creatures surround the mount and prevent you from using the cannon comfortably.
A useful combat sequence is to move into effective cannon range, fire during an opening, and use Shove to create space when enemies approach. Heal when needed, then refill ammunition from suitable remains after the fight.
The Beetle’s large health pool supports aggressive combat, but it is still better to reposition than to absorb every attack.
Is the Potato Beetle Buggy Good for Boss Fights?
The Potato Beetle is particularly effective when you can fight in an open area, maintain a useful firing distance, and recover with its healing ability.
Its charged cannon attacks can deal substantial damage, while Shove helps prevent enemies from staying directly against the mount.
However, boss fights are not the same as ordinary exploration.
A fast boss may interrupt repeated charged attacks or move out of the projectile spread. You also cannot assume every arena will provide enough corpses to refill ammunition during the encounter.
Before a difficult fight, refill the cannon and bring the Beetle in at full health.
For Skritch, the fight also involves smaller Termites, recovery opportunities, and dangerous attack patterns. Prepare around those mechanics using the Skritch Centipede Boss strategy rather than relying on the Beetle’s cannon alone.
The Potato Beetle provides a strong combat option, but its effectiveness still depends on the encounter and how much room you have to operate.
Potato Beetle vs. Other Buggies
The Potato Beetle is most useful when your next objective involves fighting dangerous land creatures. It is not a universal replacement for every other mount.
Orb Weaver Buggy remains useful for travel and web traversal. If your objective requires crossing web-covered terrain, the Orb Weaver’s specialized movement matters more than the Potato Beetle’s combat strength.
Black Soldier Ant Buggy is a practical choice for hauling and chewing through blocked passages. Bring it when entering the Woodpile Termite Nest, where the main route includes an obstruction intended for an Ant Buggy.
Toe Biter Buggy is designed for underwater exploration. Its movement abilities remain valuable in Skunk Pond and the Abyss, even after you obtain a Potato Beetle.
Switching between mounts based on your destination is more efficient than forcing the Beetle through situations where another Buggy has the required traversal ability.
Is the Potato Beetle Worth 5,000 Raw Science?
The Potato Beetle is worth considering if you regularly fight dangerous enemies on land.
Its combination of charged cannon attacks, active healing, Shove, and corpse-based ammunition replenishment provides both damage and staying power.
The purchase makes particular sense when you already have a working Hatchery, access to the required saddle materials, and enough important upgrades to continue normal progression.
If your current obstacle is a missing Omni Tool function, a story unlock, or a traversal requirement, spending 5,000 Raw Science on the Beetle may not solve the immediate problem.
For players returning to explore Rot and Ruin, it is a useful combat companion, especially when repeated fights are consuming large amounts of healing and equipment durability.
Before taking it into a difficult encounter, test the cannon against ordinary enemies and practice refilling its ammunition with Pulverize. That is the fastest way to understand when to charge a shot, when to use Shove, and which corpses are worth keeping for crafting instead.