How to Get a Toe Biter Egg in Grounded 2
Find the Toe Biter Egg in Gnarly Bark, use the memorial to reach Papa Toe Biter, beat him with Spicy damage, collect an egg and take the safe route out.
Updated:
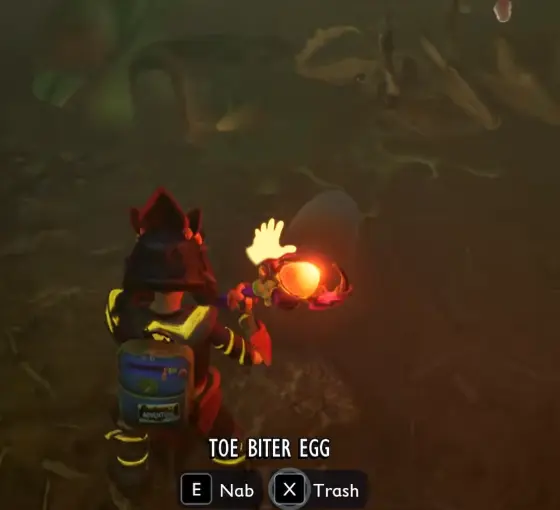
Quick Answer
To get a Toe Biter Egg in Grounded 2, I go to the memorial inside Gnarly Bark, marked by old photos and candles.
From the memorial I find the opening behind it, drop into Papa Toe Biter’s arena, defeat him, and collect one of the eggs he drops.
Papa Toe Biter is weak to Spicy damage. I bring a repaired Spicy weapon, healing and at least one free inventory slot before dropping into the arena.
After taking the egg, I do not try to climb back through the entrance. I continue downward through Gnarly Bark and follow the brighter opening until I reach a safe exit.
The Toe Biter Egg is not sitting in one of the obvious flooded tunnels at the bottom of Gnarly Bark.
The landmark that makes the route reliable is the memorial.
Once I stopped searching every lower cave and started navigating from that location, the run became much easier to repeat.
Where to Find the Toe Biter Egg
I head into Gnarly Bark and look for the memorial area with:
- old photographs;
- candles;
- the memorial display against the tree.
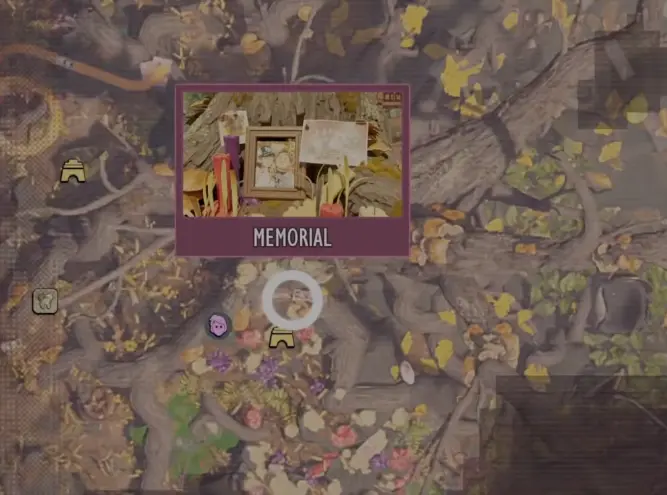
I do not use the deepest Pond edge or the lowest flooded cave as my main landmark.
Gnarly Bark has enough roots, tunnels and vertical paths that simply going deeper can send me through several unrelated areas.
The memorial gives me a much more precise starting point.
Find the Opening Behind the Memorial
Once I reach the photos and candles, I move behind the memorial and look for the opening into the tree.
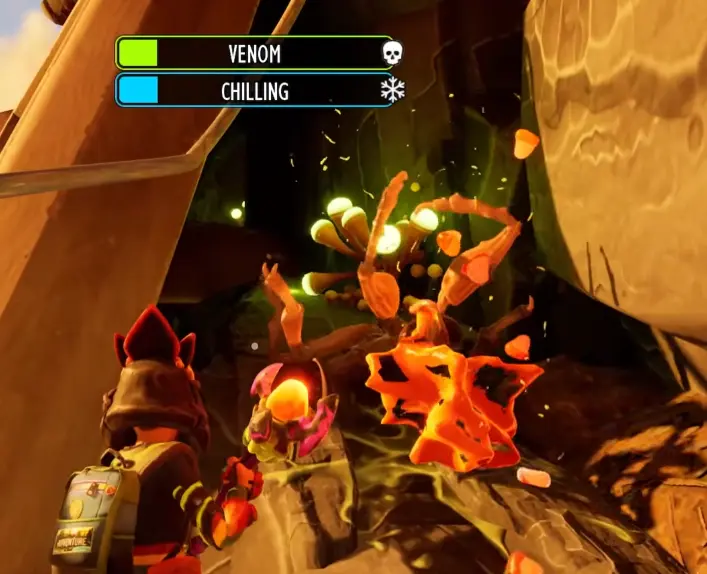
This is where I make my final preparation check.
Before entering, I want:
- a repaired main weapon;
- a strong Spicy damage option;
- enough healing for a boss fight;
- at least one empty inventory slot.
The route ahead includes a drop into the arena, so I prepare before committing rather than after I am already below the entrance.
The Drop Leads to Papa Toe Biter
Moving through the opening takes me above the Toe Biter nest and Papa Toe Biter’s arena.
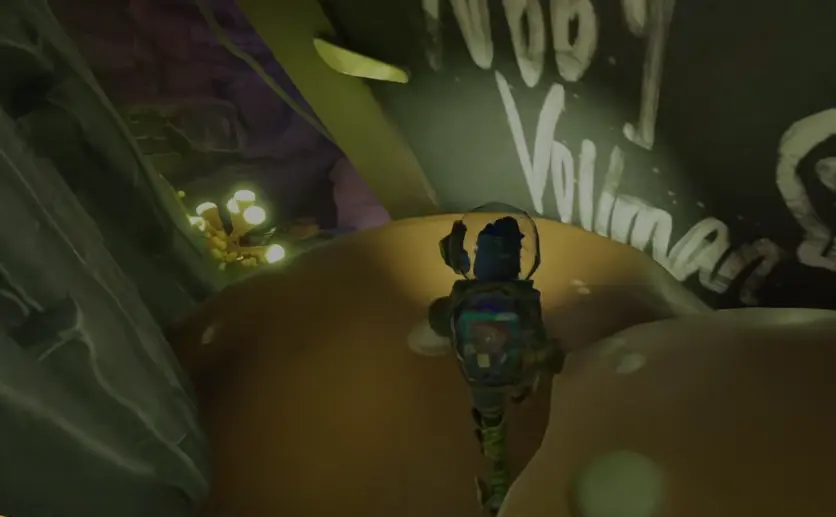
I do not use this as a scouting drop when my equipment is already damaged or my healing is nearly gone.
Once I go down, my plan is:
beat Papa → collect an egg → continue downward to the exit
rather than trying to reverse the original entrance.
How to Beat Papa Toe Biter
Papa Toe Biter is the actual gate between me and the Egg.
I Peep him before choosing my damage setup.
The important weakness is:
Spicy
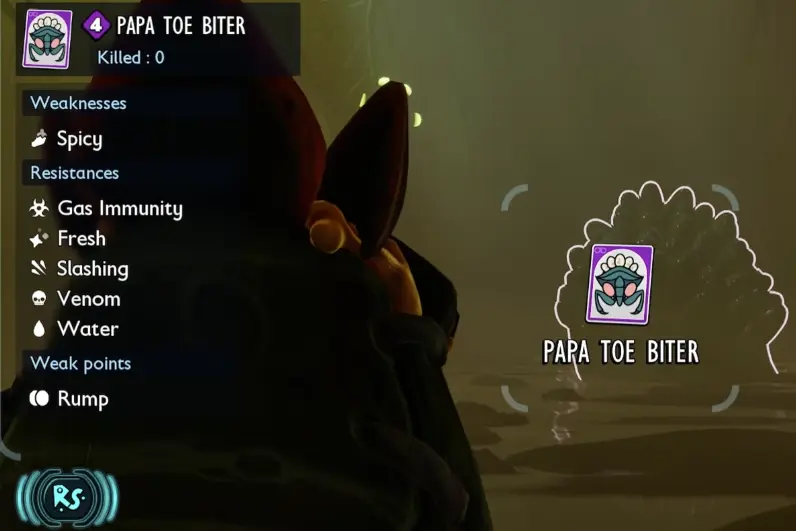
I avoid deliberately building the fight around Fresh or Slashing when I have a stronger option available.
I do not need a perfect specialist build, but bringing damage that matches Papa’s weakness makes the fight much easier on my healing and weapon durability.
Control the Toe Biter Nymphs
Papa is not the only thing putting pressure on me.
Small Toe Biter nymphs can become active during the fight.
On one of my attempts I had three nymphs active at once.
That was when the encounter became significantly more dangerous, because I was dealing with:
- Papa’s attacks;
- several smaller targets;
- Venom pressure;
- reduced opportunities to heal.
I do not automatically chase every single nymph.
If one is far enough away that it is not interfering, I keep damaging Papa.
When multiple nymphs begin surrounding me or interrupting blocks and healing, I clear enough of them to make the arena manageable again.
Then I return to the boss.
Watch Papa Toe Biter’s Reach
Papa has more reach than I expected from his size and animation.
A short step backward is not always enough to make his longer attack miss.
When I see that attack developing, I prepare to defend rather than assuming distance has already made me safe.
The dangerous combination is not one Papa hit by itself.
It is getting caught by the long attack while nymphs and Venom are already reducing my margin for error.
That is why I prefer to keep the arena under control instead of trading damage.
What I Bring for Papa Toe Biter
If my first attempt fails, I fix the reason it failed rather than rebuilding my entire loadout.
The preparation that mattered most for me was:
- repair the main weapon;
- bring a usable Spicy option;
- carry enough healing;
- leave inventory space for the Egg.
I also used consumables such as Human Food for extra defense or Liquid Rage when I wanted more attack damage.
Those buffs are optional.
A repaired weapon and sufficient healing mattered much more than trying to stack every possible bonus.
Papa Toe Biter Drops the Egg
After Papa dies, I check his drops immediately.
This is where I get the:
Toe Biter Egg
On the kill where I checked the complete drop, Papa produced four Toe Biter Eggs.
I do not assume I need to carry all of them home.
For my first Toe Biter Buggy, one Egg is the important progression item.
That is also why I leave an inventory slot open before starting the fight.
Reorganizing a full backpack beside a dead boss is unnecessary risk.
How to Escape With the Toe Biter Egg
After collecting the Egg, I do not try to climb back through the original arena entrance.
The route that worked for me continues:
downward through Gnarly Bark
I treat this section as effectively one-way:
drop into the arena
→ defeat Papa
→ pick up an Egg
→ continue deeper
→ follow the exit route
That prevents me from wasting time trying to reverse a drop that was not designed as a convenient return path.
Follow the Light on the Way Out
When the escape route becomes difficult to read, the most useful landmark is the brighter opening ahead.
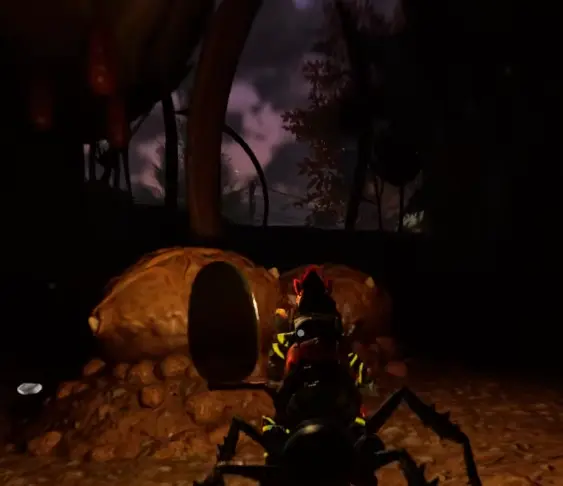
I move toward that light and descend carefully.
There are enough drops along the route that I do not sprint blindly just because I can see the outside.
At this point my priorities are:
- stay alive;
- keep the Egg;
- reach safe ground.
Optional resources can wait.
Take the Egg Home Before Going Back for Loot
Once I have the Egg, I stop turning the run into a general Gnarly Bark loot trip.
I may pass resources or even have a dropped backpack somewhere nearby.
I leave them until later if retrieving them creates unnecessary risk.
The Egg is the reason I entered this route.
Securing it at base is worth more than adding one more optional pickup to the same run.
Do I Need the Toe Biter Buggy Before Getting the Egg?
No.
A Buggy can make parts of the trip easier, but I do not treat one as a hard requirement for reaching Papa Toe Biter or carrying the Egg out.
The Egg itself is one of the ingredients used to create the Toe Biter Buggy, so I expect many players to be doing this route before they own that mount.
The important requirements are reaching the memorial route, surviving Papa Toe Biter and getting the Egg home.
What If I Have the Egg but Cannot Hatch the Toe Biter Buggy?
I do not return to Papa immediately.
Getting the Egg and unlocking the Buggy are separate parts of the progression.
The Buggy still requires:
- the Gnarly Bark Aquatic Optical Disc;
- the 5,000 Raw Science unlock;
- the remaining Hatchery materials;
- 12 in-game hours of incubation.
For that complete chain, I use the Grounded 2 Toe Biter Buggy Guide.
If the Egg is already safely at base, this route is finished.
The next blocker belongs to the Buggy unlock or Hatchery, not Papa Toe Biter.
My Toe Biter Egg Route
For another Egg run, I use the same sequence:
go to the Gnarly Bark memorial
→ find the opening behind the memorial
→ prepare before dropping
→ fight Papa Toe Biter with Spicy damage
→ control the nymphs when they become dangerous
→ pick up one Toe Biter Egg
→ continue downward
→ follow the light
→ get the Egg home
Once I know the memorial and the escape direction, the hardest part of the run is no longer finding the Egg.
It is arriving prepared enough to beat Papa and leave with it.