How to Enter the Abyss in Grounded 2
Enter the Abyss through the Diving Deck with the full Diving Suit, then follow pink cables, fixed lights and Ominent structures to the Robot Body.
Updated:
Quick Answer
To enter the Abyss in Grounded 2, I follow the Pond story to the Diving Deck, unlock and equip the complete three-piece Diving Suit, then return to the Deck and pass the equipment gate.
Once I am inside the deep route, I use the environment to stay oriented:
Ominent structures
→ fixed lights
→ large pink cables
→ deeper infrastructure
I avoid blind drops and unnecessary side fights until I reach BURG.L’s replacement Robot Body, which is the current mandatory story endpoint of this route.
If the Diving Deck still rejects me, I finish the Diving Suit progression before trying to go deeper.
Into the Abyss starts as an equipment problem and quickly turns into a navigation problem.
I can reach the Pond and explore a large amount of the underwater area before I am ready to complete the route.
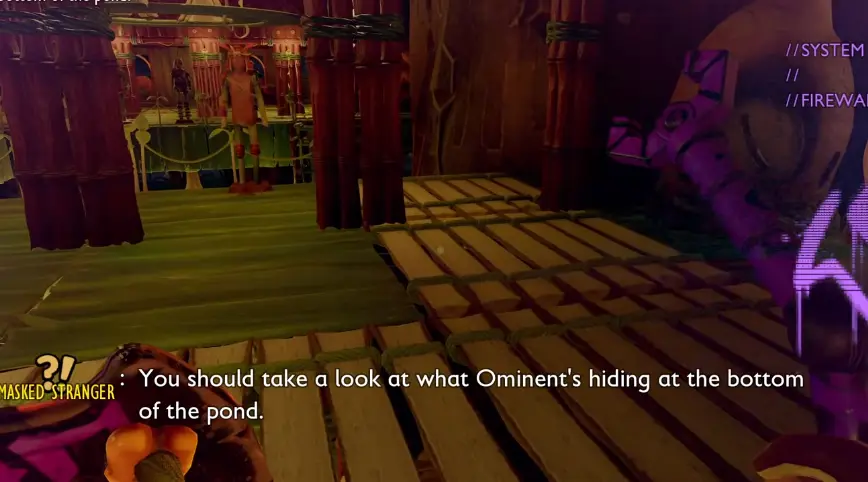
The important change comes when the story points me toward what Ominent was hiding at the bottom of the Pond and toward a replacement body for BURG.L.
From there, I separate the route into two questions:
- Can I enter the Abyss yet?
- Once I am inside, how do I stay on the correct path?
How to Enter the Abyss in Grounded 2
The progression gate is the Diving Deck.
Reaching the structure is not enough.
The door expects me to arrive wearing the complete Diving Suit:
- Diving Helmet
- Diving Suit Chestplate
- Diving Boots
If I reach the Deck in earlier Pond equipment and the door refuses to open, I do not search underneath the platform or look for a hidden alternate entrance.
The equipment is the gate.
I finish the Grounded 2 Diving Suit Guide, equip all three pieces at the same time, then return.
That page covers the Aquatic Optical Discs, Raw Science and Quartz Glass needed to finish the set.
For this route, the important checkpoint is simpler:
full Diving Suit equipped → return to the Diving Deck → enter the Abyss
If the Diving Suit Recipe Is Still Missing
If one or more Diving Suit pieces are not available yet, I am still earlier in the Pond progression.
The recipes are tied to the Aquatic Optical Disc route.
I solve that unlock first rather than repeatedly returning to the Diving Deck.
A missing recipe and a missing entrance are not the same problem.
Once the three suit pieces are unlocked, crafted and equipped, I move back to the Deck.
I Prepare for One Long Descent
After opening the route, I stop treating the next trip like another short Pond resource run.
The Abyss is long enough that bad preparation becomes expensive.
Before leaving, I:
- repair the Diving Suit;
- repair my main weapons;
- bring healing;
- bring a reliable underwater light;
- keep repair support available;
- empty unnecessary inventory slots.
I would rather start with several empty spaces than reach the lower route with an inventory full of ordinary materials I could have left at base.
The deeper I go, the more expensive a return trip becomes.
What Gear I Bring Into the Abyss
I choose weapons that are comfortable underwater rather than simply carrying my usual surface setup unchanged.
When I had them available, I used:
- Harpoon Gun
- Harpoon Bolts
- Crystal Trident
- a shield
- a light source
I do not treat every item on that list as mandatory.
The Diving Suit is mandatory for the progression gate.
The rest of the loadout determines how safely and efficiently I can handle the route after entering.
If I want the ranged underwater option specifically, I finish the Harpoon Gun before the next serious dive.
I do not delay the entire story because one optional weapon is still missing.
Repair Before Going Deep
I repair the Diving Suit and main weapons before committing to the Abyss.
Starting a long underwater route with half-damaged equipment creates a problem that is difficult to solve once I am already deep below the Pond.
I also bring Repair Glue when I expect a long run.
Once that preparation is finished, I stop making extra setup trips and enter.
Follow the Built Route Instead of Exploring Every Opening
The Abyss contains enough side spaces to make almost every direction look possible.
I can see:
- mineral deposits;
- enemies;
- ledges;
- dark openings;
- vertical drops;
- cables;
- lights;
- Ominent structures.
If I investigate all of them during the first progression run, I start looping.
The route becomes easier when I prioritize things that look deliberately built.
Artificial infrastructure gives me a much better sense of direction than a random resource node or natural rock formation.
If I leave the route for loot, I remember the last piece of infrastructure I passed before detouring.
Use the Pink Cables as Navigation Anchors
The most useful visual landmark deeper in the Abyss is the larger pink cable.
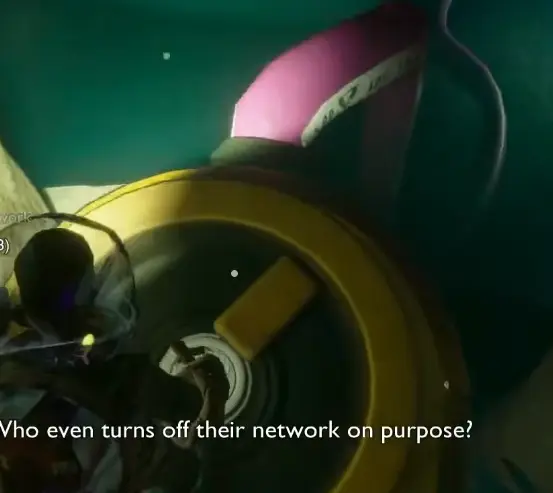
I do not assume every pink cable points directly toward the objective.
I use them as recognizable anchors.
If I become disoriented, finding a known cable is much more useful than swimming deeper and hoping the next cavern looks familiar.
From there, I check where the nearby infrastructure continues.
Fixed Lights Help Show the Route
I still bring my own light because I need to see nearby enemies, ledges and items.
For navigation, however, the fixed lights are more valuable.
When I see a sequence like:
pink cable → fixed lighting → another Ominent structure
I give that direction more weight than an unlit side opening.
My own torch tells me what is directly around me.
The fixed lights tell me where somebody deliberately built a route.
That distinction prevented several unnecessary detours.
Do Not Follow Every Route Upward
Some parts of the Abyss made me think I needed to climb toward a higher surface or force my way around a wall.
When the scenery stops making sense, I return to the artificial route markers before trying increasingly awkward movement.
The built infrastructure is usually a more useful clue than the shape of the natural cavern.
If I have left the cables and lights behind and am now forcing jumps against a wall, that is a good sign that I should reconsider the route.
Check the Return Path Before Dropping
Vertical movement is one of the easiest ways to lose time in the Abyss.
A lower ledge may be easy to reach.
That does not mean it is easy to leave.
Before a major drop, I ask:
If this is the wrong level, how do I get back?
That question mattered especially around the large breeze-block structure.
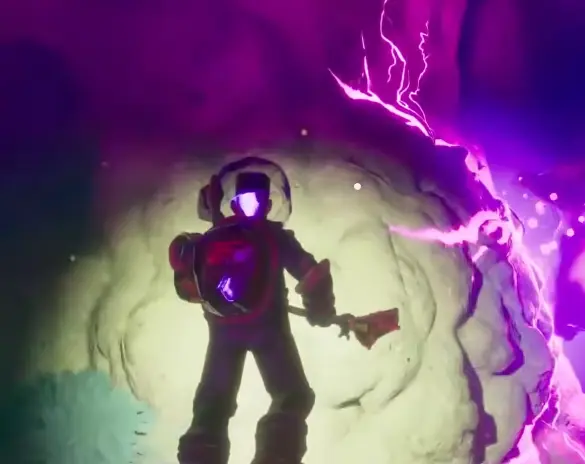
I had better results continuing under and through the structure rather than dropping blindly to whichever lower platform I could see.
A five-second shortcut is not useful if getting back to the correct level takes several minutes.
Fight What Actually Blocks the Route
I do not clear every enemy I encounter during the first deep progression run.
Every fight consumes some combination of:
- health;
- healing;
- weapon durability;
- Diving Suit durability;
- ammunition;
- time.
I fight when an enemy is directly blocking a narrow route, following me far enough to interfere with progression, or making an important navigation section unsafe.
If I can move past cleanly, I often keep going.
The goal of this run is reaching the story objective, not turning every enemy drop into another inventory stack.
What I Do When I Get Lost
Continuing to swim when I no longer recognize the route usually makes the problem worse.
When I lose orientation, I stop moving and look for:
- the last recognizable pink cable;
- fixed lights;
- the last Ominent structure I know was on the route;
- whether I dropped below the level I had been following.
If none of those are visible, I return toward the last landmark I actually recognize.
I do not try to solve being lost by adding even more unexplored space.
Leave Optional Exploration for Later
The Abyss contains plenty of resources and side areas worth revisiting.
I do not try to clear them all during the first successful story run.
If I see:
- an off-route resource pocket;
- a side ledge with no obvious return;
- another enemy group;
- a structure that clearly leads away from the current progression line;
I leave it for later.
The most valuable thing I gain from the first complete trip is not another stack of resources.
It is knowing the route.
Once I know how to move through the Abyss and back out, optional exploration becomes much less expensive.
Reach BURG.L’s Replacement Robot Body
The current mandatory story push eventually leads me to the Robot Body connected to BURG.L.
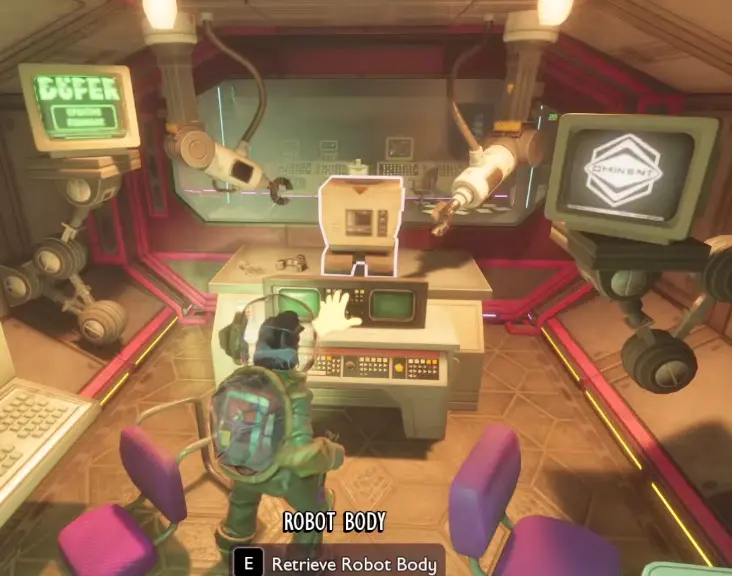
This is the progression endpoint I use to judge whether I successfully finished the route.
I originally expected another major mandatory boss door or a second large story section immediately afterward.
Once the Robot Body objective was complete, I stopped searching the deepest area for another hidden requirement.
At that point I switch from progression to cleanup.
I can return for:
- resources I passed;
- side exploration;
- optional enemies;
- equipment materials;
- routes I deliberately ignored during the first descent.
Do I Need the Toe Biter Buggy to Enter the Abyss?
No.
The Toe Biter Buggy is useful for repeated underwater travel and can accompany me into the Abyss, but I do not use it as the entry requirement.
The hard gate is the complete Diving Suit.
If the suit is ready and the Diving Deck is open, I continue.
I do not stop story progression because the Buggy is still hatching.
Do I Need an Underwater Base Before Entering?
No.
A Bubble Diffuser and underwater outpost can make repeat Pond trips much more comfortable, especially when I want a reliable air point near a deeper route.
It is support infrastructure rather than the requirement for opening the Abyss.
For a first story run, I prioritize the equipment gate and route preparation.
I build the underwater base when repeated dives justify the extra setup.
If I Cannot Enter the Abyss
I check the problem in this order.
The Diving Deck rejects me
I make sure the full:
Diving Helmet + Chestplate + Boots
is equipped.
If a piece is missing, I return to the Diving Suit Guide.
One Diving Suit recipe is missing
I finish the Aquatic Optical Disc progression.
I can enter but keep dying before reaching the deeper route
I check preparation:
- suit durability;
- weapon durability;
- healing;
- light;
- underwater weapon choice;
- repair supplies.
I survive but keep getting lost
I stop treating natural rock formations as primary landmarks.
I reconnect with:
pink cables → fixed lights → Ominent structures
I reached the Robot Body and cannot find another obvious story gate
If the Robot Body objective has completed, I treat the mandatory Into the Abyss push as finished rather than assuming every unexplored cavern contains another required step.
My Into the Abyss Route
For the main progression run, I keep the route straightforward:
follow the story to the bottom of the Pond
→ finish any missing Aquatic Optical Disc unlocks
→ craft and equip the full Diving Suit
→ enter through the Diving Deck
→ start the deep descent with repaired gear and empty inventory space
→ follow Ominent infrastructure
→ use pink cables and fixed lights as landmarks
→ avoid blind drops
→ fight only what blocks progress
→ reach BURG.L’s replacement Robot Body
Once the Robot Body is secure, I come back for the parts of the Abyss I chose not to explore during the first story run.