The Grounded 2 Progression Route I Use When I Don't Know What to Do Next
I stop clearing random markers and identify the gate in front of me: story, tool, Buggy, gear, or environment. Then I solve that gate and move on.
Updated:
Quick Answer
When I stop knowing what to do next in Grounded 2, I stop chasing the closest marker and identify the gate that is actually blocking me.
My practical route is:
finish the opening and get the Omni Tool
→ return useful early Optical Discs
→ build the Hatchery and get the first Buggy
→ catch tools and equipment up when normal travel gets expensive
→ finish Act One and Networking
→ unlock the Spider Buggy
→ use it to move into Upper Park
→ start the Pond progression
→ return the Aquatic Optical Discs
→ finish the full Diving Suit
→ open the Diving Deck
→ enter the Abyss
I do not try to clear every cave, buy every Science Shop upgrade, or harvest every high-tier resource the first time I see it.
If something clearly wants a later story unlock, Omni Tool tier, Buggy, equipment set, or environmental counter, I remember it and come back when that gate is actually ready.
Grounded 2 gives me enough useful distractions that I can spend a long session doing productive things without actually moving the main progression forward.
That was what confused me most early on.
I could always find:
- another cave;
- another resource;
- more Raw Science;
- another base project;
- another stronger creature;
- or another landmark that looked important.
None of those activities was necessarily a mistake.
The problem was deciding which one removed the next progression wall.
Eventually I stopped asking:
What can I do right now?
and started asking:
What is stopping me from reaching the next major part of the game?
That is the route I use now.
I Finish the Opening Until the Omni Tool Is Doing Real Work
My first goal is not building the perfect base.
It is progressing far enough through the opening to reach the Ranger Outpost and get the Omni Tool working for me.
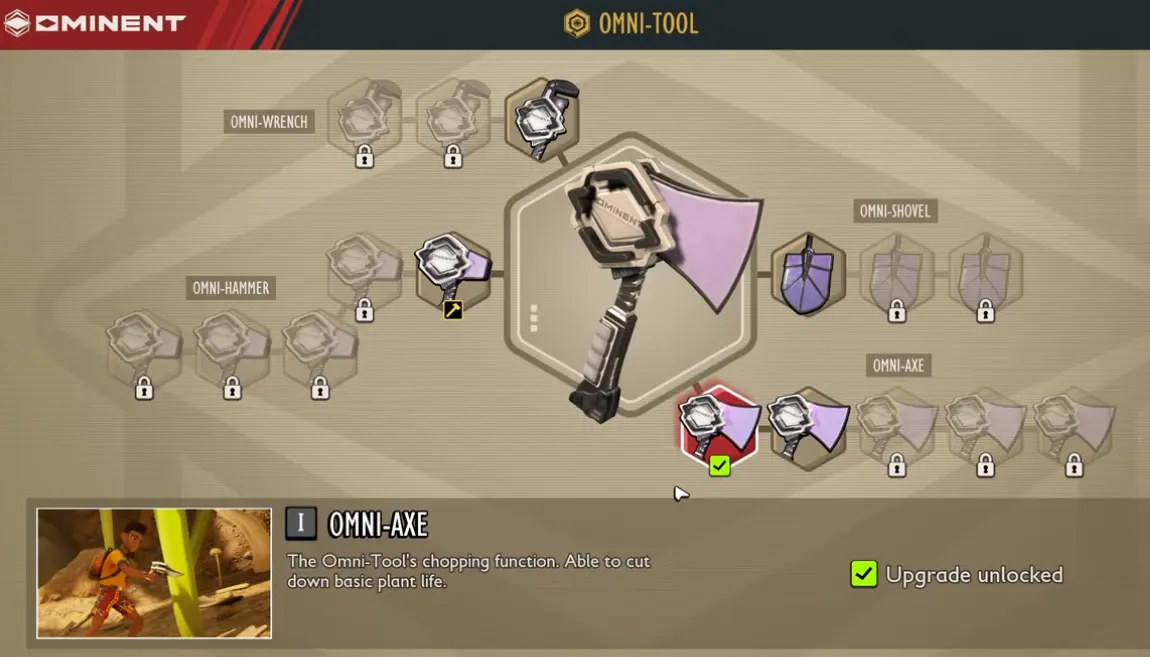
Cutting, digging, smashing, and later resource gates keep coming back to this system.
That teaches me an important rule early:
seeing the resource does not mean I am ready to harvest the resource.
If a material needs a stronger Omni Tool function, I stop wasting time on the node.
I note the location and come back later.
The same rule also changes how I spend Raw Science.
I do not ask only:
Can I afford this upgrade?
I ask:
Does this purchase remove the gate I am currently trying to solve?
If yes, it gets priority.
If not, I can wait.
My First Base Only Needs to Support Progression
Early on, I keep the base functional rather than permanent.
I want:
- storage;
- crafting;
- food and water;
- sleep;
- and repair access.
That is enough to keep the next trip moving.
I do not spend an hour decorating while an important system unlock is still one short resource run away.
Later, when progression naturally slows down, I can expand.
Early game is when I value function most.
I Return Progression Discs Instead of Carrying Them Around
Optical Discs are one of the first systems that teach me not to sit on a useful unlock.
If I recover a Disc that clearly belongs to current progression, I bring it back and see what changed before planning another long trip.
An early example is the Hatchery.
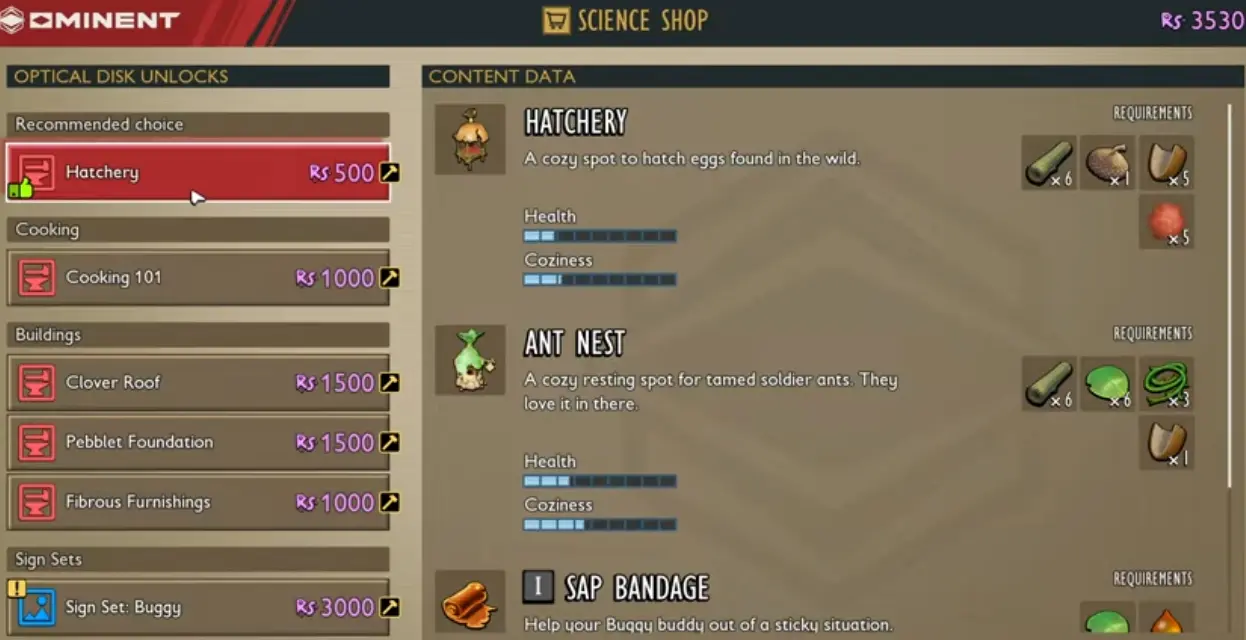
The exact lesson is more important than the individual purchase:
unlock the system
→ finish the system
→ use what it opened
I do not buy a progression structure and then leave it unfinished while heading to the opposite side of the park.
If a short supply run finishes the Hatchery, that is usually my next job.
The First Buggy Changes How I Read Obstacles
Once the Hatchery is ready, I move into the first Buggy progression and bring home the Red Soldier Ant Egg rather than assuming any nearby ant egg will do.
When I am carrying a progression item like that, my priorities change.
I stop adding optional caves to the trip.
I make sure I have:
- enough durability to get home;
- enough healing for the return;
- inventory space;
- and a route back to safety.
Once the Buggy is ready, it teaches me a larger progression lesson.
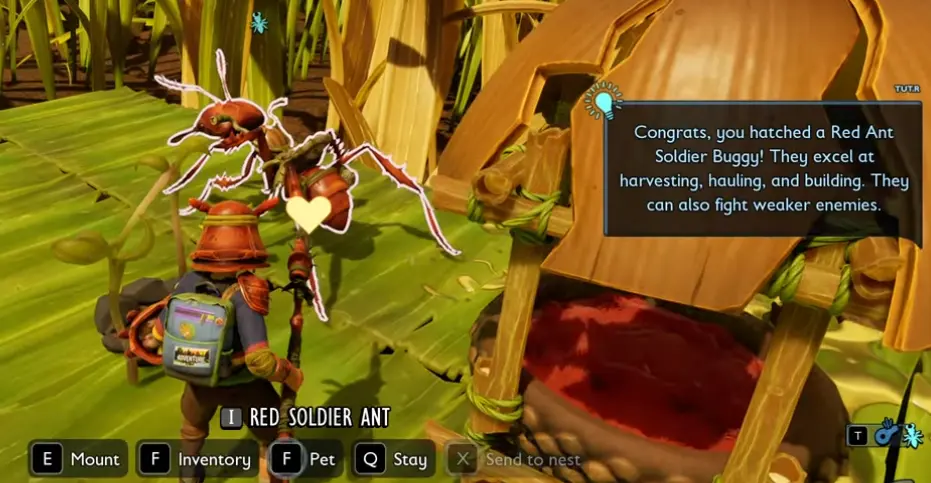
From this point forward, when terrain looks deliberately built around a Buggy ability I do not have, I do not spend twenty minutes trying to force it.
I remember the route.
Then I keep progressing until I have the tool the terrain is asking for.
I Upgrade When Normal Travel Starts Costing Too Much
Grounded 2 does not always use a locked door to tell me my equipment is behind.
Sometimes the warning is simply cost.
A normal enemy starts taking too much healing.
My armor comes home badly damaged.
A short resource trip turns into a repair bill.
I can technically win every fight, but I cannot comfortably continue after winning them.
That is when I stop pushing the story for a moment.
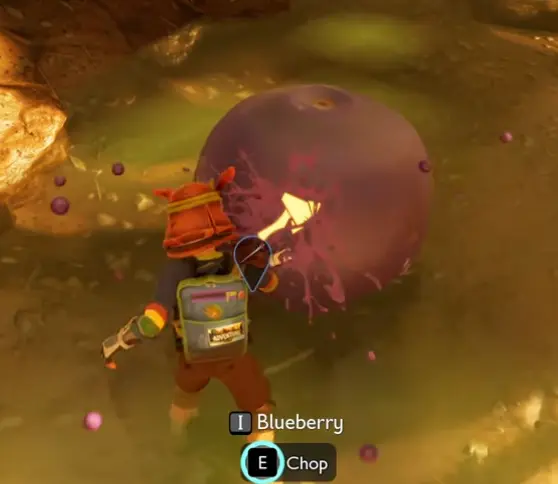
My readiness test is not:
Did I survive?
It is:
How much did surviving cost me?
If an ordinary encounter still leaves me enough healing, durability, and inventory room for the actual objective, I keep going.
If every fight becomes a resource emergency, I go home and improve the setup.
Environmental Pressure Is Also a Progression Gate
The same logic applies when the environment becomes the real enemy.
Cold was one of the clearest examples for me.
I could enter a Chilling area before I was comfortable staying there.
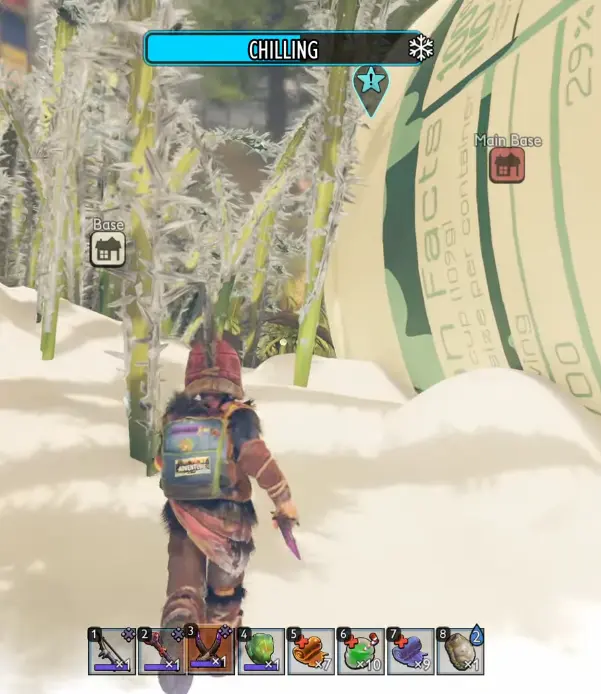
Once most of my attention is going into surviving the environment rather than completing the objective, I change the trip.
Sometimes I only grab the important progression item and leave.
Sometimes I turn around completely.
What I do not do is confuse:
I managed to reach this area
with:
I should fully clear this area now.
That distinction becomes even more important later underwater.
When Web Routes Keep Blocking Me, I Return to the Main Story
Eventually I start reaching web-covered traversal routes that my current setup does not solve properly.
At first I treated them like platforming puzzles.
Later I realized they were progression signals.
If:
- my current Buggy is not enough;
- the route clearly wants another traversal ability;
- and I still have unfinished main-story progression;
I stop looking for a shortcut.
I finish the story.
That pushes me through Act One and into Networking.
The Network Center has its own key, power, relay, and boss progression, so when I reach that point I use the Networking Quest walkthrough instead of duplicating that route here.
At the progression level, my decision is simply:
web routes still blocked + unfinished main story = finish the story first.
After Networking, the Spider Buggy Becomes My Traversal Priority
Once I finish the Networking chain and get past the Masked Stranger sequence, my attention changes.
The Spider Buggy is now the traversal tool that makes previously blocked web routes relevant.
This is one of the cleanest progression signals in the surface game.
Before Spider Buggy:
remember the web route.
After Spider Buggy:
go use the web route.
I do not keep testing the same obstacle after every small armor or Omni Tool upgrade.
I wait until I actually have the traversal system designed for it.
Spider Buggy Ready Means Upper Park Is Current Progression
Once the Spider Buggy is ready, I shift attention toward Upper Park.
I follow the Upper Park route rather than trying to recreate the entire crossing inside this page.
At this point my progression job is:
use the new traversal ability
→ enter the new region
→ identify the next real gate
Upper Park introduces new materials and stronger resource requirements, but I do not assume every new resource needs to be farmed immediately.
I check what current progression actually needs.
If I find something above my current Omni Tool tier, I remember it and move on.
That is the same lesson the early game taught me.
Only the tier number changed.
The Pond Is a New Progression Phase, Not Another Random Detour
Eventually the next important route stops being another surface landmark.
The focus moves into Skunk Pond and Into the Abyss.
I treat this as a separate phase because the gates stack together differently.
My high-level order becomes:
explore enough Pond to reach the important unlocks
→ return the Aquatic Optical Discs
→ unlock all three Diving Suit pieces
→ finish the full Diving Suit
→ return to the Diving Deck
→ enter the Abyss
The Aquatic Optical Disc guide owns the Disc locations and individual unlock route.
I only need to know here that if one Diving recipe is still missing, I am not at the material-farming stage yet.
I finish the missing Disc first.
If the Diving Recipes Exist, I Stop Looking for Another Abyss Entrance
The Diving Deck is a very clear progression check once I reach it.
If the door tells me I need the proper Diving Suit, I believe it.
I do not search the Pond for another secret entrance.
The full set is:
Diving Helmet
-
Diving Suit Chestplate
-
Diving Boots
The detailed unlocks, equipment behavior, Raw Science budget, and gate checks belong in the Diving Suit guide.
At the progression level, the rule is simpler:
If the Diving Deck is closed, finish the suit before returning.
Quartz Glass Is a Production Gate, Not Another Exploration Gate
Once all three Diving recipes are visible, one of the most common ways I can still stall is crafting.
If Quartz Glass is the thing missing from the suit, I stop making random Pond dives.
That is no longer an exploration problem.
It is a production problem.
The complete Quartz Glass route owns the Phantom Quartz, processing, Fire Brick, Kiln, and final Glass chain.
If I am only missing the plant material used in that production, I switch to the Horsetail Stem route.
This is exactly why I separate progression walls by type.
A missing recipe wants a Disc.
A missing Glass wants production.
A missing Horsetail wants a resource run.
Those are not the same problem.
I Enter the Abyss Only After the Diving Gate Is Actually Solved
Once the full Diving Suit is crafted and equipped, I return to the Diving Deck.
That is when the progression phase changes again.
I stop using the Diving Suit page as my main route and switch to the Into the Abyss guide.
The problems beyond the door are no longer:
How do I unlock the equipment?
They become:
- where to go;
- which route continues;
- how to manage the deeper environment;
- which landmarks matter;
- and when to stop pushing farther.
Keeping that boundary clear prevents the Progression Guide from becoming a second Abyss walkthrough.
The Toe Biter Buggy Is Useful, but It Is Not the Abyss Gate
The Pond phase also gives me another Buggy option.
The Toe Biter Buggy becomes much more valuable once I am making repeated underwater trips.
But I keep one distinction clear:
the Diving Suit is the progression gate.
the Toe Biter Buggy is an efficiency upgrade.
If Raw Science or materials are tight and the Diving Deck is still closed, I finish the suit first.
If the story gate is already solved and I am repeatedly crossing Skunk Pond, farming deep resources, or revisiting the Abyss, the Buggy becomes much easier to justify.
This prevents me from buying the more exciting optional tool before funding the thing that actually opens the next story route.
When I Get Stuck, I Identify the Type of Wall
When I genuinely do not know what to do next, I stop looking at the entire map.
I diagnose the blocker.
Story wall
Do I still have a main objective that is likely to unlock the next system or region?
If yes, I stop map cleanup and push the story.
Tool wall
Can I see the resource I need but cannot harvest it?
I check the Omni Tool tier.
I do not search for another copy of the same material.
Buggy wall
Does the terrain clearly look designed around a Buggy ability I do not have?
I remember the obstacle and finish the relevant Buggy progression.
Recipe wall
Is the item I need completely absent from the Science Shop or crafting options?
I look for the missing unlock before farming materials.
Equipment wall
Can I technically survive the route, but normal combat consumes most of my healing and durability?
I go home and catch up.
Environmental wall
Is oxygen, Chilling, or another environmental effect ending the trip before the objective does?
I improve the counter or narrow the objective instead of repeating the same failed run.
Most of the time, one of those categories explains exactly why I feel stuck.
The Progression Rule I Keep Using
If I restarted Grounded 2, I would not try to memorize every quest step.
I would remember the order of decisions:
get the system before trying to use the system
get the tool before farming the resource
get the Buggy before forcing the terrain
finish the unlock before farming the recipe
upgrade when ordinary travel becomes too expensive
finish the story when exploration clearly stops opening new paths
and:
treat reaching an area as information, not proof that I am ready to clear it.
That is the distinction that saves me the most wasted time.
Grounded 2 gives me plenty of freedom.
I just no longer confuse:
I can go there
with:
that is what I should be doing next.