How I Repair the Toy Excavator and Open the Hidden Route
I bring three Sap Bandages, follow the Toy Excavator cable to every sparking break, repair all three sections, then activate it and use the changed terrain to reach the upper cave.
Updated:
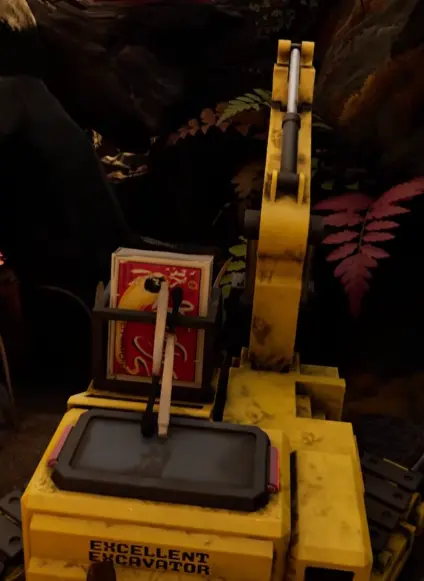
Quick Answer
To activate the Toy Excavator at Gnarly Bark, I bring 3 Sap Bandages and follow the power cable away from the machine.
I repair all three sparking cable breaks, including the easy-to-miss section below the main ledge.
My route is:
bring 3 Sap Bandages
→ follow the Excavator cable
→ repair the first break
→ drop to the lower break
→ continue to the far-side break
→ return to the controls
→ activate the Excavator
→ use the changed terrain to reach the upper cave
If the controls are still dead, I do not search for another key or Science Shop unlock.
I follow the cable again.
A repair is still missing.
The Toy Excavator was easy to overthink because it looked usable before it actually worked.
I could climb onto it.
I could reach the controls.
I could inspect the cockpit.
Nothing happened.
That made me think I was missing something somewhere else in Gnarly Bark:
- a key;
- a quest item;
- another switch;
- or an Omni Tool upgrade.
I was looking in the wrong place.
The machine already had the clue I needed.
A power cable runs away from it, and that cable is damaged.
I Bring 3 Sap Bandages Before Starting the Excavator Puzzle
The only number I prepare around is:
3 Sap Bandages.
Each damaged cable section consumes one.
I reserve those three Bandages for the puzzle.
I do not count them as the healing I expect to use while travelling through Gnarly Bark.
If I spend one during combat and arrive at the third repair with only two left, I have created another trip for myself.
So when I expect trouble on the route, I bring separate healing.
A Dandelion Tuft is also useful for one awkward descent, but it is not a requirement for activating the Excavator.
I Follow the Cable Instead of Searching the Cockpit
Once I reach the Excavator, I stop inspecting the controls.
I find the cable running away from the machine and follow it.
The damaged sections are easy to identify because they are sparking.
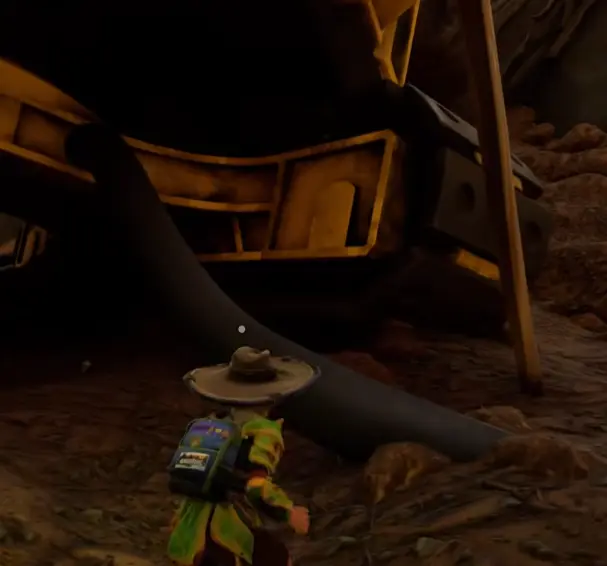
At the first break, I use one Sap Bandage.
Then I keep going.
This is where I avoid the simplest mistake in the puzzle:
one repaired cable break does not mean the Excavator is fixed.
I do not return to the controls after the first repair.
The Lower Cable Break Is the Easiest One for Me to Miss
The cable eventually reaches an area where the obvious walking route stays above it.
The wiring does not.
It continues below the ledge.
If I only scan the surface I am standing on, I can walk straight past the next repair.
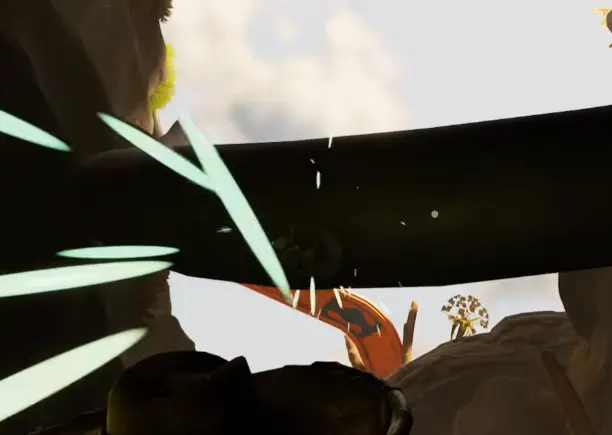
This is where I prefer having the Dandelion Tuft.
I use it for a controlled descent instead of dropping blindly.
Once I reach the sparking cable, I use the second Sap Bandage.
After that, I do not worry about climbing back through the exact same spot.
I use the nearby mushrooms and terrain to regain height while keeping the cable route in mind.
My next objective is still:
find the next spark.
Not:
get back to the Excavator.
I Keep Following the Cable to the Far-Side Repair
After returning to the upper line, the cable continues.
There is another damaged section farther around the route.
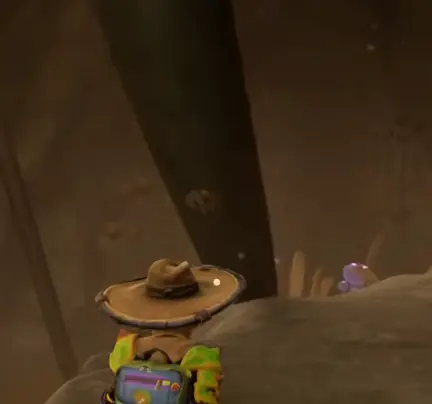
This was the other place I could have turned back too soon.
The lower repair feels like the main obstacle.
Finishing it feels important enough that returning to the machine seems reasonable.
I resist that impulse.
I stay with the cable until I have repaired three damaged sections.
That gives me a very simple completion check:
I arrived with 3 reserved Sap Bandages, and all 3 have been used on the cable.
Only then do I return to the Excavator.
If I Still Have a Sap Bandage Left, I Am Not Finished
I do not memorize every bend in the cable.
I use the Bandages as my counter.
I start with three.
One repair uses one.
So if I return to the Excavator with one of those three still in my inventory, my first assumption is not:
the Excavator is bugged.
It is:
I missed a cable break.
The two areas I check first are:
- below the ledges;
- the farther side of the cable route.
That is faster than searching Gnarly Bark for an unrelated power source.
The Controls Work After All Three Repairs
Once the full cable is repaired, I climb back onto the Excavator.
Now the controls are usable.
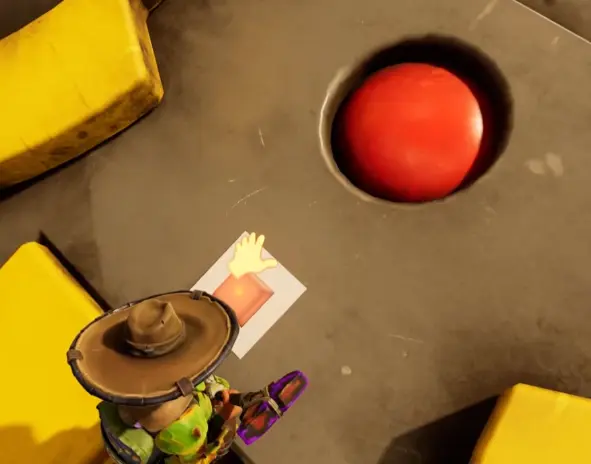
If the controls are still dead, I do one thing before anything else:
follow the cable again.
I do not search for:
- another key;
- a boss reward;
- a hidden Science Shop purchase;
- or a separate power item.
The cable itself is the puzzle.
Activating the Excavator Changes the Route, Not a Door
This was the part I misunderstood before seeing the machine work.
I expected the Excavator to dig open a cave beside itself.
Instead, activating it changes the position of the Excavator and its load.
That changes the terrain I can climb.
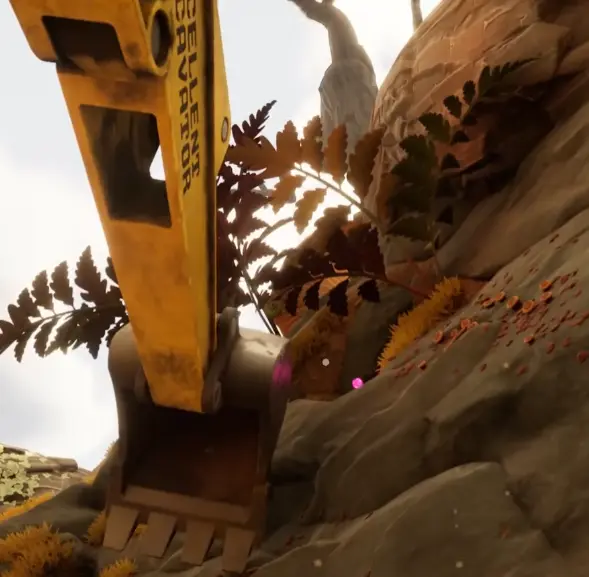
So I do not press the control, see no obvious door open, and assume nothing happened.
I look at where the bucket and surrounding climbable surfaces have moved.
That is the result I care about:
new access.
I Use the Changed Terrain to Reach the Upper Gnarly Bark Cave
After activation, I work upward around the Excavator.
I use the newly positioned machine, the nearby matchsticks, and the upper surfaces to keep gaining height.
The route that felt awkward before now has a much clearer climbing line.
Eventually I reach the upper cave.
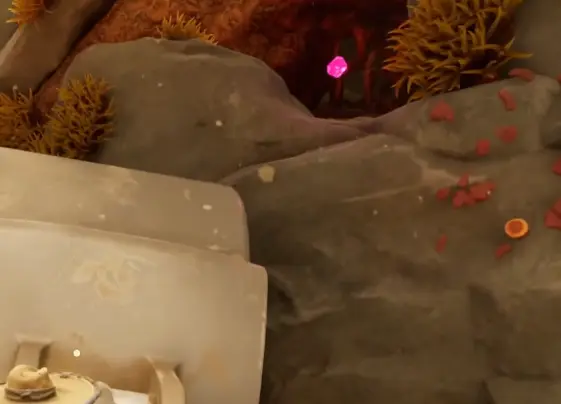
I bring a light before going inside.
I can encounter Earwigs beyond the new access, so finishing the cable repair does not mean the next area is harmless.
The puzzle itself required very little combat.
The route it opens is another matter.
The Excavator Is Not the Toe Biter Egg Gate
I keep this distinction clear because both routes are around Gnarly Bark.
Activating the Excavator opens access toward the upper cave and higher tree route.
It is not the step I use to reach Papa Toe Biter or obtain the Toe Biter Egg.
If my actual objective is the Egg, I use the Toe Biter Egg route instead of repairing the Excavator and expecting it to uncover that arena.
For this puzzle, I know I am finished when:
all three cable breaks are repaired
→ the controls activate
→ the Excavator moves
→ the new upper route becomes usable.
If the Excavator Still Does Nothing
I troubleshoot the puzzle in this order.
I check whether all 3 Sap Bandages were used
If one of my reserved Bandages is still there, I retrace the cable.
I follow the actual power cable
The cockpit is not hiding another key.
The damaged wiring is the progression mechanic.
I look below the obvious walking route
The lower repair is easy to walk past because the cable drops under the ledge.
I continue past the lower repair
The difficult repair is not automatically the final repair.
I keep tracing the cable to the far-side break.
Once all three are fixed, I return to the control and activate the Excavator.
From there I stop thinking about the cable.
The next job is climbing the route the machine just created.