Where I Find the Aquatic Optical Discs—and Which One I Get First
I get the Bridge Disc first, climb Gnarly Bark next, then save the deep Pirate Ship route for last so each underwater unlock makes the next trip easier.
Updated:
Quick Answer
For my Into the Abyss progression, I handle the three water-facing Aquatic Optical Disc routes in this order:
Bridge
→ Gnarly Bark
→ deep water near the Pirate Ship
The Bridge route is the least expensive to investigate and starts opening the Diving Suit progression.
Gnarly Bark is more dangerous and easier to over-explore, but its Disc unlocks another important set of water and Buggy options.
I save the Pirate Ship route for last because oxygen, Chilling, depth, visibility, and combat make a failed trip much more expensive.
If my goal is the zipline unlock, I go to Pergola instead. I do not mix that route into the three water-facing Disc runs I use to prepare for the Abyss.
The Aquatic Optical Discs were one of the first Into the Abyss objectives where the map marker did not give me enough information by itself.
I could see that a Disc was nearby.
The marker could not tell me whether I needed to be:
- above it;
- underneath it;
- halfway up a tree;
- inside a structure;
- or much deeper underwater.
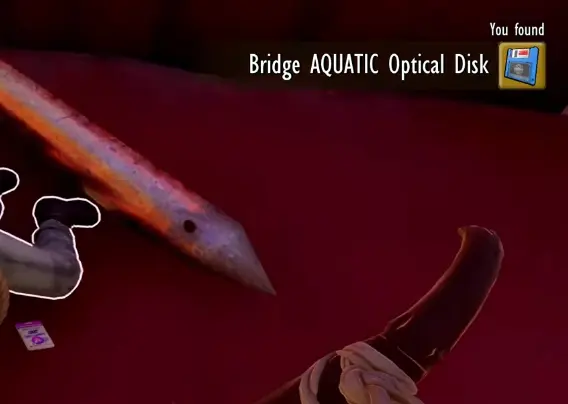
The Bridge Disc taught me that lesson immediately.
I spent too much time trying to gain height because the marker made the upper structure look important.
The Disc I actually needed was lower.
After that, I stopped treating the Aquatic Discs like one large collectible search.
For every Disc I ask two questions:
What landmark tells me I am on the correct route?
and:
What condition tells me I should stop and come back better prepared?
That makes the three runs much more predictable.
I Get the Bridge Aquatic Disc First
I start on the Bridge side of Skunk Pond.
This is the Disc I prefer first because I can investigate the area without committing to the deepest part of the Pond.
The Bridge region does have one environmental problem I respect:
the petroleum spill can build Woozy.
If Woozy starts controlling the trip, I use a Gas Mask rather than repeatedly forcing the same route and hoping I make it farther next time.
My objective is not to clear everything around the Bridge.
I am here for the Disc.
The Bridge Marker Made Me Search Too High
This was my biggest mistake on the first Disc.
The marker pulled my attention toward the higher Bridge structures, so I started climbing.
That felt plausible because there are other things worth exploring above me.
The problem was simple:
I gained height,
reached the area above the marker,
and still did not find the Disc.
That was when I changed the search.
Instead of looking for another way farther up, I worked back toward the lower side of the Bridge.
If I replay this route, my rule is:
Marker above me does not automatically mean the objective is above me.
If I am standing over the Bridge marker without seeing the Disc, I go lower before I start inventing another climbing route.
That saves much more time than circling the upper Bridge structures.
I Return the Bridge Disc Before Going Farther
Once the Bridge Disc is in my inventory, I do not immediately start another long Disc route.
I return it first.
The reason is practical:
it opens the Diving Suit Chestplate progression.
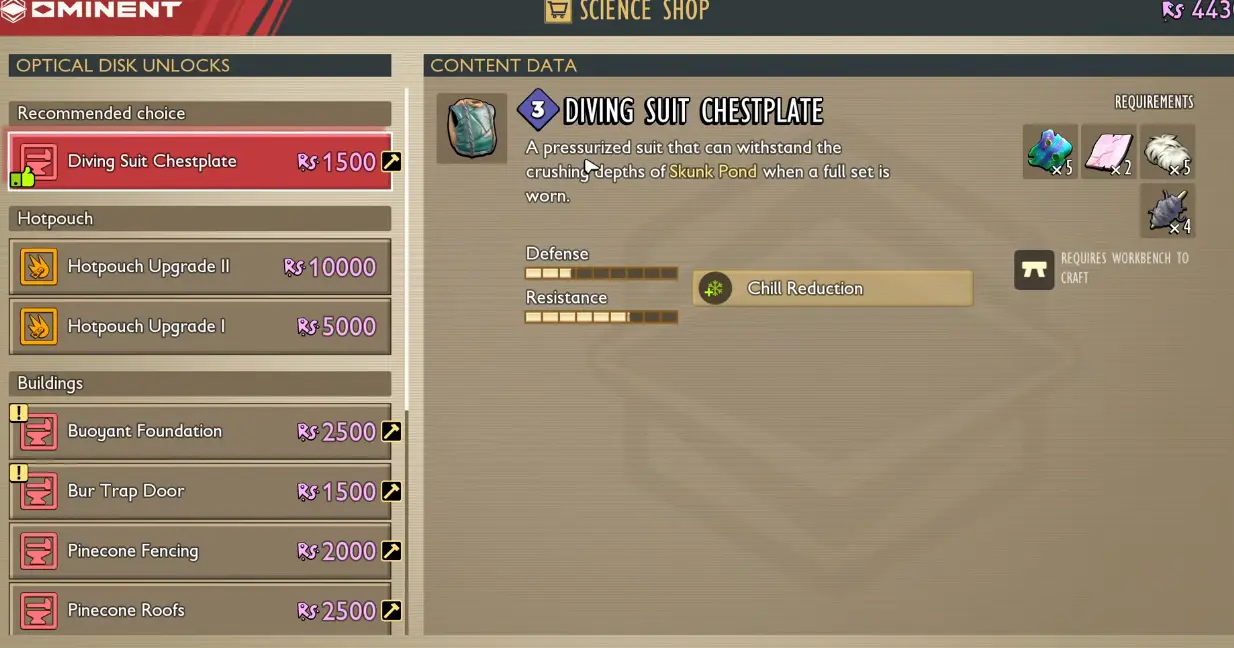
That changes how I spend the next hour.
If the Abyss is my current story objective, I can now start planning around the Diving Suit instead of continuing to collect Discs without checking what they actually gave me.
My preferred rhythm is:
get a useful Disc
→ return it
→ check the new unlocks
→ decide whether the next problem is another Disc or a crafting gate
I do not carry several progression Discs around just to turn them in all at once.
If the Bridge Disc Looks Missing, I Check Elevation First
There is an easy failure state here because the marker makes the upper route look convincing.
If I cannot see the Disc, my first check is not another part of the map.
It is my elevation.
I verify that I have actually searched the lower Bridge location rather than standing above the objective.
If I have confirmed the correct lower spot and the Disc is genuinely not there, I stop treating the problem as:
I must have missed another hidden route.
I do not invent a second Disc location.
At that point I treat the save/update state as something to verify rather than spending another hour repeating the wrong search.
Gnarly Bark Is My Second Disc Route
After the Bridge, I move to Gnarly Bark.
This route feels completely different.
At the Bridge, I was fooled by elevation.
At Gnarly Bark, I am fooled by choice.
The tree constantly gives me another reason to leave the route:
- another branch;
- another hollow;
- another enemy;
- another resource;
- another cave;
- another climb.
If I try to clear the tree while also hunting the Disc, I lose the objective.
So I decide before going in:
this trip is for Disc progression.
Optional exploration comes after I know the important unlock is secured.
I Keep Gaining Height Instead of Searching the Roots
The useful clue is that the Aquatic Disc route takes me partway up Gnarly Bark.
I do not spend the whole trip searching around the base of the tree just because some of the other Gnarly Bark progression runs eventually go inside or underground.
I climb.
This is also where I become much stricter about equipment condition.
If my armor is already close to breaking when I arrive, I turn around.
Gnarly Bark has enough enemies and awkward movement that a nearly broken loadout turns one bad encounter into a backpack recovery run.
Repairing first is cheaper.
Returning the Gnarly Bark Disc Changes My Next Priority
Once I finish the important Gnarly Bark Disc progression and return it, the shop opens several options that matter to the new water content.
The ones I care about most are:
- Diving Boots
- Toe Biter Buggy progression
- Toe Biter Nest
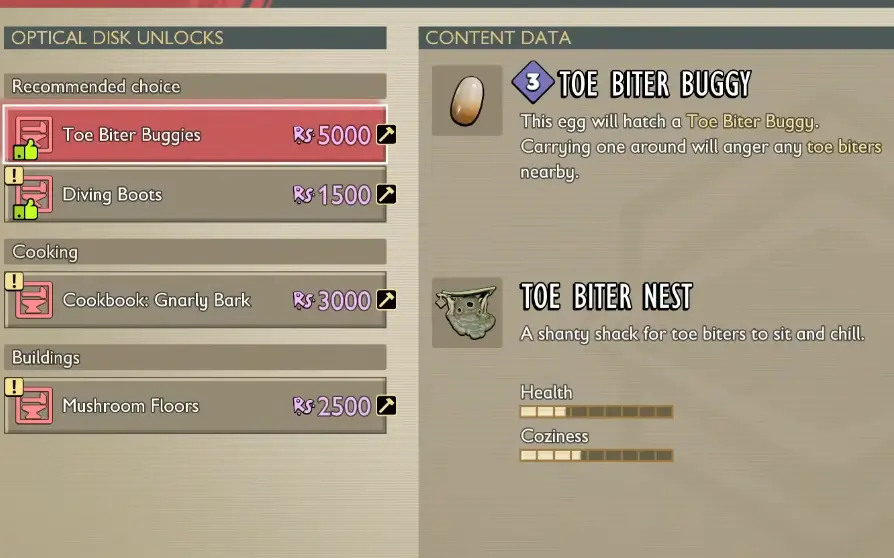
Which one I pursue next depends on the problem in front of me.
If the Diving Deck is my current hard story gate, the Diving Boots push the Diving Suit project forward.
If repeated water travel and gathering are becoming the bigger problem, I can start working toward the Toe Biter Buggy.
I do not assume that seeing the Buggy unlock means the mount is immediately ready.
The Buggy still has its own Egg, materials, purchase, and Hatchery progression.
For the Disc run, the important point is simply:
I now have access to the next progression option.
I Do Not Stay in Gnarly Bark Just Because More Loot Is Above Me
This was another decision that saved me time.
Once the Disc is secured, it is very tempting to keep going.
I am already in the tree.
There is more loot nearby.
I can see another route.
Maybe another ten minutes gives me something useful.
That is exactly how one objective turns into an hour.
If my equipment is damaged or I am already carrying the progression item I came for, I leave.
Returning the Disc may change what the Science Shop offers, and that information is more useful to me than another random resource stack.
I Save the Pirate Ship Route for Last
The final water-facing Disc route I prioritize is the deep route around the Pirate Ship.
This is where the cost of bad preparation becomes much higher.
Several problems start stacking at once:
- oxygen;
- Chilling;
- depth;
- underwater combat;
- limited visibility;
- and the time required to repeat the descent.
That is why my order is:
Bridge
→ Gnarly Bark
→ Pirate Ship
It is not because the game prevents me from attempting the deep route earlier.
I simply get fewer failed trips when I let the earlier unlocks improve my setup first.
I Use the Pirate Ship and Pipes as Landmarks
I do not start this route by swimming straight down from wherever the map marker looks closest.
I first orient myself around the Pirate Ship.
Then I use the nearby pipes to make the deeper route reproducible.
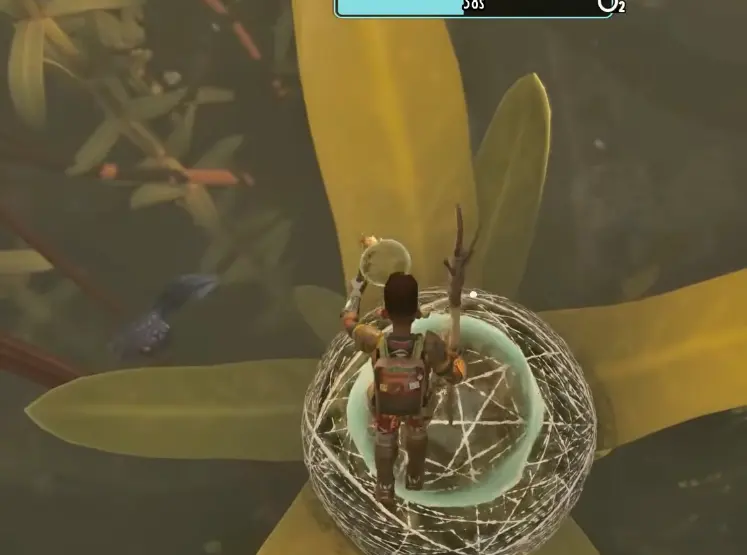
This matters because deep-water navigation becomes expensive when I lose the route.
If I know:
Pirate Ship
→ pipes
→ deeper objective line
I can repeat the trip.
If my landmark is:
some dark opening I saw below me
I usually waste much more oxygen trying to rediscover it.
I Turn Back When Oxygen Becomes the Main Problem
Reaching deep water does not automatically mean I am ready to complete the route.
If I spend most of the descent watching the oxygen timer and already feel forced to turn around before I can properly search, I leave.
The same applies to Chilling.
When an environmental bar becomes more dangerous than the enemies or navigation, I stop pretending another attempt with the same setup will somehow be different.
I improve the temporary diving setup first.
That may mean better breathing support.
It may mean finishing another water unlock.
It may simply mean repairing and returning with more margin.
The important part is recognizing when the route is not the problem anymore.
The Deep Route Pushes Me Into the Diving Helmet Stage
The deep Pirate Ship route is the last Aquatic Disc run I want to force with weak water preparation.
By the time I finish working through the bottom of this route, I have progressed into the Diving Helmet side of the Diving Suit chain.
That is my signal that Disc hunting is no longer the main job.
If the Helmet progression is now available and the other Diving pieces are unlocked, I stop treating the Pond like a collectible sweep.
I start finishing the actual Diving Suit.
That means:
- checking which recipe is still incomplete;
- gathering the required materials;
- processing what I already found;
- and preparing the complete three-piece set.
I Stop Hunting Discs When the Missing Thing Is No Longer a Disc
This distinction is what keeps the entire Pond progression from becoming confusing.
If I am still missing a recipe because I never returned the correct Aquatic Disc, I continue the Disc route.
If all the relevant gear is visible but I cannot craft it, I stop searching for more Discs.
That is now a material or tool problem.
If the complete Diving Suit is ready but the story still needs me to go deeper, the next problem is no longer a Disc either.
I continue with the Into the Abyss route.
The three Aquatic Disc runs work best for me as progression checkpoints:
Bridge — start opening the Diving Suit
→ Gnarly Bark — open the next Diving and Toe Biter options
→ Pirate Ship — push the deep-water progression far enough to finish preparing for the full suit
After that, I stop searching for Optical Discs just because another marker exists.
I use what they unlocked.