How I Finish Networking Without Missing the Relay
I enter the Network Center through Wendell's Statue, get the Access Key, repair the dead network, check every relay, then prepare for the Masked Stranger.
Updated:
Quick Answer
For Networking, I enter the Network Center inside Wendell’s Statue and follow this order:
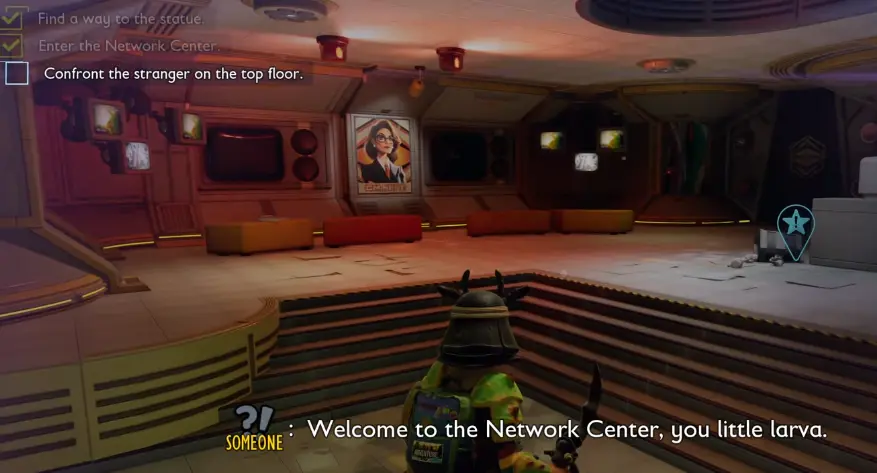
reach the Network Center
→ get the Network Pass Access Key
→ drop into the unpowered maintenance section
→ Repair Wires
→ activate every relay in that section
→ recheck the relays if progression still looks dead
→ climb toward Bowmont’s penthouse
→ prepare before opening the final door
→ defeat the Masked Stranger
→ recover BURG.L’s Head
The part that actually stalled me was the relay section.
I had repaired the wires and activated the switches I noticed, but the network still would not progress because I had walked past another relay.
If Networking looks stuck after Repair Wires, I search that relay area again before leaving the Network Center.
Networking looked complicated the first time because several different blockers happen inside the same facility.
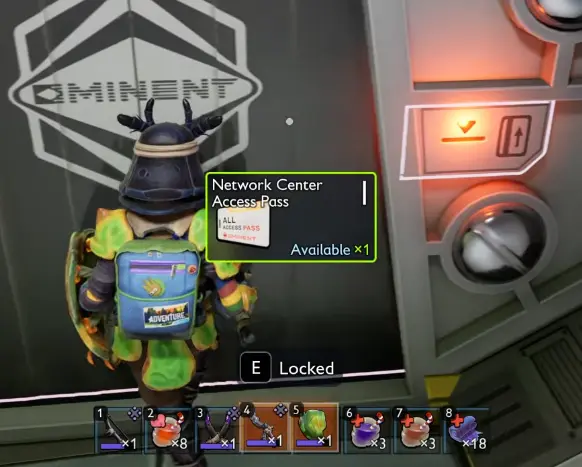
A locked door can mean I need the Network Pass Access Key.
A dead route can mean I still need to Repair Wires.
A powered-looking section can still be incomplete because I missed a relay.
And once all of that is working, the final blocker is combat.
Once I stopped treating all four problems as the same thing, the Network Center became much easier to read.
I Start Networking at Wendell’s Statue
Once Networking sends me toward the Network Center, I head for Wendell’s Statue.
If Networking is not active yet and the statue route makes no sense, I do not try to force it early.
I go back to the main progression route and finish the story gates that lead into Networking first.
When the quest is active, I approach the statue from the hedge side.
I am not looking for a normal front door at ground level.
I work upward through the structures around the statue.
The route becomes much easier once I use one rule:
If I am still gaining height toward the statue interior, I am probably making progress.
A ladder near the statue-side structure is one of the landmarks I use before continuing upward to the Network Center entrance.
I repair my main equipment and bring a reasonable healing supply before I enter.
I do not need to turn this into a huge preparation project yet.
The more important thing is leaving enough inventory room that the facility does not force me to reorganize my bag every few rooms.
I Get the Network Pass Access Key Before Moving Deeper
The opening section is mostly normal interior progression.
I clear whatever is directly stopping me and continue until I collect the Network Pass Access Key.
This prevents one easy mistake.
If I find another locked access point shortly afterward, I do not leave Wendell’s Statue and start searching somewhere else.
I check whether I actually picked up the key and whether the nearby route opened.
At this stage, the answer is still inside the Network Center.
When the Network Center Loses Power, I Go Down
For most of the facility, climbing upward feels like progress.
The unpowered section is the exception.
When I reach the point where the upper route is dead, I stop searching above me.
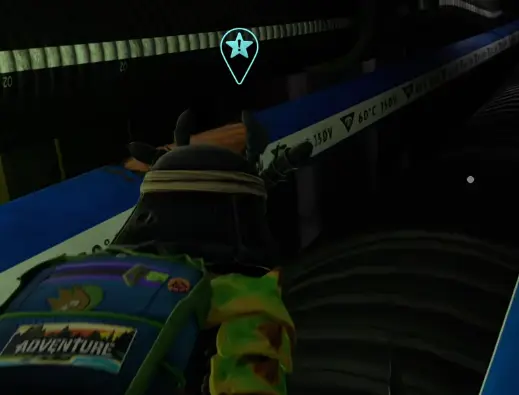
I drop into the lower maintenance area.
That is where I find the damaged network wiring.
The interaction I need is:
Repair Wires
This is an important change in how I read the environment.
Before this point:
up usually means progress.
Here:
power has to be restored before going up matters again.
If I keep searching the higher floors while this section is dead, I am solving the wrong problem.
Repair Wires Is Not the End of the Power Sequence
This is where I actually got stuck.
I repaired the wiring.
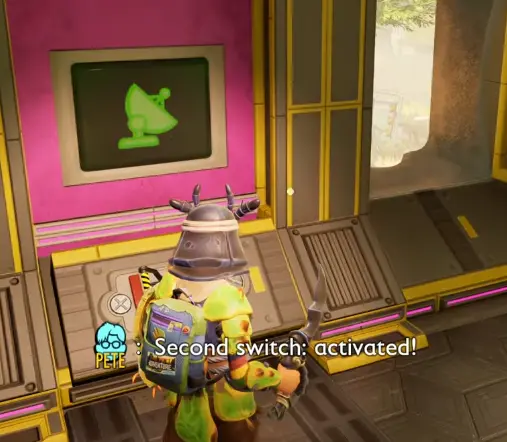
I activated the relay switches I could see.
I expected the next route to work.
It did not.
My mistake was assuming:
I found two obvious interactions, so the section must be finished.
I had missed another relay.
Once I went back through the same section and checked the relay positions again, the progression problem became obvious.
That is now my first troubleshooting step.
This is the most important distinction I make in the Network Center:
wires repaired
does not automatically mean
network sequence finished.
I Check the Relay Area Before Blaming the Quest
If Networking appears to stop progressing, I run through the blockers in this order.
The next access point is locked
I verify that I collected the Network Pass Access Key.
The facility section is completely unpowered
I go down and make sure Repair Wires has been completed.
The wires are repaired but the next route still looks dead
I search the relay section again.
This was my real failure state.
I had simply walked past another switch.
The power sequence is working
I stop troubleshooting the lower facility and start climbing again.
That order is much faster than wandering through every floor because “Networking is stuck.”
Once Power Is Restored, I Go Back to Climbing
After the relays are finished, the Network Center becomes readable again.
BURG.L is still above me toward Bowmont’s penthouse.
So I return to my original route rule:
up is progress.
I clear enemies that directly block me.
I grab useful supplies that are already on the route.
I do not turn every optional room into a full combat clear.
By this point I know there is a major encounter waiting above.
Every strong heal, food buff, and point of weapon durability I waste on an enemy I could have avoided is something I no longer have at the top.
That changes how aggressively I clear the climb.
I Treat the Final Door as a Point of No Cheap Preparation
Eventually I reach the door before the Masked Stranger encounter.
This is where I stop.
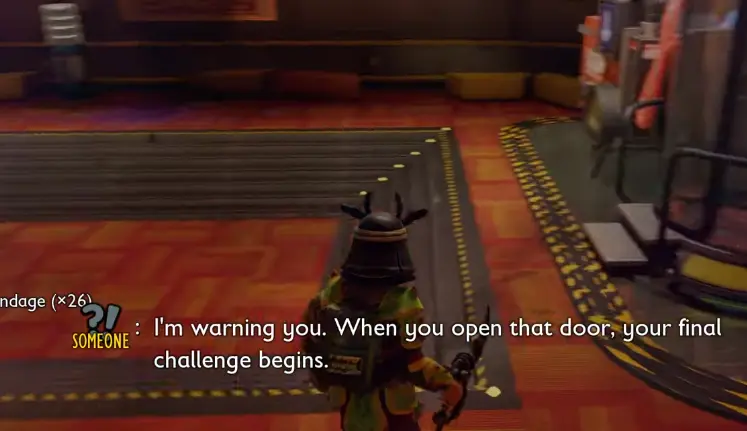
Before opening it, I check:
- current health;
- weapon durability;
- armor condition;
- healing on the hotbar;
- the shield or defensive setup I plan to use;
- food and combat buffs I actually intend to consume.
I do not enter simply because I finally reached the room.
Getting to the Masked Stranger and being ready for the Masked Stranger are different checkpoints.
My First Masked Stranger Attempt Told Me I Was Under-Supplied
My first serious attempt was useful even though it was not clean.
I could damage the Stranger.
I could read enough of the attacks to understand what the fight wanted.
The problem was that my healing economy collapsed as the pressure increased.
I was spending too much time trying to recover while already in danger.
That was my signal to stop forcing immediate retries.
For my better-prepared return, I brought roughly 15 healing items and used six Mac and Bees as part of the critical-hit setup I was running, along with Venom protection, an attack buff, Sizzle reduction, repaired weapons, and a shield setup I trusted.
Those are not mandatory quantities.
They are useful because they show how different my second preparation was from the first.
The lesson I keep is:
If I understand the fight but consistently run out of recovery before I can execute what I learned, I go home and fix the supply problem.
I do not assume another identical attempt will suddenly solve it.
I Value Reliable Defense More as the Fight Escalates
My faster damage setup felt good while I controlled the encounter.
Later, I got better results when I prioritized a setup that gave me more consistent defensive responses.
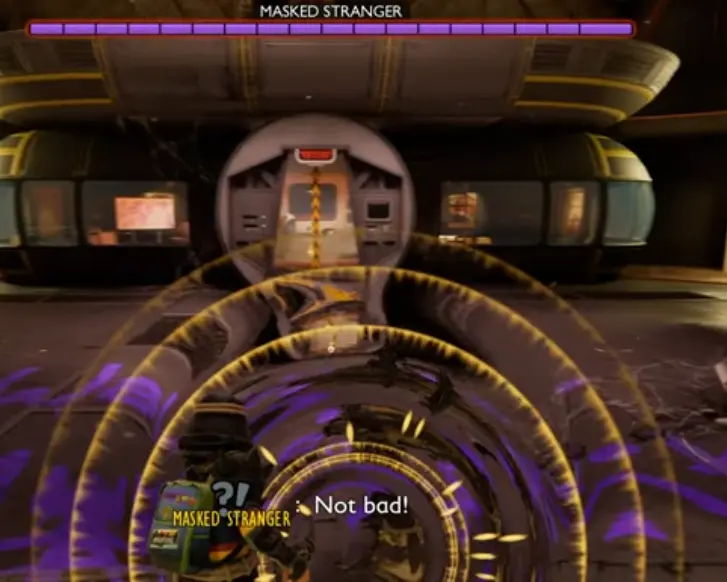
My rhythm becomes:
block or parry
→ take the clean opening
→ reset
→ heal when the opening is safe
→ repeat
I do not wait until my health is almost gone before every heal.
If I have a safe recovery window and another bad sequence would put me into panic-heal range, I use the window.
That makes the fight much less chaotic.
If I Reach the Boss Low on Supplies, I Change the Climb
Not every Masked Stranger problem starts inside the boss room.
If I repeatedly reach the final door with:
- half my healing already gone;
- poor weapon durability;
- missing buffs;
- or damaged armor;
I look at what I am spending on the way up.
I do not automatically solve that by carrying another ten items.
Sometimes the better answer is taking a cleaner route through the Network Center and skipping unnecessary fights.
The goal is to reach the Stranger with enough resources that the boss, not the climb, determines whether the attempt succeeds.
Beating the Masked Stranger Gets BURG.L’s Head Back
After the Masked Stranger goes down, I recover BURG.L’s Head.
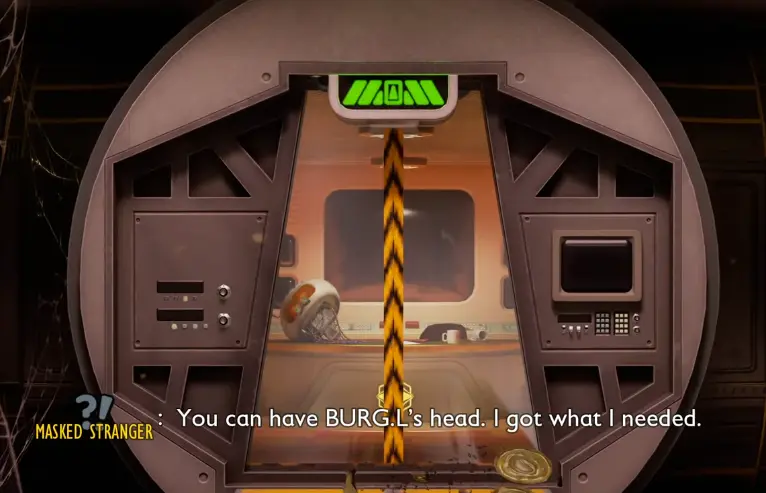
That is where I consider the Networking sequence complete.
The route is much easier to remember as separate gates:
Wendell’s Statue
→ Network Center
→ Network Pass Access Key
→ unpowered maintenance section
→ Repair Wires
→ finish every relay
→ climb toward the penthouse
→ prepare at the final door
→ Masked Stranger
→ BURG.L’s Head
The relay section is still the part I am most careful with.
The boss makes it obvious when I am not ready.
A relay I quietly walked past does not.