How I Reach Upper Park Without Fighting the Webs
I stop forcing the web route with the wrong Buggy, finish Networking, hatch the Spider Buggy, then use the webs as the intended path into Upper Park.
Updated:
Quick Answer
If the web route toward Upper Park looks usable but my current Buggy cannot cross it normally, I stop trying to force the terrain.
The progression I use is:
finish Networking and defeat the Masked Stranger
→ buy the Orb Weaver Buggy recipe for 5,000 Raw Science
→ retrieve an Orb Weaver Egg
→ take it back to the Hatchery
→ wait 12 in-game hours
→ mount the Spider Buggy
→ ride the web route into Upper Park
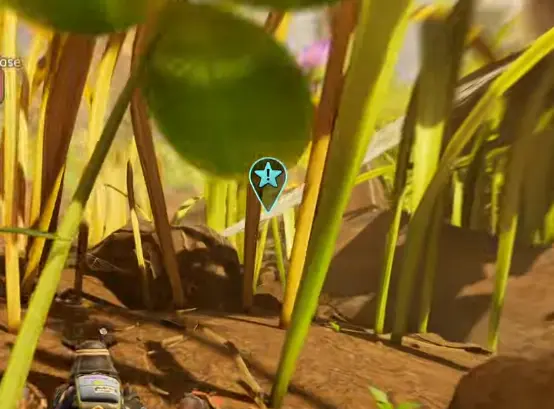
The important clue is the terrain itself.
I found these webs well before I could use them properly. Once the Spider Buggy was ready, the same route stopped feeling like an awkward platforming puzzle and started behaving like normal traversal.
I reached the web-covered routes long before I was ready to enter Upper Park.
That was what made them confusing.
I could see that the terrain continued somewhere useful.
I could climb near it.
I could sometimes get surprisingly close by building or making awkward jumps.
But none of those attempts felt like a route I would want to repeat.
My Red Soldier Ant Buggy did not solve the web problem either.
Eventually I stopped asking:
How do I make this jump?
and started asking:
What progression ability is this terrain waiting for?
The answer was the Spider Buggy.
If I Only Have the Red Soldier Ant Buggy, I Leave the Webs Alone
The large web sections are visible early enough that I initially treated them like normal traversal puzzles.
That led me toward exactly the wrong solutions.
I tried to judge:
- whether I could jump farther;
- whether I needed player-built stairs;
- whether dropping from above would work;
- or whether another section of the hedge contained a conventional entrance.
If the route requires that kind of improvisation while I still only have the Red Soldier Ant Buggy, I leave.
The web itself is the clue.
That saves me from spending supplies solving an obstacle that the story later gives me a much cleaner answer for.
I Finish Networking Before Coming Back
The Spider Buggy becomes relevant after the major story progression around the Masked Stranger.
So if Networking is still unfinished, that is what I do next.
I follow the Networking quest, restore the Network Center, and finish the Masked Stranger encounter.
Once that story gate is complete, I return to the Ranger Station and check the new progression options.
That is when the web route finally becomes a current objective rather than something I merely remember for later.
The Orb Weaver Buggy Costs 5,000 Raw Science
The Orb Weaver Buggy recipe costs:
5,000 Raw Science.
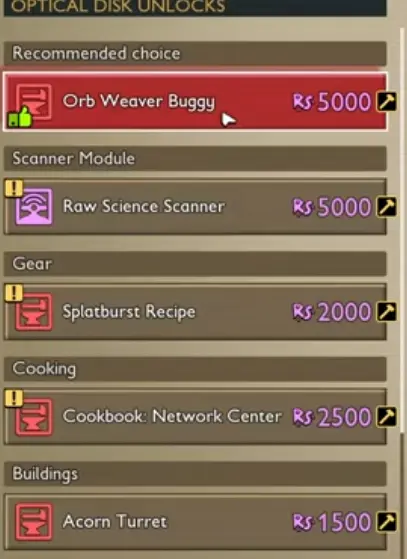
Earlier in the game, 5,000 Raw Science is expensive enough that I would not buy the recipe just because another Buggy sounds useful.
At this point my decision is different.
I already have a blocked route.
I already know the type of terrain involved.
And the newly available Buggy directly answers that problem.
So when Upper Park is my next progression target, this is a purchase I prioritize.
If I am short on Raw Science, I farm the remaining Science rather than returning to the webs with the same Buggy and repeating a route I already know does not work.
After Buying the Recipe, I Go for the Orb Weaver Egg
The purchase does not immediately give me the Spider Buggy.
I still need an Orb Weaver Egg.
For that, I head back toward the hedge and the web-heavy areas where Orb Weavers already fit naturally into the environment.
I do not treat this as a hedge-clear run.
My objective is much narrower:
find the Egg
→ pick it up
→ get home.
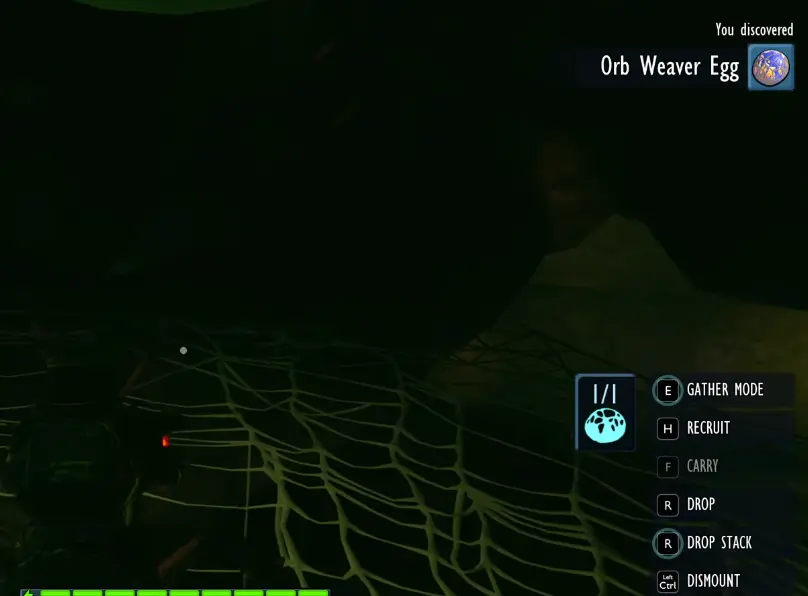
That changes how I play the return trip.
An optional resource is not worth turning an already successful Egg run into a backpack recovery.
If my inventory is full before I even reach the Egg, I fix that before taking it.
If my armor is close to breaking, I do not extend the trip for another fight.
Once I have the progression item, I protect it.
The Spider Buggy Takes 12 In-Game Hours to Hatch
Back at base, I use the Hatchery I already built earlier in progression.
The Orb Weaver Egg takes:
12 in-game hours
to finish incubating.
I do not wait beside it.
I use that time to prepare for Upper Park:
- repair my main weapons;
- repair armor;
- refill healing;
- sort the inventory;
- restock food and water;
- and leave several bag slots open.
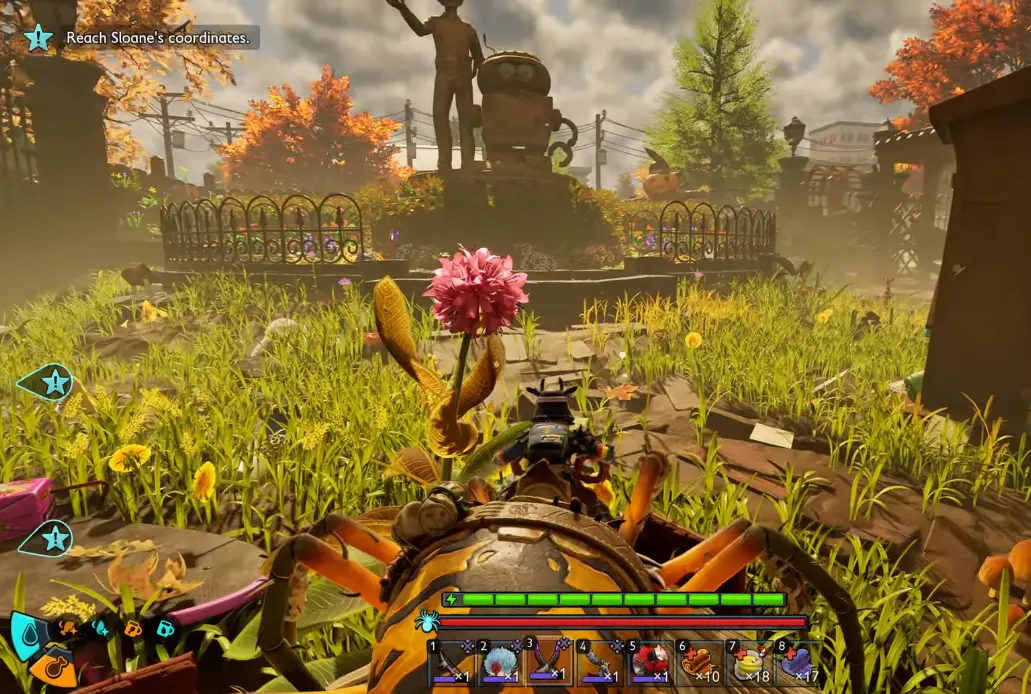
The Hatchery timer is not the difficult part.
The important decision is using those 12 hours so my first Upper Park trip does not begin with damaged equipment and a full inventory.
The Spider Buggy Turns Webs Into Traversal
This is the moment that confirms I was solving the wrong problem earlier.
With the Red Soldier Ant Buggy, the large webs felt like obstacles.
With the Spider Buggy, they become part of the route.
I keep the Buggy on the web-covered path and let its traversal ability do the work.
If it catches on nearby geometry, I adjust the approach angle.
I do not immediately dismount and restart the old platforming experiment.
The Buggy is the reason I came back.
This is also why I do not build a giant permanent bridge before unlocking it.
A player-built crossing may get me past one gap.
The Spider Buggy solves the type of terrain, which remains useful after the first crossing.
I Do One Supply Check Before Entering Upper Park
The web problem is solved.
Upper Park itself is not.
Before I commit beyond the crossing, I check:
- healing;
- food and water;
- weapon condition;
- armor condition;
- and inventory space.
I want several empty slots because the new region immediately gives me new materials worth bringing home.
My first Upper Park trip is reconnaissance, not a full clear.
My goal is:
cross safely
→ see what the new region is asking from me
→ identify the next material and tool gates
→ bring useful progression resources home
I do not arrive with the expectation that every enemy and resource must be finished on the first visit.
Upper Park Immediately Makes Me Recheck My Tool Progression
Once I am properly inside, the environment starts exposing the next tier of progression.
I encounter things such as Black Ants and other materials connected to later Omni Tool and equipment requirements.
A Potato Beetle Head became one of the concrete materials I cared about because it connected to later Omni Hammer progression.
That gives me a better first-trip objective than:
Explore until something kills me.
Instead I use the new area to answer:
Which tool or equipment upgrade is now blocking what I want to harvest or reach next?
If a new material does not currently solve a progression problem, I do not spend the whole first trip farming it.
Being Inside Upper Park Does Not Mean I Am Ready to Clear It
This follows the same rule I use everywhere else in Grounded 2.
Access is not readiness.
The Spider Buggy solves the web gate.
It does not automatically upgrade:
- my armor;
- my weapons;
- my healing;
- or the Omni Tool.
If ordinary Upper Park enemies are costing me too much, I leave with the new materials I already secured.
If I find a resource that requires a higher tool tier, I remember it and come back.
I do not turn the first successful entry into a death loop simply because getting there took work.
The Spider Buggy Also Gives Me a Better Way Back Up
Upper Park is vertical enough that entering it is not the only traversal problem.
I eventually dropped into a lower section and had the immediate question:
How am I getting back out of here?
Earlier in the game, a fall like that could mean a long route around the environment.
With the Spider Buggy, I can work back toward the web terrain and use it to regain height.
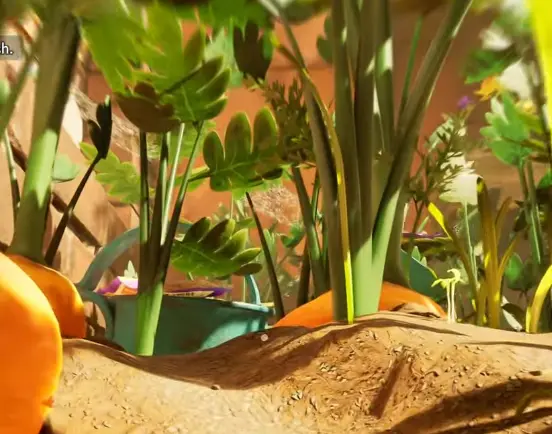
That gives me more confidence exploring vertical sections.
I still do not jump blindly.
The difference is that I now have a repeatable recovery route.
I Use the Same Web Route When I Leave
When the trip has done what I needed, I head back toward the web crossing.
I do not make the exit harder by adding one final unnecessary combat detour.
If I can route around Wasps or another fight while carrying important new materials, I do.
My priority on the way out is:
keep the Buggy alive
→ keep the useful materials
→ reach the known web route
→ leave.
That is another reason I prefer the Spider Buggy solution over a one-off building exploit.
The same traversal tool that gets me into Upper Park also helps me leave and recover from vertical mistakes once I am there.
If the Web Route Still Feels Wrong, I Check the Progression Stage
When Upper Park access still is not working, I check the chain in order.
If Networking is unfinished, I return to the story.
If the Masked Stranger is down but I do not have the Orb Weaver Buggy recipe, I check the Ranger Station and the 5,000 Raw Science requirement.
If I bought the recipe but still have no Spider Buggy, I finish the Orb Weaver Egg + Hatchery step.
If the Spider Buggy is active, I stop searching for another conventional bridge and put the mount onto the web route.
That is the point where Upper Park changes from:
a place I can see
into:
a region I can enter, leave, and use normally.