Graveyard Keeper 2 Walkthrough: Full Story & Ending
Follow Graveyard Keeper 2 from the Inquisitor base through Royal Foundry, all seven portal fragments, the final battle, and both ending choices.
Updated:
Quick Answer
Follow the story through Inquisitor base → village recovery → Dream Dust → first town battle → Port → Forest → cursed swamp → Royal Foundry → seven Portal Fragments → Red Eye and six allies → final battle → Royal Palace → rebuilt Portal.
At the end, the Keeper gets a final Go or Stay choice.
Graveyard Keeper 2 rarely waits for one objective to finish before handing you three more. The graveyard can need work while the village wants supplies, a character is waiting for an item you cannot craft yet, another district is still occupied, and a story clue is pointing somewhere underground.
I got through the campaign much more cleanly once I stopped treating every open quest as equally urgent. The next useful job is usually the one that unlocks a road, character, workstation, battle or story conversation. Production upgrades that merely make an existing routine faster can wait until that routine is actually consuming too much time.
This walkthrough follows that order from the first grave to the final Portal choice.
Part 1 — Inquisitor Base, Village and the Port
Establish the Inquisitor Base and Finish the First Burial
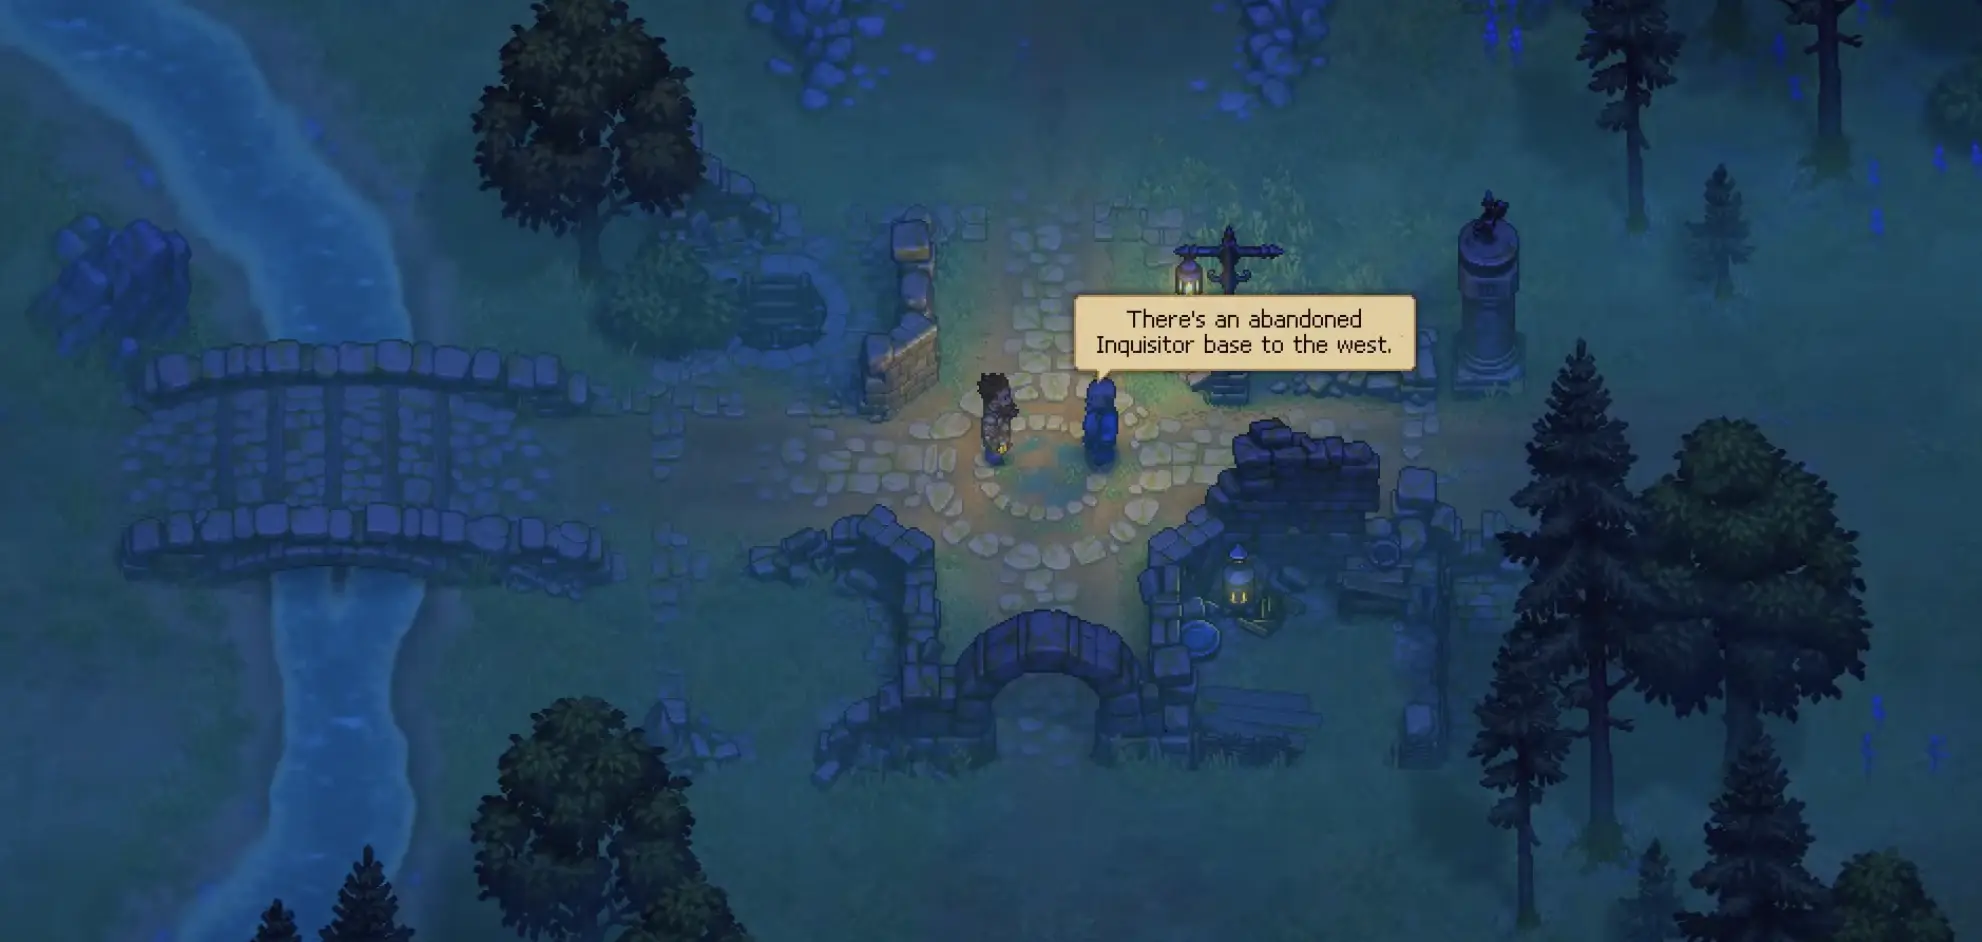
After escaping the ruined Inquisitor District, move with the surviving guards until the retreat reaches the village gate. They send you west to an abandoned Inquisitor base, which becomes your first home as well as the morg, graveyard and early production area.
Get the bed and morg working, process the first corpse and complete the burial. That gives you the Burial Certificate and starts the normal graveyard cycle. The first cemetery target that matters to progression is 10 Graveyard Quality.
Do enough repairs to reach that requirement, but resist the urge to renovate the whole property immediately. Wood, stone, nails and processed parts begin competing with village repairs almost at once, so spending everything on an area that already meets its current requirement only delays the next unlock.
For the first autopsy, grave quality, Energy, Insanity and early farming decisions, use the Beginner Guide.
Shift Your Attention to Food and Firewood
Once the cemetery reaches its early target, village recovery becomes the next larger job. Food and firewood pull you into farming, wood processing, trading and the first serious resource choices.
Buy seeds for crops you are actually going to plant. Early money is too useful for tools, story costs and later mercenary payments to disappear into seed types that will sit unused in a chest.
Fishing also starts branching off during this period. The Merchant’s lost rod leads through the twins, Jeffrey and Pottery before you have a usable Fishing Rod. When that route is the thing holding you up, the Fishing walkthrough covers the rod, bait and fishing mechanics without interrupting the main story with every fishing location.
Missing Recipes Usually Mean Missing Progress
Story requests increasingly ask for items before you can make them.
When a recipe is absent, look at the capability behind it before collecting more raw materials. The blocker may be a technology, a new workstation, the Keeper’s Mastery or a character interaction that has not happened yet.
That becomes especially important once Bronze, Iron, alchemy and more advanced building parts begin overlapping. The Inspirations & Talents guide covers the technology and Mastery side in detail.
For the story, keep the distinction simple: a missing ingredient calls for more resources; a missing recipe calls for another unlock.
Open the Abandoned Tower Before Trying to Make Dream Dust
The fairy sequence eventually asks for teeth and Dream Dust and sends you beneath the Inquisitor property.
There are two separate blockers here. The first is getting into the Abandoned Tower and reaching the Plague Doctor. When the door remains locked or you do not have the Secret Combination, finish the Abandoned Tower route before worrying about the alchemy recipe.
Once the Alchemy Lab is accessible, the task changes to making Dream Dust. You need enough Science to study the relevant ingredients, then combine Blood + Water and take the finished powder back to the Plague Doctor.
The full research and mixing sequence is in How to Make Dream Dust.
The hand-in points you toward the last ingredient required for the fairy.
Comet’s Tail Sends You to Gunter in the Port
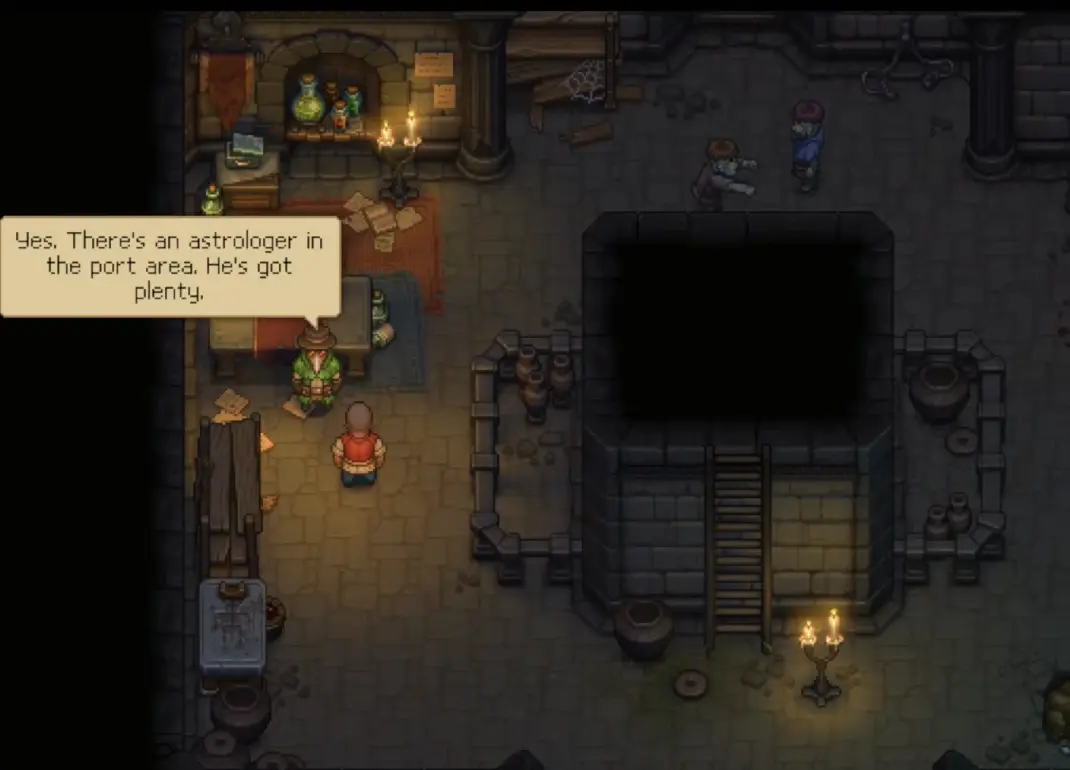
The Plague Doctor identifies Comet’s Tail as the remaining ingredient and points toward the Astrologer in the Port.
You cannot simply walk into the Port and finish the errand. Zombie occupation turns access into a military problem, so the story begins merging the alchemy route with the town offensive.
This is also around the point where your first zombie workers start becoming useful. Put them to work where they save time, but do not stop the campaign to automate every station at once. Mastery, equipment, farming assignments and resurrection are handled in Zombie Automation & Resurrection.
Prepare for the First Major Town Battle
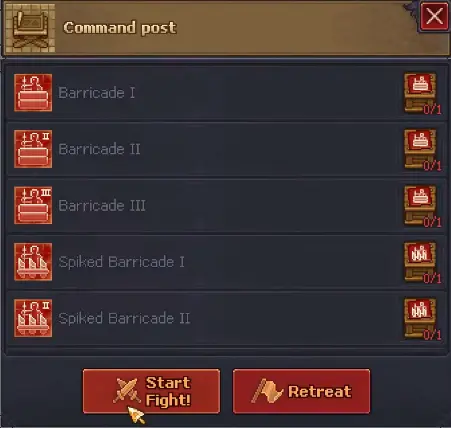
The Nun, Bell and first large town offensive arrive in the same stretch of story. Before starting the attack, finish the Bell, make sure a combat squad is available and meet the defensive requirement shown at the Barracks.
Do not enter the fight with no healing or with your money completely drained. The battle is long enough that a failed attempt wastes both time and the resources already committed to preparation.
For Defense Power, barricades, the Red Banner, capture rules, Defender’s Emblems and later zombie squads, use Battles, Zombie Army & Defenses.
Winning this first offensive secures the Port section of town. It does not clear the entire city, so treat the victory as access to the next district rather than the end of the military campaign.
Meet Gunter Before Spending Everything on the Next Offensive
The military plan continues after the first victory, and the next mercenary payment shown rises from 5 silver to 7 silver 50 copper.
That makes the period immediately after victory a bad time to drain your money on upgrades that can wait.
While the Port is safe, visit the Astrologer’s observatory and meet Gunter. Ask him about Comet’s Tail and finish the ingredient that originally brought you there.
Gunter has several additional threads around his past, reanimation materials and later story events. Deal with them when the story returns to him rather than trying to clear everything during this first visit.
Part 2 — Forest, Swamp and Royal Foundry
Finish the Fairy Sequence and Head for the Forest
Return with the required ingredients and complete the fairy sequence. The conversation expands the problem far beyond a missing ingredient: the world is coming apart, the previous Keeper is involved, and the damaged magic Portal has become central to fixing it.
The next major lead points toward the Nature Goddess in the cursed swamp, which means the Forest becomes the next geographical gate.
Get the Actual Forest Pass
The Forest guard does not accept good intentions or temporary paperwork. Village administration has to progress far enough for you to receive the actual Forest Pass.
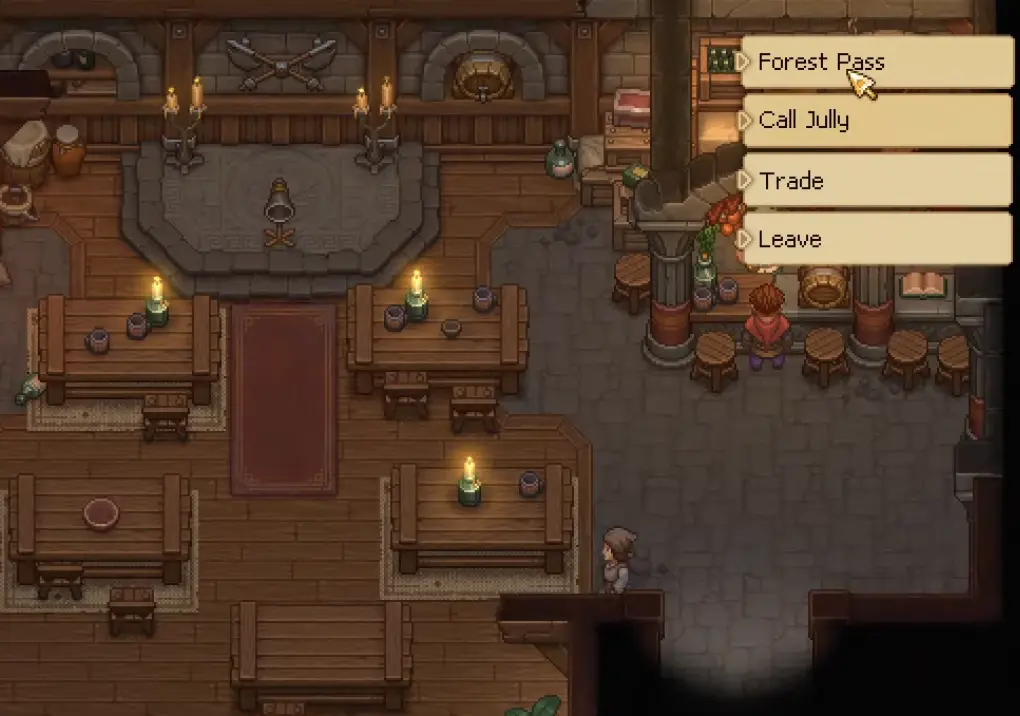
When you have an intermediate document but the gate still will not open, return to the village sequence instead of making another trip with the same paperwork.
The Forest adds more than story progression. It also contains the long-term Iron route, but there is no need to solve the entire mine before continuing toward the swamp unless metal shortages are already slowing everything else down.
When they are, use How to Get Iron and Open the Zombie Mine for Hans, the explosives, Zombie Miner, mine storage and porter setup.
Find Hans Before Crossing Toward the Cursed Swamp
Hans is the important Forest contact before the road into the cursed area. Speaking with him gives context for both the mine and the dangerous routes farther ahead.
Do not treat every blocked section as something a better Pickaxe will solve. Explosives, story conversations and regional access all matter in this part of the game.
Continue through the Forest until the route leads toward the island containing the Nature Goddess’s ruined temple.
Wake the Nature Goddess
The Nature Goddess connects several previously separate mysteries: the damaged Portal, the Old God, the previous Keeper and the instability affecting the world.
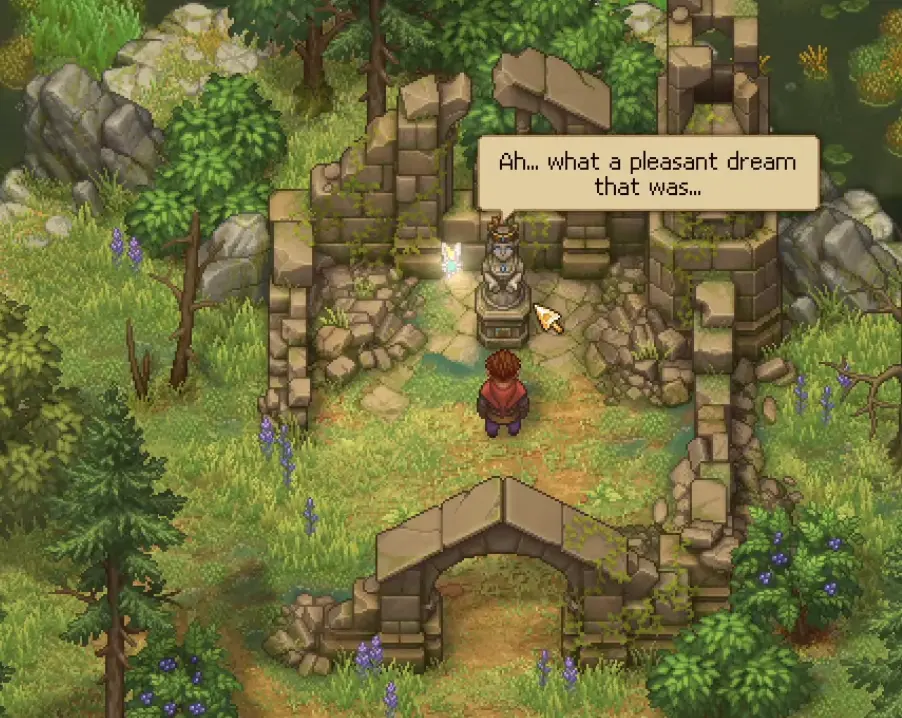
She cannot simply point to the final destination and solve the problem for you. Her own condition and the ritual around her worshipper feed back into village progress, while the Portal lead sends you toward someone associated with the symbols of the days.
That person is Gunter.
Return to Gunter for the Royal Foundry Lead
Gunter knows about a man who was involved with the Portal before it disappeared: a former bishop who became a monk and was last associated with an underground foundry beneath the old bath house.
The destination is Royal Foundry.
A direct approach is blocked by the remaining zombie territory. Gunter instead points you toward a water tunnel near the navigation lock, and Jack knows the old route.
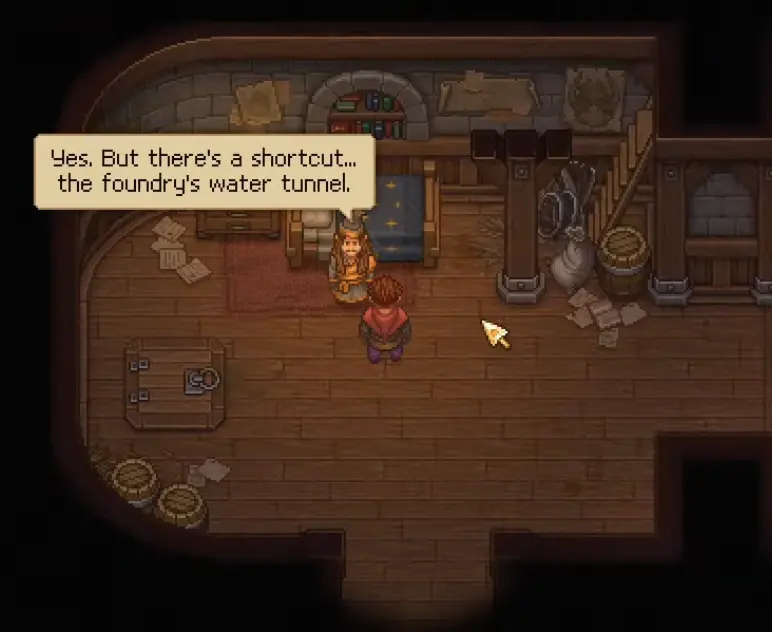
Talk to Jack, open the route and continue into the area beneath the old bath house.
Royal Foundry is also where Steel begins entering late-game production. Once Smithy placement, Factory Power or conveyor logistics become the thing stopping you, use How to Set Up the Factory rather than rebuilding the same production chain by trial and error.
Part 3 — Find All Seven Portal Fragments
The Former Bishop Explains What Happened to the Portal
Inside Royal Foundry, the former Bishop explains why the Portal is no longer where it belonged.
It was removed from the Palace, then split into seven fragments so it could not simply be used again. He also has a Magic Mirror that can reveal the location of the next fragment.
The first piece starts here. From this point onward, the main story becomes a chain of retrieving a fragment, placing it, then asking the Mirror where the next one went.
Fragment 1 — Royal Foundry
The first Portal Fragment is associated with the former Bishop in Royal Foundry.
He does not simply hand everything over without another request. Finish the task he gives you, collect the fragment and use the Mirror again.
By this point Steel, Factory work and the Portal search are all active at once. The Portal takes priority whenever another fragment can be collected immediately; large production projects can continue in the background.
Fragment 2 — Gunter
The Mirror points back to Gunter, who still has the second fragment.
His earlier identity and history with the Portal begin making more sense here. Take the fragment, place it and ask the Mirror about the third.
Fragment 3 — Buy It Back at the Main Pier
Gunter once had two fragments. He kept one and sold the other when he needed money.
The sold fragment left on a merchant ship, so speak with the Trade Master at the main pier and buy it back.
Do not keep searching Gunter’s observatory after he admits selling it. The physical location has changed; the next transaction happens at the pier.
Fragment 4 — Flooded Ship Lock
The Magic Mirror describes the fourth fragment as being deep in mud around a flooded ship lock.
Retrieve it there, return it to the Portal and use the Mirror again. This is one of the more straightforward pieces once you recognize the location being described.
Fragment 5 — Jack
The fifth fragment ended up with Jack.
Getting it is tied to Jack’s personal and project troubles rather than a hidden chest. Help straighten out the situation around his work and relationship with Gunter, then take the fragment once Jack is ready to part with it.
This is a good example of why rushing only the Portal objective can stall late in the game. The fragments are physically separate, but several are attached to characters whose own problems have to move forward first.
Fragment 6 — Your Own Inquisitor Base
The sixth Mirror clue sounds much worse than it really is: a heavily protected Inquisitor base west of town.
It is your base.
The fragment is lying among the debris there, so this retrieval is much faster than the description suggests. Pick it up, return to the Portal and ask for the final location.
Fragment 7 — Royal Palace Throne Room
The final Mirror vision shows the other Keeper, his wife and the last fragment inside the Royal Palace throne room.
The Palace still sits in the infected center of town, so knowing where the fragment is does not mean you can walk straight to it.
Larry directs you toward Davy Dagger, who knows the hidden paths into the Palace.
Part 4 — Red Eye, Final Battle and Ending
Get the Red Eye Before the Palace Route
Late in the fragment sequence, resting at home can trigger a visit from Diggus, who brings the Red Eye.
The Eye can reveal things that are normally hidden, which becomes important for the Palace route and the Old God. When the story tells you to wait for new developments and nothing seems to happen, go home and rest rather than spending days wandering between NPCs.
The Red Eye eventually leads into the hidden route through the sewers and to the Old God.
The Portal Needs Six Specific People
Collecting all seven stones is only one half of activating the Portal.
The Old God explains that the Portal also needs people representing the required passions. The six characters are:
- Linda
- Albert
- Agatha
- Herbert
- Gunter
- Jack
Normally you need to earn 100% trust with them. Keeping the Red Eye lowers that requirement to 90%.
That is one of the biggest late-game blockers because several characters finish their trust through their own personal requests. When the Portal is almost rebuilt but the story refuses to move into the ending, check those six people instead of searching for an eighth fragment.
Their final tasks overlap with town restoration, relationships, production and late-game materials. Finish whichever personal request is preventing a character from reaching the required trust, then ask them to help with the Portal.
Ask Davy Dagger for a Route to the Royal Palace
Davy cannot give you a peaceful route.
His plan sends you through the sewer, then out into the square near the Palace. You have to hold the zombies there long enough to keep the approach open, and the Palace entrance itself is hidden in a wall.
That is the Final Battle.
At this point I stop spending Steel, Faith and high-quality equipment on side upgrades unless they directly improve combat or finish one of the six character requirements. The final attack is exactly where the equipment you have been saving matters.
Prepare for the Final Battle
Davy’s route through the sewer ends at the largest military obstacle before the Palace.
Bring your strongest available squads, finish the Command Post preparation and stock enough healing before starting. This is not a fight I would trigger while important combat equipment is still unfinished.
The detailed squad, defense and battlefield rules are covered in Battles, Zombie Army & Defenses.
For the story, your goal is to survive the assault and keep the route toward the Palace open. Once the fight is complete, continue to the wall marked by Davy’s route.
Find the Hidden Palace Door After the Battle
Winning does not drop you directly in the throne room.
After the fighting ends, follow Davy’s map toward the wall where the hidden entrance should be. Larry asks where the door actually is because there is no obvious doorway at the marked spot.
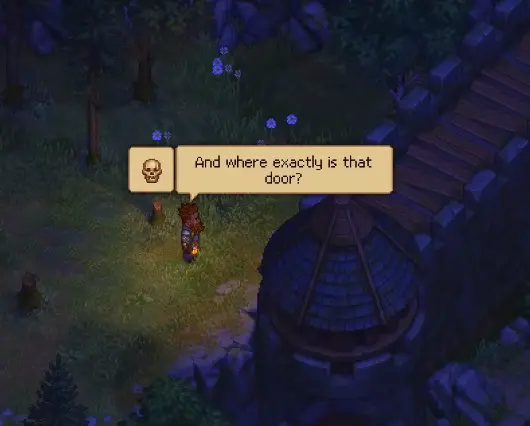
This is where the Red Eye matters. Use the hidden-route clue to get through and continue into the Palace.
Inside, you finally meet the other Keeper and his wife and learn what happened after the first game’s Portal activation.
Take the Last Fragment From the Other Keeper
The previous Keeper explains that his original attempt to return home went wrong. Repeated use of the Portal corrupted him, his wishes escalated, and his friends eventually destroyed the Portal to stop the damage.
The zombie army was later raised in an attempt to recover the fragments and rebuild it.
The Palace sequence supplies the missing final fragment. With all seven pieces accounted for, leave the Palace and return to the Portal site.
Rebuild the Portal and Bring Everyone Together
Place the complete set of fragments.
The Portal still waits for the required characters, so make sure the six people you recruited have reached the trust threshold and agreed to participate.
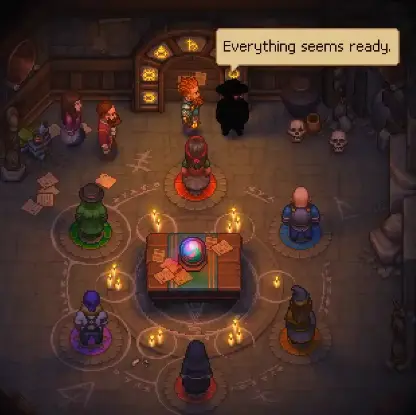
When everyone is in position, the game confirms that everything is ready and the Portal begins working. The characters then start making their wishes.
This is the point of no confusion: you are in the ending sequence.
Choose Go or Stay
After the other wishes are resolved, the final decision belongs to Keeper 2.
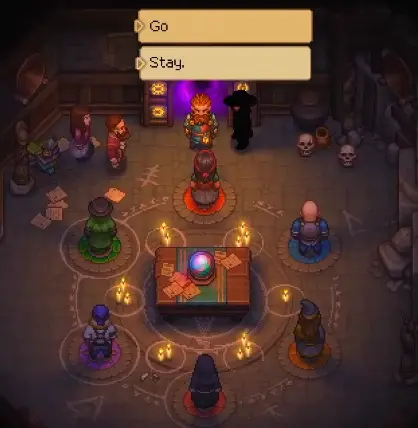
You get two choices:
Go — return to the real world and become one person again. Taking this route continues directly into the credits.
Stay — let the others leave while Keeper 2 remains in this world with the friends he made. The Keeper chooses to continue his own story rather than use the final wish to leave.
Neither choice changes the long route needed to reach the Portal. The seven fragments, six character requirements, Final Battle and Palace sequence are the same until this last decision.
Save before making the choice when you want to see both conclusions without repeating the entire late-game setup.
Once the choice is made, the main story is complete.