How to Get the Fishing Rod and Fish in Graveyard Keeper 2
Recover the Fishing Rod, find valid fishing spots, choose the right bait, manage line tension, and continue the later Fisherman quests.
Updated:
Quick Answer
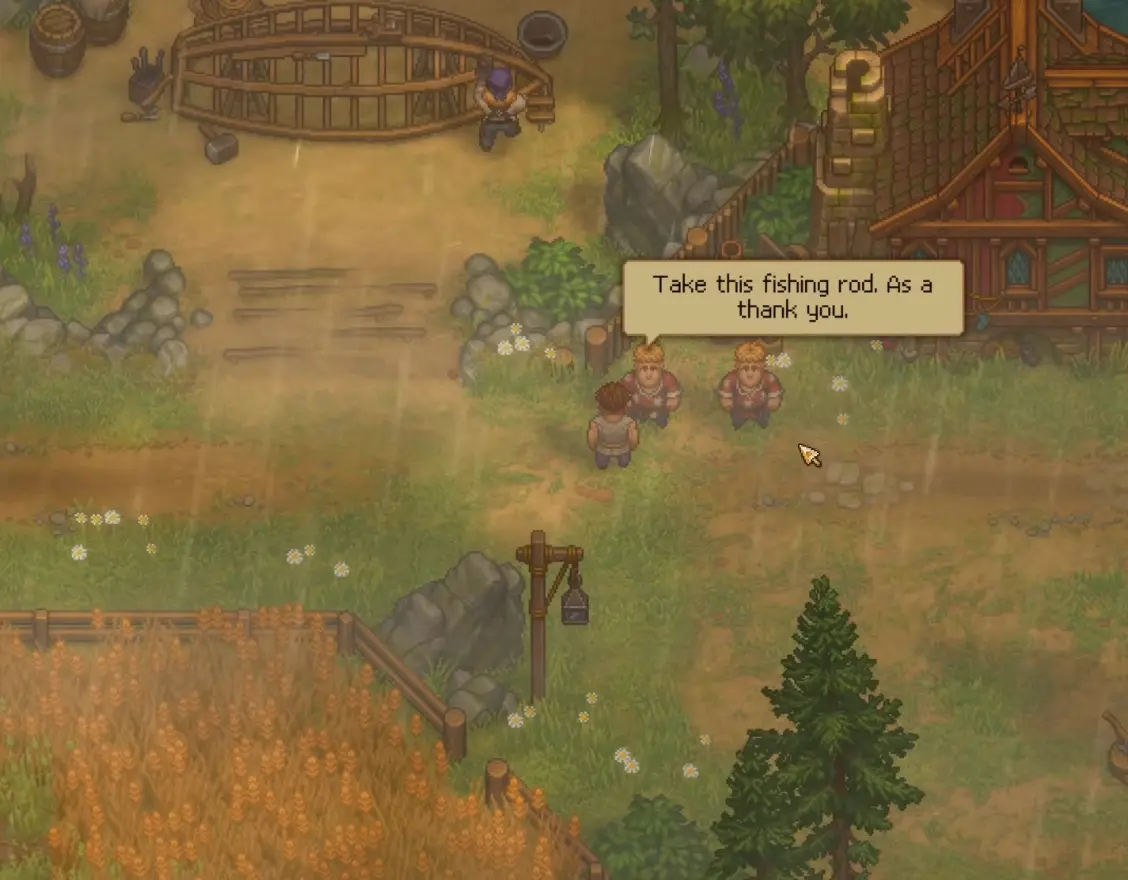
Talk to the Merchant, visit the twins across the river, then follow their lead to Jeffrey. Make the Pottery he needs, return to the twins and take the Fishing Rod.
At a marked fishing spot, hook the fish when the bite prompt appears, reel while the line is safe, and release when the line approaches danger.
Fishing appears on the map before the game is ready to let you make much use of it. Water is everywhere, but the opening route still requires a Fishing Rod, a designated fishing spot and enough control over the reeling minigame to land the fish without snapping the line.
Those requirements fail in different ways. No rod means the NPC chain is not finished. No interaction at the water usually means the location is wrong. A fish that accepts the cast but breaks the line needs a different reeling rhythm. A direct bait warning means the bait itself has become the restriction.
Knowing which stage failed is much faster than changing everything at once.
Start the Fishing Rod Quest With the Merchant
Fishing becomes relevant while the village is recovering its food supply.
The Merchant wants fish, but his Fishing Rod is no longer available because the twins borrowed it.
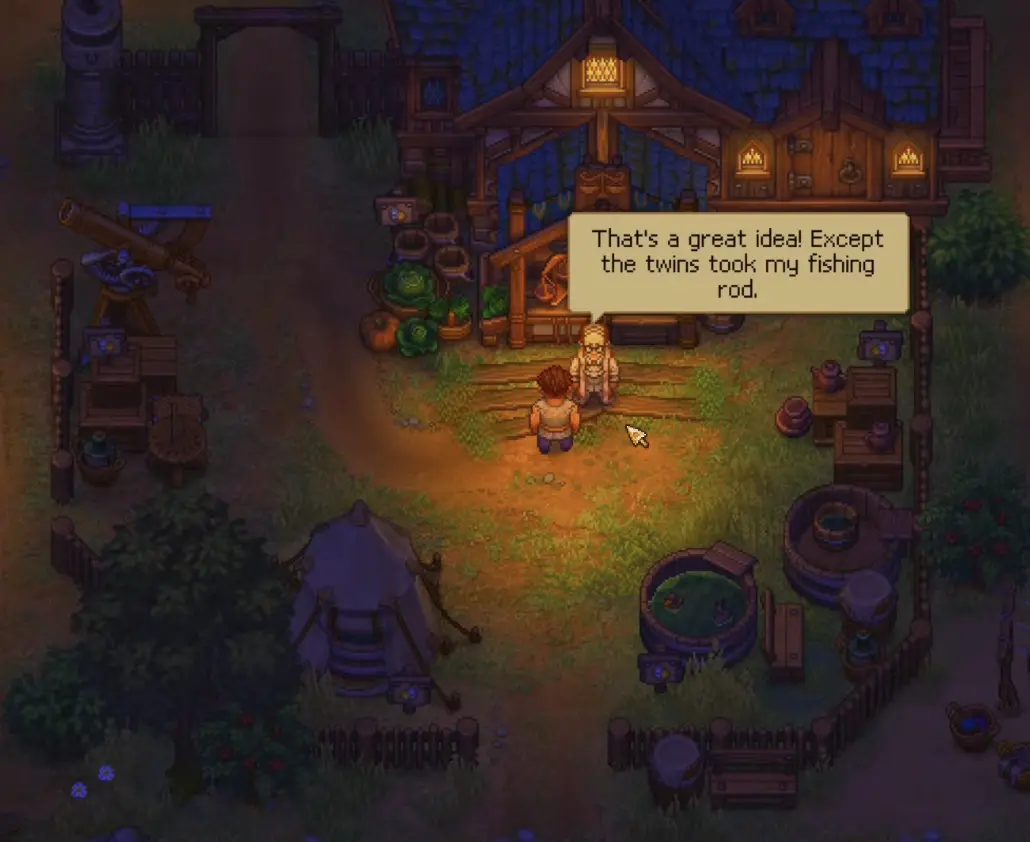
Once that conversation appears, cross the river and find the twins. Waiting for the Merchant to restock the rod will not move the quest forward.
If this request has not appeared yet, continue the village recovery steps in the Beginner Guide until the food route reaches this point.
The Twins Send You to Jeffrey Before Giving Back the Rod
The twins do not return the Fishing Rod as soon as you find them.
Their boat sank, and the consequences of that accident send you to Jeffrey nearby.
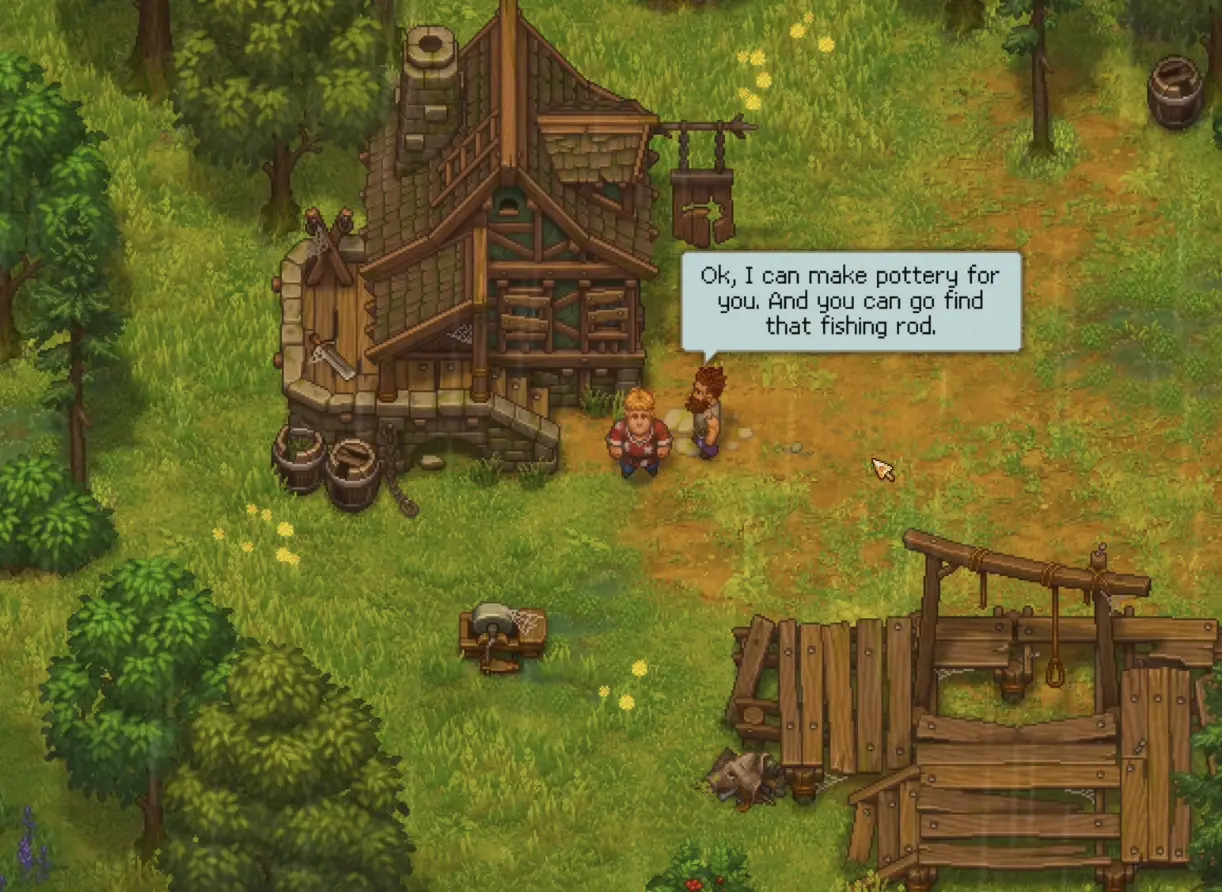
Jeffrey’s request is the real gate: replace the Pottery that was lost.
At that moment there is no benefit in searching the riverbank for the rod. The NPC portion is already complete until the Pottery exists.
Make Pottery Before Returning to the Twins
The Pottery request can arrive before its production chain is ready.
If the recipe is missing, leave the twins alone and solve the crafting requirement at the base. More conversations will not replace a technology or workstation that has not been unlocked.
The broader relationship between Inspirations, Mastery, technology and workstations is covered in Inspirations & Talents.
For the Fishing Rod sequence, the order is simply:
Jeffrey asks for Pottery → unlock and make Pottery → return across the river
Once the item is ready, the quest stops being a crafting problem.
Give the Pottery to the Twins and Take the Fishing Rod
Hand the Pottery over to the twins.
They return the favor by giving you the Fishing Rod. There is no additional purchase after this exchange.
Equip the rod before heading to the water.
Even with it equipped, however, most random shoreline cannot be used.
Fish at Designated Spots Rather Than Any Water
Graveyard Keeper 2 uses specific fishing locations.
Standing beside a river or pond with the Fishing Rod equipped does not guarantee a fishing interaction. Use the map and move to a marked fishing spot.
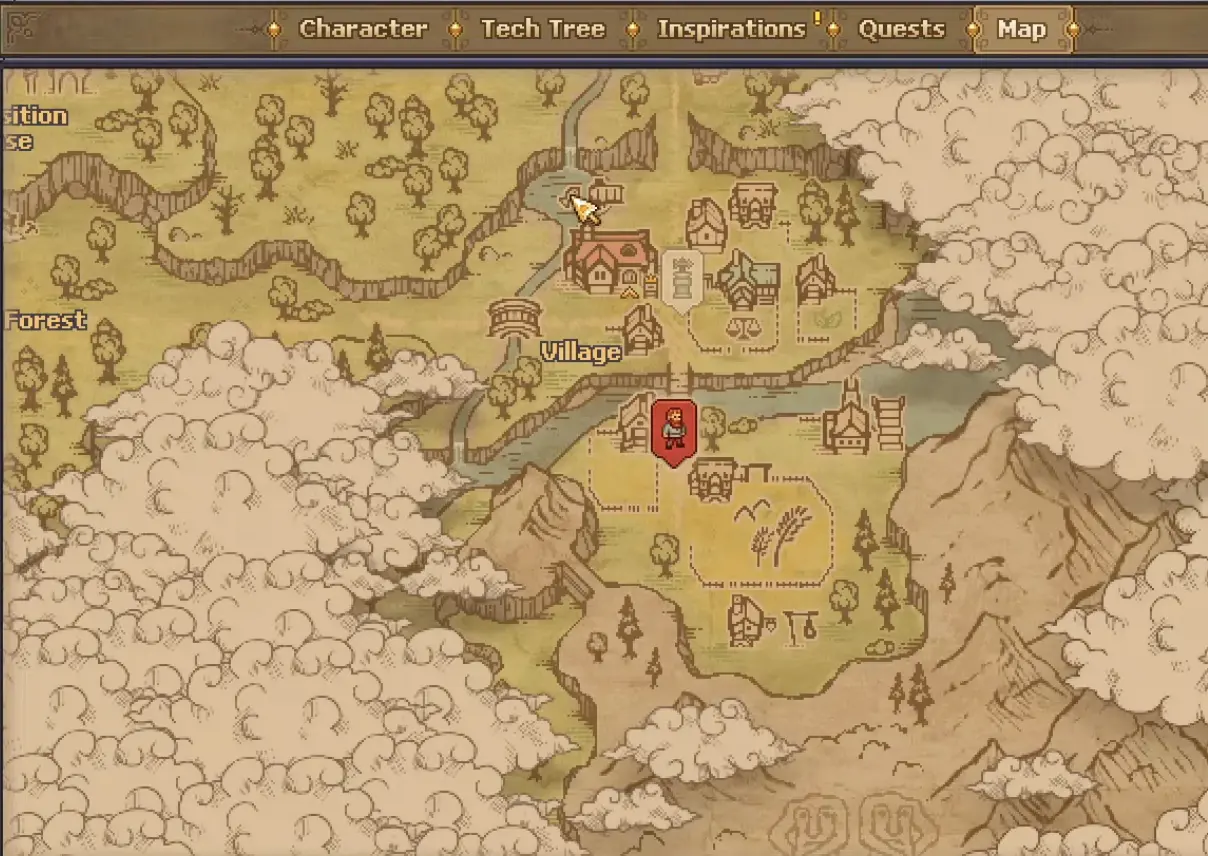
This gives you the quickest diagnosis for one of the most common failures:
Rod equipped + no fishing prompt = check the location first.
Changing bait or spending Mastery will not make an ordinary stretch of shoreline into a fishing spot.
Hook the Fish When the Bite Prompt Appears
Once the cast is active, wait for the bite.
On keyboard, the tutorial uses E. Controller play uses A for the same interaction.
The sequence is:
- wait for the fish;
- react when the bite prompt appears;
- press the interaction input to hook it;
- hold the same input to reel;
- release when line pressure becomes dangerous.
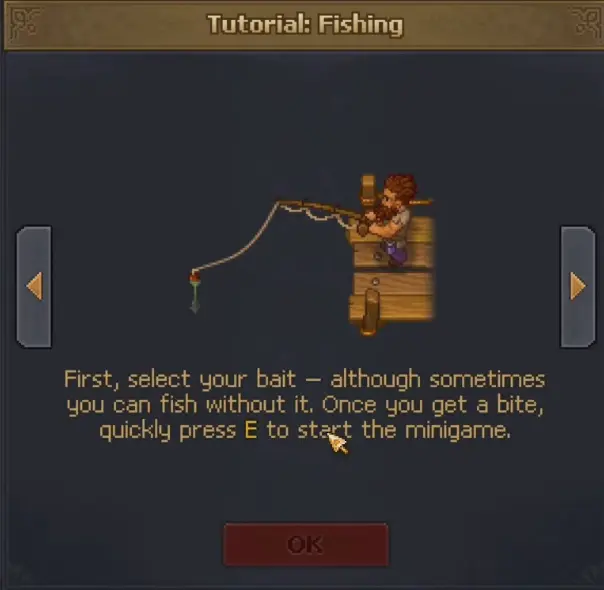
The release step is what usually separates a successful catch from a broken line.
Red Line Tension Means Stop Reeling
Holding the reel continuously works until the fish begins fighting hard.
As tension rises, the line changes color. When it approaches red, the line is close to breaking.
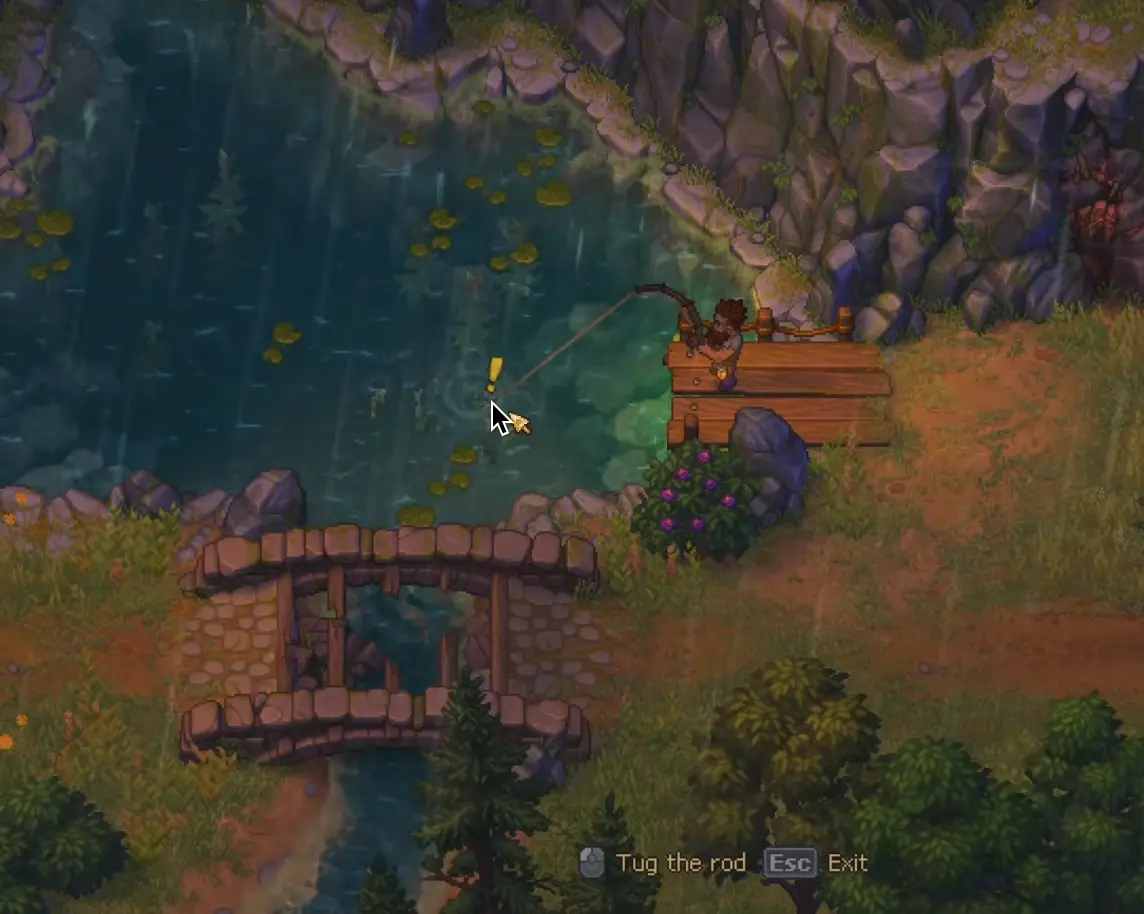
Do not wait for one long calm period. Harder fish may only provide short windows.
Make progress in bursts:
reel → resistance rises → release → tension falls → reel again
That rhythm is safer than trying to overpower the fish in one continuous pull.
No Bait Works for Some Fish
The bait selector includes a no bait option, and some early catches can be made without using anything.
That makes the first fishing spot a good place to learn the controls before spending resources on specialized bait.
The limitation becomes obvious when the game tells you:
“I don’t have the right bait for this kind of fish.”
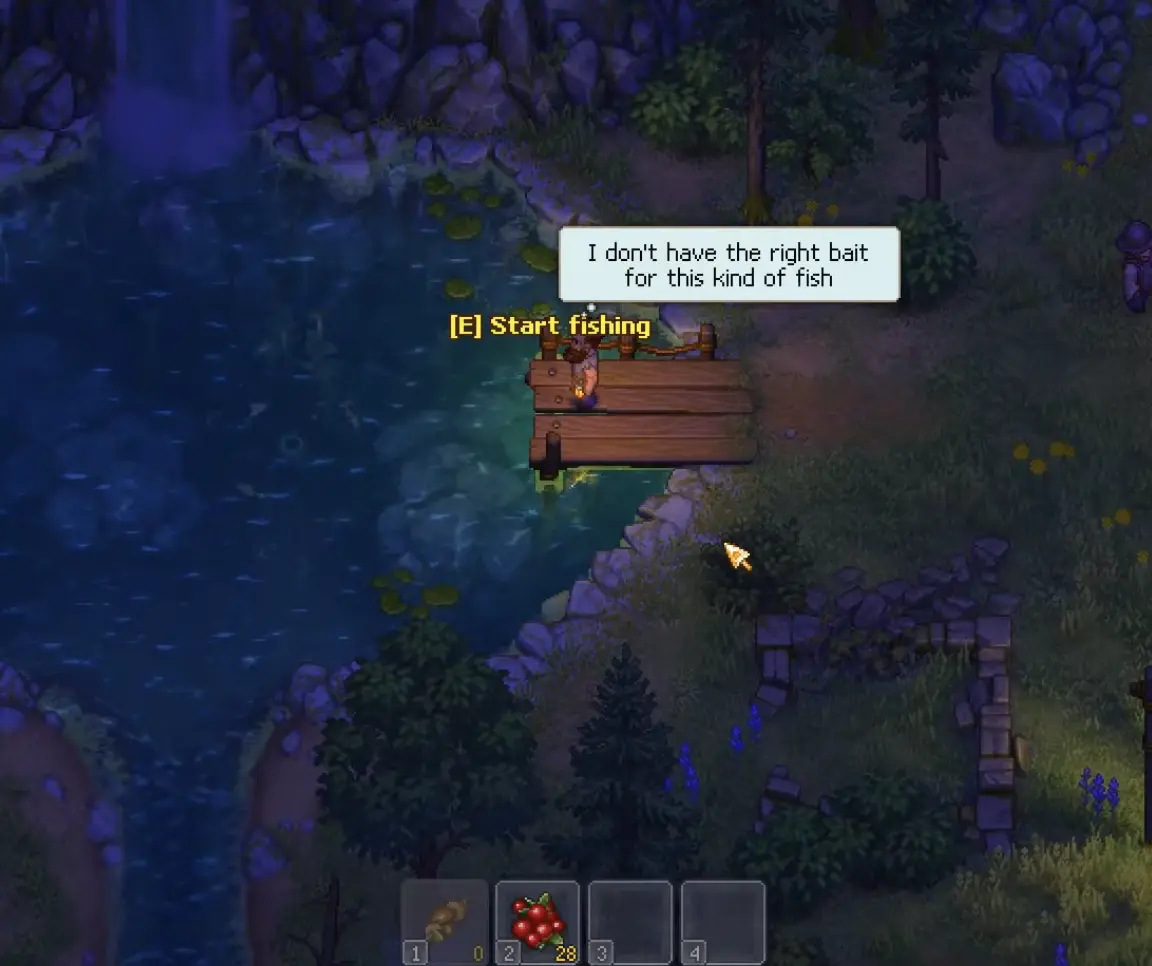
Once this message appears, repeating the same cast will not improve the result.
The Fish Available Can Change
Do not assume that one successful bait setup will handle everything that appears at the same fishing spot.
Different fish can become available at different points in the cycle, so a location that produced an easy catch earlier can later present something that rejects the bait you were using.
That is also why a wrong-bait message can suddenly appear at a spot that seemed fine before.
Keep several useful bait options once Fishing becomes a regular activity, but there is no need to manufacture every possible bait before a quest or catch actually calls for it.
Keep the Gudgeon and Roach for the Early Merchant Request
The first fish are tempting food while Energy is still tight, but check the active request before eating or selling them.
One early Merchant hand-in calls for a Gudgeon and a Roach.
Once both are caught, return them to the Merchant. This advances the village fishing sequence and gives you access to fish-related cooking rewards.
Until that hand-in is complete, the requested catches are more useful as quest items than as emergency food.
Afterward, Fishing becomes much easier to use for meals, trade or later fishing quests.
Fishing Mastery Matters After Rod, Spot and Bait Are Correct
Mastery should not be the first fix for every failed catch.
Suppose the rod is equipped, the location is valid and the fish accepts the bait. If the minigame itself still defeats you repeatedly, improving the relevant fishing capability becomes much more reasonable.
That is especially true once harder catches leave only short reeling windows.
Do not spend the point merely because Fishing has unlocked. Mastery has more value when it removes an actual difficulty wall rather than raising a number that is not stopping anything.
The choice between Mastery and other Inspiration rewards is explained in Inspirations & Talents.
Later, the Fisherman Starts a River-to-Sea Challenge
Fishing continues after the opening Merchant request.
A later Fisherman challenge begins with a river fish. Hand over the requested catch and he dismisses calm-water fishing as the easy version of the job.
His next challenge is a sea fish.
Do not try to fish from his own position. He specifically sends you toward the pier.
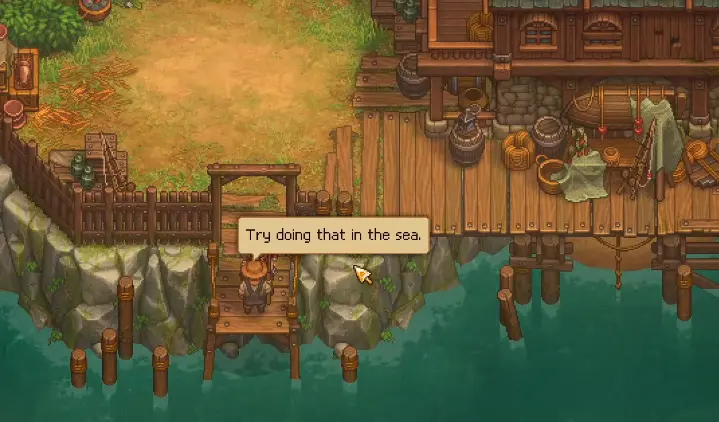
This part becomes relevant after access to the Port has opened. If that area is still blocked by the town fighting, continue the Walkthrough until the Port is available.
Bring Back the Sea Fish for the Fisherman’s Recipe
Catch a sea fish at the pier and return to the Fisherman.
He accepts the catch and gives you the promised old fisherman’s recipe.
The quest does not end there.
Once the sea-fish test is complete, he raises the difficulty again and asks you to catch a mysterious fish.
A Goldfish can satisfy this later challenge, so do not casually consume or discard one if you catch it before reaching this stage.
The important distinction is that this is no longer the opening Fishing Rod quest. By now the rod, fishing spots and basic controls are already solved; the challenge is catching the specific fish the Fisherman wants.
The Twins Later Ask for a Stronger Fishing Line
The twins also return to the fishing progression later.
Their next problem is a huge catfish they almost caught. The failure was not bait or basic reeling technique: their fishing line was not strong enough.
The arrangement they offer is useful for both sides:
help them get a stronger fishing line → they teach you how to make new bait
That makes this conversation worth returning to once the required production materials are available.
There is no reason to interrupt an earlier story objective just because the twins have another fishing request. The reward matters more once the easy no-bait and early-bait catches stop covering the fish you want.
Diagnose Fishing From the Point Where It Stops
By the time the later fishing quests appear, almost every failure points to one specific part of the system.
Before the Fishing Rod is obtained, continue:
Merchant → twins → Jeffrey → Pottery → twins
With the rod equipped but no interaction, move to a designated spot.
When a fish bites but the line keeps breaking, stop pulling as the line moves toward red.
When the game rejects the bait directly, switch bait.
When those pieces all work but a harder fish still beats the minigame, consider Fishing Mastery.
And when the Fisherman or twins ask for something new, follow the exact catch or equipment request rather than rebuilding the basic setup that is already working.
Fishing becomes much more predictable once each failure is treated as a clue instead of another reason to start the whole sequence over.