Start correctly, follow the full story to the ending, and solve common blockers involving Mastery, Faith, Fishing, battles, zombies, Iron and the Factory.
Learn how Inspirations and talents progress, what actions count, why progress can stop, when Faith is required, and how Mastery and the Tech Tree differ.
Start with the first burial and get the village’s food and firewood moving.
After that, let the next blocked story step decide what deserves your time.
For the full route from the Inquisitor base through Royal Foundry, the Portal
fragments, final battle and ending, follow the
Walkthrough.
Graveyard Keeper 2 keeps several kinds of work active at once. A corpse may be
waiting while the village wants supplies, a character asks for an item you
cannot craft yet, a road is still closed, and a workstation offers another
upgrade that would happily consume the materials you were saving for something
else.
Trying to finish all of those jobs as soon as they appear is expensive. I get
better results by asking what the next task actually changes. Opening a region,
meeting a required character or unlocking a missing production step usually
matters more than making an already functional system slightly faster.
Start With the Story Route
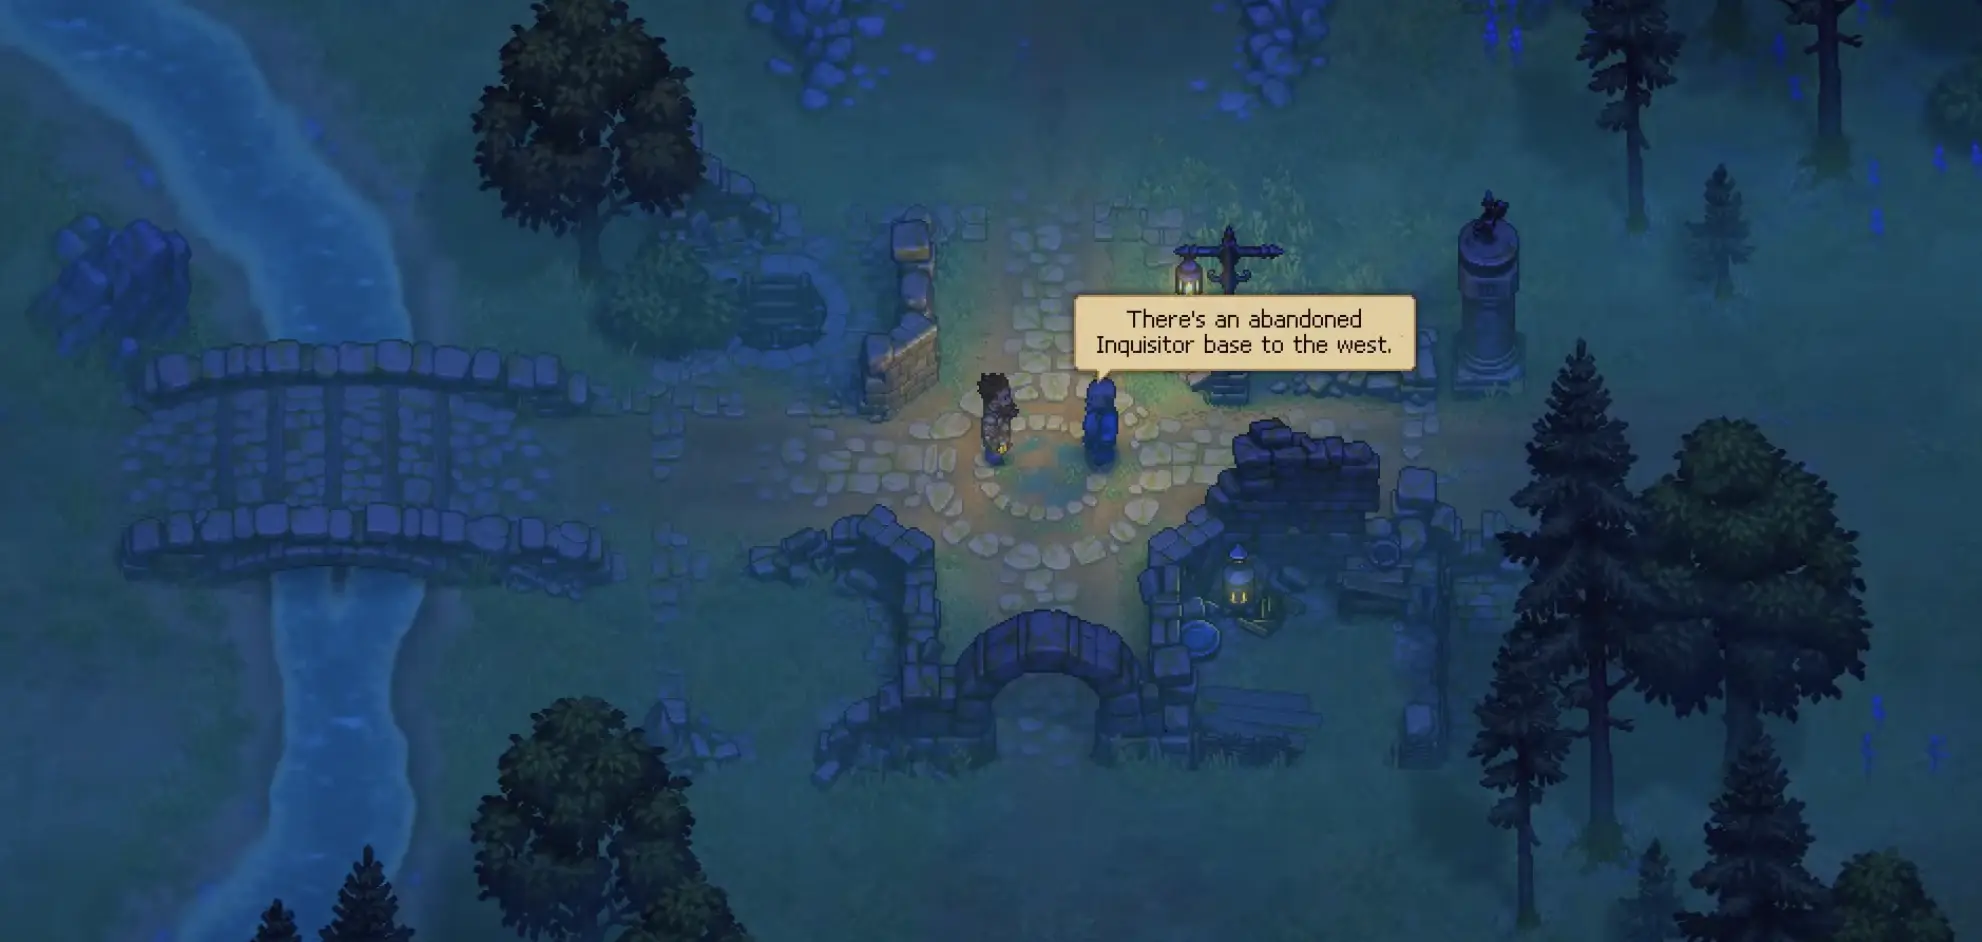
The abandoned Inquisitor base west of the village gate becomes your first
home, morg, graveyard and production area. Process the first corpse, complete
the burial and bring the cemetery to the early requirement before shifting your
attention toward village food and firewood.
The Inquisitor base keeps the morg, graveyard, home and early production area together during the opening hours.
The opening sequence is enough to establish the systems you need without
spending all of your wood and stone on the property immediately. The
Beginner Guide
covers the first autopsy, burial, 10 Graveyard Quality, farming, Energy,
Insanity and the early resource decisions.
After the village begins recovering, the main journey broadens considerably:
Inquisitor base → village → Port → Forest → cursed swamp → Royal Foundry →
Portal fragments → final battle → ending
The
Walkthrough
follows that route all the way through the final Go or Stay choice.
Check the Requirement Before Gathering More Materials
An unavailable action does not always mean you need more resources.
A visible Mastery requirement points toward the Keeper’s capability. A missing
recipe can mean another technology or workstation is still required. A
technology that never appeared may depend on character progress, while an
Inspiration that is already unlocked can start demanding Faith before it can be
claimed.
When the blocker sits in that layer, use
Inspirations & Talents
before spending another day farming raw materials.
This distinction becomes increasingly valuable later because Iron, Faith,
technology points, money and advanced construction parts all start competing
for attention. Fixing the wrong problem first can consume resources without
moving the quest at all.
Separate the Abandoned Tower From the Dream Dust Recipe
The fairy quest eventually sends you beneath the Inquisitor property, where two
different problems can look like one long alchemy objective.
When the Abandoned Tower is still locked, the missing step involves the
Secret Combination, Plague Doctor and access to the underground laboratory.
Follow
How to Enter the Abandoned Tower
for that route.
Once the Alchemy Lab itself is available, the problem has changed. Dream Dust
then depends on Science, studied ingredients and the actual mixture, which is
covered in
How to Make Dream Dust.
Keeping those two stages separate makes it much easier to tell whether you need
another conversation or an alchemy step.
Build a Faith Supply When Several Systems Start Competing for It
Faith becomes important gradually rather than through one single quest. Higher
Inspirations can consume it, resurrection needs it, and other progression costs
eventually draw from the same supply.
Once Faith begins delaying things you actually want to do, improve the Church
and establish a repeatable sermon cycle. The details around Church Power,
Prayers and repeatable Faith are in
Faith, Sermons & Prayers.
Before that point, there is little reason to push every Church improvement just
because the next construction option exists. Early stone, metal parts and money
still have more immediate uses elsewhere.
Start Fishing When the Merchant Makes It Relevant
Fishing spots appear before Fishing deserves much of your attention.
The system becomes useful when the Merchant’s missing Fishing Rod enters the
village progression. That sequence leads through the rod itself, bait, fishing
locations and the tension controls used during a catch.
When Fishing becomes the active task, use the
Fishing Guide
instead of spending early time testing water spots before the equipment and
route are ready.
Prepare for the Town Battle Before Entering the Port
Finishing Dream Dust points the fairy route toward Comet’s Tail and the
Astrologer, but the Port is still behind zombie-controlled territory.
That turns the next story gate into a battle rather than another gathering
task. Prepare the Bell, meet the current squad and defensive requirements, and
finish the fight before trying to treat the Port as a normal destination.
When the battle itself is the blocker, use
Battles, Zombie Army & Defenses
for preparation, squad control, defenses, zombie soldiers and later
multi-squad fights.
Go to Gunter Once the Port Is Safe
The first major victory opens the Port section and finally makes the Astrologer
route practical.
There is no need to finish every task Gunter offers during the first visit.
Handle the request blocking your current progression and return when the story
sends you back.
Use Zombies When Repetition Starts Taking Over the Day
Zombie workers are most valuable after a task has become predictable and
repetitive. They can craft, move supplies and farm, but each worker still has
its own Mastery, equipment and job requirements.
When a zombie refuses to work, the fix belongs in
Zombie Automation & Resurrection.
That covers worker capability, tools, farming, supply behavior, corpse quality
and creating additional workers.
I prefer automating jobs that I already understand rather than handing a newly
unlocked activity to a zombie immediately. That makes it much easier to tell
whether a stoppage comes from the worker or from the production process itself.
Later, zombies can also become combat troops. Once squad slots, armor and
battle equipment become the question, switch to
Battles, Zombie Army & Defenses
rather than treating a combat zombie like another workstation worker.
Open the Forest Mine When Iron Stops Being a Temporary Shortage
Early Iron deposits are enough for the first metal jobs, but eventually tools,
repairs and new production all start demanding the same resource.
That is the point where the Forest mine becomes more valuable than another trip
around the map looking for surface nodes. The
Iron and Zombie Mine guide
covers Furnace II, Hans, the explosives, Zombie Mining, mine-side storage and
porter transport.
Once Iron and Coal are arriving reliably, the question is no longer where to
find metal. It becomes how much of the processing you still want to perform
yourself.
Move Production Into the Factory When the Smithy Becomes the Blocker
A common late-game confusion appears after unlocking Smithy I and then
failing to find it in the Yard.
The production Smithy belongs in the underground Factory, where it becomes
part of a larger chain involving Factory Power, conveyors, an Assembly Bench and
Town Warehouse deliveries.
Use
How to Set Up the Factory
when manual Iron and Coal processing, Smithy placement or the conveyor chain is
what keeps pulling you away from other work.
There is no need to build a large automated floor the moment Factory technology
appears. The investment starts paying off when repeated Town supplies and metal
processing have become a real time cost.
Let New Regions Change What Deserves Priority
The opening base stays useful for the entire game, but the most important work
moves outward as new regions open.
The Port introduces Gunter and the wider town conflict. The Forest leads to Hans,
the mine and the route into the cursed swamp. The Nature Goddess redirects the
story toward the Old God and damaged Portal, while Royal Foundry begins the
seven-fragment search that eventually leads to the Royal Palace and final
battle.
Older systems can continue working in the background while that happens. A
functional graveyard does not need another decoration every time the story opens
a new region, and a working farm does not need another upgrade before every
journey.
When the next area is open and your current supplies can support the trip, move
forward. Come back when a concrete requirement gives you a reason.
Keep Enough Money and Materials for the Next Gate
Money and construction materials become shared bottlenecks just like Faith and
Iron.
Seeds, mercenaries, workstation upgrades, town repairs and traded materials can
all compete for the same purse. Buying every option as soon as it appears leaves
very little room for an unexpected battle payment or required construction
piece.
I keep a reserve and spend around active restrictions. A seed needed for the
current crop matters more than one bought for later. A mercenary payment that
opens another district matters more than a convenience upgrade. Materials
already reserved for a required workstation are usually worth more than the
coins gained by selling them.
That approach keeps the story moving without abandoning the graveyard, farming,
Church, mining or automation systems that continue supporting the rest of the
game.