Graveyard Keeper 2 Beginner Guide: What to Do First
Escape the ruined district, claim the Inquisitor base, finish your first burial, reach 10 Graveyard Quality, and stabilize early production.
Updated:
Quick Answer
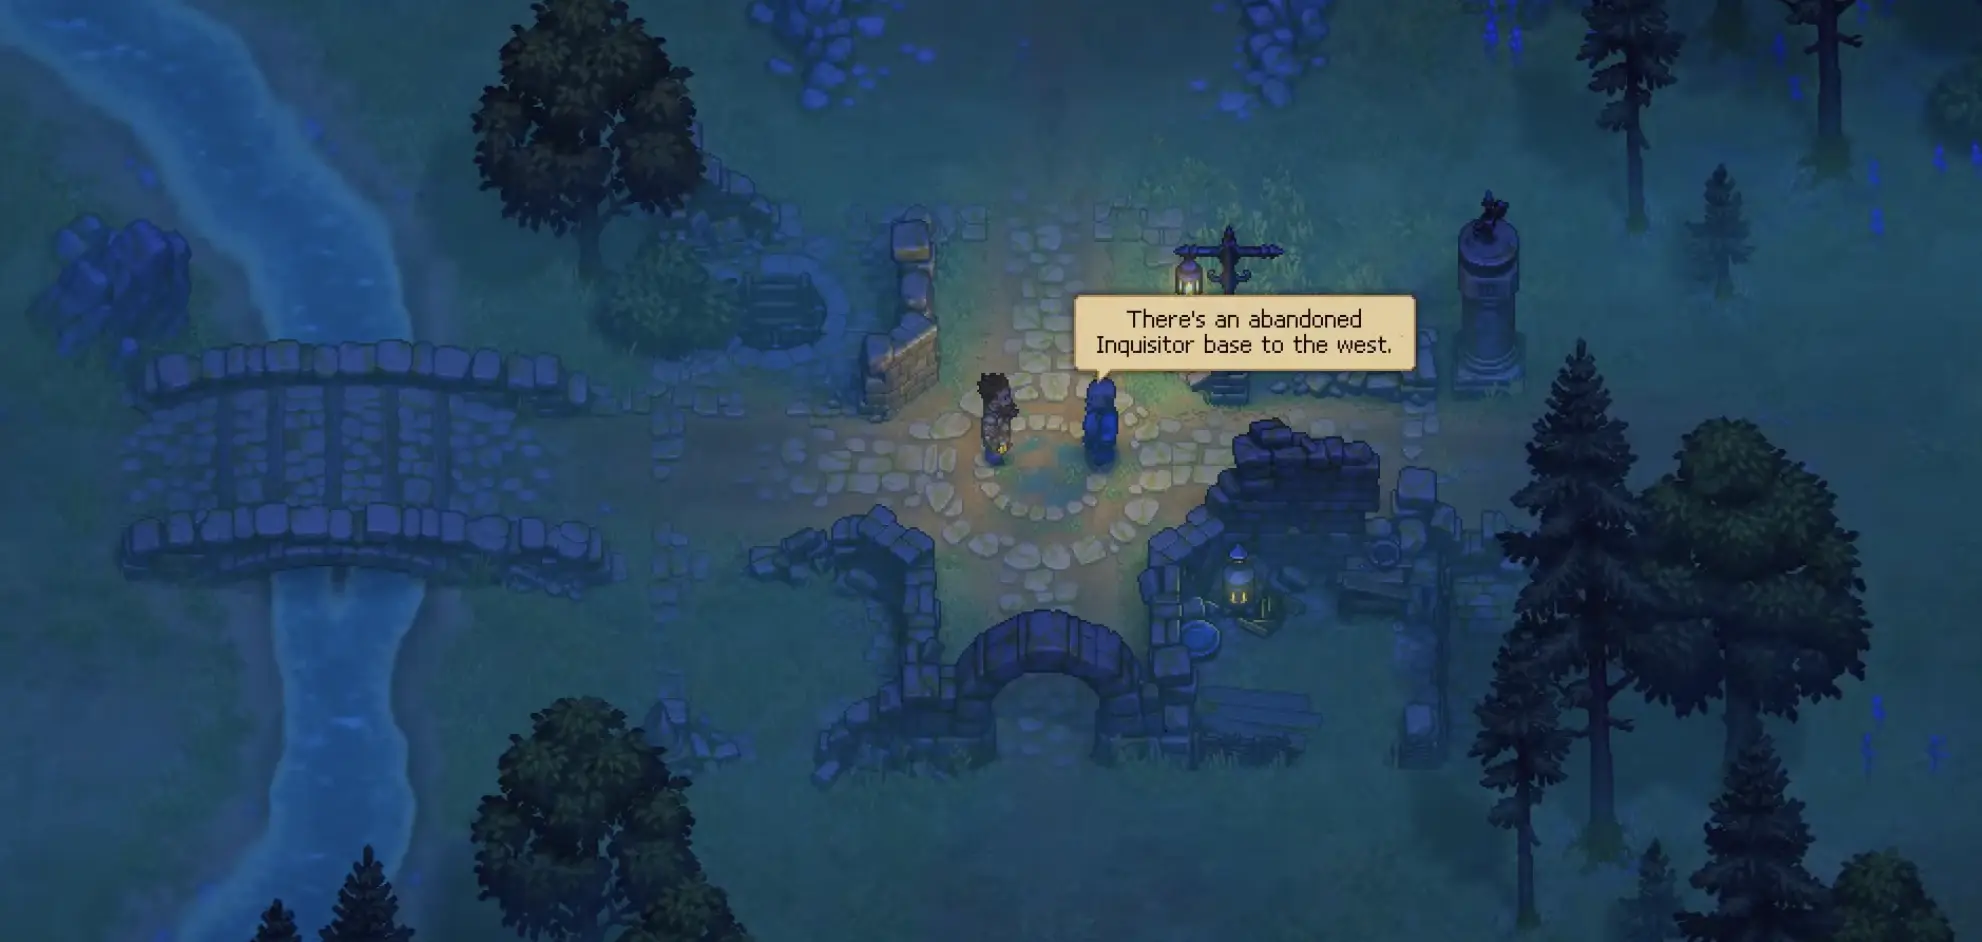
Take the free sword and armor, follow the survivors out of the ruined district, then go west to the abandoned Inquisitor base.
Prepare the morg, process the first corpse, finish the grave and return the Burial Certificate. Raise the cemetery to 10 Graveyard Quality, then shift your attention to the village’s food and firewood shortage instead of trying to rebuild everything at once.
Graveyard Keeper 2 gives you combat, corpse preparation, farming, trading, crafting, graveyard improvement and several progression systems before the opening area has even settled down. Trying to develop all of them evenly is an easy way to spend the first hours walking between half-finished jobs.
The opening has a much cleaner rhythm when each investment solves the problem directly in front of you. Get out of the ruined district, establish the Inquisitor base, finish the first burial, raise the graveyard to 10 Quality and then use the village shortages to decide what deserves your wood, money and Energy next.
Leave the Ruined District With the Free Gear
The opening streets contain resources and debris worth noticing, but there is no reason to strip the whole district before moving on. The useful destination is the surviving group near the town defenses.
A workshop along the route provides a sword and armor before the first serious zombie fight.
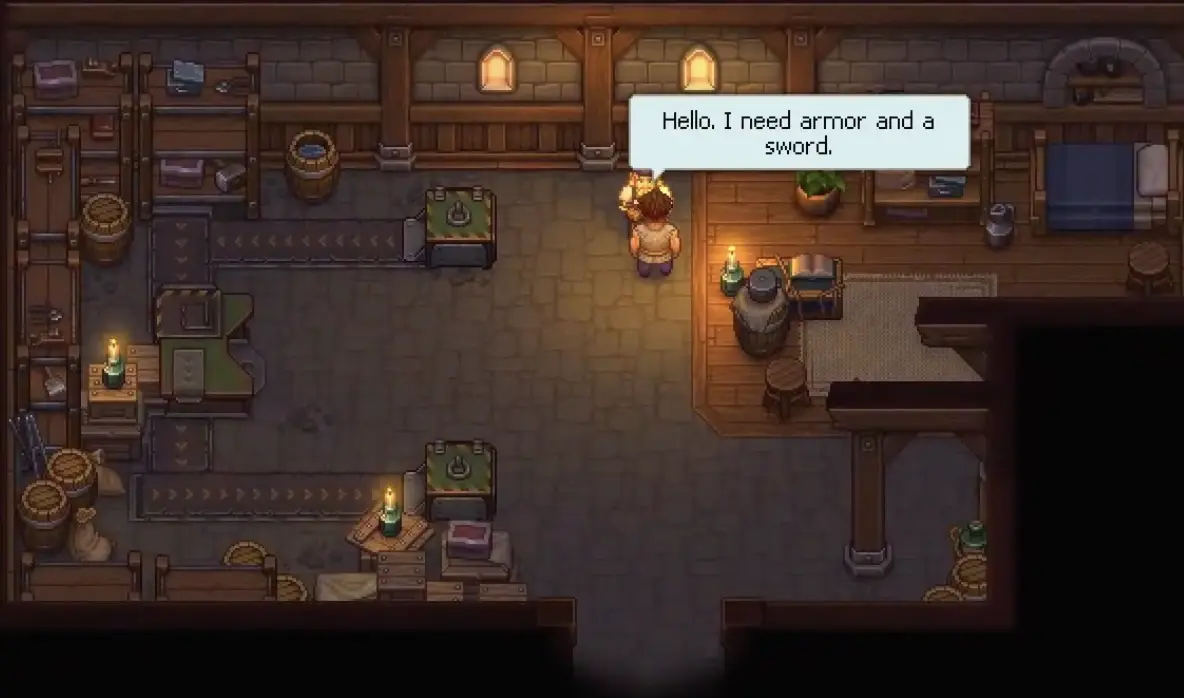
Stay close enough to the surviving fighters that you are not pulling enemies away from the group. The purpose of this sequence is reaching the gate, not clearing every zombie left behind.
Once the survivors retreat, the guards need their dead buried and send you west toward a property that becomes the center of the early game.
Set Up Only What the First Burial Needs
The abandoned Inquisitor base west of the gate gives you a bed, morg, graveyard and enough production space to begin working.
The temptation is to clear the entire property immediately. Early materials are too useful elsewhere for that to be a good default.
Make the bed usable, clear enough space to move between the important stations and prepare the morg for the body arriving the following morning. Empty corners and cosmetic debris can wait until they interfere with something you actually need to build.
The first Donkey delivery is the next meaningful step.
Learn the Skull Display on the First Autopsy
Put the corpse on the autopsy table before carrying it into the graveyard.
The opening introduces the body-quality rule you need immediately: White Skulls are useful for a burial, while Red Skulls work against the quality of a normal grave.
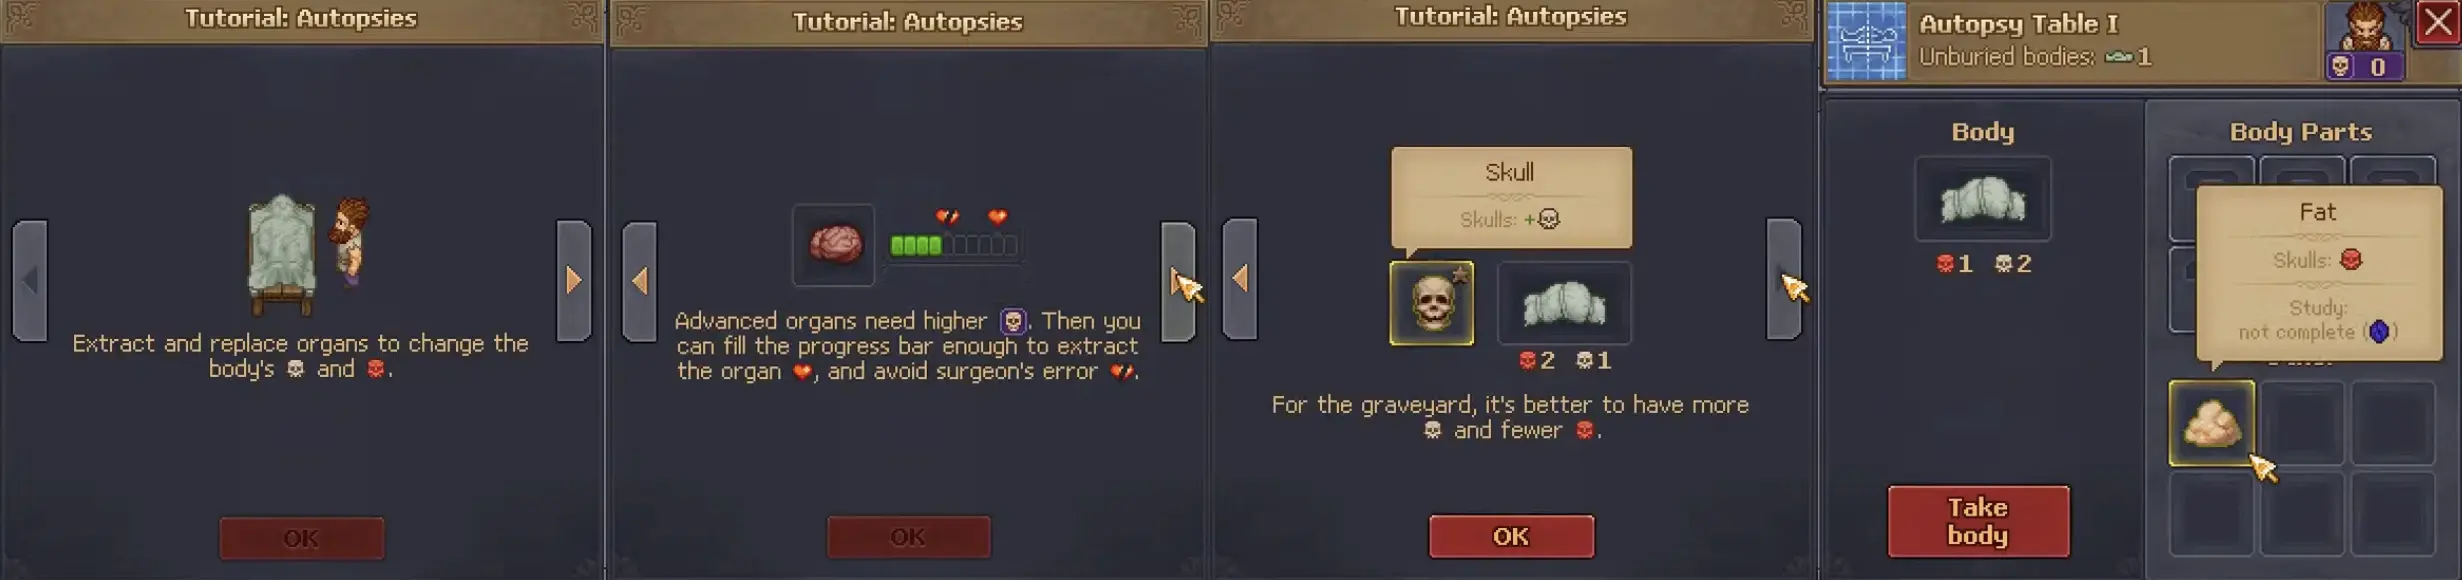
There is no need to turn the first corpse into a perfect specimen. Follow the simple extraction the opening asks for, pay attention to how the skull values change and move on to the burial.
More complicated corpse preparation becomes useful later. During the first morning, completing the grave matters much more than squeezing another point out of an inexperienced autopsy.
Finish the Grave to Receive the Burial Certificate
Use the Blueprint Desk to place the grave, dig it, put the body inside and fill the grave again. Add the required marker rather than leaving the burial half-finished.
Completing the grave awards the Burial Certificate.
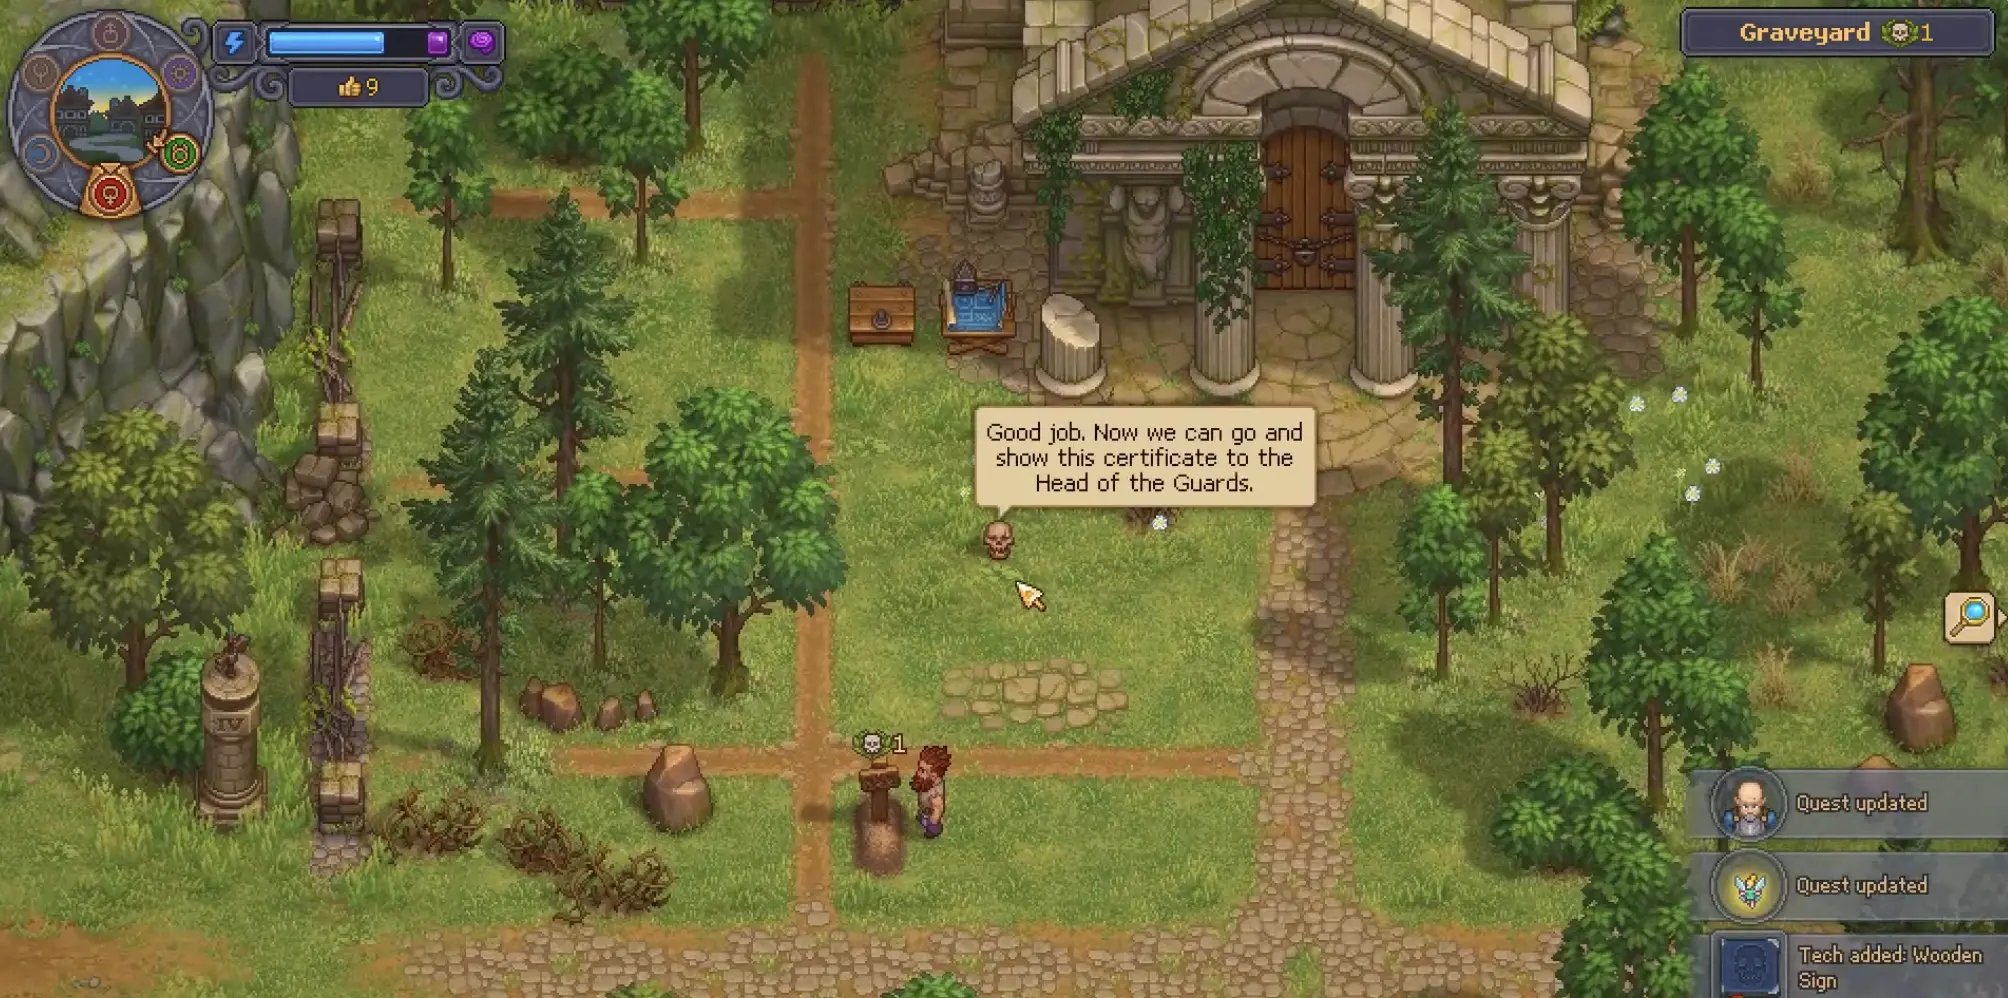
Take the certificate back toward the village instead of remaining at the base to decorate every available plot. Burial Certificates give the graveyard loop a practical connection to the village economy, while the graves themselves begin contributing toward the cemetery-quality requirement.
Treat 10 Graveyard Quality as the First Stopping Point
The first useful cemetery target is 10 Graveyard Quality.
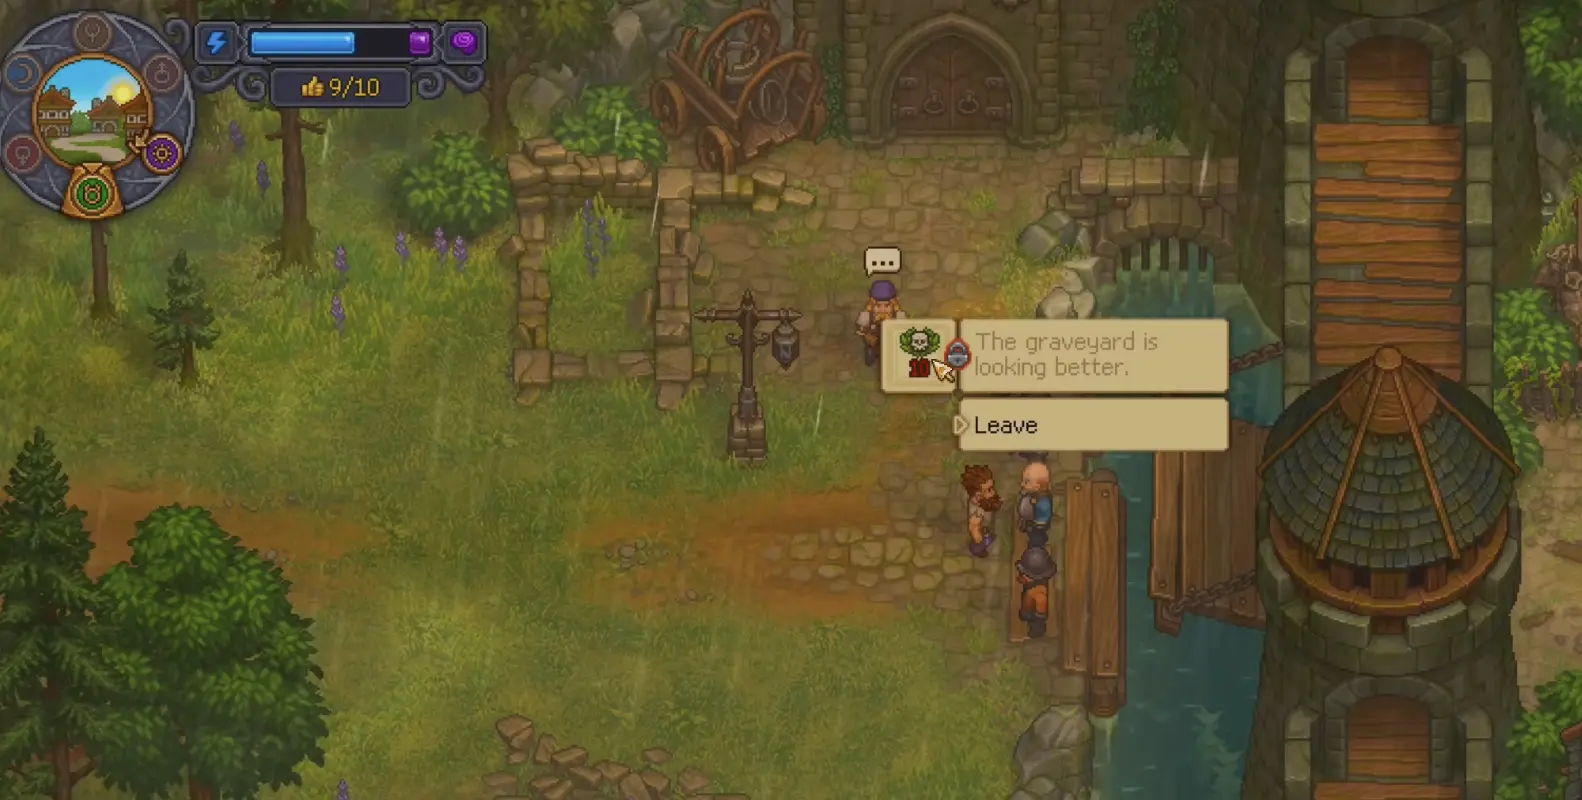
Improve the graves you already have with better markers and appropriate materials until that requirement is satisfied. Expanding into a much larger cemetery does not help much when the current objective only cares about the quality score.
After 10 Quality, the village becomes a better guide for where early resources should go.
Food and Firewood Become the First Village Bottlenecks
The settlement soon makes its immediate shortage clear: food and firewood.
That gives the land around the Inquisitor base a practical purpose beyond construction. Trees contribute to both building and village supply, while the fields begin turning farming into a repeatable source of food.
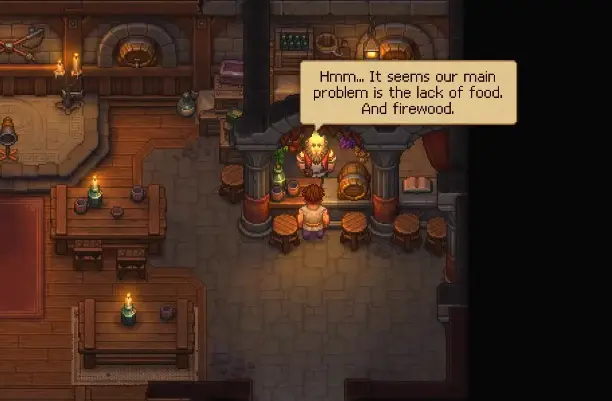
The Merchant becomes useful here because he sells seeds and participates in several early food objectives. Buy for the crop cycle you are actually building rather than purchasing every seed just because it is available.
Wheat is especially useful once you can keep replanting it. A crop that returns enough seed for another round becomes much cheaper to maintain than one that requires another large purchase after every harvest.
Check Mastery Before Assuming a Crop or Resource Is Ready
Owning a seed does not guarantee you can plant it efficiently, and reaching a large tree or rock does not guarantee you can work it.
Some actions display a Mastery requirement. One early onion option, for example, can require 10 Mastery while the Keeper is still around 4.
If the interface already shows a Mastery number above your current value, the problem is not missing fertilizer, a different tool location or another pile of materials.
Keep the resource and return once your capability has improved.
The same distinction becomes important across gathering and crafting. For the full explanation of Inspirations, permanent and temporary Mastery, technology points and workstation unlocks, see Inspirations, Mastery & Tech Tree.
Keep a Reliable Food Supply for Energy and Insanity
Energy limits how much work fits into a day, while Insanity can reduce the maximum Energy available to you. Filling the remaining bar with ordinary food does not necessarily remove the portion lost to Insanity.
A steady food supply still changes how often you have to stop working.
Berry Pie is particularly convenient once wheat, flour and dough production are running because you can prepare it in large batches and keep more cooking in the queue while collecting berries during normal travel.
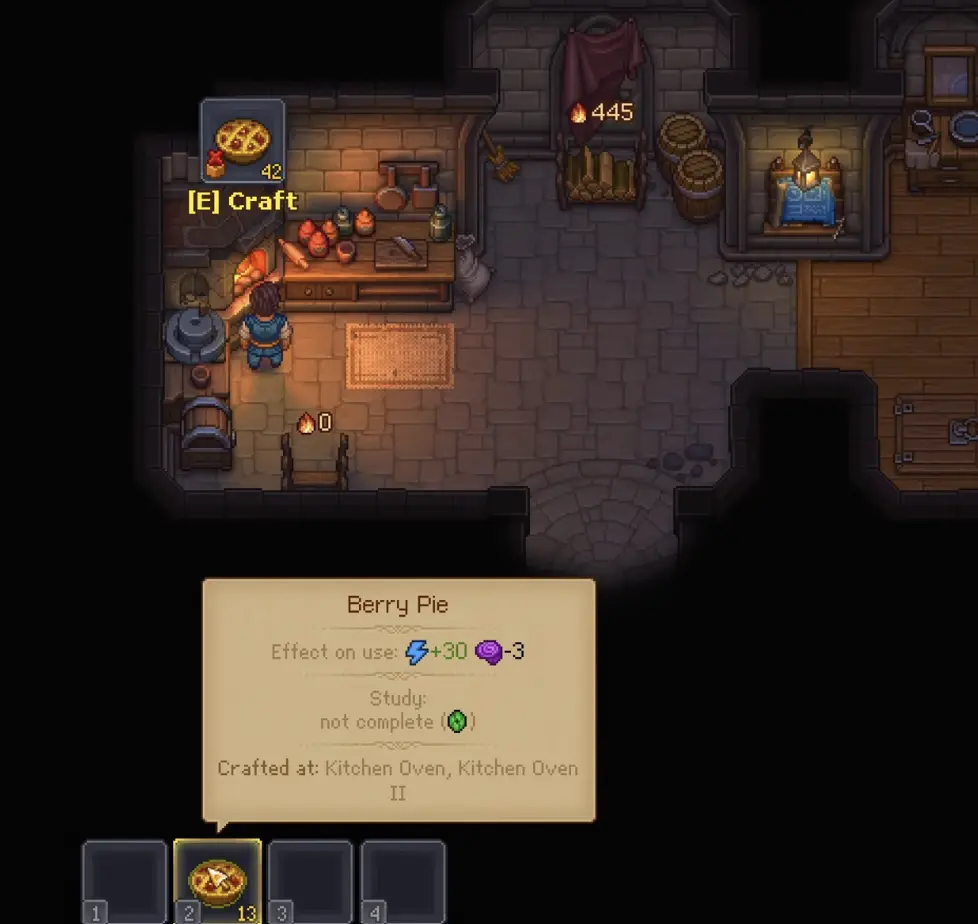
I prefer having a repeatable food already waiting rather than reacting to an empty Energy bar with whatever ingredients happen to be available. It makes longer base sessions much easier to plan and lets sleep happen when I actually want the day to advance.
Sleeping is also important for another reason: going to bed saves the game. If you have just completed several expensive upgrades or a long run of production, using the bed secures that progress while restoring the Keeper.
Use Crafting Queues as a Memory Aid
Several recipes can become active at once, and it is easy to forget whether the next village trip needs planks, food, a crafted component or something from a different workstation.
The crafting queue helps with that even before every ingredient is ready.
If I know I will need a batch of an item, I add it to the queue and let the station wait for the missing input. This works especially well with repeated production such as food or compost: the queue can remain larger than the materials currently available and continue as more ingredients arrive.
It turns the workstation itself into a reminder instead of requiring every pending craft to stay in my head.
Batch Several Base Jobs Into One Village Trip
The opening frequently leaves several small objectives active together.
You can be working toward 5 wheat, 5 wooden planks, 10 Graveyard Quality, a Burial Certificate hand-in and a Merchant purchase during the same stretch of play.
Walking to the village after every individual task adds a surprising amount of dead travel time.
Before leaving the base, check the crops, wood production, graves and anything waiting to be sold or handed in. Carrying several completed tasks on one trip becomes even more useful as the world starts opening beyond the starting area.
Place Workstations Carefully Because Moving Them Costs Materials
The layout around the Inquisitor base becomes crowded quickly, but placing every new station wherever there happens to be room can become expensive.
Removing a placed structure does not return the full construction cost. Dismantling an early workstation can return only about half of the materials, after which the station has to be built again in its new position.
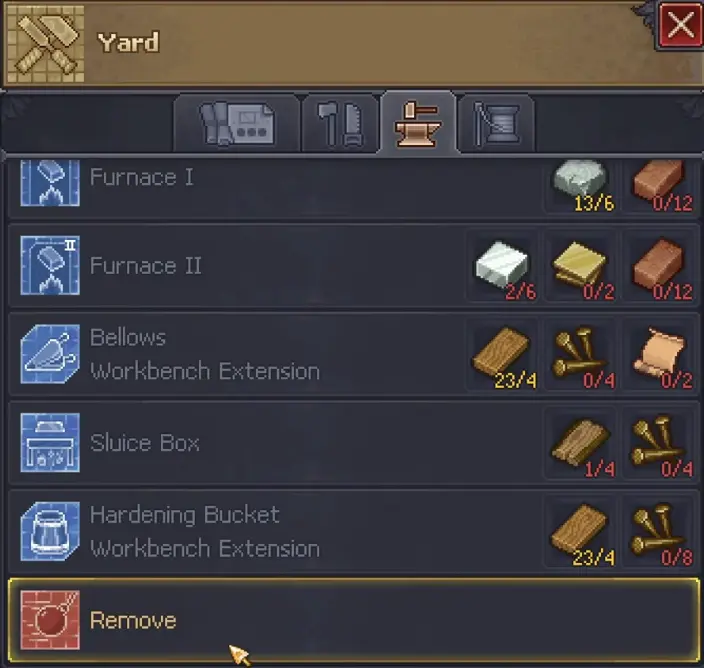
Leave enough walking space around storage and the work areas you expect to use often. A slightly imperfect layout is cheaper than repeatedly tearing down working infrastructure during the resource-starved opening.
Sell Surplus Instead of Emptying Storage for Cash
The Merchant does not pay a permanently fixed price for unlimited copies of the same item.
As his stock increases, the amount offered for additional copies can fall. His inventory also refreshes with time and expands as progress continues.
That makes early selling a resource decision rather than a simple cleanup tool.
Keep materials already committed to graves, village requests, tools and near-term workstations. Sell genuine surplus when money is the thing preventing the next useful step.
The same caution applies in reverse: buying every available seed or ingredient can leave you short when a quest suddenly needs something more important.
Missing Recipes Usually Need Knowledge Before Materials
A quest can request an item before you have the technology or workstation needed to make it.
When a recipe is absent, collecting more raw material rarely helps.
Check the technology first. If the technology is already purchased, look at what it actually unlocked; some recipes belong to a new workstation rather than appearing on the bench you were already using.
Only after the recipe and workstation exist should gathering the remaining materials become the default response.
Inspirations, Mastery & Tech Tree covers those progression blocks in detail.
Wait for the Merchant Before Investing Time in Fishing
Fishing locations appear before fishing needs to become an early priority.
The system becomes relevant when the Merchant brings up his missing Fishing Rod. That starts a chain involving the twins, Jeffrey and Pottery before you finally have the rod and can begin fishing properly.
Until that conversation appears, the graveyard, food supply and village shortages deserve the resources first.
Once the Merchant starts the sequence, follow the Fishing Guide for the Fishing Rod route, Pottery requirement, fishing spots, bait and line controls.
The Early Game Changes Once Repetitive Work Starts Taking Over
The first phase is about making the essential systems function: the morg and graveyard need to work, the first certificate has to be delivered, the cemetery needs 10 Quality, farming has to produce food and wood production has to keep up with both construction and village demand.
After that foundation is stable, the pressure changes from unlocking basic work to repeating it.
That is when the first zombie workers start becoming useful. They can take over repetitive production, but they have their own Mastery, equipment and logistics requirements, so assigning a zombie to a workstation is not automatically the end of the job.
For worker setup, tools, supply lines and later resurrection, continue with Zombie Automation & Resurrection.
From here, the larger story also begins pulling you away from the opening routine. If you are no longer sure which settlement, NPC or region should come next, continue with the Graveyard Keeper 2 Walkthrough.