How I Unlock All 16 Achievements Without Grinding Too Early
I pick up most Sandustry achievements through normal progression, then save the Gold, creature, Stratacore, Aura, and full-research goals for the right stage.
Updated:
Quick Answer
Sandustry currently has 16 achievements.
I do not grind most of them separately.
The early ones arrive naturally while I:
earn the first factory promotion
→ mine the first Fluxite
→ hold 1,000 Gold
→ recover one Artifact
→ grow one Flower
→ investigate the Anomaly
→ capture one critter
→ charge the first unit of Energy
The achievements I plan around deliberately are the larger Gold balances, the full creature collection, Stratacore and Aura milestones, complete Tech Tree research, and the final economy goal.
For every Gold achievement, the important word is hold:
1,000 → 10,000 → 100,000 → 1,000,000 Gold in Collectors at once.
Sandustry’s achievement list became much easier once I stopped treating it as sixteen separate projects.
Most early achievements are attached to things I already need for progression.
So I let the factory route unlock those naturally.
I only change my plan when an achievement asks me to do something progression does not require at that exact moment, such as:
- hold Gold instead of spending it
- find every unique creature
- finish a late-game mechanic
- research every Tech Tree node
That is where timing matters.
All 16 Sandustry Achievements
| Achievement | Requirement | When I Deal With It |
|---|---|---|
| Promotion Protocol | Earn the first factory promotion | Normal early progression |
| Flux It Up | Mine the first Fluxite | First useful Fluxite deposit |
| Gold in the Bin | Hold 1,000 Gold in Collectors | Early factory, when the next purchase can wait |
| Ancient Technology | Recover an alien Artifact | First solvable Artifact room |
| First Bloom | Grow the first Flower in a Planter Box | Normal flower progression |
| Void Touched | Investigate an Anomaly | Tier 4 progression |
| Critter Catcher | Capture the first critter with the Corraller | First convenient new species |
| First Spark | Charge the first unit of Energy | Tier 5 Energy setup |
| Quartermaster | Hold 10,000 Gold in Collectors | Stable mid-game economy |
| Conservatory Curator | Capture one of every unique creature | Ongoing exploration |
| Stratacore Secured | Neutralize the first Strataform event | Late-game progression |
| Aura Extractor | Unlock Aura Extraction through the Swarm Console | Aura stage |
| Full Circle | Fill the entire Aura circle | Aura saturation |
| Final Schematic | Research every Tech Tree node | Late cleanup |
| Vaultkeeper | Hold 100,000 Gold in Collectors | Mature economy |
| Heliodyne Tycoon | Hold 1,000,000 Gold in Collectors | Final economy cleanup |
I use this table as a checklist, not as a strict order.
If an achievement is already on my progression route, I take it.
If forcing it would make me delay a machine or objective that matters more, I leave it for later.
The First Eight Achievements Mostly Come From Normal Progression
I do not build special setups for the first part of the list.
Promotion Protocol only needs the first factory promotion.
If my Gold factory and active objectives are moving, I keep following the normal route rather than changing the build for the achievement.
The broader order through the early tiers is in my progression guide.
Flux It Up triggers from mining the first Fluxite.
I stop for the first useful deposit because Fluxite matters beyond the achievement.

My first useful haul reached 200 Fluxite.
That was already enough to make the trip worthwhile without turning Flux It Up into a separate grind.
Ancient Technology only requires one alien Artifact.
I do not need every room or every permanent upgrade.
If the first room I reach is solvable with my current tools, I finish it. If the puzzle itself is the blocker, I use my Artifact puzzle guide instead of mining around blindly.
First Bloom only needs one Flower grown in a Planter Box.
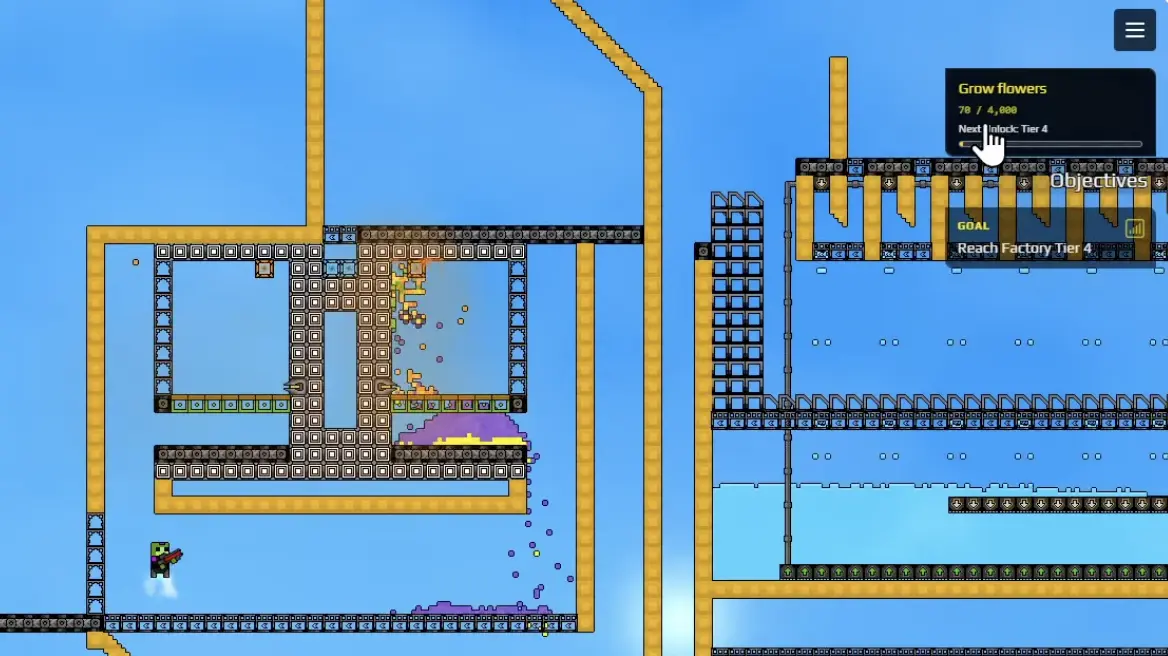
The larger Seed → Wet Seed → Planter Box → Flower system is in my flower farming guide.
Void Touched comes from investigating an Anomaly.
I wait until Tier 4 sends me there naturally instead of searching the whole underground map early just for the achievement.
If the Anomaly and later Tier 5 gate are confusing, I follow my Tier 5 unlock route.
Critter Catcher only needs one successful Corraller capture.

First Spark is similarly small:
charge the first unit of Energy.
I do not create a throwaway battery just for it because Tier 5 already gives me a reason to build a real electrical system.
My Peak Energy was already 9,281 while the system was still being developed.
Once the first unit is charged, I stop thinking about First Spark and continue with the actual Energy problem in my batteries and Steam Turbines guide.
I Treat All Four Gold Achievements as One Spending Problem
The Gold achievements are:
Gold in the Bin
→ hold 1,000 Gold
Quartermaster
→ hold 10,000 Gold
Vaultkeeper
→ hold 100,000 Gold
Heliodyne Tycoon
→ hold 1,000,000 Gold.
The key detail is that the Gold must be in Collectors at the same time.
Earning enough over the lifetime of the save is not the same thing.
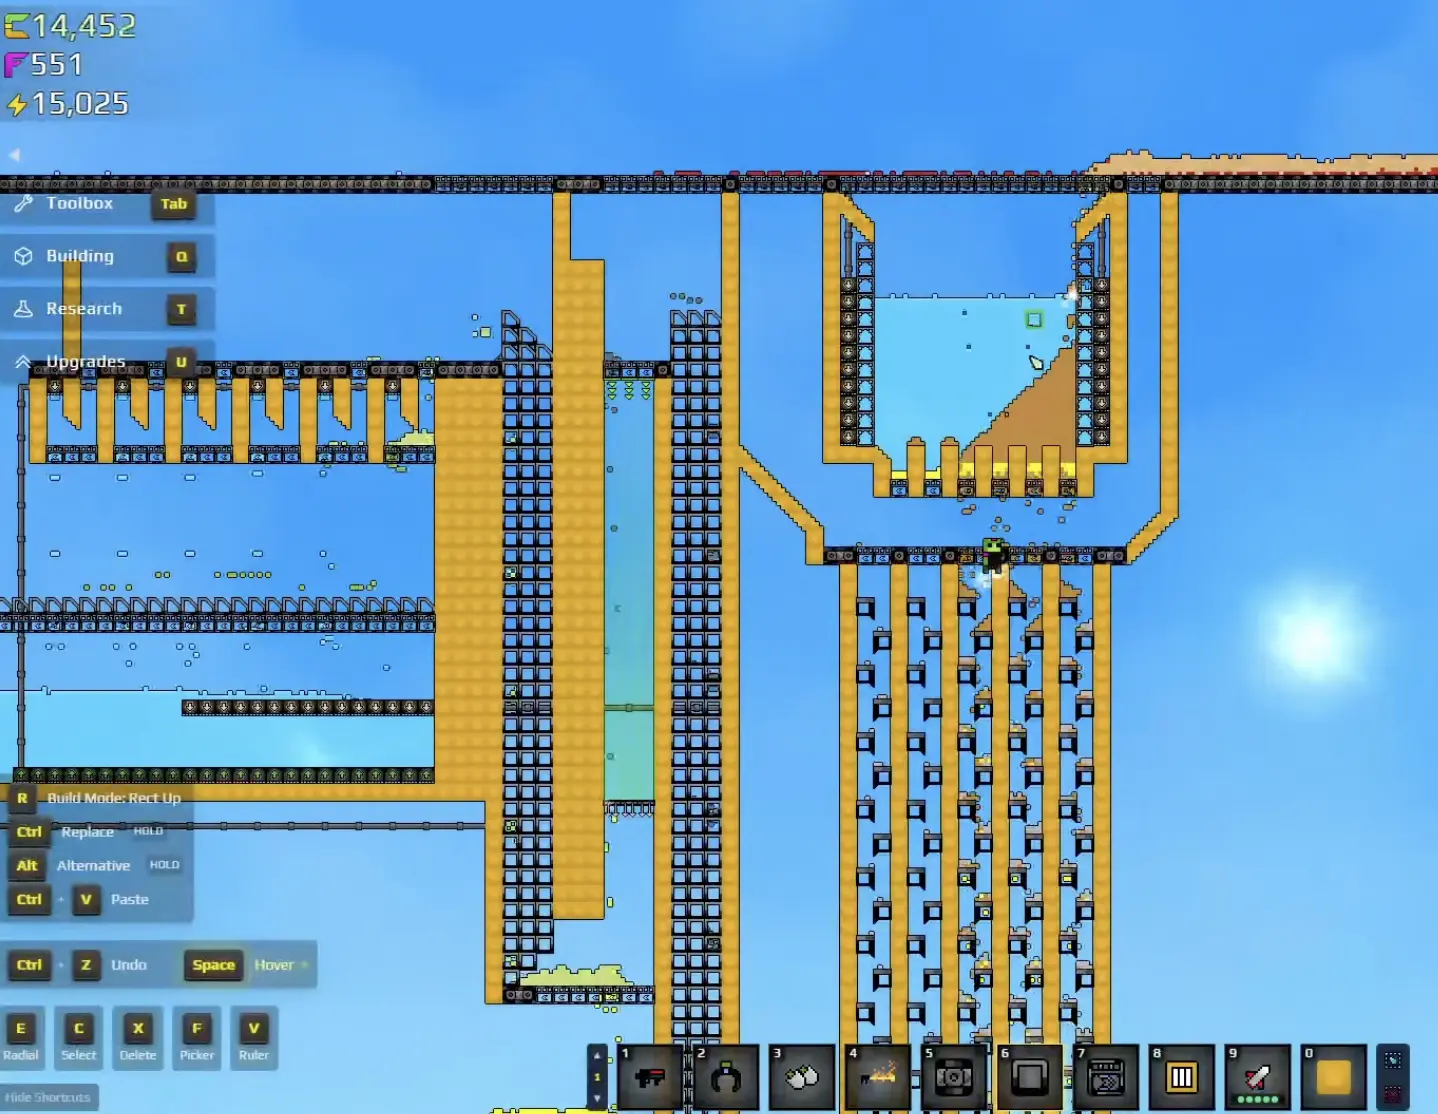
I use different timing for the four thresholds.
At 1,000 Gold, I usually only wait if the next purchase is optional.
If I am sitting at 900 but an important machine is blocking progression, I spend the Gold and let the achievement happen later.
At 10,000 Gold, I want the factory to be stable enough that I am not constantly draining the balance on core unlocks.
At 100,000 Gold, I want a mature economy.
At 1,000,000 Gold, I am doing final economy cleanup rather than protecting progression.
The mistake I avoid is:
save for a milestone too early
→ delay an important upgrade
→ finally spend the Gold anyway
→ rebuild the same balance from scratch.
The larger the target gets, the more expensive that mistake becomes.
Critter Catcher Is Immediate; Conservatory Curator Is Long-Term
The two critter achievements need completely different behavior.
Critter Catcher
→ capture one critter with the Corraller.
Conservatory Curator
→ capture one of every unique creature.
The first is a checkpoint.
The second is an exploration habit.
I do not leave Conservatory Curator until the very end and then try to remember every cave where I saw a missing species.
Once the Corraller is available, I carry it during normal underground trips and usually capture a species the first time I see it.
That gradually fills the collection while I am already exploring for Copper, Fluxite, Artifacts, and progression objectives.
The practical value of Lumlings, Redweavers, Voltblubs, Voidgrazers, Conservatory tickets, and duplicate captures is in my Critters and Corraller guide.
For the achievement itself, I use one simple test:
Is the discovered-species collection complete?
If not, new territory matters more than farming another duplicate I already logged.
I Wait for Stratacore Secured Until the Strataform Event Is Active
Stratacore Secured requires:
neutralize the first Strataform event.
I do not prepare a special achievement build during the early game.
There is nothing useful to grind until the event becomes part of normal late-game progression.
When the objective appears, I follow it and neutralize the live core.
If I am unsure where to go, how to contain the growth, or what the captured core does afterward, I use my Stratacore and Strataform guide.
For this achievement, I stop at the first successful neutralization.
Renewable Sand from the captured Stratacore is useful afterward, but it is not another requirement for Stratacore Secured.
That distinction keeps me from turning one achievement into an unnecessary factory project.
Aura Extractor and Full Circle Are Two Milestones in the Same System
The two Aura achievements are:
Aura Extractor
→ unlock Aura Extraction through the Swarm Console.
Full Circle
→ fill the entire Aura circle.
The first proves that I reached the mechanic.
The second asks me to finish the larger saturation goal.
I do not build two separate Aura setups for them.
The same working system handles both.
For the production and troubleshooting details — Aurixite, Auralite, the 1,000 Auralite unlock, the Aura Extractor, crystal growth, Nanobots, and the 10,000 Aura target — I use my Aura Extraction guide.
For achievement planning, the useful distinction is:
Aura Extraction not unlocked
→ keep progressing through the unlock.
Aura Extraction works but the circle is incomplete
→ keep the working Aura system running.
the circle is full
→ both Aura milestones have done their job.
I do not add more Aura machinery just because I am looking at the achievement list.
Final Schematic Is the One I Intentionally Leave for Cleanup
Final Schematic requires:
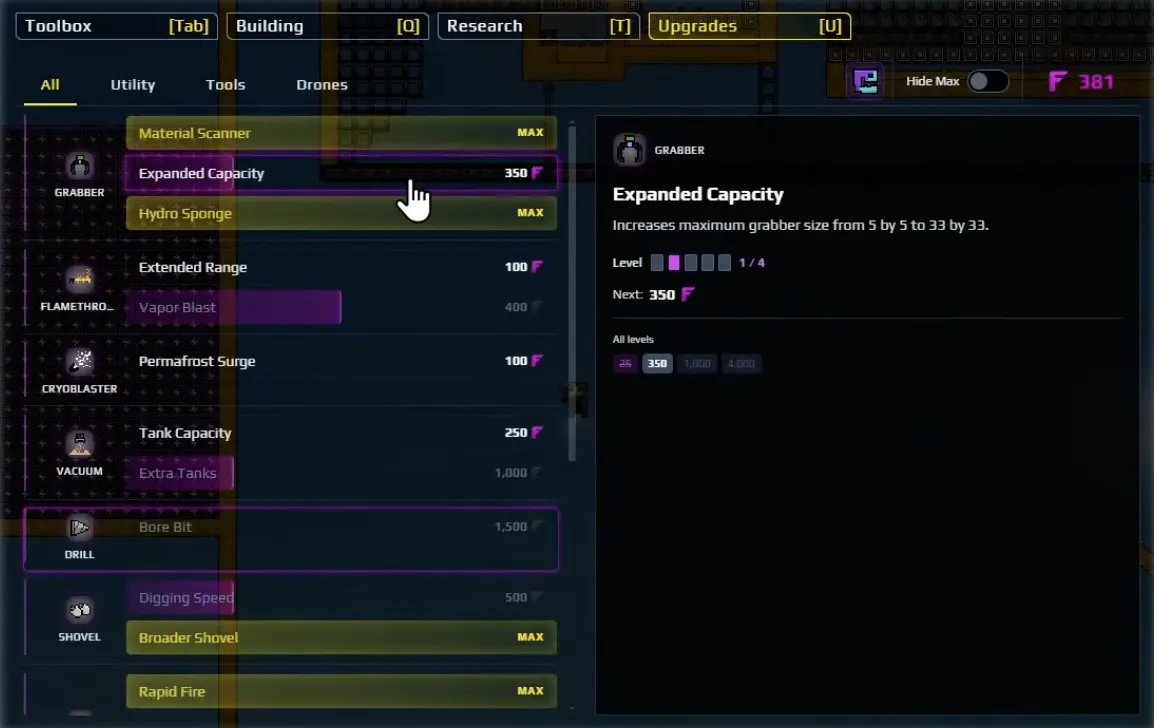
research every node in the Tech Tree.
I deliberately do not chase this from the first tier.
During normal progression, I skip research that does not solve the current problem.
That is useful factory management.
It also guarantees that I will eventually have some nodes left behind.
I only return for complete research once:
- the major production systems are working
- progression is no longer depending on every Gold purchase
- the expensive late-game gates are already handled
- and filling the remaining research gaps will not weaken the factory
That is much cleaner than trying to maintain 100% Tech Tree completion while every tier is still introducing more important purchases.
If I am still choosing between:
a research node for completion
and:
a machine that fixes the active progression bottleneck
I am not ready to grind Final Schematic yet.
The Achievement Order I Actually Use
I let normal progression handle the early checkpoints first:
Promotion Protocol
→ Flux It Up
→ Gold in the Bin
→ Ancient Technology
→ First Bloom
→ Void Touched
→ Critter Catcher
→ First Spark.
Then I work on achievements that benefit from an already stable factory:
Quartermaster
→ Conservatory Curator
→ Stratacore Secured
→ Aura Extractor
→ Full Circle.
Once the major progression systems are finished, I clean up:
Final Schematic
→ Vaultkeeper
→ Heliodyne Tycoon.
That is not a mandatory unlock order.
It is the order that stops achievements from fighting the factory.
If an achievement happens naturally earlier, I take it.
If forcing it would make me delay the system currently moving progression, I leave it alone.
The easiest achievement is usually the one the factory is already ready to earn.