How I Progress From My First Factory to Tier 5
I clear Sandustry's progression gates in order, from the first Gold factory through Water, Burnt Residue, flowers, Tier 4 exploration, and Tier 5 Energy.
Updated:
Quick Answer
My early Sandustry progression route is:
finish the tutorial and get reliable Gold production
→ reach Tier 2 and solve the Water objective
→ process 3,000 Burnt Residue
→ reach Tier 3 and build a reliable flower line
→ finish the flower push for Tier 4
→ leave the factory for the Anomaly progression
→ return and complete the Florinol gate
→ unlock Tier 5
→ build toward 100,000 Energy
The rule that saves me the most time is:
I work on the system blocking the current gate, then stop expanding it once progression moves somewhere else.
A new research node is not automatically my next purchase.
Sandustry became much easier to read once I stopped treating the Tech Tree like a shopping list.
Every new tier gives me more things I can build.
That does not mean all of them help me move forward.
The route I use is:
find the active gate
→ identify the system behind it
→ make that objective move
→ stop polishing the old stage once it works
→ follow the next gate.
That last step matters.
There is always another belt I could straighten, another machine I could duplicate, or another upgrade I could buy.
If none of those changes the active objective, I leave them alone.
I Finish the Tutorial, Then Build for Reliable Gold
The opening tutorial teaches me the physical basics:
- digging Sand
- working with Wet Sand
- using the Shaker
- placing Belts and Launchers
- collecting the first useful outputs
Then the objective changes.
I am no longer building a temporary teaching setup.
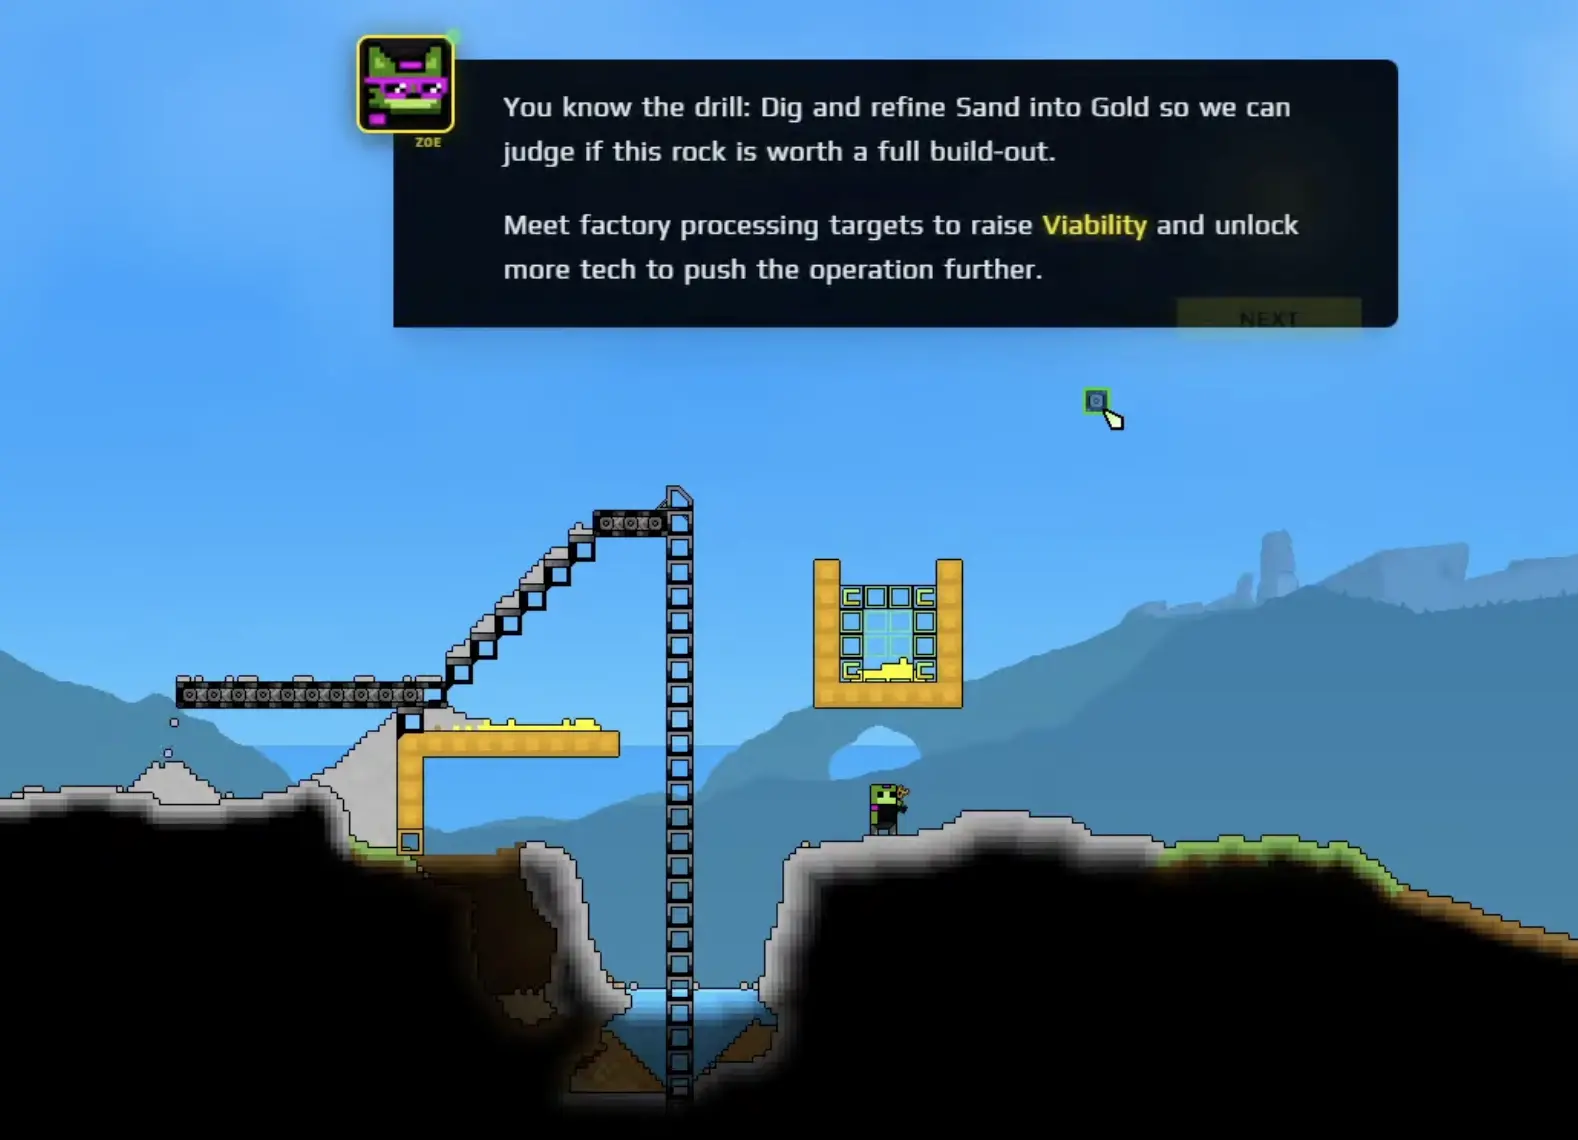
I need a factory that can produce Gold reliably enough to fund progression.
I do not spend much time making this first factory pretty.
I already know I will rebuild parts of it later.
What matters is:
Sand reaches processing
→ Gold reaches collection
→ the objective and research economy keep moving.
If I have to choose between elegant and functional here, I choose functional.
At Tier 2, I Protect Gold for the Next Useful Unlock
Tier 2 is the first point where the Tech Tree starts offering enough interesting options to distract me.
The progression route, however, begins pointing toward Water.
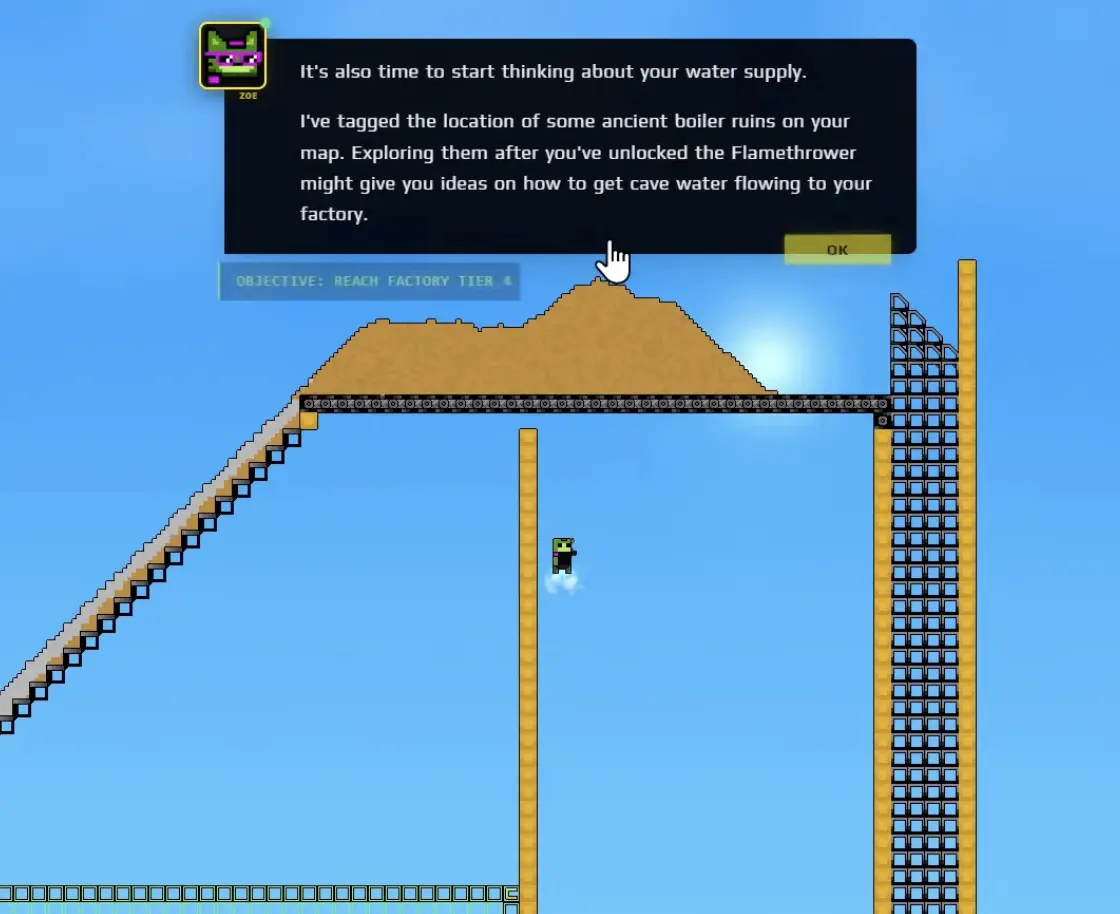
Zoe sends me toward the ancient boiler area and the game starts treating Water as infrastructure instead of something I move manually in small amounts.
This is also where I become more careful with spending.
One important early purchase is the 500 Gold Kinetic Press.
If I am close to that amount, I do not spend the same Gold on a convenience unlock that does not help the current gate.
When the starter factory itself is the problem, I use my early factory automation guide for the Gold, Burnt Residue, Filter, and Kinetic Press setup.
My progression rule is simpler:
Once I know what removes the next gate, I protect the resources needed to buy it.
If Water flow is the thing blocking me, I deal with the collection and transport side in my Pipes, Pumps, and Water guide instead of buying unrelated research.
The 3,000 Burnt Residue Target Is My First Real Throughput Check
The first Gold factory can be rough and still work.
The 3,000 Burnt Residue push is where that stops being enough.
A tiny setup can prove that a production chain works once.
A target measured in thousands asks:
Can the factory keep running without me constantly rescuing it?
If the counter slows down, I do not immediately leave for another huge Sand trip.
I first look at the factory.
Factory starved
→ there is not enough input reaching production.
Factory full but the objective barely moves
→ the problem is throughput or a blockage.
Those need opposite responses.
If material is clogging around Shakers, Residue, or the Kinetic Press, I fix that in my early factory automation guide.
For progression, I only care that the 3,000 counter keeps moving.
A New Tier Does Not Automatically Clear the Previous Objective
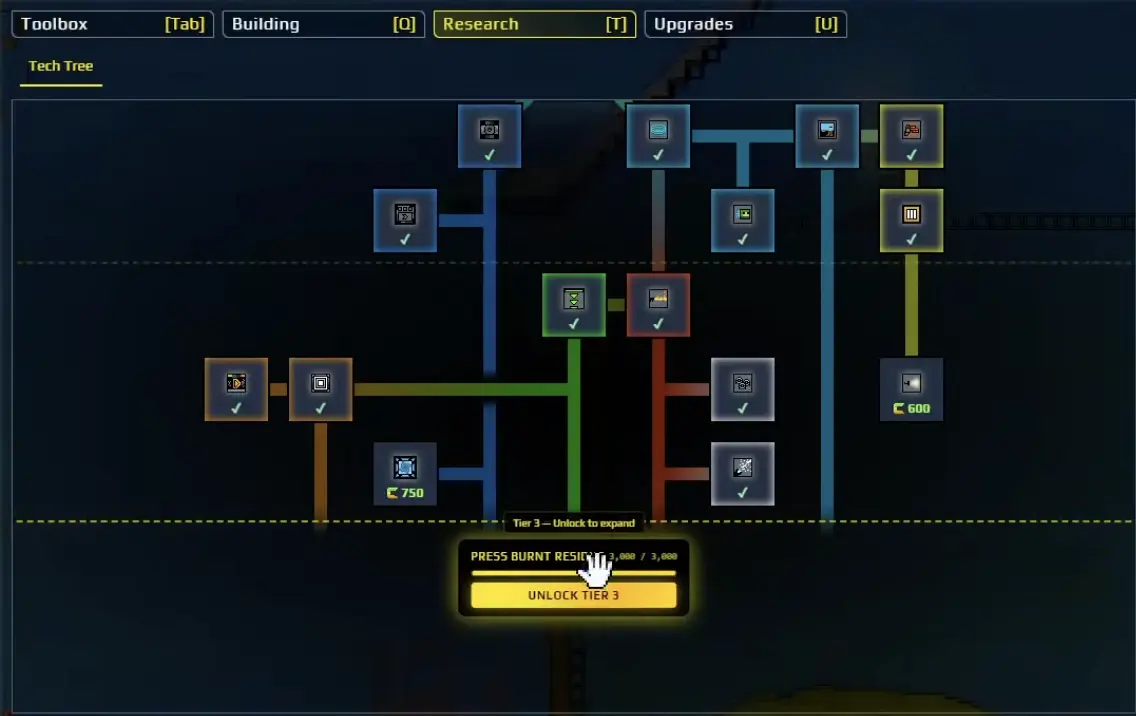
One of the most useful lessons came when Tier 3 became available but the mission flow did not continue the way I expected.
My first reaction was to look for another hidden Tech Tree purchase.
That was the wrong place to look.
There was still unfinished work tied to the earlier Water progression.
Since then I use this order:
check the active objective
before:
searching the Tech Tree for another unlock.
Factory tiers and mission progression overlap, but they are not identical.
If Water is still the visible problem, I finish Water.
I do not try to solve an unfinished Water objective by buying unrelated Tier 3 research.
At Tier 3, I Build a Flower Line That Can Run Without Me
Once Tier 3 is genuinely underway, Seeds from the earlier factory start feeding the next production problem.
The question is no longer:
How do I get a Seed?
It becomes:
Can I turn those Seeds into Flowers while I do something else?
That means I care about:
Seeds
→ Wet Seeds
→ Planter Boxes
→ Flowers
→ Amethelis.
The full automation, Planter decisions, output routing, and flower bottlenecks are in my flower farming and automation guide.
For progression, I use a stopping rule.
If flower production is the thing blocking the next tier:
→ I make the line reliable.
If the counter is already moving at a useful rate:
→ I stop adding Planters just because there is room for more.
At that point I use my time on whatever is genuinely behind: Water, raw input, Gold, exploration, or the next tool.
Once Tier 4 opens, the immediate job of the flower push is finished.
I change priorities.
Tier 4 Is My Signal to Leave the Factory
Tier 4 changes the rhythm of progression.
Instead of asking me for another larger production module immediately, the game sends me underground through the Anomaly progression.
This is one of the places where I deliberately stop factory work.
There will still be something at home I could improve.
That does not make it the next objective.
I open the map and follow the progression marker rather than spending another hour making the previous production stage cleaner.
If I pass an Artifact room naturally, I can solve it or mark it for later. The reusable puzzle solutions are in my Artifact puzzle guide.
For the main route, I stay focused on the Tier 4 objective.
The practical path is:
Tier 4 opens
→ leave the factory
→ follow the Anomaly marker
→ finish the underground objective
→ return to production only when progression sends me back.
That is more reliable than trying to predict the next gate from the build menu.
If Tier 5 Is Still Locked, I Check the Two Gates Separately
The Tier 4-to-5 transition is one of the easiest places to misread progression.
There is an exploration side and a Florinol production side.
If I have been producing Florinol and Tier 5 still refuses to open, I do not add Condensers blindly.
If I completed the underground objective but production is still short, I do not keep exploring random caves either.
I check the requirements separately.
The complete Anomaly route, Orb step, Florinol requirement, and the “why is Tier 5 still locked?” troubleshooting are in my Tier 5 unlock guide.
The progression handoff is:
Tier 4
→ complete the Anomaly side
→ complete the Florinol side
→ unlock Tier 5.
That separation matters because finishing one side can make the save look ready while the other gate is still incomplete.
I Only Return to Florinol If the Production Gate Is Actually Behind
After the underground objective, I return to a factory that should already have most of the earlier production chain working.
I do not rebuild the early factory from scratch.
By this point the relevant production chain ends in Florinol:
Amethelis
→ Dry Amethelis
→ Florin
→ Florinol.
If that chain is already stable, I leave it alone.
If it is not, I trace the failed conversion in my Florin and Florinol guide instead of reopening unrelated systems.
For progression, Florinol has one job here:
finish the production side of the Tier 5 gate.
Once that requirement is satisfied, more Florinol capacity is only useful if a later system is actually consuming it.
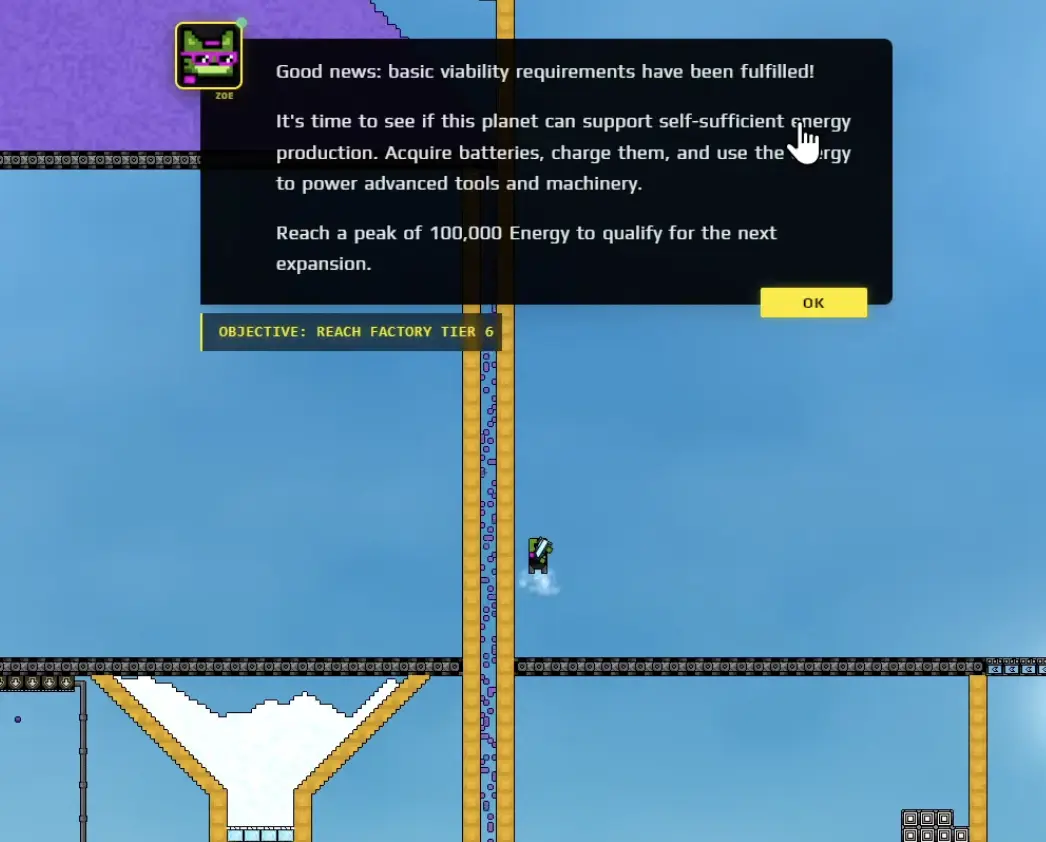
Tier 5 Changes the Main Target to 100,000 Energy
Once Tier 5 opens, the direction changes again.
The next large target is:
reach a peak of 100,000 Energy.
At this point I stop asking:
How can I make the previous production stage even larger?
and ask:
What is preventing stored Energy from climbing?
That is a new system with new bottlenecks.
If Florinol supply is healthy, I leave the chemistry alone.
I work on Power Bricks, generation, connections, and Steam recycling in my batteries and Steam Turbines guide.
A useful late-game spending rule is:
empty Power Bricks everywhere
→ I probably need more generation.
generation has nowhere to store more Energy
→ I probably need more storage.
Steam works but Water keeps disappearing
→ I fix recycling before adding more Turbines.
I do not buy every Tier 5 node simply because it is visible.
I buy what moves the 100,000 Energy objective.
I Leave Old Systems Alone When They Are Already Feeding the Current Gate
By Tier 5, almost every earlier system can be made larger.
My Gold factory could be cleaner.
My Water section could be bigger.
My flower farm could use more Planters.
My Florinol line could have another Condenser.
I leave them alone when they are already supplying the current stage fast enough.
The question I use is:
Is this old system actually the current bottleneck?
If the answer is no, I do not touch it.
If the answer is yes, I go back only far enough to repair that bottleneck.
That is the difference between progression and endless rebuilding.
A factory does not have to be perfect to be finished for now.
After 100,000 Energy, I Stop Treating Tier 5 as the Current Problem
The endpoint of this route is 100,000 Energy.
Before I reach it, the electrical system is the progression gate.
Once I reach it, I stop scaling Energy just to make the number larger.
I open the Tech Tree and see what the game asks for next.
That is where my Tier 6–7 progression route takes over.
I do not duplicate the later Stratacore or Aura steps here.
The only decision I need at the end of Tier 5 is:
100,000 Energy complete
→ stop polishing Tier 5
→ check the Tech Tree
→ follow the new objective.
That keeps this early progression route useful for one reason:
I always know which gate deserves my attention now, and when the previous one has earned the right to be left alone.