How I Keep Water Flowing Without Babysitting the Factory
I turn the boiler rain catcher into a reliable Water network with Pumps, Pipes, Liquid Vents, storage, and a simple source-to-output troubleshooting route.
Updated:
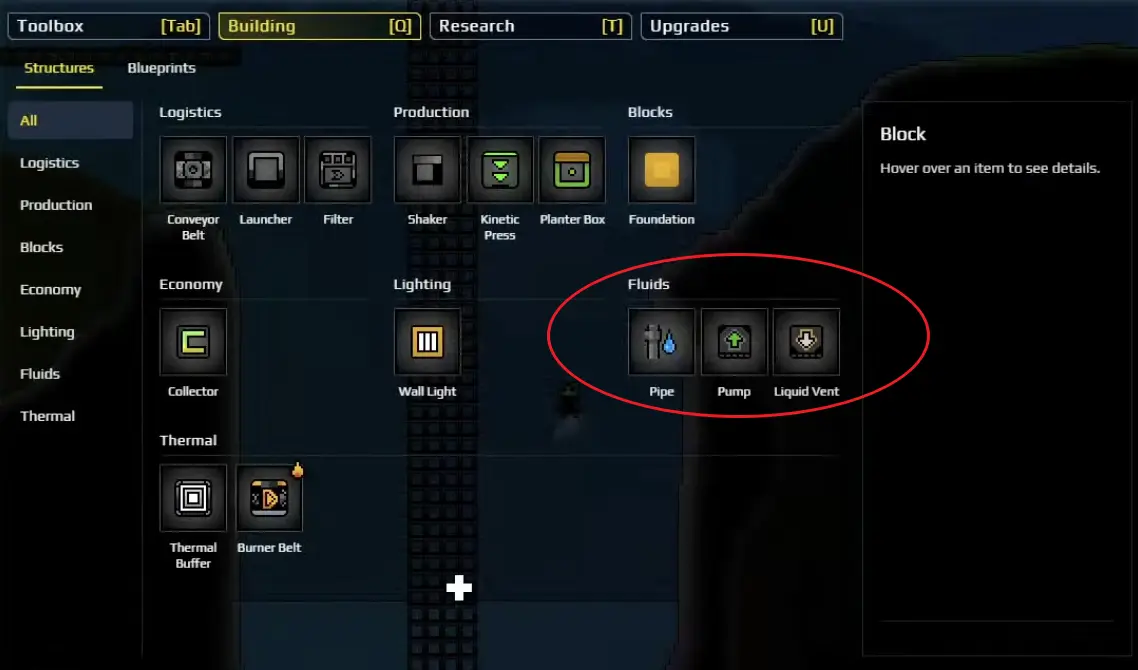
Quick Answer
Once the factory starts depending on Water for more than one job, I stop moving it manually and build one route I can trace:
controlled Water source
→ Pumps
→ Pipes
→ main Water line
→ Liquid Vents
→ receiving pool or factory consumer
If the destination stays dry, I check:
source → Pump → Pipe → Liquid Vent
in that order.
If a Pump or Liquid Vent only places one tile at a time, I press R and switch out of Single build mode.
I also keep some stored Water between supply and consumption. If the network is connected correctly but that reserve keeps falling, I stop rebuilding Pipes — the factory is simply using Water faster than I am supplying it.
Water was the first Sandustry system that made me stop thinking about one machine at a time.
Early on, I can get away with carrying small amounts myself.
That stops being comfortable once several parts of the factory depend on Water while I am underground mining, following an objective, or fixing another production line.
The real upgrade is not simply unlocking Pipes.
It is giving Water its own infrastructure:
a source I understand
→ a route I can trace
→ a destination I can see filling
→ a reserve that tells me whether supply is keeping up.
Once I have those four things, Water becomes much easier to troubleshoot.
The Boiler Objective Is Where I Start Treating Water as Infrastructure
Tier 2 eventually sends me toward the ancient boiler ruins.
I do not treat that as a side activity.
It is the point where the game starts teaching me how to turn Water into something I can collect and move deliberately.

The broader order of when I leave the factory and return to production stays in my progression guide.
On this page, I only care about the Water system itself.
I Turn the Boiler Steam Into a Controlled Water Source
At the ruins, the useful loop is:
Water
→ heat
→ Steam
→ Steam rises
→ condensation
→ Water falls again.
I use blocks to control where that returning Water lands.

That is the first important design decision.
I do not want condensation spreading Water across several awkward pockets.
I want:
one visible pool
that I can feed into Pumps.
Once Water consistently lands there, I consider the collection side good enough.
I Do Not Wait for the Hydro Sponge Before Automating Water
The Hydro Sponge can make personal liquid handling more convenient.
I do not wait for it before building the network.
There is an important difference between:
I want to pick Water up myself
and:
I want the factory to move Water automatically.
If Water is already sitting in a controlled pool, Pumps can start moving it.
So even when manual liquid handling is still awkward, I can make real progress on factory automation.
That saves me from treating a missing convenience tool as a progression blocker.
I Decide Where Water Needs to Arrive Before I Make the Source Bigger
When I begin automating the system, I do not start with the largest reservoir I can build.
I first choose a destination.
Early on, that may be a receiving pool near another production section.
Later, it can feed several consumers through the same backbone.
The important part is that I have somewhere obvious to watch.
If Water begins appearing there:
the route works.
If the destination stays empty:
I still have a transport problem.
That visual test is much more useful than having a massive source reservoir with no proof that the factory can actually use it.
Pumps, Pipes, and Liquid Vents Each Have One Job
The Water network became much easier for me once I stopped thinking of all the plumbing pieces as variations of the same block.
I give them separate jobs.
Pumps
take liquid from the source.
Pipes
carry the connection across the factory.
Liquid Vents
release the liquid where I want it.
This distinction makes troubleshooting much faster.
More Pipe does nothing if the Pumps are not taking Water.
More Pumps do nothing if the connection breaks halfway across the factory.
And a connected Pipe still does nothing useful if there is no Liquid Vent at the destination.
I Prefer One Main Water Backbone I Can Follow
Once the first route works, I prefer extending a main Water line rather than creating a completely separate plumbing system for every new production area.
The route can be long.
That does not bother me.
What matters is that I know:
where it begins
and:
where it goes.
I would rather follow one known Pipe route across the factory than maintain several disconnected networks and later forget which source feeds which consumer.
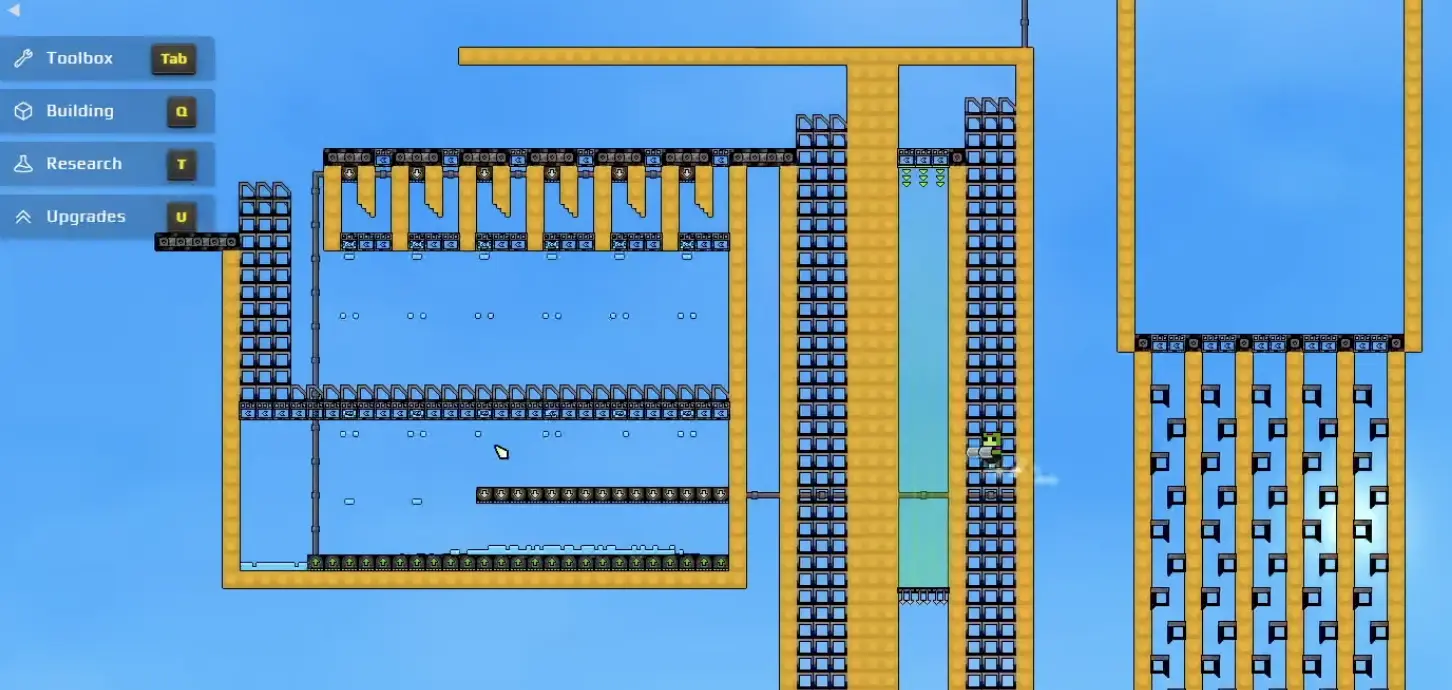
This also gives me a useful stopping rule:
If Water reaches the destination reliably, I leave the working network alone.
I do not replace it simply because I unlocked something newer.
If Water Stops Arriving, I Trace the Route From the Beginning
When a destination goes dry, I do not start by deleting the section that looks suspicious.
I follow the same order every time.
First:
Is there Water at the source?
If the source is empty, the Pipe network cannot fix that.
Then:
Are the Pumps actually touching the source I intended to use?
Then:
Is the Pipe connection continuous?
Finally:
Is the Liquid Vent connected where I want the Water released?
That gives me:
source
→ Pump
→ Pipe
→ Liquid Vent.
This feels slower than immediately rebuilding half the plumbing.
It usually saves time because I actually learn where the break is.
A Dry Destination Does Not Always Mean the Pipes Are Broken
This distinction becomes important as the factory grows.
A production area can be dry because:
Water is not reaching it
or because:
Water arrives, but the factory consumes it immediately.
Those look similar if I only glance at the final machine.
That is why I keep a visible receiving area or reserve.
If that reserve never fills at all, I inspect transport.
If the reserve fills and then steadily drains during production, the network is probably working.
Now supply is the problem.
I do not solve insufficient supply by replacing a perfectly good Pipe.
If Pumps Only Place One Tile at a Time, I Press R
This is one of the small controls that can look like a building limitation.
I select a Pump or Liquid Vent.
I try to draw a longer section.
Only one block appears.
The problem is usually the placement mode.
With the building selected, I press R.
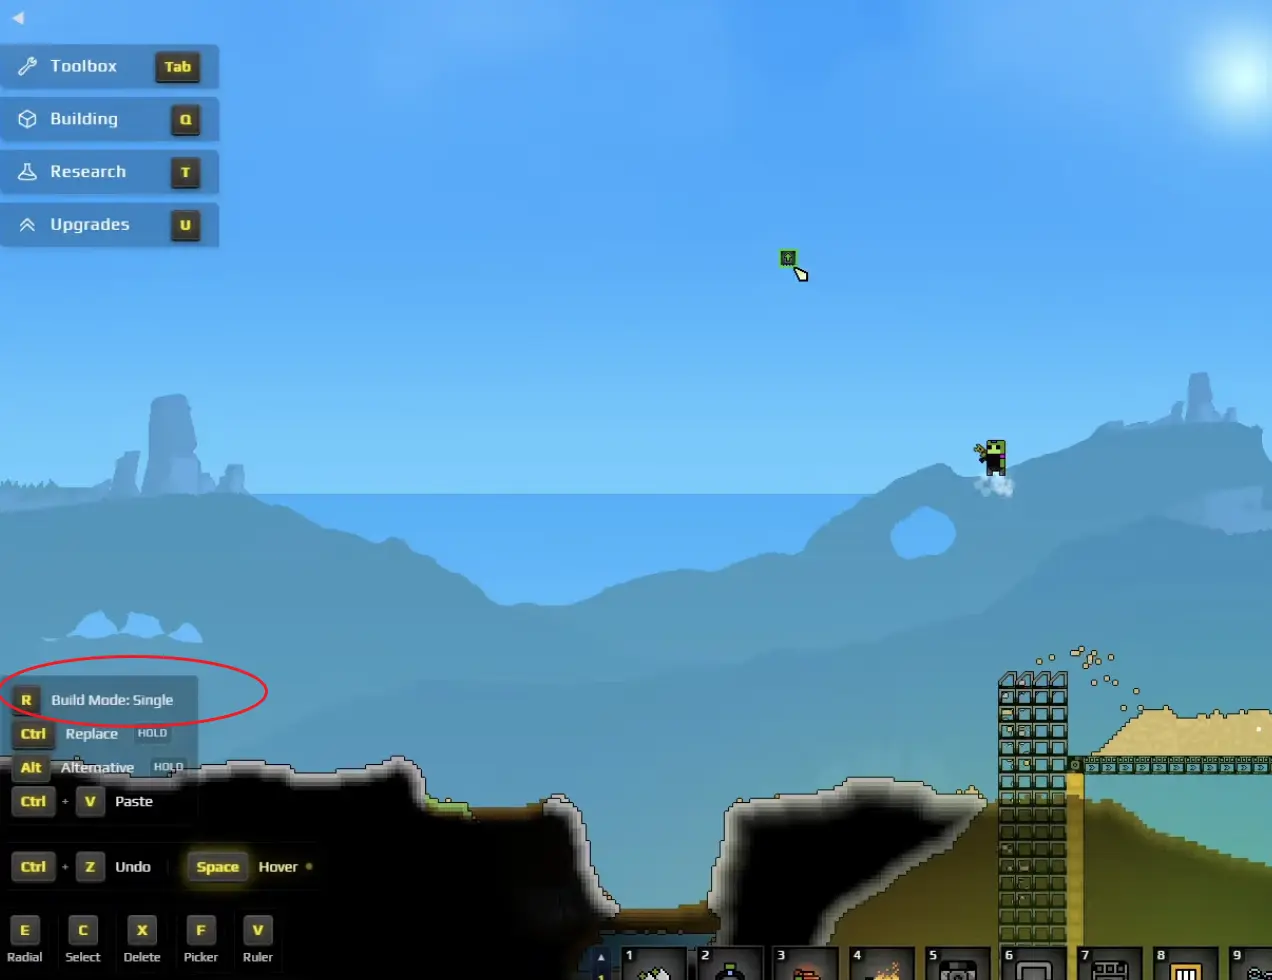
Once I switch away from Single, building a wider intake or outlet becomes much faster.
So before I assume Pumps are supposed to be placed one at a time, I check the current mode.
I Keep the Water Source Visually Simple
I do not turn my main Water pool into another mixed storage area.
I want to be able to glance at it and answer:
Is there Water here?
Is the level falling?
Are the Pumps still touching it?
Is something else occupying the space?
That gets harder if the reservoir is surrounded by unfinished belts, temporary materials, loose liquids, and half-built structures.
Visual clarity matters more as the factory grows.
A clean Water source makes a shortage obvious.
A messy one makes a very simple problem look complicated.
I Keep Some Water Stored Between Supply and Consumption
Once the transport route works, storage becomes my best diagnostic tool.
The reserve is not only emergency Water.
It tells me whether the system is balanced.
If the reserve remains healthy while production runs:
supply is keeping up.
If the reserve keeps falling even though Water is reaching it:
consumption is higher than supply.
If the reserve stays full but a distant machine is dry:
the transport branch to that machine is the problem.
Those are three very different situations.
Without some visible stored Water, they are much easier to confuse.
I Expand Supply Only After I Prove Demand Is the Problem
I do not enlarge the source every time I see a machine momentarily dry.
First I confirm that the transport system is actually working.
If the route is intact and stored Water continues falling during normal production, then I have evidence that I need more supply.
That is when I consider:
- increasing the existing source
- improving collection
- adding another Water source
- or reducing unnecessary Water demand
I do not increase everything at once.
I change the side that is actually behind.
Lumlings Become Another Water Source Later
Later in the run, Lumlings can provide renewable Water.
I do not reteach that system here.
The important Water-network decision is simply that I can connect additional supply into the same backbone rather than replacing the plumbing I already built.
If I want to know when to capture more Lumlings, how the Corraller works, or when duplicate critters are worth collecting, I use my Critters and Corraller guide.
From this page’s perspective:
the source can change
while:
the Water network stays useful.
That is exactly why I prefer building one traceable backbone early.
I Do Not Call the System Infinite Just Because the Source Is Renewable
Renewable Water does not automatically mean unlimited Water.
This distinction matters later when production gets much larger.
A renewable source can still produce more slowly than the factory consumes.
So I keep using the same check:
Is stored Water stable?
If yes, I have enough supply for the current factory.
If no, I need more Water generation or less demand.
I do not care whether the source is theoretically renewable if the reservoir is still draining in practice.
I Branch the Network Instead of Rebuilding It for Every New Consumer
Once the main line works, new production areas become much easier to support.
I do not return to the boiler and start another entire Water system.
I branch from the existing backbone where practical.
That lets the network evolve like this:
source
→ main Water line
→ branch to one production area
→ branch to another production area
while keeping the original route understandable.
When one branch fails, I can inspect that branch without disturbing every other consumer.
That modularity matters much more to me than making the plumbing perfectly compact.
I Stop Adding Pumps When the Current Network Already Keeps Up
It is easy to overbuild Water because Pumps and Pipes feel cheap compared with later factory machines.
I still avoid unnecessary scaling.
If:
the source has Water
and:
the destination stays supplied
and:
the reserve remains healthy
then more Pumps do not solve anything.
I leave the system alone.
I only return when a new production section creates measurable demand.
The Network Is Finished When I Can Leave It Alone
My final test is simple:
Can I walk away from the factory without Water becoming the next emergency?
If the destination fills and production continues while I am somewhere else, the network is doing its job.
I do not enlarge the rain catcher because I have empty space.
I do not add another Pump because the menu makes it easy.
I do not rebuild the Pipe route because I discovered a prettier shape.
I wait for actual consumption to tell me the network needs to change.
That is when Water stops being a chore and becomes infrastructure.
One of the first systems that benefits from that reliable supply is my flower farming and automation setup.
The Water rule I keep through the rest of the factory is:
control where Water collects
→ Pump it into a traceable backbone
→ release it where production needs it
→ keep a visible reserve
→ trace source to Vent when flow breaks
→ add more supply only when the reserve proves demand is higher than production.