How I Capture Critters and Put Them to Work in My Factory
I use the Corraller to collect new species, earn Conservatory tickets, then deploy Lumlings, Redweavers, Voltblubs, and Voidgrazers where they actually help.
Updated:
Quick Answer
Once I unlock the Corraller, my first rule is:
capture every species I have not discovered yet.
Each new species earns Conservatory tickets, so the first capture is worth more than another duplicate when I am still filling the collection.
The utility critters I care about most are:
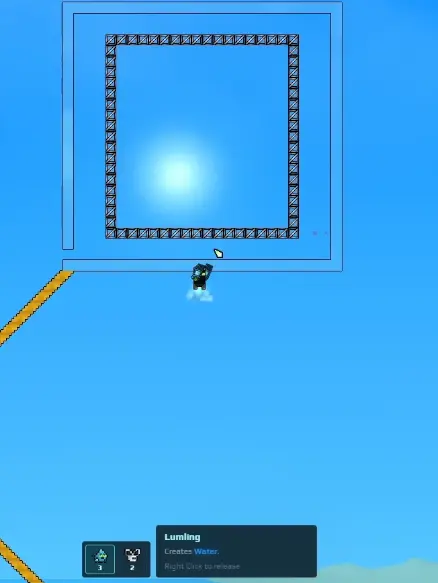
Lumling
→ creates Water
Redweaver
→ gives me renewable Red Sand
Voltblub
→ can power solid Energy blocks
Voidgrazer
→ converts Void Husk into Void Juice
I do not release every useful critter as soon as I capture it.
I first ask whether the factory has a safe place for its output. If the answer is no, I keep the critter contained until I actually need it.
Critters looked optional the first time I started seeing them underground.
There was always something that felt more urgent:
a new cave route,
an Artifact,
Copper,
Fluxite,
or another factory bottleneck waiting above me.
That made it easy to think:
I’ll come back for the critter later.
I stopped doing that once I understood that a critter can have two different kinds of value.
A new species advances the Conservatory.
A duplicate is only worth the detour when its output solves a factory problem I actually have.
Keeping those two decisions separate changed the way I explore.
I Unlock the Corraller When New Species Start Appearing Underground
Once the Corraller becomes available, the game explains the collection loop directly:
use the Corraller to capture critters
→ each new species earns tickets
→ spend those tickets in the Conservatory
→ unlock new rewards.
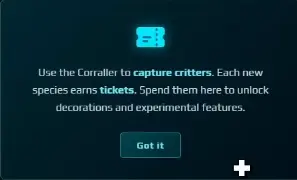
That gives my underground trips another clear purpose.
If I remember passing a Lumling, Shinelet, or another uncaptured species before I had the Corraller, I now have a reason to return to that cave.
I am not wandering around hoping something appears.
I am going back to a place where I already know I left useful progress behind.
My First Priority Is One of Every New Species
For Conservatory progress, the first capture is the important one.
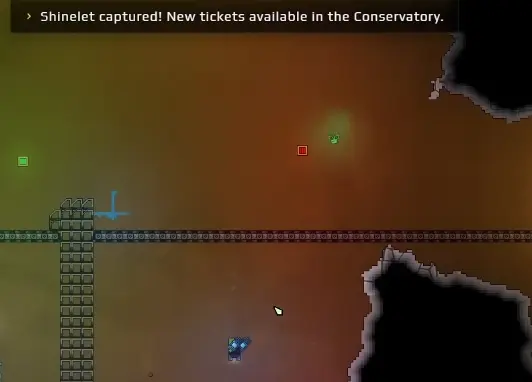
When I captured my first Shinelet, the game immediately reported:
Shinelet captured! New tickets available in the Conservatory.
My exploration rule becomes:
new species first
→ useful duplicates second.
If I have never captured it, I usually take it.
If I already have one, I ask:
Will another copy solve a resource problem I have right now?
That is the question that keeps the Corraller from becoming another inventory I fill just because I can.
I Use the Conservatory Counter Instead of Counting Critters in the Factory
I use the Conservatory as my progress screen.
One of my mid-run snapshots showed:
3 / 5 Creatures discovered
and:
6 / 11 Rewards unlocked.
The same screen already showed 3 Lumlings and 3 Voltblubs captured.
That is an important distinction.
A crowded enclosure does not mean the collection is complete.
I can have several Lumlings and Voltblubs while still missing entire species.
So when I am trying to earn more Conservatory tickets, I look at:
Creatures discovered
not:
total critters captured.
If that discovered-species counter is still short, another duplicate from the same cave is not the thing that moves it.
I Spend Conservatory Tickets on the Next Job, Not From Top to Bottom
The Conservatory mixes practical and optional rewards.
Early branches can include things such as:
- critter-related building pieces
- Glass Foundation
- Doors
- Precision Tools
- Signal Devices
- Signal Controls
- Logic Gates
I do not buy them in menu order.
I ask:
What am I about to build or solve next?
If I am preparing a permanent utility-critter area, containment pieces have immediate value.
If I am building more advanced control into the factory, a signal or precision branch can matter more.
If neither one solves a current problem, I keep the tickets.
That keeps rare tickets attached to a real decision instead of turning the Conservatory into another checklist.
I Use the Corraller to Move Utility Critters to the Resource They Support
The Corraller is not only a capture tool.
I use it to move critters.
My practical loop is:
find
→ capture
→ carry back to the factory
→ release where the critter’s output is useful.
Location matters.
I do not want a Lumling sitting wherever I happened to return from the cave.
I want it near the Water system.
I do not want a Redweaver dropping Red Sand into a mixed general-purpose area.
I want it beside a route that can actually use Red Sand.
The Corraller lets me separate:
I found the critter
from:
I am ready to deploy the critter.
Those are not always the same moment.
Lumlings Are the First Duplicates I Actively Look For
Lumlings solved a problem I was already dealing with:
Water consumption.
Earlier factory stages can use Water fast enough that I still find myself going underground to collect more manually.
Once I can bring Lumlings home, I can turn them into a renewable supply.
I build an enclosure where I actually want the Water, then release the Lumlings inside.
The critter card is direct:
Lumling — Creates Water.
In one setup I had three Lumlings captured and working.
That proved the mechanic.
It did not prove that three Lumlings are always enough.
My stopping rule comes from the Water system itself.
If Water still disappears faster than it accumulates:
→ another Lumling has a job.
If Water storage repeatedly stays full:
→ I stop interrupting cave trips for another duplicate.
That is the number I care about more than a fixed critter count.
If the underlying Water network is the actual problem, I fix that in my Pipes, Pumps, and Water guide instead of expecting one more Lumling to repair bad transport.
I Keep a Redweaver Contained Until Red Sand Has a Destination
The Redweaver changes how I handle deployment.
When I find one in the deeper Red Sand areas, I capture it.
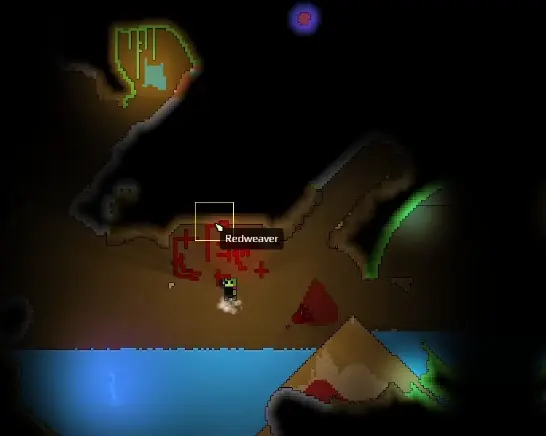
The useful part is obvious:
renewable Red Sand.
The dangerous part is also obvious:
another material entering the factory.
Before I release a Redweaver permanently, I want:
contained Redweaver area
→ Red Sand collection
→ dedicated or filtered route
→ an actual consumer.
I do not drop it into an old mixed Sand line and hope every downstream machine handles the new material correctly.
If Red Sand does not have a job yet, I keep the Redweaver contained or inside the Corraller.
Once Red Sand becomes a real input, I prefer moving the Redweaver closer to that consumer.
That shortens the route and makes failures easier to trace.
If the consumer stops receiving Red Sand, I only have a small local chain to inspect instead of a giant mixed-material factory.
Voltblubs Become Useful When I Have Solid Energy Storage
The in-game name is Voltblub.
Its Conservatory description says it can be used to power solid Energy blocks.
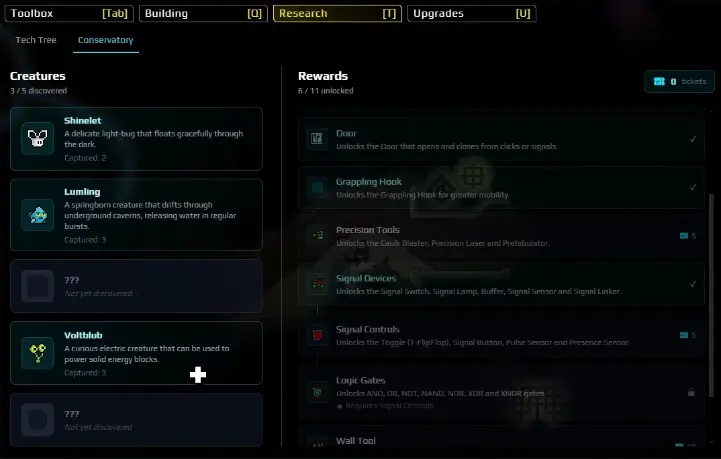
This is a critter whose usefulness changes with progression.
If I find my first Voltblub before I have a proper electrical setup, I still capture it.
I get the new species now.
I can use the production effect later.
Once Power Bricks exist, duplicates become easier to justify because they now support something the factory is actually using.
The Power Brick, Energy Connector, and Steam Turbine setup is handled in my batteries and Steam Turbines guide.
My critter decision is simpler:
first Voltblub
→ capture for the species.
additional Voltblubs
→ take them when solid Energy support is useful.
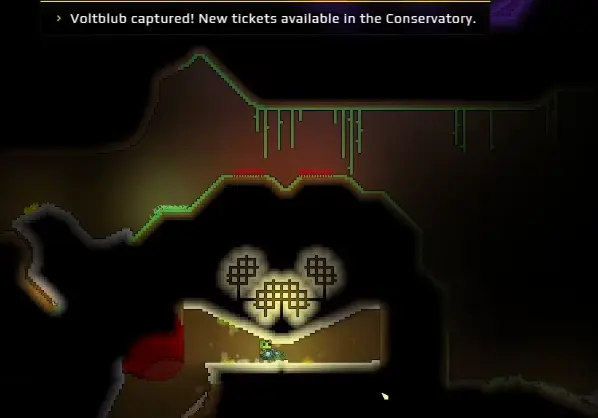
A Voltblub capture can also give me new tickets immediately.
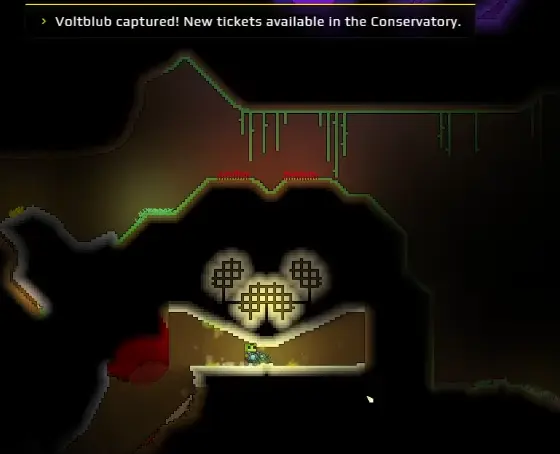
In one run I had 3 Voltblubs captured while the Conservatory still showed only 3 / 5 creatures discovered.
That is why I never use duplicate count as a substitute for species progress.
I Capture the First Voidgrazer Before the Void Loop Is Ready
The Voidgrazer is another species I do not leave behind just because I am not ready to use it yet.
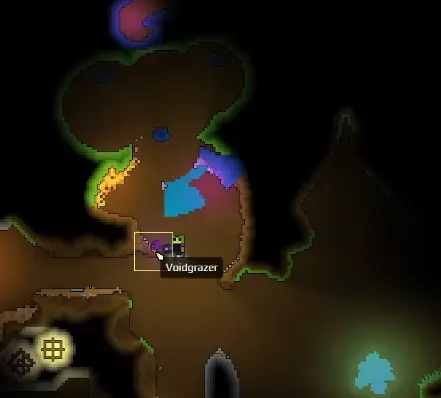
Its useful conversion is:
Void Husk → Void Juice.
That may not solve an immediate problem when I first discover the creature.
I still take the first one.
Otherwise I am betting that I will remember exactly where the cave was when the material finally matters.
Once I am actually producing Void Juice and recycling Void Husk, I use the full Void Husk and Void Juice route instead of treating the critter as a standalone source.
That is also when another Voidgrazer becomes a production decision rather than only a collection decision.
I Let Normal Exploration Find Most Critters for Me
I do not launch a separate expedition every time I need another species.
Once the Corraller is unlocked, I carry it while I am already going underground for:
- progression objectives
- Artifacts
- Copper
- Fluxite
- Moon materials
- deeper routes
That lets one trip do several jobs.
My preferred cave run looks like:
follow the real objective
→ capture a new species on the way
→ collect useful material that is already on the route
→ return to the factory
→ check Conservatory progress
→ deploy critters that now solve a resource problem.
This is much more efficient than wandering with no purpose except hoping to find one creature.
I only make a special return trip when I already know the location and the reward is worth the travel.
I Go Back for a Duplicate Only When Its Output Is Still Behind
This is the rule that stops me from over-collecting.
For every duplicate, I ask what I would do with it.
Another Lumling?
→ useful while Water is still being consumed faster than it accumulates.
Another Voltblub?
→ useful once Power Bricks exist and I want the extra support.
Another Redweaver?
→ useful if Red Sand throughput is genuinely behind and I already have somewhere safe for the output.
Another Voidgrazer?
→ useful when the Void Husk recycling side needs more help.
A critter with no current job?
→ I keep moving.
I do not confuse:
I can capture it
with:
I should stop what I am doing to capture it.
That distinction matters more as underground trips get longer.
Missing Conservatory Species Send Me Toward New Territory
When I am short on tickets, repeatedly capturing the same known species is not the answer.
Each new species is what earns tickets.
So if the Conservatory still shows missing creature slots, I treat that as an exploration signal.
Instead of farming the same cave again, I push toward:
a new branch
→ a new biome pocket
→ a room I could not reach earlier
→ or an area opened by better tools.
That gives exploration a stopping rule too.
If I am still missing species, new territory is useful.
If the collection is complete and no utility resource is behind, I stop making critter hunting the priority.
My Critter Priority Changes With the Factory
I do not keep one permanent ranking for every critter.
My priorities move with the factory.
Early, I value:
new species
→ Conservatory tickets.
When Water is limiting me:
Lumlings
→ renewable Water.
When later production actually needs Red Sand:
Redweaver
→ renewable Red Sand.
Once solid Energy storage exists:
Voltblubs
→ Energy support.
When Void materials enter production:
Voidgrazer
→ Void Husk recycling.
The critter I value most is usually not the rarest one on the Conservatory screen.
It is the one that either:
fills a missing species slot
or:
solves the resource shortage I can see right now.
That is what keeps critter hunting attached to the rest of the factory instead of turning it into a separate collectible grind.