How I Build My First Factory Without Choking the Line
I turn Sand and Water into Wet Sand, keep Shakers clear, route Residue correctly, unlock the Kinetic Press, and only scale once the line can clear itself.
Updated:
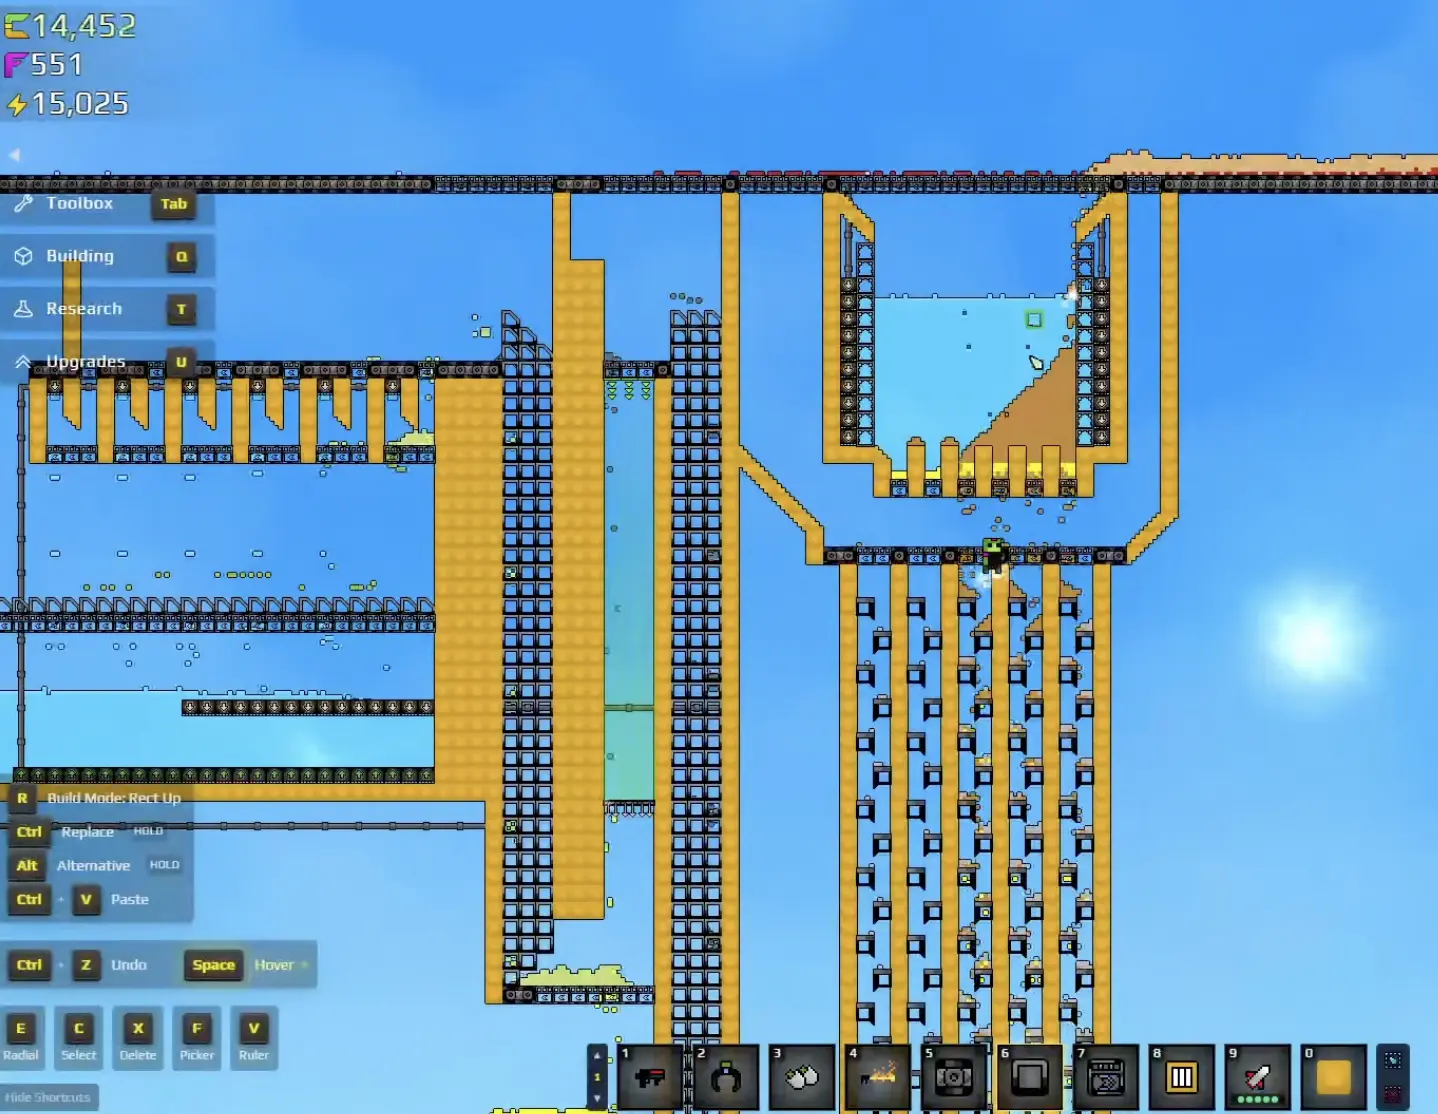
Quick Answer
My first useful factory follows this chain:
Sand + Water
→ Wet Sand
→ Shaker
→ separate Gold from Residue
→ burn the Residue
→ send Burnt Residue to the Kinetic Press
→ separate the new Gold and Seeds
The first ratio I actually use is:
1 Sand + 1 Water → 2 Wet Sand.
Once the Kinetic Press becomes the machine blocking progress, I reserve its 500 Gold instead of spending that balance on convenience research.
The most important rule is:
if material is already backed up inside the factory, I fix the blockage before adding more Sand.
My first Sandustry factory does not need to look finished.
It needs to keep moving.
That distinction saved me a lot of unnecessary rebuilding.
I can have a huge pile of Sand entering the factory and still produce almost nothing useful if:
- Wet Sand is waiting beside the Shakers
- Residue has nowhere clean to go
- Burnt Residue is feeding back into an earlier stage
- Gold and Seeds are falling into the same mixed pile
So I judge this factory from the middle of the line, not from how impressive the input looks.
If the middle cannot clear itself, I stop feeding it.
I Treat the Tutorial Factory as Temporary
The tutorial teaches me the basic physical loop:
dig Sand
→ make Wet Sand
→ use a Shaker
→ move material with Belts and Launchers.
Then the objective changes and I need a real Gold-producing factory.
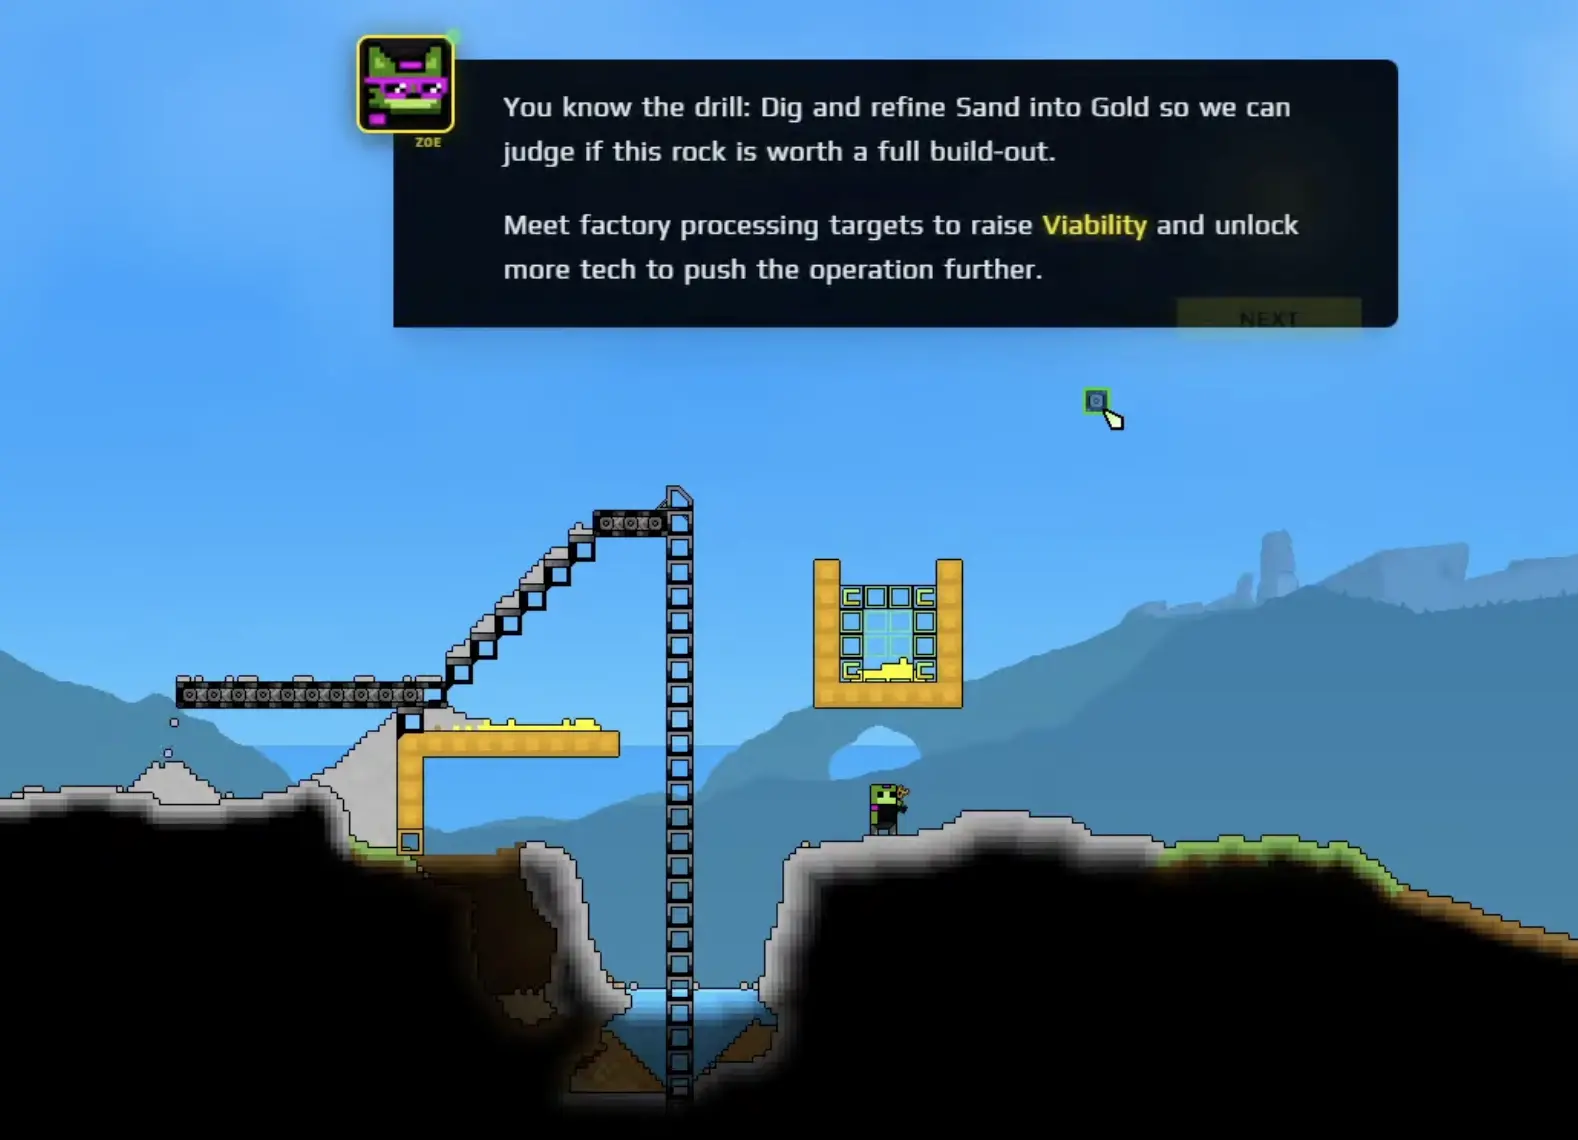
I do not preserve every tutorial structure just because the game placed it there first.
Some pieces are useful.
Others are only useful for teaching me a mechanic.
If deleting one temporary Belt gives me enough room for proper Gold, Residue, and Kinetic Press routes later, I delete it.
The early structures are cheap.
Designing every future machine around a bad temporary layout is not.
I Start With the 1:1 Sand and Water Mix
The first production ratio I keep in my head is:
1 Sand + 1 Water
→ 2 Wet Sand.
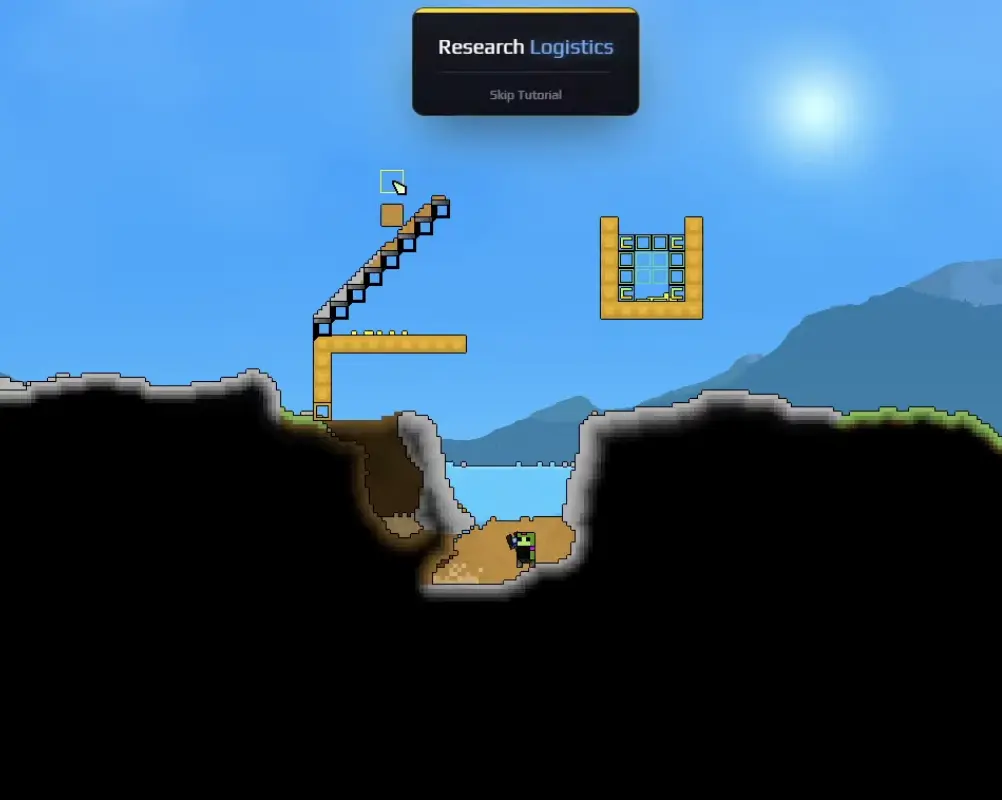
This gives me an immediate troubleshooting split.
If a Shaker has nothing to process, I check upstream:
Do I have Sand?
Is Water reaching the mixing area?
Is Wet Sand actually being created?
But if Wet Sand is already piling up beside the Shaker, I have the opposite problem.
I already have enough input.
I stop adding Sand and inspect processing.
That difference becomes more important as the factory grows.
I Do Not Rebuild the Whole Factory When Water Becomes the Problem
Water eventually becomes too important to handle casually.
When supplying Water manually starts limiting the factory, I do not redesign this Gold line around that shortage.
I solve the Water infrastructure separately in my Pipes, Pumps, and Water guide.
On this page, Water only has one job:
reach the Sand mixing stage reliably enough to keep Wet Sand production moving.
If that happens, I leave the plumbing alone and keep troubleshooting the material line.
I Leave Room Around the Shakers
The Shakers are one of the first places where the factory can look active while actually being blocked.
Wet Sand can arrive.
Belts can be full.
The input pile can look enormous.
None of that matters if the Shaker output cannot leave.
So I avoid boxing the Shakers into the smallest possible chamber.
I want enough room that I can see:
what is entering
and:
what is failing to leave.
That matters once Gold and Residue begin competing for space.
I am not trying to create the final factory here.
I am creating enough room that the next processing step does not require demolishing everything I just built.
I Save 500 Gold for the Kinetic Press
Once the Kinetic Press becomes the machine that moves this production chain forward, I treat its price as reserved money.
The research costs:
500 Gold.
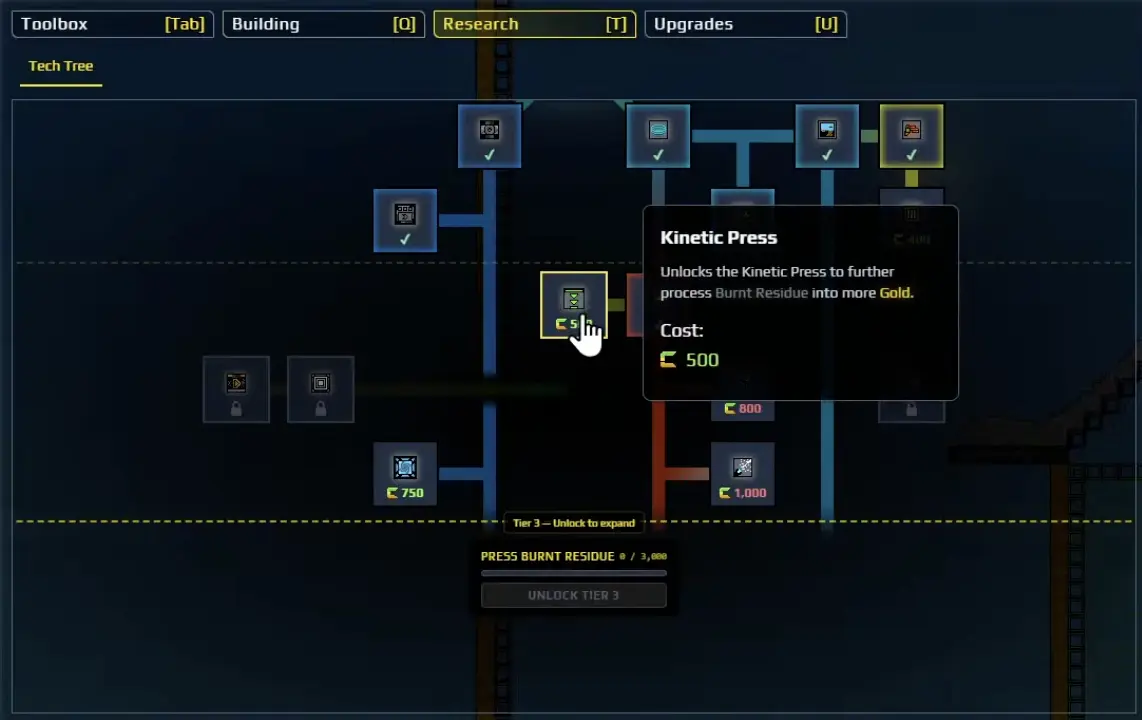
This is one of the first times I start separating:
useful research
from:
research I need now.
A convenience unlock can still be useful.
But if buying it drops me below the 500 Gold I need for the machine that actually extends the production chain, I usually wait.
Once the Press is working and Gold production improves, I can come back for the optional purchase.
I Separate Gold Before Residue Goes Deeper
Once Wet Sand processing starts producing multiple outputs, I stop letting everything fall into one common area.
My route becomes:
Wet Sand reaches the Shakers
→ Gold leaves toward its own storage
→ Residue continues toward burning
→ Burnt Residue moves toward the Kinetic Press
→ the Press output is separated again.
The reason I separate Gold early is simple.
Gold has no reason to travel through the rest of the Residue-processing line.
If I let it stay mixed, every later machine becomes harder to read.
I want to look at the Residue route and see Residue.
I want to look at the Gold route and see Gold.
That makes every later blockage easier to identify.
The Kinetic Press Turns Burnt Residue Into Gold and Seeds
The Kinetic Press changes what the Residue side is worth.
Burnt Residue is no longer just something I need to move out of the Shaker area.
It becomes useful input.
The Press gives me:
additional Gold
and:
Seeds.
That means I plan for both outputs before I fully open the line.
Gold gets its own destination.
Seeds get their own route or clean storage.
I do not build the flower system here, but I already know Seeds are going to matter soon.
Trying to recover them from a mixed Gold-and-material pile later is unnecessary work.
A Large Burnt Residue Objective Exposes Small Factory Problems
At small scale, I can get away with a messy factory.
I can manually move something that gets stuck.
I can clear a pile.
I can restart the line.
Once progression expects sustained Burnt Residue processing, those little problems become real bottlenecks.
That is where I stop asking:
How much more Sand can I mine?
and ask:
Is the factory empty or blocked?
If it is empty:
→ I go get more input.
If it is full:
→ I stay and fix the blockage.
The exact progression requirement and where this stage sits in the larger tier route stay in my progression guide.
Here, I only care about making the production line capable of clearing the material I give it.
I Never Feed More Sand Into a Blocked Shaker Line
The most important failure I hit in this factory was around Burnt Residue.
If Residue burns in the wrong part of the system, Burnt Residue can end up sitting around the Shakers instead of leaving through its own route.
Once the Shaker area clogs, the rest of the factory starts giving me misleading signals.
I may still have:
- plenty of Sand
- plenty of Water
- plenty of Wet Sand
but useful downstream output slows dramatically.
That is not an input shortage.
It is a blocked middle.
This is the rule that keeps me from turning one blockage into an entire factory full of waiting material.
I Burn Residue After I Control Where the Output Will Go
I do not like burning Residue wherever it happens to be sitting.
I decide where the resulting Burnt Residue needs to travel first.
Then I place the burning step around that route.
That keeps the process in the correct order:
Residue
→ burn
→ Burnt Residue
→ Kinetic Press.
What I want to avoid is:
Residue burns too early
→ Burnt Residue falls backward into the Shaker area
→ Shakers clog
→ I mistakenly add more input.
The burning mechanic itself is simple.
Its placement inside the line is what determines whether it stays manageable.
I Give Burnt Residue a Dedicated Route to the Kinetic Press
Once Filters are available, I make the Burnt Residue route obvious.
My working section uses filtering and Launchers to move Burnt Residue toward the Kinetic Press while keeping Gold out of that path.
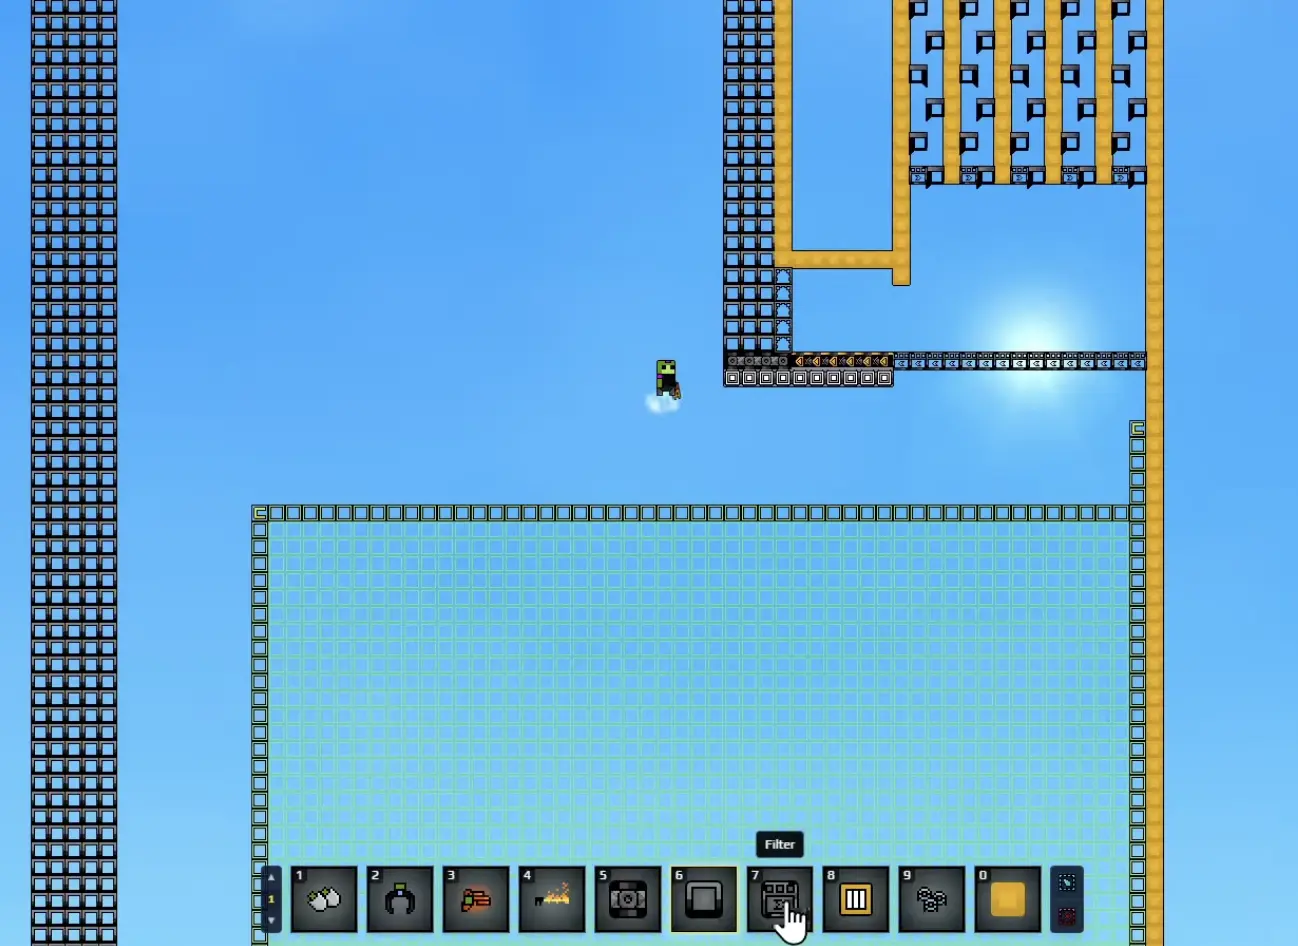
I keep three jobs visually separate:
Gold
→ Gold storage.
Residue
→ burning.
Burnt Residue
→ Kinetic Press.
If the Press stops receiving input, I can follow one route backward until I find the problem.
I do not have to inspect a mixed material pile and guess what went wrong.
I Do Not Overbuild the Heat Side
It is easy to add too much thermal infrastructure because heat looks like an obvious part of the Residue stage.
I keep it functional rather than oversized.
I only need enough heat handling to keep Residue converting reliably.
If the heat section is already working while Wet Sand or Shaker output is backing up somewhere else, adding more Thermal Buffers does not help.
I would rather spend space and resources on the stage that is visibly waiting.
Later, if I have access to a simpler heat source or a cleaner Lava-burning arrangement, I am happy to simplify this section.
The upgrade I value is not:
more complicated.
It is:
less babysitting.
I Test the Press Output Before Increasing Input
Once the Kinetic Press is connected, I do not immediately dump the maximum amount of Burnt Residue into it.
I first want to see one complete downstream cycle.
Burnt Residue reaches the Press
→ the Press processes it
→ Gold leaves cleanly
→ Seeds leave cleanly.
If that works, I can safely increase throughput.
If Gold or Seeds are already backing up at the Press output, I fix that before opening the upstream factory further.
There is no value in creating Burnt Residue faster than I can remove the Press products.
I Scale the First Stage That Cannot Keep Up
Once the whole chain works, I watch where material accumulates.
If Sand and Water are not making enough Wet Sand:
→ I work upstream.
If Wet Sand piles up beside the Shakers:
→ Shaker throughput or output is behind.
If Residue piles up before burning:
→ the burn section is behind.
If Burnt Residue piles up before the Kinetic Press:
→ Press throughput is behind.
If Gold or Seeds pile up after the Press:
→ output routing is behind.
I do not duplicate the whole factory every time one of those happens.
I scale the first stage that cannot keep up.
That is the same bottleneck logic I use later in much larger production chains.
I Know the Factory Works When I Can Leave It Alone
The best test of my starter factory is not how it looks while I stand beside it.
It is what happens after I walk away.
A stable version can:
make Wet Sand
→ process it through the Shakers
→ separate Gold and Residue
→ burn the Residue
→ feed Burnt Residue to the Kinetic Press
→ produce Gold and Seeds
without requiring me to move every pile by hand.
Once I reach that state, I stop redesigning it for aesthetics.
There is always another Belt I could straighten.
There is always another Collector I could move.
There is always another symmetrical layout I could build.
None of those is more important than starting the next real production stage.
Seeds Are My Handoff Into Flower Production
The Seeds coming out of the Kinetic Press are the natural endpoint of this page.
I do not start explaining Planter Boxes or Pyro Dispensers here.
I only make sure the Seeds leave the Press cleanly and have somewhere useful to go.
Once flower production becomes the active problem, I move into my flower farming and automation guide.
That keeps the Owner boundary simple:
this page
→ produces Seeds reliably.
the flower page
→ turns those Seeds into the next production system.
The Early Factory Route I Keep
My starter factory stays built around one sequence:
Sand + Water
→ 2 Wet Sand
→ Shakers
→ separate Gold and Residue
→ burn Residue in a controlled section
→ route Burnt Residue away from the Shakers
→ save 500 Gold for the Kinetic Press
→ send Burnt Residue into the Press
→ separate Gold and Seeds
→ fix the first blockage before increasing input
→ stop rebuilding once the factory can run without me.
That last rule matters the most.
The early factory does not need to be finished forever.
It only needs to be stable enough to feed the next stage.