STALKER 2 Cost of Hope Walkthrough: All Missions in Order
Follow all 16 Cost of Hope main missions in order, unlock Part 2, finish both investigations, save at X16, and complete the Duty or Freedom route.
Updated:
Quick Answer
Cost of Hope has 16 different named main missions across its Duty and Freedom branches, but I do not play all 16 on one save.
A Duty / Zulu playthrough takes me through 13 main missions.
A Freedom / Mavka playthrough takes me through 14 main missions.
The campaign stays shared from Terra Incognita through The Destructive Power of the Mind. Inside Laboratory X16, the final Mavka/Zulu confrontation permanently splits the story:
Mavka → Freedom
Zulu → Duty
If Cost of Hope stops after Distant Mirage, I continue the base campaign until I complete A Minor Incident. That unlocks the second major DLC block on a normal save or Early Start.
Cost of Hope is easier to follow once I stop expecting one uninterrupted sixteen-mission chain.
The first nine missions are shared.
After X16, Duty and Freedom receive different late-game missions before both routes converge around the CNPP and The Price of a Miracle.
Cost of Hope Mission List and Order
There are 16 unique main mission names across both branches.
The Duty and Freedom columns below show which number each mission occupies on that specific playthrough.
| Mission | Duty order | Freedom order | Where it fits |
|---|---|---|---|
| Terra Incognita | 1 | 1 | Opens the Iron Forest route |
| Step Into the Unknown | 2 | 2 | Pushes deeper into the Iron Forest |
| Unexpected Alliance | 3 | 3 | Brings Duty and Freedom into the same conflict |
| In the Heart of the Iron Forest | 4 | 4 | Main Iron Forest investigation |
| Distant Mirage | 5 | 5 | Ends the first DLC story block |
| Moving in the Shadows | 6 | 6 | Begins Part 2 and the wider-Zone investigation |
| Shadows of the Past | 7* | 7* | Tachenko, Lymansk and the Bubble |
| To the Origins of Freedom | 8* | 8* | Lukash, Krug, IPSF and Czechov |
| The Destructive Power of the Mind | 9 | 9 | X16 assault and permanent faction split |
| In the Memory of the Fallen | 10 | — | Duty’s Montreal operation |
| Status Quo | — | 10 | Freedom conflict around Rostok |
| Dangerous Way | — | 11 | Freedom’s Montreal route |
| The Road to the Center of the Storm | 11 | 12 | Both routes turn toward the CNPP |
| Gunpowder, Sweat, and Blood | 12 | — | Duty’s CNPP assault |
| Uninvited Guests | — | 13 | Freedom’s CNPP assault |
| The Price of a Miracle | 13 | 14 | Reactor 4, X19 and the finale |
Shadows of the Past and To the Origins of Freedom are parallel
investigations. I can work through them in either order, but both must be
finished before X16.
That is why one completed investigation does not immediately trigger The Destructive Power of the Mind.
Can I Complete All 16 Missions in One Playthrough?
No.
The total of 16 includes missions exclusive to both late-game faction routes.
If I support Zulu / Duty, my save contains:
13 main missions
If I support Mavka / Freedom, my save contains:
14 main missions
The difference comes from the branch-specific late game.
Duty receives:
- In the Memory of the Fallen
- Gunpowder, Sweat, and Blood
Freedom receives:
- Status Quo
- Dangerous Way
- Uninvited Guests
Both sides still play:
- The Road to the Center of the Storm
- The Price of a Miracle
To experience every named main mission, I preserve a manual save at the permanent X16 choice, finish one faction, then reload that save and play the other.
Part 1: Terra Incognita to Distant Mirage
The DLC begins by sending me toward the Slag Heap.
If Cost of Hope has not activated at all, I first use the How to Start Cost of Hope guide to check my campaign state, Early Start or Advanced Start.
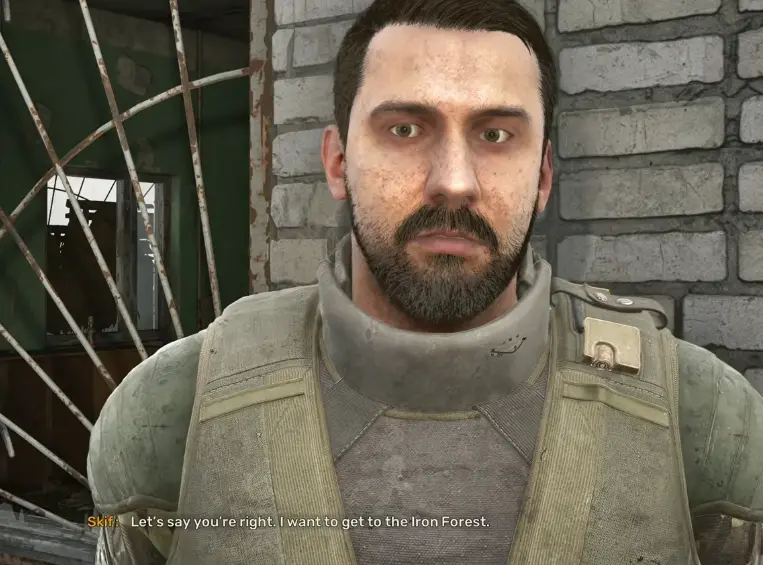
Once Terra Incognita is active, I talk to Chatterbox and follow his lead toward the Iron Forest.
The first five missions form one continuous regional arc:
Terra Incognita
→ Step Into the Unknown
→ Unexpected Alliance
→ In the Heart of the Iron Forest
→ Distant Mirage
The Iron Forest Walkthrough covers the actual entry routes, IPSF checkpoint, Kurin, repeaters, Power Substation, Testing Workshop and Distant Mirage.
For the overall campaign, the most important thing to know is that Distant Mirage marks the end of the first major DLC block.
I Do Not Clear the Entire Iron Forest Before Moving On
The Iron Forest has enough side content, stashes, mutants and optional locations to keep me there for a long time.
I finish something optional when it is already close to my main route or when I actually care about its reward.
I do not make complete regional cleanup a requirement before Distant Mirage.
That keeps repairs, ammunition and carry weight under control and gets me to the second half of Cost of Hope much sooner.
The region remains available for later exploration.
Why Cost of Hope Stops After Distant Mirage
This is the progression gap most likely to make the DLC feel broken.
Cost of Hope is woven into the Heart of Chornobyl campaign rather than being placed entirely after the original story.
Part 1 can happen early.
Part 2 requires the base campaign to reach:
A Minor Incident
If Distant Mirage ends and another Cost of Hope mission does not appear on a normal campaign or Early Start, I return to the original main story and complete that mission.
I do not need to stay in the Iron Forest waiting for another radio call.
Advanced Start avoids this gap because it begins far enough into the base campaign for both major Cost of Hope blocks to become available.
Moving in the Shadows Begins Part 2
Once the second block opens, the next Cost of Hope mission is:
Moving in the Shadows
The campaign leaves the Iron Forest behind as its main focus and spreads back through the wider Zone.
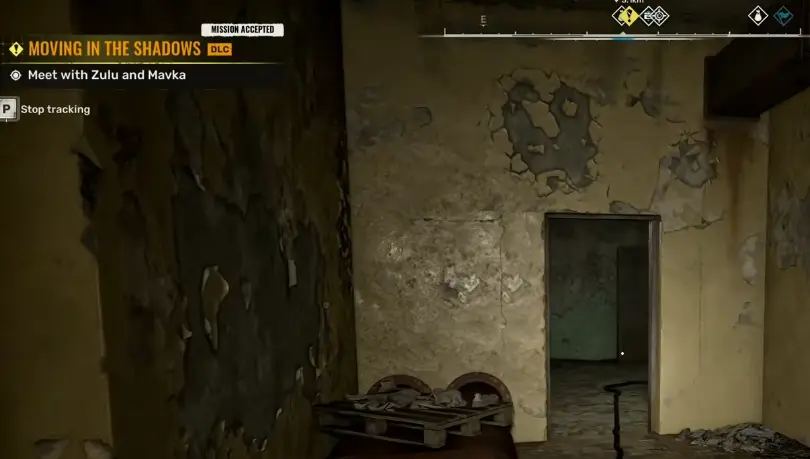
This part uses much more:
- vertical movement;
- timed traversal;
- enclosed routes;
- environmental hazards;
- interior combat.
When a jump looks correct but Skif repeatedly falls short, I check stamina and carry weight before abandoning the route.
The Moving in the Shadows Walkthrough follows the detailed path through SIRCAA, Suslov, Tachenko’s memorial and the transition into the next investigations.
Finish Both Mid-Game Investigations
After Moving in the Shadows, the campaign develops two story threads.
They are not a Duty/Freedom choice.
I eventually complete both.
Shadows of the Past
Shadows of the Past follows Zulu’s investigation into Tachenko and the Bubble.
The route runs through places including:
- Lymansk;
- the Anomalous Apartments;
- the Radiowave Research Institute;
- the hospital.
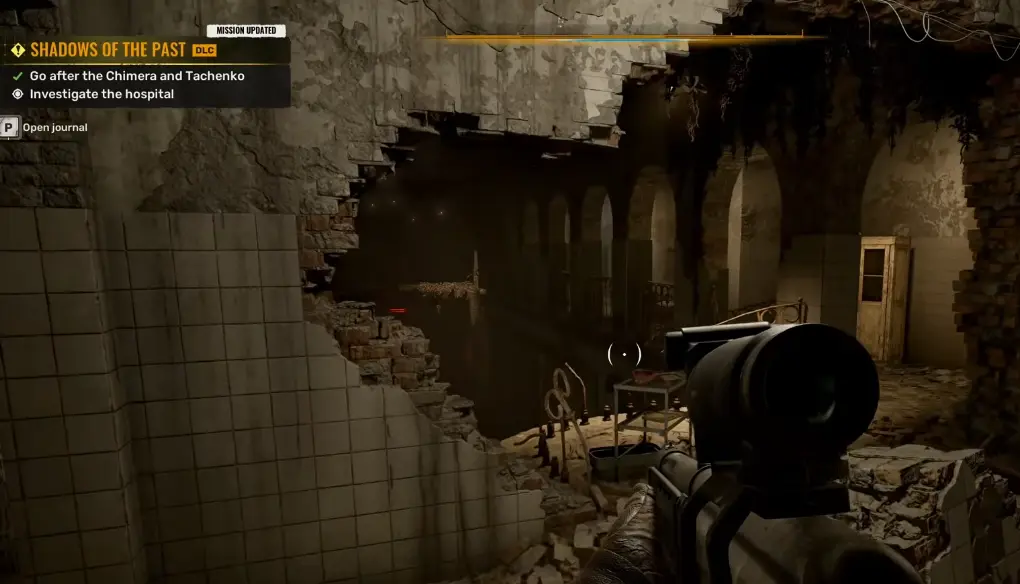
For the changing interiors, Svarog route and later encounters, I continue with the Shadows of the Past Walkthrough.
To the Origins of Freedom
To the Origins of Freedom follows Mavka’s investigation.
It takes me through:
- Lukash’s stashes;
- Krug Antenna Complex;
- the IPSF connection;
- Perimeter Dam;
- Czechov.
The To the Origins of Freedom Walkthrough covers that route.
If X16 Does Not Start
I check the PDA for whichever investigation is still unfinished.
Completing Shadows of the Past does not remove the requirement to finish To the Origins of Freedom, and the reverse is also true.
Once both are resolved, the two threads converge on Laboratory X16.
The Destructive Power of the Mind and X16
The Destructive Power of the Mind is the final shared mission before Cost of Hope permanently branches.
There are two separate Mavka/Zulu decisions inside this part of the campaign.
They do not mean the same thing.
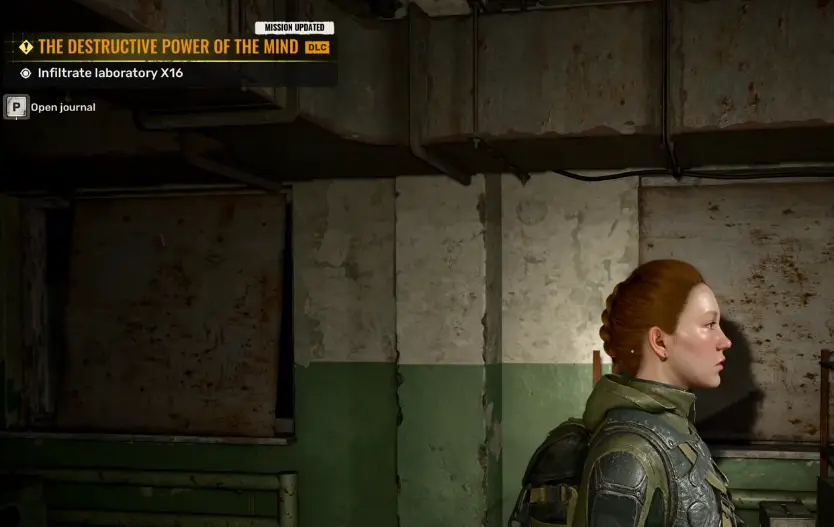
The First Mavka or Zulu Choice Only Changes the X16 Approach
At the assault briefing, I can follow either plan.
Mavka gives me the quieter side-entry approach.
Zulu gives me the direct assault with explosives.
Both paths eventually converge inside Laboratory X16.
That means I can:
enter with Mavka and later choose Zulu
or:
enter with Zulu and later choose Mavka
without breaking the campaign.
The X16 and Destructive Power of the Mind Walkthrough covers the key card, explosives, power restoration, codes and laboratory route.
The Second X16 Choice Is Permanent
Deeper in X16, Mavka and Zulu finally confront each other over what should happen to the technology.
This is the branch that matters.
Support Mavka → Freedom
Support Zulu → Duty
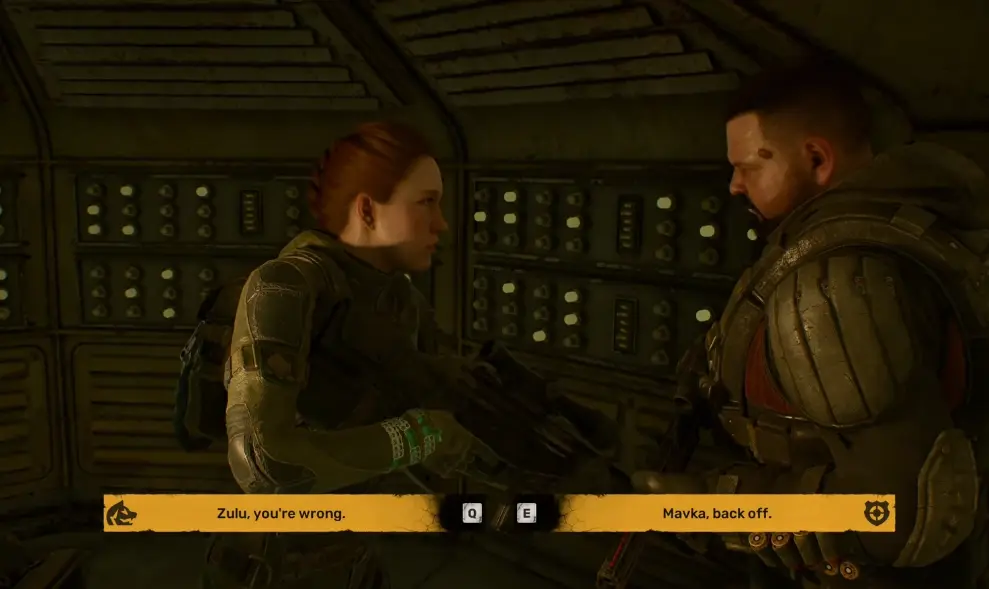
The full consequences, faction rewards and both endings are in the Duty or Freedom: Mavka or Zulu Guide.
If unique weapons affect my choice, the Cost of Hope Unique Weapons Guide separates the shared pickups from the Mavka/Freedom and Zulu/Duty rewards.
Duty Mission Order After X16
If I support Zulu, the remaining Duty route is:
In the Memory of the Fallen
→ The Road to the Center of the Storm
→ Gunpowder, Sweat, and Blood
→ The Price of a Miracle
In the Memory of the Fallen takes me through Duty’s Montreal operation.
After that, The Road to the Center of the Storm moves the campaign toward the final region.
Gunpowder, Sweat, and Blood is Duty’s CNPP assault before the finale.
On this save I do not wait for:
- Status Quo;
- Dangerous Way;
- Uninvited Guests.
Those are Freedom missions.
Freedom Mission Order After X16
If I support Mavka, the remaining Freedom route is:
Status Quo
→ Dangerous Way
→ The Road to the Center of the Storm
→ Uninvited Guests
→ The Price of a Miracle
Status Quo handles the Freedom conflict around Rostok.
Dangerous Way is the longer Montreal stage.
After The Road to the Center of the Storm, Uninvited Guests becomes
Freedom’s main CNPP battle before the finale.
On this branch I do not wait for:
- In the Memory of the Fallen;
- Gunpowder, Sweat, and Blood.
Those belong to Duty.
The Road to the Center of the Storm Brings Both Routes Toward the CNPP
Although the faction mission names differ, both routes eventually reach:
The Road to the Center of the Storm
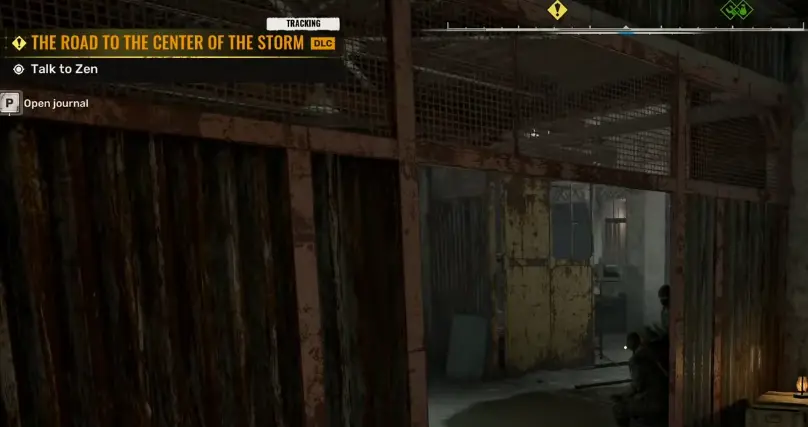
Before committing to the final stretch, I repair the equipment I actually use and unload anything that is only adding carry weight.
The remaining missions include long travel, underground sections and faction combat.
A backpack full of spare damaged weapons is more liability than profit here.
CNPP, Reactor 4 and X19
The CNPP is the final major region of Cost of Hope.
Duty and Freedom arrive under different circumstances, but both routes eventually push through the same broader endgame geography.
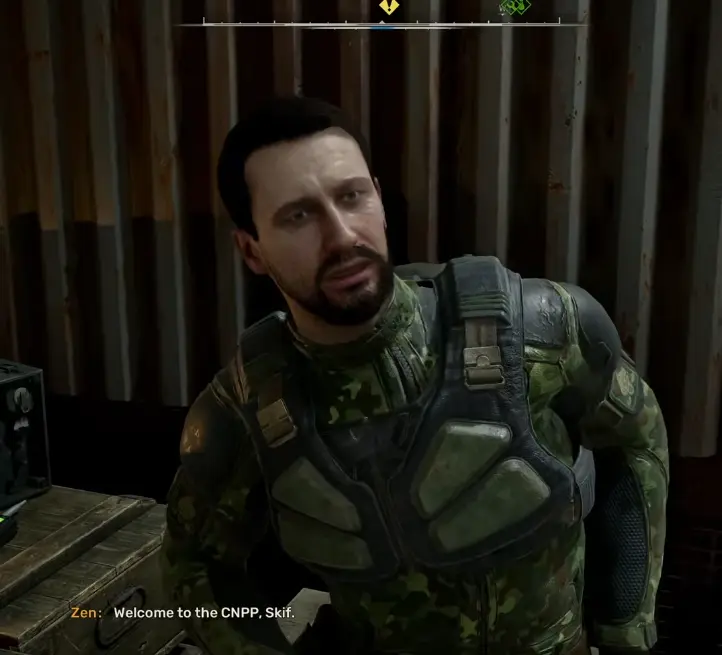
The late journey takes me through:
- Montreal;
- the Montreal Control Depot;
- faction-specific CNPP fighting;
- Reactor 4;
- Laboratory X19.
The CNPP and X19 Walkthrough covers both faction variants through this final stretch.
I switch to that guide once my current objective has moved beyond X16 into the Montreal/CNPP route.
The Price of a Miracle Is the Final Mission
Both faction paths eventually reach:
The Price of a Miracle
This is the final main mission in Cost of Hope.
The route pushes through Reactor 4 and X19 before resolving the faction story I locked at X16.
I do not need another major branch save inside the finale.
If I want the other Cost of Hope outcome, I return to the manual save from the Mavka/Zulu confrontation and play the other faction route.
The Duty or Freedom Guide covers what those two outcomes mean without mixing the full ending spoilers into the mission route here.
If My Next Cost of Hope Mission Does Not Appear
When progression seems to stop, the point where it stopped usually tells me what is missing.
Nothing starts after Distant Mirage
I check whether I have completed:
A Minor Incident
in the base campaign.
If not, I continue Heart of Chornobyl until that mission is finished.
X16 does not start after one investigation
I check whether both:
Shadows of the Past
and:
To the Origins of Freedom
are complete.
They are parallel investigations, not alternatives.
A Duty mission does not appear after I chose Mavka
That is expected.
Mavka permanently puts the save on the Freedom route.
A Freedom mission does not appear after I chose Zulu
That is also expected.
Zulu permanently puts the save on the Duty route.
I am not sure whether the DLC activated at all
I return to the How to Start Cost of Hope Guide and check the campaign requirement, DLC Content options and PDA mission state.
Once I know which of those checkpoints I have reached, the next Cost of Hope mission is usually clear without replaying completed objectives or waiting for a trigger that belongs to the other faction.