How I Find Lukash's Stash and Get Through the Perimeter Dam
I search the Krug Antenna Complex, follow Lukash's IPSF connection to the dam, use the pipe entrance, reach Czechov, and escape after restarting the antenna.
Updated:
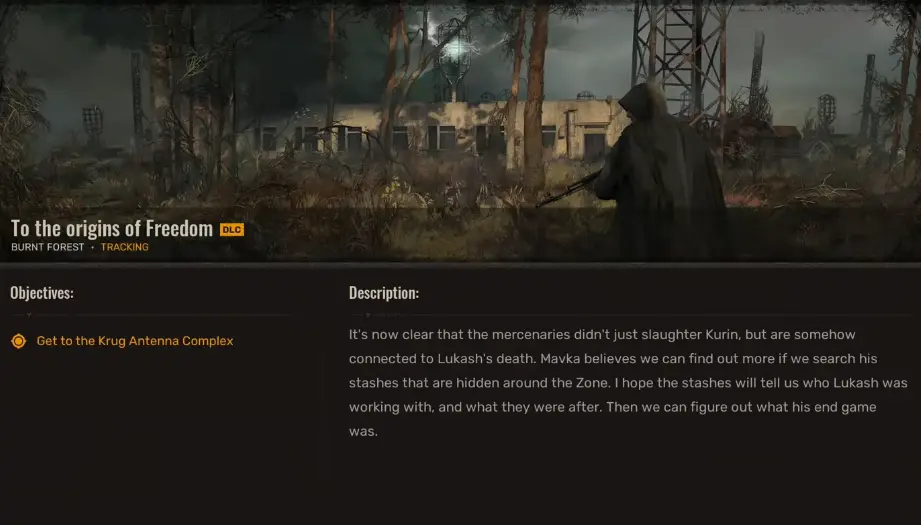
Quick Answer
My route through To the Origins of Freedom is:
travel to the Krug Antenna Complex → go down into the underground facility → find Lukash’s stash → take the IPSF lead and remote-control clue → leave for the Perimeter Dam → enter through the unguarded pipe → reach Mavka in the radio room → contact Czechov → go to the roof → restart the antenna → escape once the IPSF traces the signal.
The two places where I save the most time are the travel and the dam entry.
I use a guide toward the Chemical Plant/Burnt Forest side instead of running across half the Zone, and at the dam I follow Mavka’s pipe coordinates rather than trying to walk through a guarded entrance.
I also stay fairly light. Krug has mutants underground and the dam becomes an escape sequence later, so carrying another heavy rifle I am unlikely to use is worse than keeping stamina and inventory space.
To the Origins of Freedom Is Mavka’s Side of the Investigation
This mission runs alongside Shadows of the Past rather than simply coming after it.
Zulu is following Nord and Tachenko’s trail while Mavka is working through the information Lukash left behind.
I eventually need both threads resolved before the story can properly converge on X16.
So if Shadows of the Past is already finished but the next major mission has not appeared, I check whether To the Origins of Freedom is still sitting in my PDA.
I do not wait around for another call.
I finish Mavka’s investigation.
Use a Guide Instead of Running the Entire Way to Krug
The second half of Cost of Hope spreads objectives across much more of the Zone than the Iron Forest arc did.
That becomes obvious here.
When I leave the Slag Heap area, I use a guide to get closer to the Chemical Plant / Burnt Forest side before continuing on foot.
The last stretch still takes me across damaged terrain and a bridge with enough radiation nearby that I keep moving rather than stopping in the exposed section to sort inventory.
This is one of those moments where paying for travel makes sense.
I am not skipping a puzzle or meaningful exploration.
I am skipping a long stretch between two actual mission locations.
Zen Points Me Toward the Underground Krug Facility
As I get close to the Krug Antenna Complex, Zen briefs me on what Mavka’s group has already learned.
Lukash had multiple stashes spread around the Zone.
They tend to share two traits:
- inconspicuous locations;
- a lot of mutants around them.
Krug fits that pattern.
More importantly, the antenna complex has a large underground floor.
That is where I go.
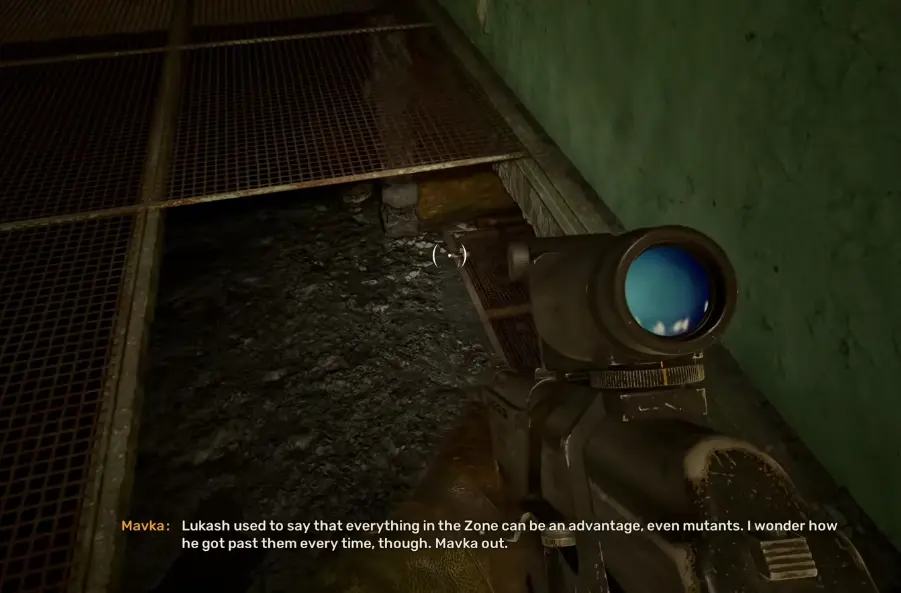
Get Down to the Lower Level
Once I reach the complex, the objective becomes more useful than the map marker:
Get down to the lower level of the antenna complex.
I follow the interior route downward.
There are enough mutants around Krug that I keep my shotgun ready rather than carrying a scoped rifle as my active weapon.
This is the same loadout decision that kept paying off in SIRCAA and Lymansk.
Most of these fights happen at ranges where a quick shot matters more than a perfect long-range sight picture.
If I have grenades, I keep a few available instead of selling all of them. Groups inside confined rooms are one of the rare places where they can save a lot of ammunition.
Do Not Enter Krug Already in the Red for Carry Weight
This area contains enough weapons and supplies that I can make myself overweight very quickly.
I do not pick up every rifle I see.
My priority is:
- ammunition I actually use;
- medkits;
- bandages;
- grenades;
- PDAs and mission clues;
- valuable lightweight loot.
If a new gun pushes my weight into the red and I have no realistic plan to use it, I leave it.
There is still a long trip after Krug, followed by a stealth-heavy base infiltration.
I would rather move normally than carry one more gun to a trader.
Find Lukash’s Stash Underground
Once I reach the lower level, the objective changes to finding Lukash’s stash.
The route gets dark and more enclosed, but I do not need to search the entire complex randomly.
I keep working through the accessible underground path.
Eventually the investigation turns up something more important than money or ammunition:
an IPSF key card.
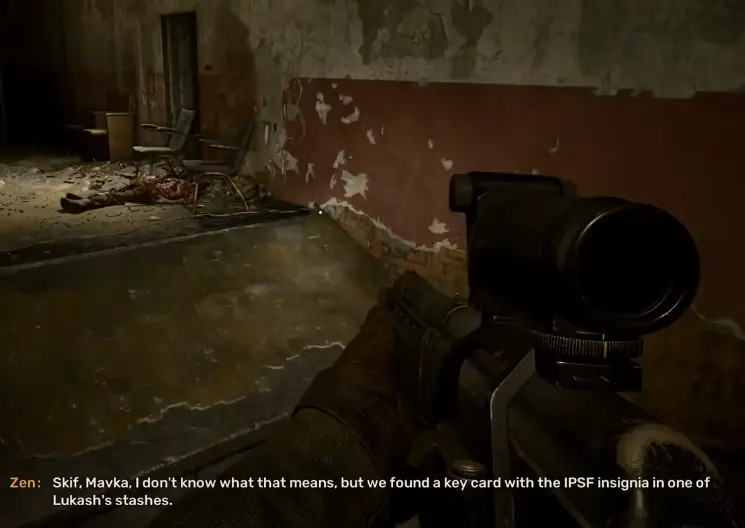
Mavka’s team has found a similar clue in another stash.
That changes the question from:
Where did Lukash hide his equipment?
to:
Why was Lukash working with someone inside the IPSF?
I keep searching rather than leaving as soon as the key-card clue appears.
Take the Remote-Control Clue Before Leaving
Deeper into this route, I also find a remote control connected to Lukash’s work.
At this point I do not know its full importance yet.
I simply keep it.
I do not sell or discard strange mission-related equipment just because it does not immediately look like a weapon or normal key.
The clue later matters far beyond Krug.
For now, the important thing is that Lukash had:
- an IPSF connection;
- contact with someone at the dam;
- a key card tied to that connection;
- a remote linked to the technology everyone is chasing.
That is enough to give me the next destination.
The Next Lead Is the Perimeter Dam
Mavka eventually confirms that Lukash had been paying an IPSF soldier who helped him contact someone at the dam.
That is why the key card matters.
The mission stops being a stash hunt.
I leave the Krug complex and head for the Perimeter Dam.
Before I make the trip, I check my supplies.
If Krug took a lot of ammunition or healing, this is when I restock.
I do not wait until I am already inside the IPSF facility.
Follow Mavka’s Coordinates to the Pipe
As I approach the dam, Mavka gives a very specific instruction:
do not sound the alarm if I can avoid it.
Her group found a better way inside.
The pipe is the only route they identified without guards, while the other approaches are watched or patrolled.
That is the route I use.
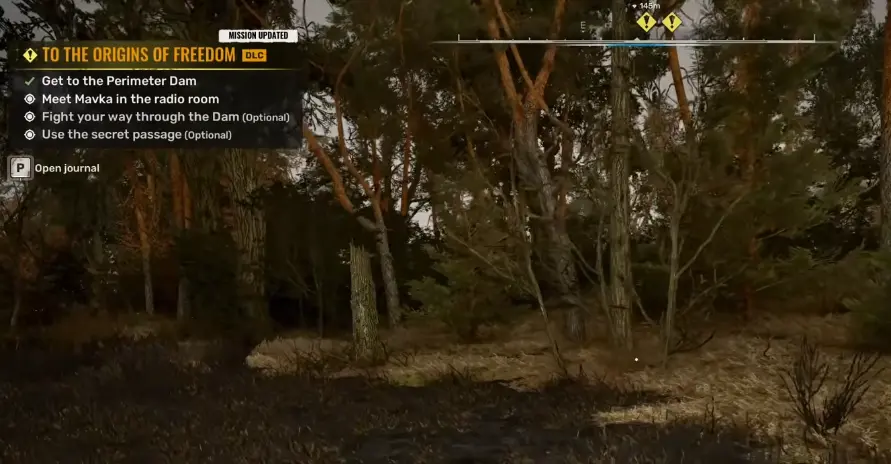
I make a manual save before entering.
Not because the mission demands a perfect stealth run, but because the next section is much easier when I do not turn the entire base hostile immediately.
Stealth Is Useful, but I Do Not Restart Every Time Someone Sees Me
Inside the dam, I crouch, use cover, and take advantage of the quieter route.
A suppressed weapon helps if I already have one.
I do not buy an entirely new weapon just for this mission.
There are several guards moving through the facility, and some wear enough protection that I do not assume a casual pistol shot will always solve the problem.
If I have a clean stealth takedown, I use it.
If the attempt goes bad, I make a quick decision:
- one nearby guard noticed me → deal with him and keep moving;
- the whole base is alerted → either fight through or reload the nearby manual save.
I do not repeatedly reload because one individual patrol behaved differently.
The goal is reaching the radio room, not earning an invisible perfect-stealth score.
Watch the Announcements to Know Where I Am
The dam is full of IPSF announcements about:
- communications equipment;
- personnel searches;
- radiation protection;
- restricted weapons;
- medical reporting.
They make the base feel busy, but they can also become background noise.
I pay more attention to the objective and door access than to every announcement.
If I seem to be walking away from the radio-room marker, I stop and re-check the interior route rather than assuming another floor will eventually loop back.
There is at least one key pickup along the way that opens the next useful interior door.
Meet Mavka in the Radio Room
Eventually I reach Mavka and her people inside the radio room.
This is the payoff for the entire stash search.
They use the information from Lukash’s caches and the dam connection to establish a call with Czechov, one of the central figures behind Freedom.
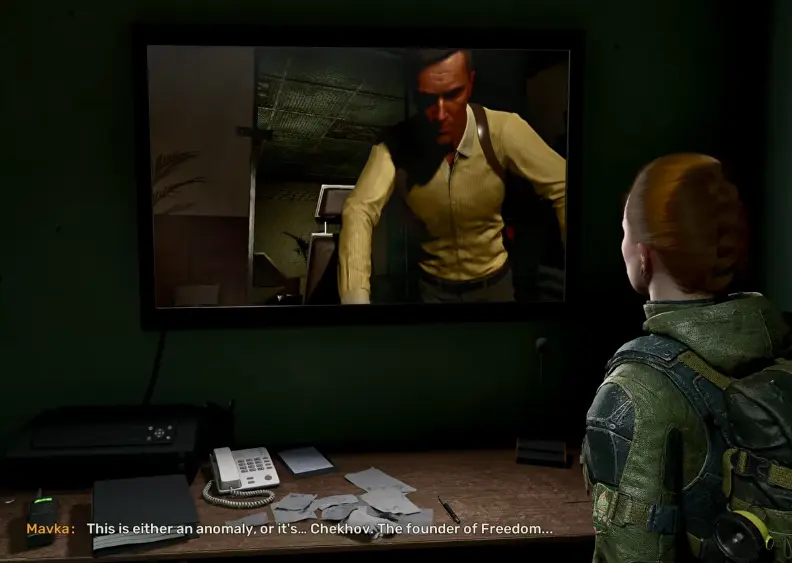
I do not skip through this conversation if I care about understanding the faction conflict that follows.
Until now, Duty and Freedom have mostly been reacting to Nord and the mercenaries.
Czechov gives the other side of the argument.
The technology is capable of creating and controlling anomalies, rather than just studying anomalies that already exist.
His vision is to use that capability for things such as Oasis-like effects and eventually bring benefits from the Zone to people on the mainland.
That is also why Nord having the technology is such a problem.
The same capability can be used very differently depending on who controls it.
This Conversation Explains Why Mavka and Zulu Start Pulling Apart
I do not make any permanent faction choice here.
That comes later.
But this conversation is where Mavka’s position makes much more sense.
Czechov believes the technology is something that can be used.
Zulu increasingly sees the same class of technology as something too dangerous to leave intact.
Neither position is just:
Freedom good / Duty bad
or the reverse.
That is why I do not treat To the Origins of Freedom as optional exposition.
It sets up the decision I will eventually have to make inside X16.
There Is an Achievement Trigger Here, but I Do Not Chase It Separately
Around the Czechov sequence I can trigger the achievement tied to meeting the founders of Duty and Freedom.
I do not create a separate detour for it.
It happens naturally while following the Cost of Hope story.
For now, I treat that as part of this mission’s progression rather than turning it into another thin page.
Go to the Roof and Restart the Antenna
After the conversation, Mavka needs one more thing from me:
reactivate the antenna on the roof.
I follow the route upward and reach the switch.
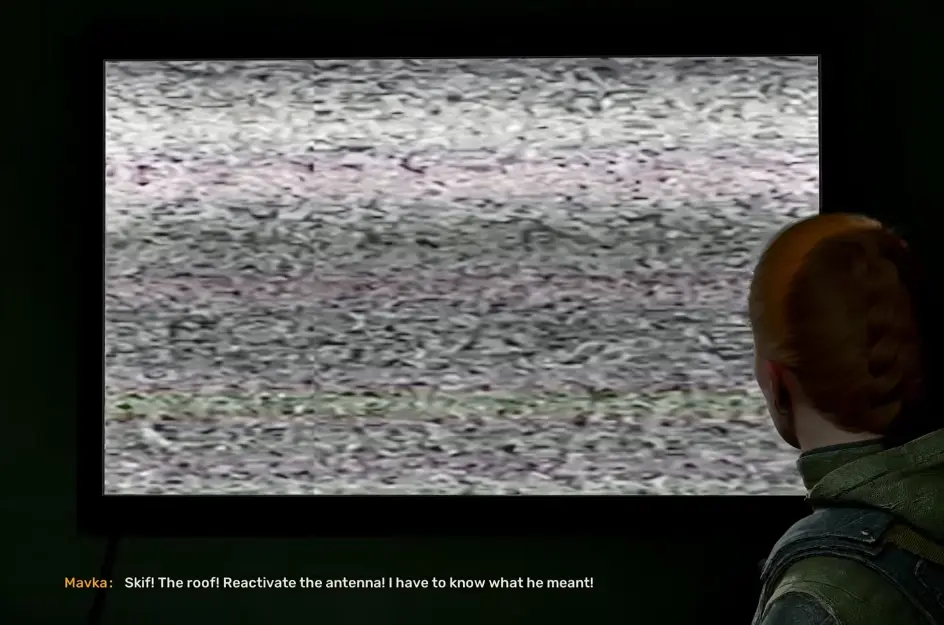
Before I touch it, I:
- reload;
- heal if necessary;
- make sure I am not overloaded;
- know roughly which direction I came from.
The switch is not the end of the danger.
It starts the escape.
The IPSF Tracks the Signal Immediately
Once the antenna is active, the transmission gets traced.
The base goes on high alert.
The objective changes from investigation to:
leave the territory.
I stop looting.
I stop trying to preserve stealth.
The useful part of stealth is over.
Now I care about getting outside.
If soldiers block the direct route, I fight enough to create space and keep moving.
I do not try to clear every IPSF soldier in the facility.
There is no reason to turn the escape into a full base wipe.
If the Normal Exit Becomes Messy, Look for a Safe Drop
On my way out, I found that the interior route could become much more awkward once the whole facility was alert.
I started looking at the exterior ledges instead of insisting on retracing every hallway.
There are places where I can drop down in stages and leave the compound without taking a fatal fall.
I do not blindly jump from the roof.
I look for:
- a lower ledge;
- another surface below it;
- safe ground outside the main fighting;
- then I drop.
That worked much better than staying inside trading ammunition with every reinforcement.
What I Do After Leaving the Dam
Once I am safely outside, Mavka confirms that the call gave her what she needed.
Czechov’s message also reinforces something Lukash had apparently been arguing for a long time:
Freedom has moved away from what it originally stood for.
Mavka is not ready to accept everything blindly, but she wants to see the technology herself before deciding what should happen to it.
That is enough to move the story forward.
I do not spend the reward immediately.
At this point the campaign is about to converge on Laboratory X16, and that is a much better reason to keep money available for:
- repairs;
- armor condition;
- ammunition;
- healing;
- inventory cleanup.
If a trader offers me a 60,000+ coupon rifle but I already have a weapon I trust and little ammunition for the new one, I keep the money.
A shiny replacement does not help if I enter X16 broke and under-supplied.
To the Origins of Freedom Ends Before the X16 Assault
After this investigation and the parallel Shadows of the Past route are both resolved, Zulu and Mavka finally have enough information to move against Nord.
Their next meeting is about Laboratory X16.
That is a new player stage.
Zulu plans the loud main assault.
Mavka proposes the quieter side approach.
The two groups still intend to work together when the operation begins.
The permanent Duty/Freedom split has not happened yet.
That choice belongs inside The Destructive Power of the Mind, so I do not treat anything I said to Czechov here as my final ending decision.
For this mission, my job is finished once I have:
searched Krug → found Lukash’s IPSF connection → infiltrated the dam → contacted Czechov → restarted the antenna → escaped.