How I Reach the CNPP and Finish X19 on Either Route
I follow the Freedom or Duty late-game route through Montreal, reach the CNPP, enter Reactor 4 and X19, and finish The Price of a Miracle.
Updated:
Quick Answer
After the permanent X16 faction split, the late game follows two different routes before converging around the CNPP.
Freedom / Mavka
Status Quo → Dangerous Way → The Road to the Center of the Storm → Uninvited Guests → The Price of a Miracle
Duty / Zulu
In the Memory of the Fallen → The Road to the Center of the Storm → Gunpowder, Sweat, and Blood → The Price of a Miracle
On Freedom, the main Montreal blockers are the 7975 door, the Mercury anomaly, and the Montreal activation key.
On Duty, I treat the Montreal elevator as a commitment point, then bring five station nodes online before starting the train.
Both routes eventually push through the CNPP toward Reactor 4 and X19. Inside X19, the clearest puzzle answer is the changed projector-room code 3150. On the Freedom finale, the last encounter also requires me to operate the cooling controls instead of solving everything with gunfire.
Start Here After the Permanent X16 Choice
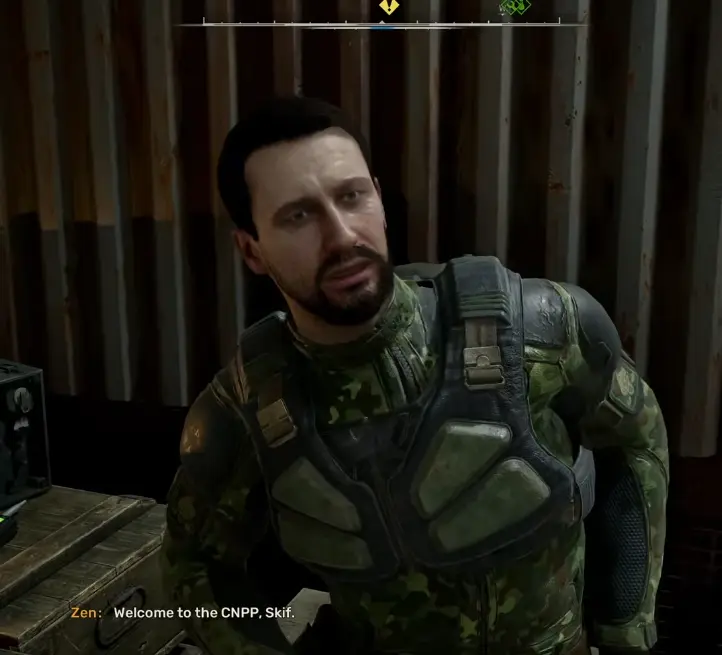
I use this route after The Destructive Power of the Mind, once I have actually committed to Mavka or Zulu inside X16.
The earlier decision about how to enter X16 is no longer relevant here. The later faction choice is the one that determines which missions appear.
If I have not made that permanent decision yet, I finish the X16 walkthrough first.
From this point onward, I follow the mission names in my PDA rather than expecting both factions to share one identical quest list.
Freedom — Status Quo: Finish the Rostok Split
Siding with Mavka sends me back to Rostok for Status Quo.
The Freedom base I knew earlier is no longer functioning like a normal hub. The internal argument over what Freedom should become has turned into an open confrontation.
I do not assume everyone wearing Freedom gear is on my side.
Once the fighting is resolved, the important progression clue is tied to Mikluha’s route toward Montreal.
The number I keep is:
7975
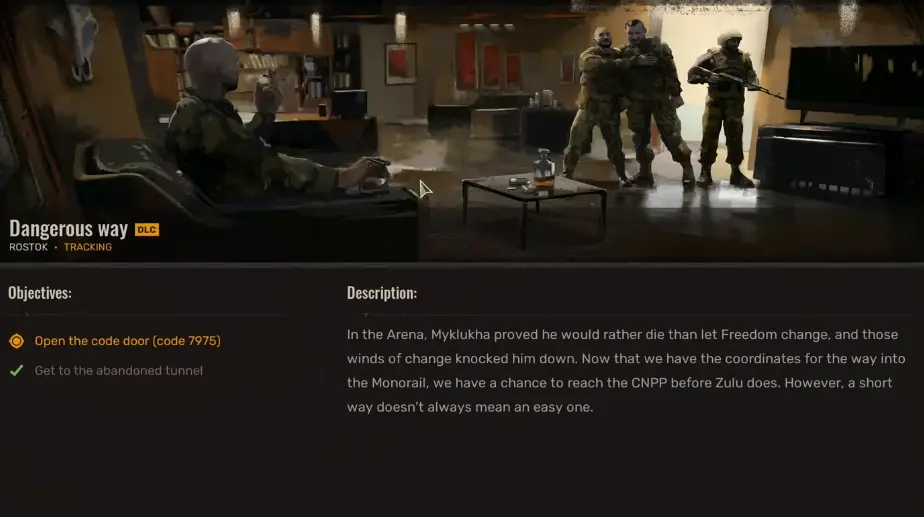
I leave Rostok once the next route is clear. There is no advantage in lingering around the arena just to strip every remaining body before a long underground mission.
Freedom — Dangerous Way: Use Code 7975 and Reach Montreal
Dangerous Way is the real Freedom-side Montreal journey.
The objective takes me toward an abandoned tunnel rather than an obvious working station entrance.
When I reach the coded door, I use:
7975
The area around it has enough damaged industrial structures and radiation that it is easy to wonder whether the number belongs somewhere else.
It does not.
I open the door and continue underground.
This is also a good place for a normal manual save. Dangerous Way contains enough hazards that I would rather restart from the tunnel entrance than repeat the trip from Rostok.
Find Bark and the Montreal Activation Key
Deeper inside the station I meet Bark, the former head of security.
The train toward the CNPP still exists, but I cannot start it without the Montreal activation key.
That key is with another group trapped elsewhere inside the station.
Once I understand that, I stop treating Montreal like a free-exploration dungeon.
My route becomes:
find the trapped group → get access to the explosives → free them → take the activation key → start the train
That order prevents a lot of unnecessary wandering.
The Mercury Anomaly Blocks the Explosives
The explosives are behind one of the strangest environmental hazards in Cost of Hope.
The survivors call it Mercury.
It behaves like a liquid mass, but the important detail is not its appearance.
Mercury is attracted to artifacts carried on my belt.
Trying to force my way straight through it with medkits is a bad trade. The anomaly closes on me quickly enough that healing does not turn the room into a simple damage check.
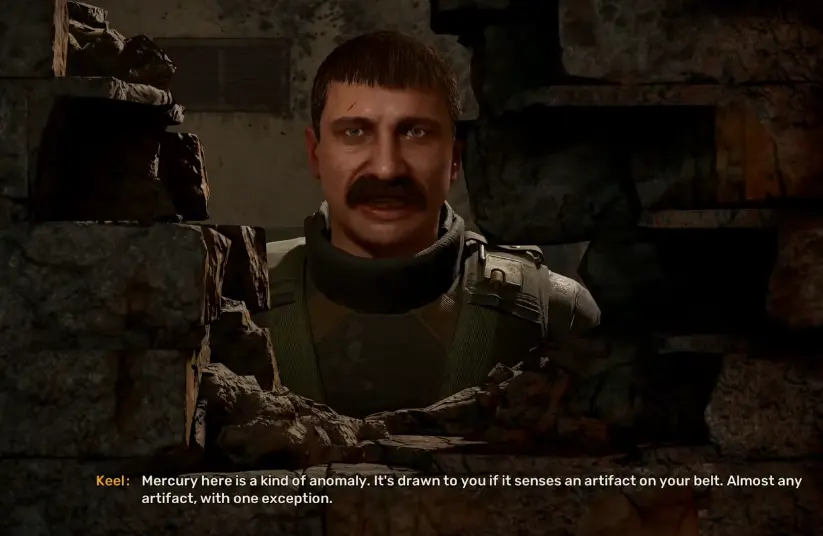
The survivors explain that one unusual artifact behaves differently from the others and can get me through.
I follow the active artifact objective rather than experimenting with every item I own.
Once the route through Mercury is safe enough, I enter the storeroom and take the explosives.
Blow Open the Wall and Take the Activation Key
The trapped group cannot simply walk out.
I use the explosives to breach their way free.
I place the charge, move back, and let the explosion do the work rather than standing beside it waiting for the wall to disappear.
After the rescue, I receive the Montreal activation key.
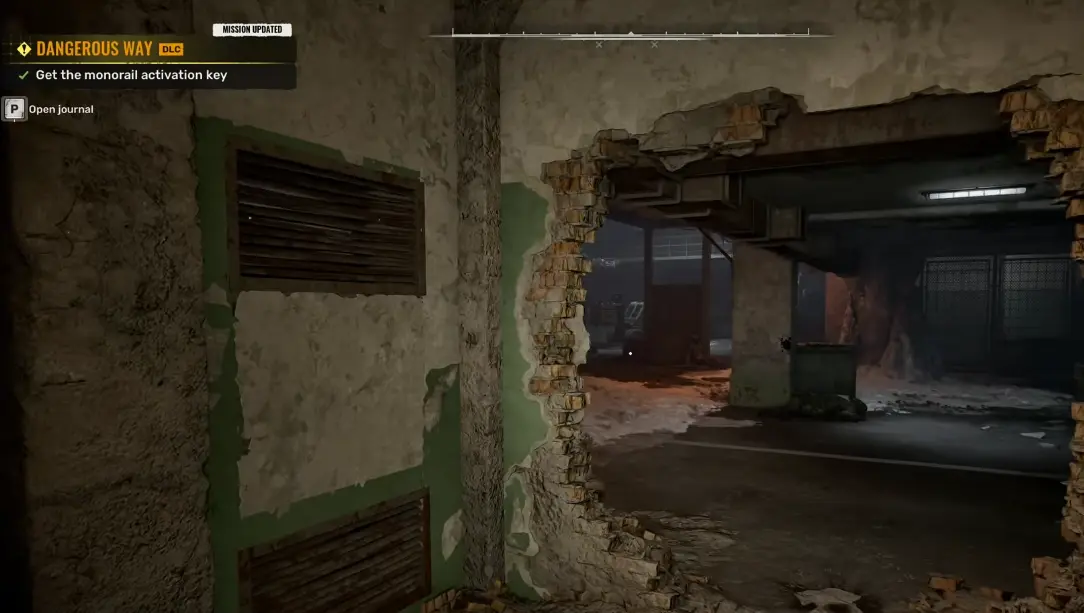
At that point I stop treating the Mercury section as a loot run.
The next meaningful destination is the control system for the train.
Start the Train From Mikluha’s Room
Bark points me toward the computer in Mikluha’s room.
There can still be hostile fighters between me and the controls, so I clear only what blocks the route and continue inward.
With the activation key and computer available, I start the train.
That completes the most complicated part of the Freedom journey toward the CNPP.
Duty — In the Memory of the Fallen: Enter Montreal Prepared
The Duty route reaches Montreal through In the Memory of the Fallen.
This version is structurally different from Dangerous Way.
Instead of hunting down a train key through the Mercury sequence, I enter the station as part of an organized Duty operation.
The most important decision happens before the descent.
I get a direct warning that once the group enters the elevator, there is no simple way back.
This is not where I buy a new rifle just because I still have coupons.
Reliability matters more than experimenting with another weapon before a one-way underground section.
Bring All Five Montreal Station Nodes Online
General Voronin explains that the station has:
five key nodes
that need to be brought online.
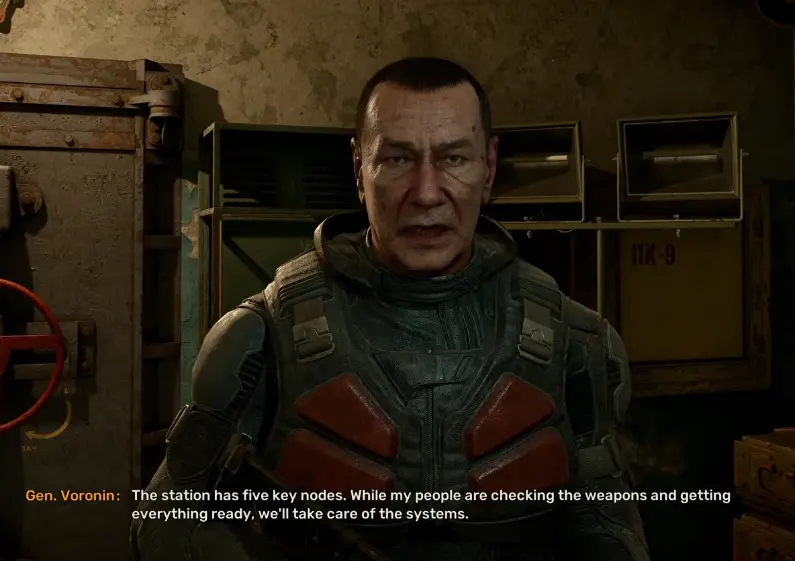
Ventilation and the armory are called out early, but I do not try to solve all five nodes simultaneously.
The station is large enough that this only makes navigation harder.
I finish the objective in front of me, confirm the update, then move to the next system.
Use the Red Fog as Temporary Cover
Later I encounter a strange gas lying close to the floor.
It is toxic to me, but it also interferes with mutants trying to track through it.
That makes it useful for short periods.
If a mutant is pressuring me, I can move through the fog to break its approach or shoot through the cloud from another angle.
I do not stand inside it waiting for the fight to end.
The gas helps me reposition; it is not a safe zone.
Place the Two Charges Before Starting the Train
Near the end of the Duty Montreal sequence, I receive explosives for the platform.
There are two marked positions toward the far end.
I use the mission markers rather than placing charges on whatever piece of railway equipment looks important.
Once the station systems are ready, the charges are placed, and the remaining immediate threats are handled, the group boards the train.
The Road to the Center of the Storm: Reach the CNPP
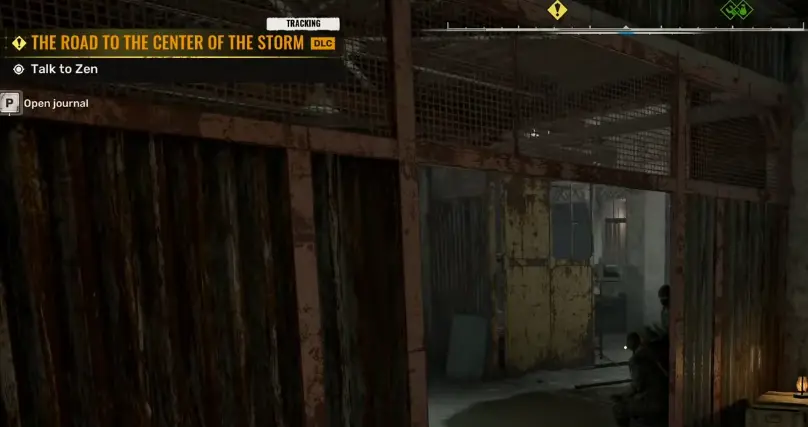
Both routes eventually transition into The Road to the Center of the Storm.
This is where the two campaigns begin aiming at the same physical destination again.
If I still have access to repairs before the final push, I use them.
After Montreal my inventory is usually full of partially used ammunition, damaged equipment, and weapons I picked up because they were valuable rather than because I intend to use them.
I keep my normal fighting loadout and unload the rest.
The CNPP gives me enough reasons to sprint, reposition, climb and escape that carrying extra loot into the final region works against me.
Power the Service Elevator at the Montreal Control Depot
The train does not deliver me directly to X19.
It first reaches the Montreal Control Depot beneath the CNPP.
The railway ahead is flooded, so the faction needs another route to the surface.
Mavka or Zulu identifies a service elevator, but the system has no power.
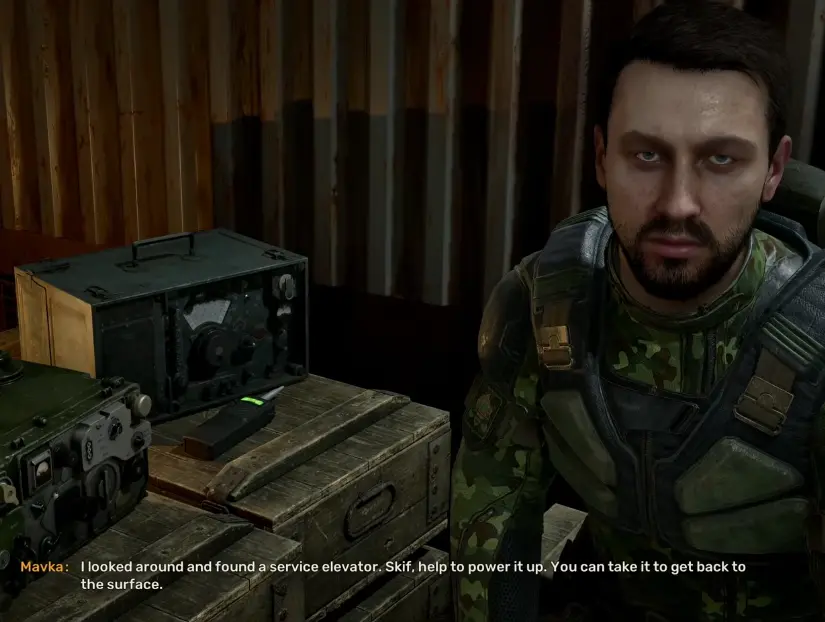
I work on the power objective before trying to chase X19.
Mutants can interrupt the sequence, but I only clear enough space to operate the controls safely.
Once the elevator works, the campaign shifts from underground traversal into open faction warfare.
The CNPP Fight Changes With My Faction
The CNPP is no longer a neutral exploration area when I arrive.
Duty and Freedom are fighting for strategic positions around the plant.
At distance, friend and enemy silhouettes can overlap during larger battles, so I take an extra moment to identify targets before firing.
This matters much more here than it did during ordinary mutant encounters.
The exact mission now depends on my faction.
Duty — Gunpowder, Sweat, and Blood: Cover the Assault
On the Duty route, the CNPP battle continues through Gunpowder, Sweat, and Blood.
Freedom holds the position Duty needs for the next stage.
The assault uses two anomaly teleports.
Zulu’s main group takes one route.
I use the other to reach an elevated covering position.
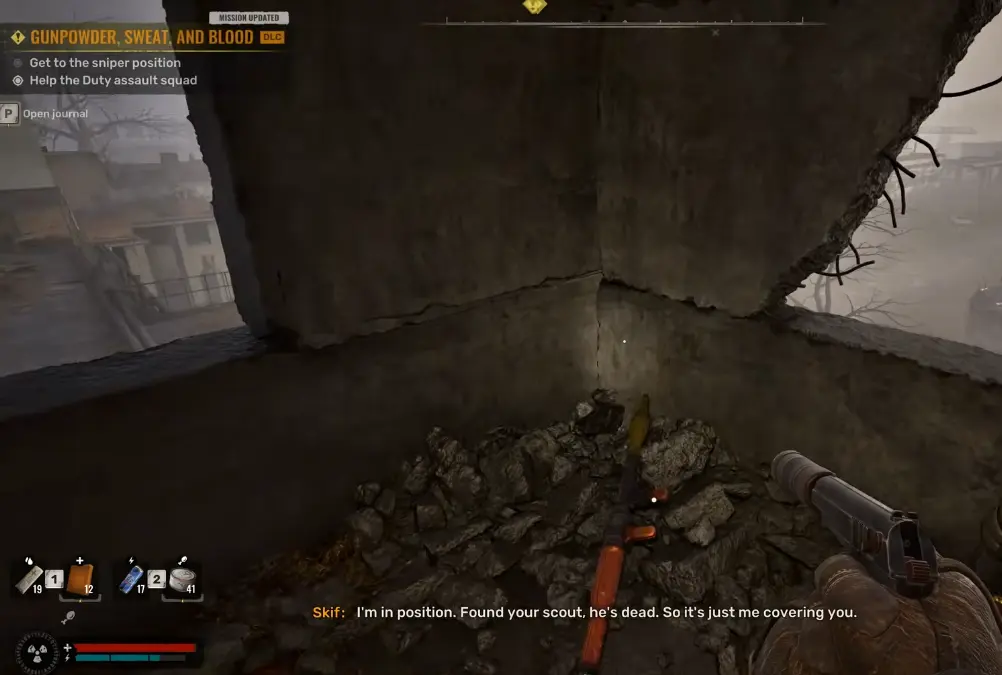
From the high ground, I focus on enemies that can actually stop the push:
- exposed defenders covering the approach;
- snipers;
- heavier fighters;
- the RPG when it appears.
Once Duty reaches the target building, I move when ordered.
There is no benefit in staying on the perch looking for one last distant target while the mission has already advanced.
Freedom — Uninvited Guests: Secure the CNPP Position
On Mavka’s route, the equivalent late-game battle is Uninvited Guests.
Freedom needs control of the current position before the push toward Reactor 4 can continue.
I do not run off toward X19 the moment Mavka mentions the reactor.
First I finish the active battle.
Once the position is secure, Mavka contacts me with the next meaningful destination:
Reactor 4.
That is when I stop treating the faction fight as the finale.
X19 is still below me.
The Price of a Miracle: Reach Reactor 4 and X19
The final shared mission is The Price of a Miracle.
Both routes are now trying to reach the technology under Reactor 4, but they approach it for opposite reasons.
Mavka wants to preserve what can still be used.
Zulu wants to make sure it cannot leave the Zone.
The route itself becomes the important problem first.
Freedom Route: Use the Roof Teleport
On Mavka’s route, she finds an unusual path into Reactor 4.
I climb toward the roof and use the anomaly teleport she identifies.
It sends me toward a downed helicopter.
There is an opening nearby that lets me drop deeper into the reactor structure.
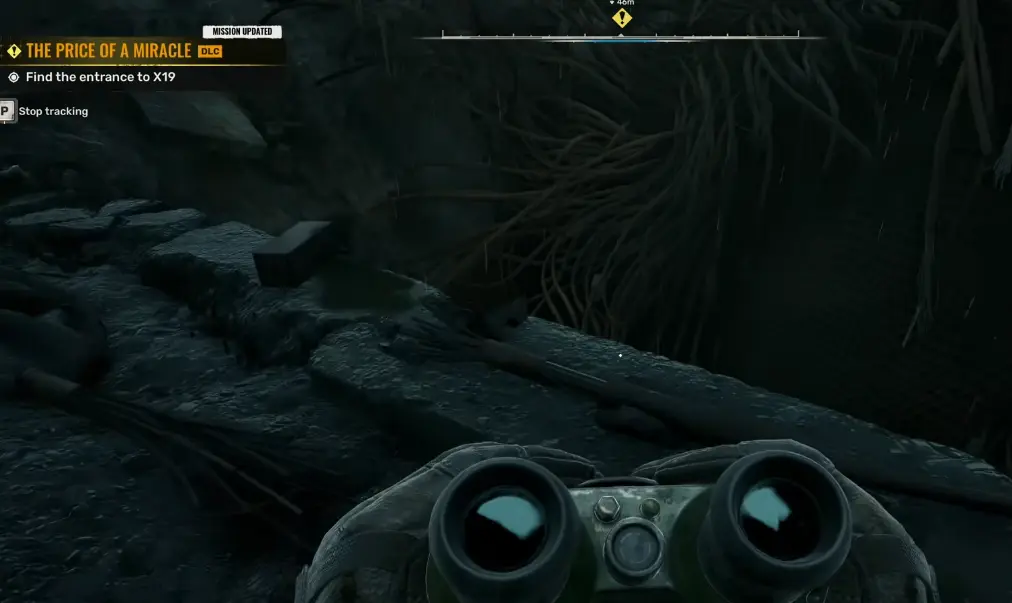
Once I commit to the descent, I keep moving forward.
Radiation becomes much more serious here, so I keep anti-radiation supplies available instead of relying entirely on armor resistance.
Duty Route: Use the Explosives When the Descent Is Blocked
Zulu’s scouts also locate the Reactor 4 route.
He sends me after Mavka and gives me explosives because sections of the underground path may be sealed.
That warning matters.
When I reach a section that looks like a genuine dead end, I stop searching every corner for a tiny crawlspace and use the explosive route provided by the mission.
Duty and Freedom enter from different directions, but both are now trying to reach X19 before the other side can control what is inside.
Reactor 4 Navigation Is Mostly Vertical
The interior is damaged enough that the objective marker can be misleading.
I can stand almost directly above the destination while still being on the wrong floor.
When that happens, I look for vertical transitions before another hallway:
- broken windows;
- holes in the floor;
- ladders;
- drops;
- damaged walls;
- control panels.
One route forward is simply through a window.
After that, a large red control opens the next section.
The useful rule is:
If the marker is below me, I look for a way down before searching another corridor on the same floor.
That prevents most of the pointless loops I made through the damaged reactor rooms.
I Skip Fights That Do Not Block Progress
Reactor 4 and X19 throw enough mutants and anomaly threats at me that killing everything becomes expensive.
If an enemy is physically blocking the route, I fight.
If the exit is already open and the encounter is only draining ammunition and armor durability, moving on can be the better choice.
There is still a final laboratory sequence ahead.
I would rather reach it with healing and ammunition than prove I can clear every room behind me.
Restore Backup Power When X19 Goes Dark
Inside X19, a later door stops working because the laboratory loses power.
This is not another key-card hunt.
I follow the power problem.
The route leads through the backup systems until I can restore enough electricity for the emergency doors and hatches to operate again.
When a powered laboratory door suddenly refuses to cooperate, I check the current objective before searching every nearby body for a nonexistent access card.
X19 Projector Room Code: 3150
One document inside X19 is especially useful because it explicitly says the projector-room code was changed.
The new code is:
3150
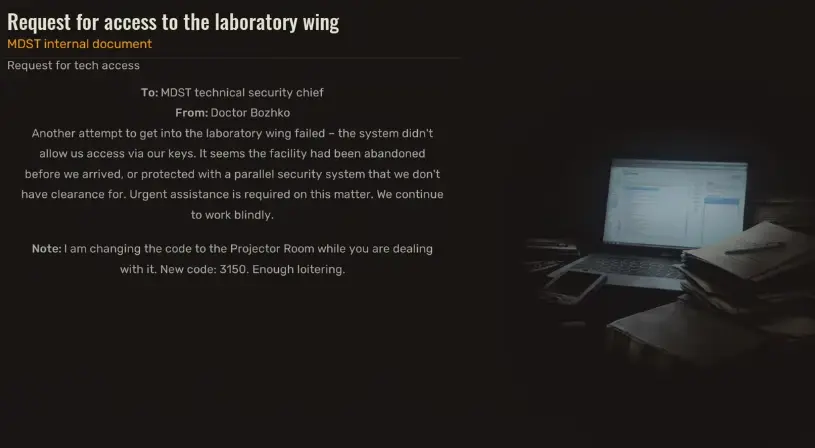
The word changed is important.
If I have already seen another number in the area, I do not assume the first code I found must still work.
For the projector room, I use:
3150
and continue.
The Freedom Finale Is Not Just a Gunfight
On Mavka’s route, the final X19 confrontation becomes more complicated when the specimen tanks begin overheating.
The laboratory starts warning about rising temperature while the fight is still active.
My first instinct was to stay focused entirely on the enemy.
That is not enough.
Mavka eventually tells me to find the red button on the panel.
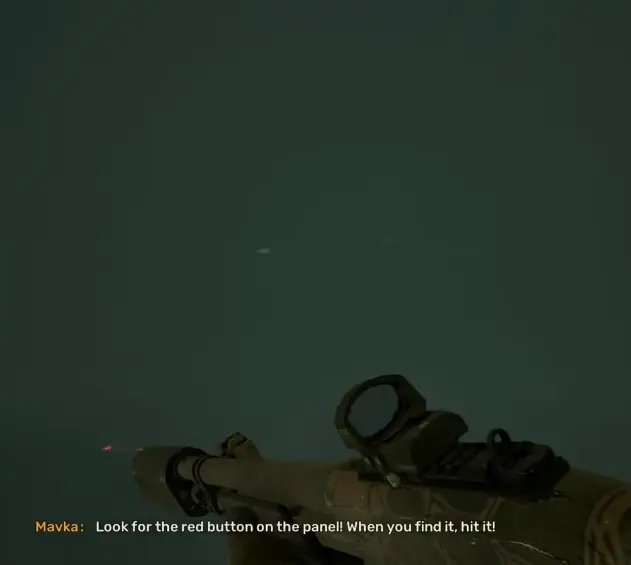
I create some distance, reach the control, and operate it.
The sequence then leads into the next red cooling control / lever needed to stabilize the system.
Once backup cooling comes online, the temperature begins dropping.
Only then do I return my full attention to the remaining fight.
The key mistake here is continuing to shoot while ignoring the updated objective.
The Duty Finale Has the Opposite Goal
Zulu reaches X19 to stop Mavka from taking control of the same technology.
The physical destination is shared, but my objective is reversed.
On Freedom, I am helping preserve the specimens.
On Duty, I am trying to stop that from happening.
The exact story consequences belong in the Duty or Freedom endings guide.
For the walkthrough, the important thing is that The Price of a Miracle is the final route through Reactor 4 and X19 regardless of which faction brought me there.
What I Do After The Price of a Miracle
Finishing X19 resolves the main faction campaign, but it does not delete my character or end free exploration.
I can continue playing afterward.
Because of that, I do not delay the finale just to clear every remaining POI around the CNPP.
I finish optional content that looks faction-sensitive or that I genuinely care about before pushing too far, then leave general cleanup for later.
The late-game route is easiest to understand as:
Faction split
→ Status Quo + Dangerous Way on Freedom
or
→ In the Memory of the Fallen on Duty
→ The Road to the Center of the Storm
→ Uninvited Guests on Freedom
or
→ Gunpowder, Sweat, and Blood on Duty
→ The Price of a Miracle
→ Reactor 4
→ X19