How I Get Through Shadows of the Past Without Getting Lost
I use the Svarog detector to enter the Bubble, work through Lymansk's shifting apartments, reach Tachenko, grab Justice, and survive the Chimera.
Updated:
Quick Answer
I treat Shadows of the Past as one continuous journey through the Bubble:
Tachenko’s Memorial → use the Svarog detector → enter the Bubble → Anomalous Apartments → follow the 2469 wall clue → kill the Controller → reach the old Duty camp → Radiowave Research Institute → Tachenko → pick up Justice → hospital → kill the Chimera → escape the collapsing Bubble.
The part that confused me most was Lymansk itself. Rooms and corridors can change after I leave them, so returning to somewhere familiar does not automatically mean I took a wrong turn.
For the apartment keypad, the visible clue points to 2469. I have also seen the sequence continue after 2496 was entered by mistake, so I treat 2469 as the intended clue rather than assuming the keypad behaves like a completely normal code lock.
At the end, once the collapse warning begins, I stop looting and run. The escape gives me less than one minute.
Shadows of the Past Starts at Tachenko’s Memorial
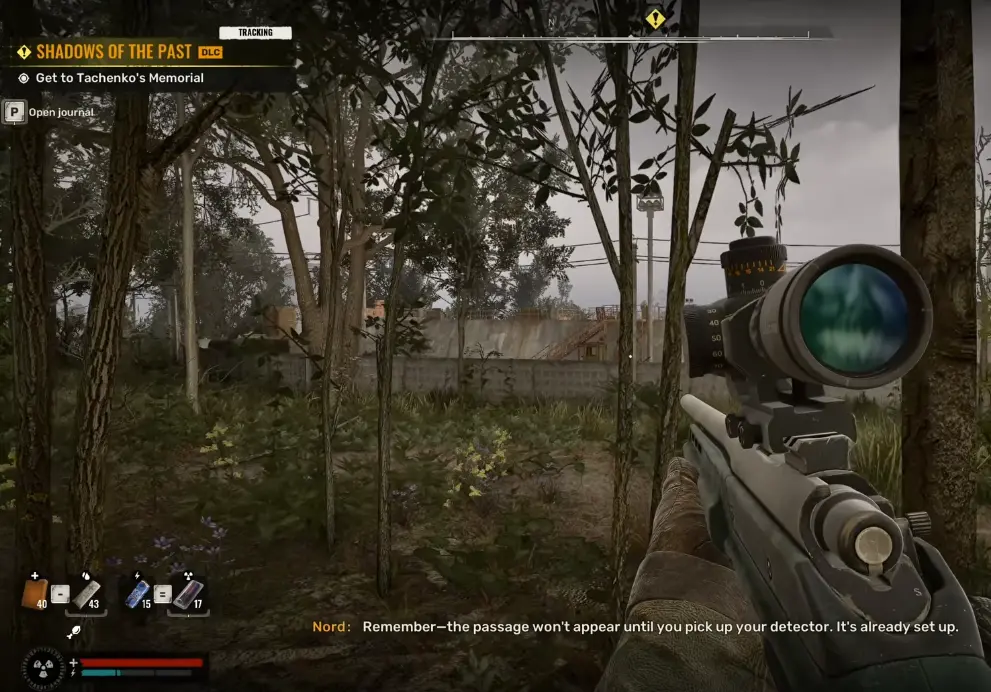
After the SIRCAA investigation in Moving in the Shadows, Zulu follows Nord’s trail toward Tachenko’s Memorial.
At roughly the same stage of the campaign, Mavka can also send me into To the Origins of Freedom. These are parallel investigations rather than mutually exclusive routes, and both eventually feed into the X16 assault.
For this mission, I follow Zulu.
The memorial matters because Tachenko and his men once emerged near this location after disappearing inside the Bubble. Nord believes that if it acted as an exit, it may reveal a way back inside.
Use the Svarog Detector at the Memorial
There are hostile fighters around the memorial and enough radiation that I clear the immediate area before spending time with the objective.
The important instruction is:
Use the Svarog detector.
I do not search the surrounding ruins for a normal tunnel or doorway.
Zulu warns that the passage will not appear until the detector is active.
I equip the Svarog detector, follow its response around the anomaly, and move toward the passage it reveals.
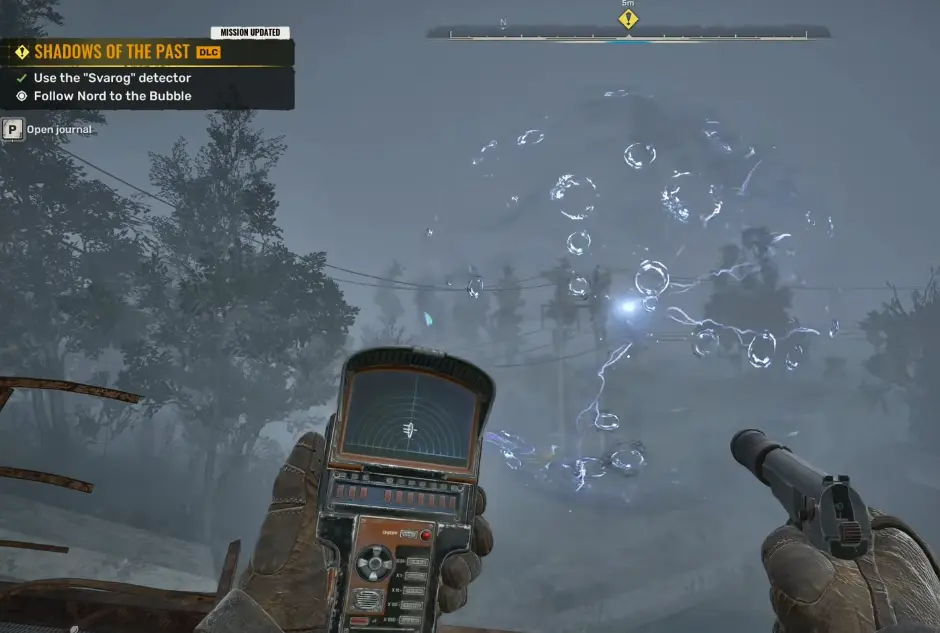
The detector required for this step is provided through the story, so I do not need to buy another one.
Before entering, I mainly make sure I am not overloaded and that my normal fighting weapons still have enough ammunition. The Bubble has supplies inside, but movement becomes important enough that entering deep in the yellow carry range makes the next section harder than it needs to be.
Inside the Bubble, Familiar Rooms Cannot Be Trusted
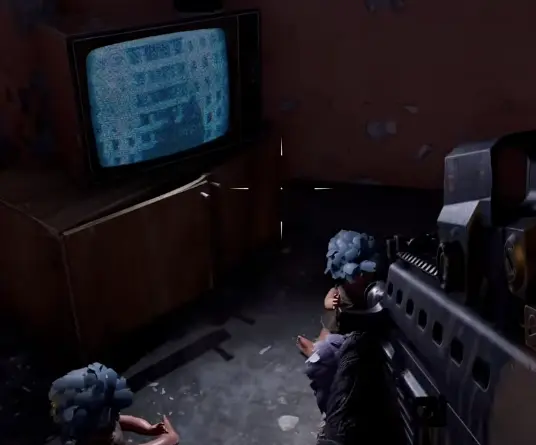
The first few rooms teach me the main rule of Lymansk:
the environment is allowed to change behind me.
A corridor can look familiar without leading to the same place.
A door I already used can open into a different state of the building.
Objects, enemies, and openings can appear after I loop back.
That completely changes how I navigate.
Instead of asking:
Did I take the wrong door?
I ask:
What changed this time?
That question is much more useful throughout the Anomalous Apartments.
Keep Moving Through the Anomalous Apartments
The apartment section repeatedly sends me through wrecked residential rooms, hallways, elevators, Duty memories and short combat encounters.
When a hallway loops, I do not immediately reverse direction.
I continue through the active path and look for a new door, staircase, object, body or environmental change.
One useful visual anchor is the body near the elevator. Once I recognize it, I can use the surrounding doors to tell which version of the area I am seeing.
The Bubble reuses familiar spaces deliberately, so reaching the same-looking room again can be progression rather than failure.
The Apartment Wall Clue Points to 2469
Eventually I reach the apartment keypad sequence.
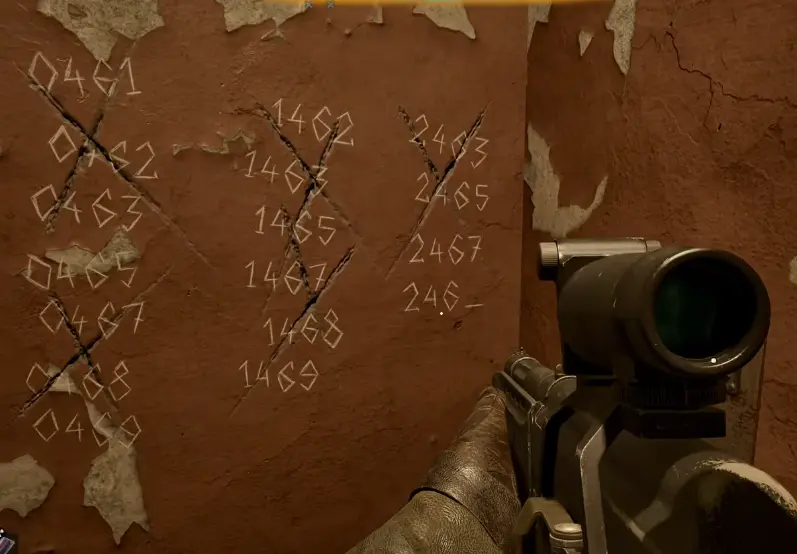
The markings on the wall point toward:
2469
There is one unusual detail here.
I have seen the door continue after 2496 was entered by mistake, even though the visible clue points to 2469.
Because of that, I treat 2469 as the intended solution, but I would not use this particular keypad as proof that every other combination is always rejected correctly.
If the sequence does not behave as expected, I reload the nearby save and retry 2469 rather than spending time brute-forcing random combinations.
Save Stamina for the Apartment Jumps
Several transitions through the apartments require jumps that look easier than they feel when my stamina is already drained.
I missed one simply because I had sprinted immediately beforehand.
After that, I let stamina refill before committing to a jump and use an energy drink when several movement sections arrive close together.
Carry weight matters here too.
If I am already overloaded, dropping or stashing unnecessary loot is more useful than repeatedly attempting the same jump with poor stamina recovery.
A Shotgun Fits the Apartments Better Than a Scoped Rifle
Many fights inside the Bubble start at short range.
Mutants, Poltergeist pressure, tight doors and narrow staircases make a long scoped rifle awkward as my default weapon.
I keep a shotgun or another fast close-range option ready for the apartment interiors.
I still use my rifle when the space opens up, but I do not make every fight harder by trying to aim through a scope at something already a few meters away.
Kill the Controller Before Trying to Read the Exit
The apartment distortion eventually leads into a Controller encounter.
I kill it before trying to solve the next part of the route.
The Bubble is already visually confusing, and trying to read doors and environmental changes while the Controller is still affecting me makes the section much harder.
Once it is dead, I heal, reorient myself, and continue toward the old Duty camp.
Return to the Old Duty Camp and Look for the New Passage
After the Controller section, the route brings me back into an area connected to Tachenko’s old unit.
The notes and memories here explain more of what happened to the group inside the Bubble, but the most important navigation change is physical:
a new passage opens from the north.
I stop trying to return through the apartments.
The route now leads toward the Radiowave Research Institute.
If an opening appears in a wall that was solid before, I trust the new version of the environment rather than searching for the route I remember.
The Radiowave Research Institute Is the Next Checkpoint
Once I reach the institute, the objective shifts away from the apartment loops and toward investigating what Tachenko’s group was doing there.
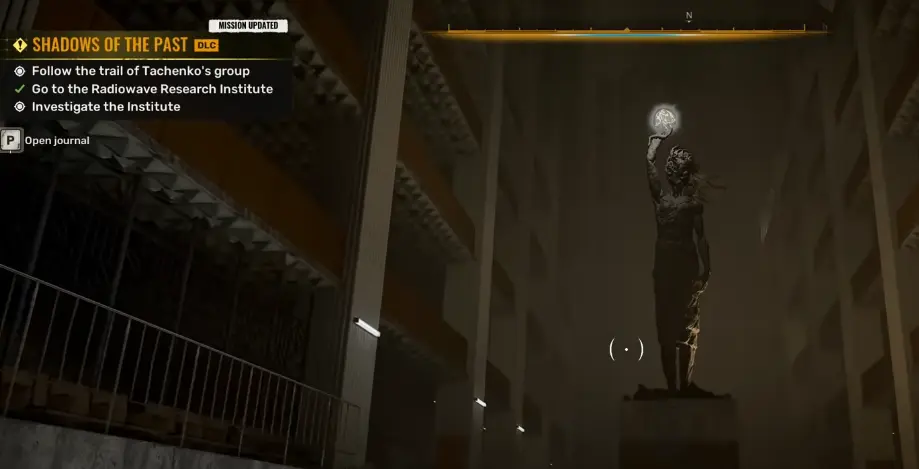
The institute contains old records, Tachenko’s soldiers, the device they were protecting and increasingly unstable anomaly effects.
Before pushing far inside, I reload and check my active weapon condition.
A jam is much more dangerous during the later combat and escape sequences than during ordinary exploration.
When the Institute Turns Into an Escape, Run
At one point the objective stops being an investigation and becomes an immediate escape.
I take that change seriously.
If debris blocks the route, I clear it quickly rather than trying to squeeze through while the hazard closes in.
I also avoid burning all my stamina just before this section.
The route eventually takes me through another elevator and toward the person at the center of the memories.
General Tachenko Is Still Guarding the Device
The late reveal is General Tachenko.
What I find inside the Bubble is tied to his final attempt to keep the technology contained.
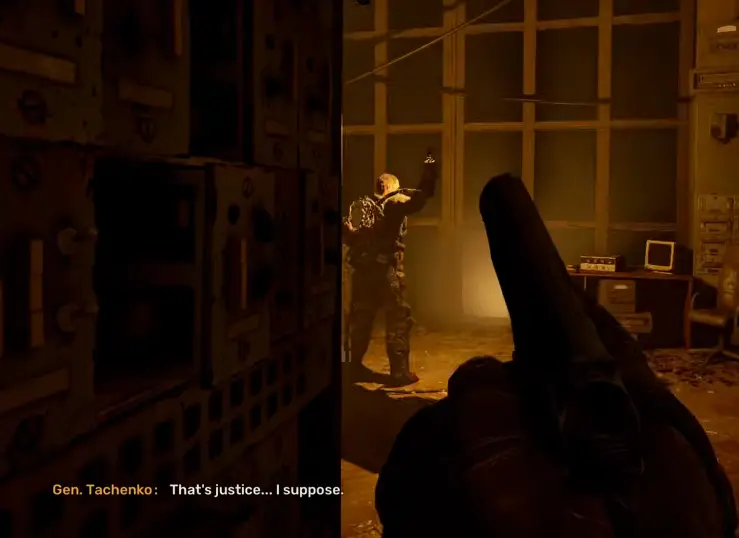
Tachenko believes the technology is too dangerous to leave the anomaly.
The situation changes almost immediately afterward when the Chimera crashes into the scene.
Before I follow it, I check one thing:
Justice.
I make sure Justice is actually in my inventory, then continue.
I do not stop here to rebuild my loadout around it. The mission is still moving.
Follow the Chimera Into the Hospital
The route sends me after the Chimera, and the hospital marks the final combat stage of Shadows of the Past.
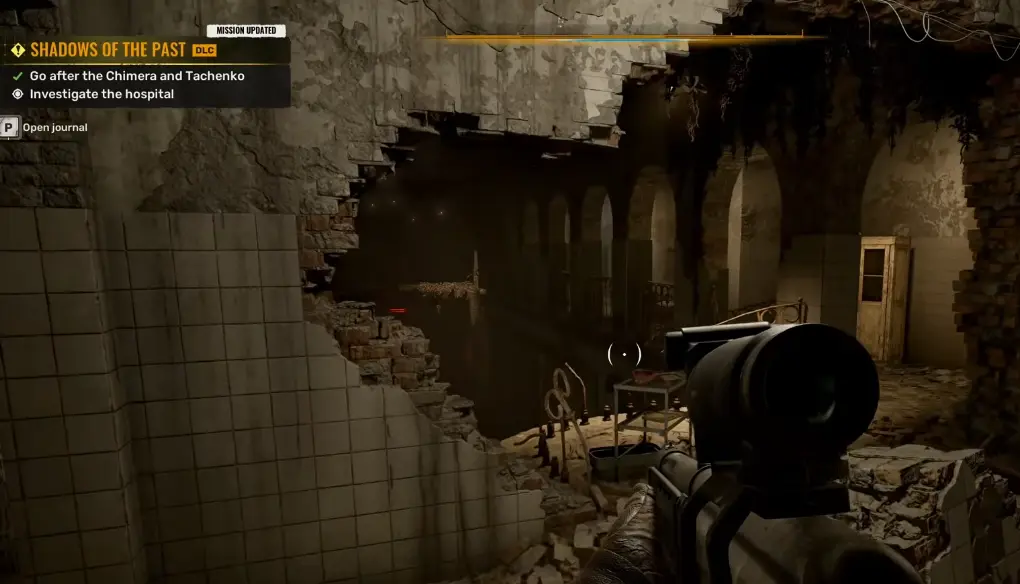
I use the supplies around the area, reload the weapons I actually intend to fight with, and check durability before committing.
This is where a neglected weapon condition can become noticeable very quickly.
How I Fight the Chimera
The Chimera’s speed is more dangerous than any complicated special mechanic.
I do not stand in front of it trading damage.
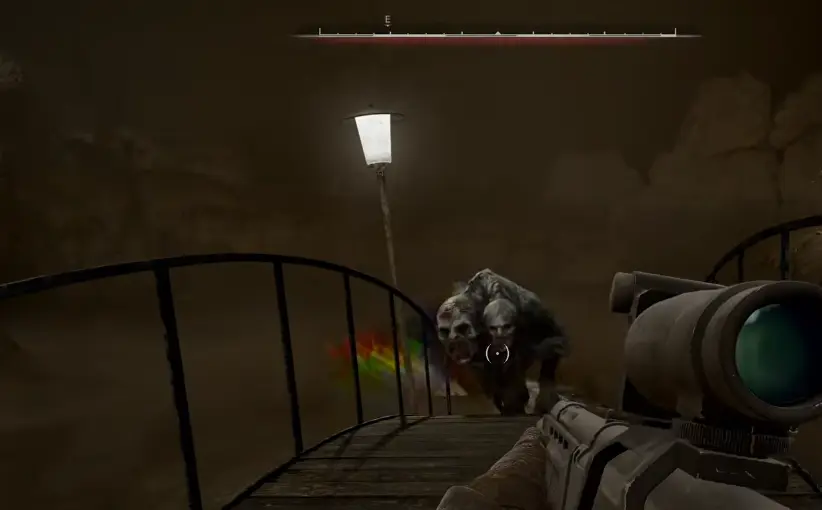
My rhythm is:
move → let it commit → create distance → fire → reposition
When I need to reload, heal or clear a malfunction, I move first.
If my active weapon jams while the Chimera is already closing, I switch to a loaded secondary when possible rather than standing still trying to repair the problem.
A shotgun remains useful during the close openings, so picking up Justice does not automatically mean I abandon the loadout that already works in this arena.
After the Chimera Dies, Stop Looting
Killing the Chimera does not give me unlimited time to search the hospital.
The Bubble begins collapsing.
The warning gives me:
less than one minute
to escape.
At that point I stop checking corpses, comparing weapons and searching side rooms.
I follow the active route and run.
Anything that can wait until I am outside waits.
Escape the Collapsing Bubble
The escape path is not about retracing the exact route I used to enter.
The anomaly is changing around me.
I follow the current opening, preserve enough stamina to keep moving, and get out.
Once I return to the normal Zone, Zulu is waiting.
The conversation confirms that Nord escaped with the technology Tachenko had been guarding.
So the mission answers what happened to Tachenko, but the larger conflict is still moving forward.
Shadows of the Past Reward
After reporting back, I receive a reward that includes 20,000 coupons plus medical supplies.
I use the money to restore the loadout I already trust before considering another expensive weapon.
The next part of the DLC still involves long-distance travel and another investigation, so I would rather have repaired gear, ammunition and healing than spend most of the reward immediately on a gun I have not tested.
What Comes Next
Finishing Shadows of the Past does not immediately start the X16 assault.
Mavka’s parallel investigation, To the Origins of Freedom, also needs to be resolved.
If it is still active in my PDA, I switch to the To the Origins of Freedom walkthrough and finish that route next.
Only after both investigations are complete do Mavka and Zulu have enough information to move against Laboratory X16.
The permanent Duty/Freedom split has not happened yet.