How I Get Through Moving in the Shadows and the SIRCAA Ruins
I follow the mercenary trail from the Sultans into SIRCAA, time the water anomaly, restart the machinery, rescue Suslov, and reach the Bubble.
Updated:
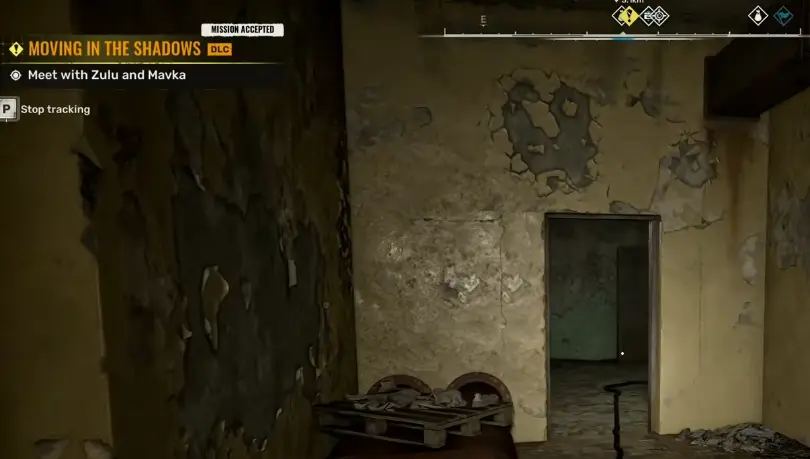
Quick Answer
My route through Moving in the Shadows is:
meet Zulu and Mavka at the Sultans → take Zen to SIRCAA → talk to the wounded stalkers → stay on high ground until the water anomaly drains → follow the green flares into the archive → pull every red-handled lever around the machinery → activate the system → clear the mercenaries → rescue Suslov → follow the Lucash trail → reach Tachenko’s memorial → use the detector to reveal the passage → enter the Bubble.
The two places that cost me the most time were the water crossing and the machinery section. I do not swim directly toward the objective marker, and I do not press the large button until the smaller red-handled levers around the base are active.
I also travel lighter than I did in the Iron Forest. This mission has much more jumping and timed movement, so excess carry weight and an empty stamina bar hurt more than carrying one extra rifle helps.
Moving in the Shadows Starts With Zulu and Mavka
After finishing the Iron Forest arc, I eventually receive a call from Zulu and Mavka.
They have continued investigating what happened at Kurin and now have a more useful lead: the mercenary insignia and PDA evidence from the Iron Forest point toward a group that has been recruiting through the Sultans.
If I am coming directly from the Iron Forest walkthrough, this is the point where I stop treating the DLC as a new-region cleanup run.
The investigation is moving back across the main Zone.
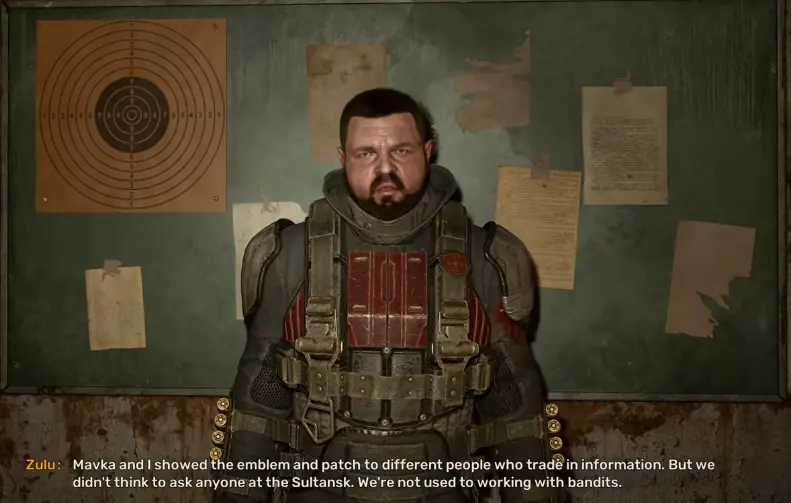
At the Sultans, the useful information is straightforward:
- the patches belong to mercenaries who recruit there;
- the same mercenary group previously hired people for a job at SIRCAA;
- Zulu and Mavka need evidence, not just another firefight;
- I am the one who can leave and investigate while they wait for their contact.
I do not wander around Zaton looking for a new clue after this conversation.
My next destination is SIRCAA.
I Take Zen to SIRCAA Instead of Walking
The mission gives me a convenient shortcut.
Zen can take me directly toward SIRCAA.
I use it.
There is no advantage in spending ammunition, durability, stamina, and real time running across several kilometers of existing map just to reach the actual mission area.
The dialogue suggests approaching the ruins at night, but the environmental route itself is the important part. I do not delay the mission for hours just because my current clock is not perfect.
Before leaving, I make sure I have:
- a repaired primary weapon;
- a close-range weapon;
- medkits and bandages;
- energy drinks;
- ammunition for the guns I am actually carrying;
- room in my inventory.
This is one of the DLC sections where energy drinks become a real route item, not just something I sell.
Do Not Overpack Before SIRCAA
I learned this the annoying way.
Moving in the Shadows contains much more:
- jumping;
- sprinting;
- timing movement;
- climbing;
- vertical traversal;
than the early Iron Forest missions.
If I am already near the carry-weight limit, every failed jump becomes worse because my stamina recovery is working against me.
I would rather leave a third gun in the stash and carry more healing than drag three weapon classes through SIRCAA.
The later fights are dangerous, but they do not require a full armory.
A rifle plus a dependable shotgun was much more useful to me than a backpack full of weapons I was never going to switch to.
At the SIRCAA Ruins, Talk to the Wounded Stalkers First
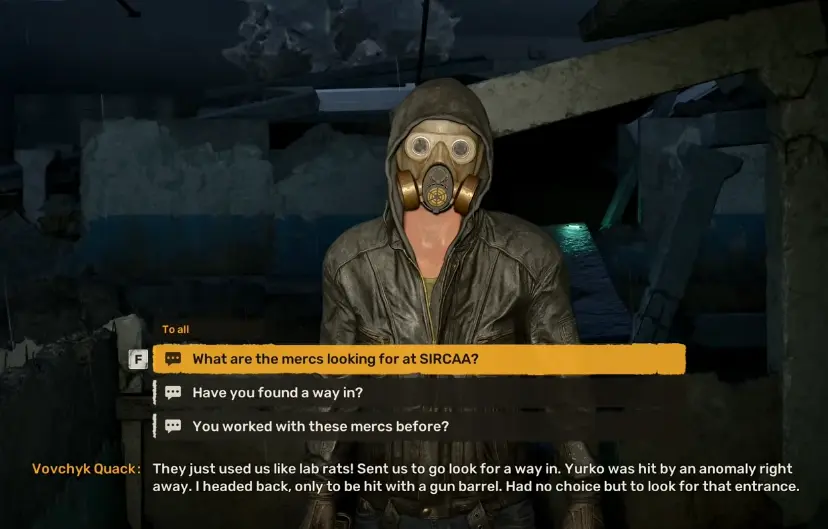
When I arrive around the ruins, I find survivors who accepted the mercenaries’ job.
They thought they were being sent to collect valuable abandoned equipment.
Instead, they were effectively used to test the route into SIRCAA.
One of them was hit by an anomaly, and another nearly drowned trying to find the entrance.
The most useful thing they tell me is not about the mercenaries.
It is about the water.
Stay on high ground and wait for the water to drop.
That warning matters.
The SIRCAA Water Puzzle: Do Not Follow the Marker Into Deep Water
The first time I saw the objective marker across the flooded area, I treated it like a normal crossing.
That was the wrong read.
The water is deep enough to kill me before I can simply swim through to the marker.
The actual mechanic is the anomaly.
It periodically pulls the water away, creating a temporary route.
My sequence is:
- stay on the higher platform;
- watch the water level;
- wait for the anomaly to pull the water down;
- immediately move toward the next safe point;
- use the green flares as route markers;
- stop on safe ground rather than greedily trying to finish the entire crossing in one cycle.
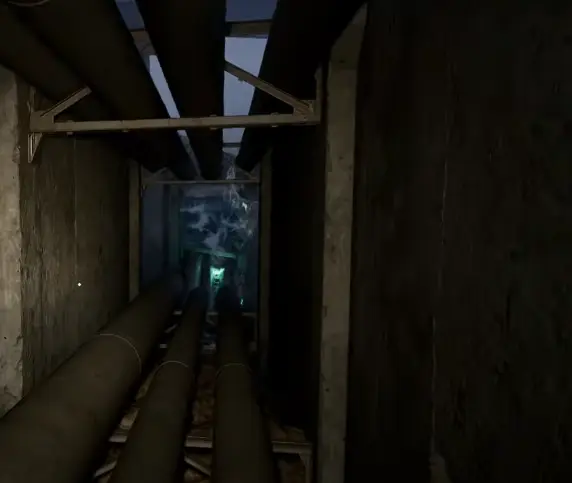
The biggest mistake is assuming that because the water went down once, it stays down.
It does not.
If I am halfway across and the environment starts changing again, I look for the nearest safe ledge instead of forcing the next jump.
A quicksave before the first crossing saves a lot of frustration here.
Follow the Green Flares Into the Archive
Once I understand the water cycle, the route becomes much easier to read.
Small green flares help indicate the intended path.
I trust those more than trying to draw a straight line from my current position to the objective icon.
At one point I need to jump across to another section and interact with the route ahead to get a door open.
Once I reach the interior and the rats start appearing, I know I have cleared the worst of the flooded approach.
From here the problem changes from:
how do I avoid drowning?
to:
how do I get the archive machinery running?
The Archive Machinery: Pull the Red-Handled Levers First
This was the second place where I lost time.
There is a large machine with multiple controls around its base.
My first instinct was to find the big obvious button and press it.
Nothing useful happened.
The clue comes from the mercenary radio chatter:
the blades will not start until the smaller controls are active.
I walk around the base and look for the small steel levers with red handles.
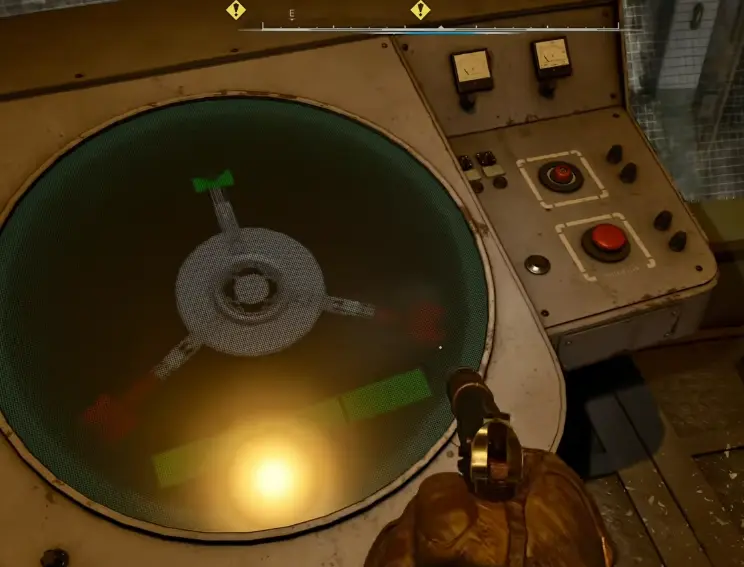
I found three controls around the base during this section.
I pull each one and check that the indicators below are green.
Only after that do I return to the main activation control.
If the big button appears to do nothing, I do not keep pressing it.
I walk the base again and look for the lever I missed.
That was the solution.
Once the Blades Start, Keep Moving
After the machinery is powered, the route turns into a movement challenge.
This is where I stop treating every safe-looking platform as somewhere I can stand indefinitely.
Some parts of the machinery move quickly enough that the useful pattern is:
move → hide in the safe corner → wait → move again
rather than trying to sprint across the whole obstacle in one shot.
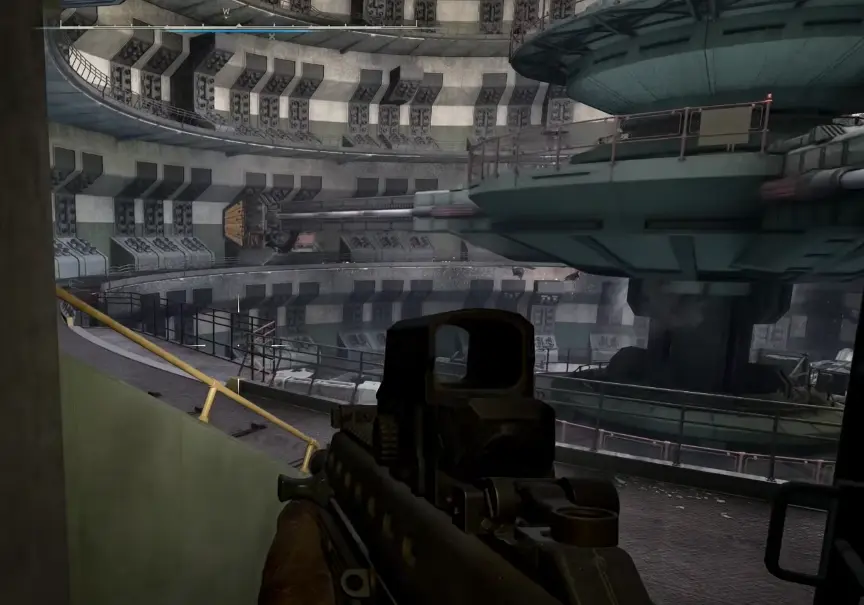
This is also where stamina becomes a real problem.
I failed a jump because I reached it after sprinting and did not have enough stamina left.
Now I do something very simple:
I stop before the jump.
I let stamina recover.
If the next opening is timed, I use an energy drink before starting the sequence.
I would rather wait five seconds than reload another save.
If the Route Looks Like It Goes Up, Let the Air Current Take Me
Another strange part of this section looks like a dead end because the objective appears to be above me.
I initially kept looking for another staircase.
The route actually uses the airflow.
When I enter the correct vertical current, it carries me upward.
If the objective is above me and I have already cleared the nearby machinery, I do not keep circling the floor looking for a ladder that is not there.
I test the obvious air-current path.
Use Close-Range Weapons Inside SIRCAA
SIRCAA mixes mercenaries, mutants, rats, Poltergeist pressure, and tight interiors.
A long-range weapon still has value outside, but it became increasingly awkward once I was inside.
In these rooms I prefer:
- shotgun;
- compact automatic rifle;
- pistol for weak targets when I want to conserve primary ammunition.
The reason is not DPS on a spreadsheet.
It is reaction time.
When something appears a few meters from me while I am already trying to read an environmental puzzle, I do not want to fight my scope.
The mercenaries can also wear high-tier armor and helmets, so I do not assume every headshot will instantly remove them.
If I can isolate one enemy or use cover, I do that rather than standing in the open trading shots.
Find the Mercenaries and Protect the Hostage
Deeper in the archive, I begin hearing the mercenaries talking to an older man.
That is Suslov.
The mercenaries are forcing him to work because they believe his scientific background can help them understand the archive and locate an entrance into a spatial anomaly called the Bubble.
When the fighting begins, I pay attention to who I am shooting.
Suslov is not another hostile target.
The mercenaries themselves even shout not to shoot the scientist.
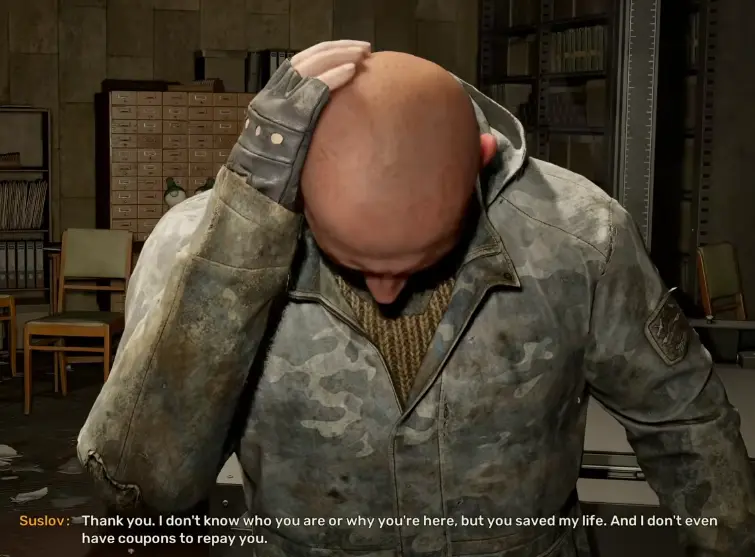
I clear the remaining armed enemies, then talk to him.
I do not immediately leave the area just because the shooting stops.
Suslov gives the context I need for the next stage.
What Suslov Tells Me About the Bubble
Suslov explains that Nord is interested in two connected things:
General Tachenko’s death
and
the Bubble spatial anomaly.
Tachenko and his group entered the anomaly alive and later fell back out dead.
Nord believes there is some special technology inside, and the mercenaries forced Suslov to help search the SIRCAA archive for information about:
- Bubble entry points;
- its connection to Tachenko;
- how to reach the technology.
That tells me where the mission is going next.
I am no longer investigating whether mercenaries were involved.
I am chasing them before they reach whatever is inside the Bubble.
Loot After the Fight, Not During It
There is enough equipment around SIRCAA that I can become overweight very quickly.
I do not stop mid-fight to strip every mercenary.
After the area is safe, I prioritize:
- ammunition matching my active weapons;
- medkits;
- bandages;
- grenades;
- PDAs or quest items;
- high-value lightweight equipment.
I leave low-value heavy rifles when they push me into poor mobility.
The next stretch includes substantial travel and more traversal.
Carrying another damaged assault rifle worth a few coupons is not worth spending the next kilometer out of stamina.
Mavka Arrives After the SIRCAA Investigation
After I speak with Suslov, Mavka catches up.
The situation at the Sultans has gone bad: the meeting with the mercenaries turned violent, while Zulu followed one of them.
More importantly, the evidence from SIRCAA confirms that the mercenary operation connects back to what happened in the Iron Forest.
The investigation then shifts toward Lucash’s stashes and the path Nord is following.
I do not treat every stash as a new independent mission.
They are clues along this same pursuit.
Use Guides for the Long Cross-Map Travel
Moving in the Shadows has several long stretches between meaningful objectives.
This is where I spend coupons on a guide instead of treating fast travel like something I should avoid on principle.
At one point I had roughly a 1,000-meter run ahead of me even after repositioning.
That is exactly the sort of trip where I ask:
Am I going to discover something meaningful on this road, or am I just spending weapon durability and energy drinks to reach the next actual mission?
If it is the latter, I use the guide.
I save my walking for the sections where route choice matters.
Restock Before Going to Tachenko’s Memorial
Eventually Zulu contacts me with the important lead.
Nord is heading toward Tachenko’s memorial, built where the general’s body came out of the Bubble.
The logic is that an anomaly exit may also reveal a way back inside.
Zulu explicitly warns me that the next stage is going to get serious.
I treat that as my restock warning.
Before leaving a hub, I take:
- additional medkits;
- all the energy drinks I reasonably need;
- ammunition;
- a repaired close-range weapon.
I also drop unnecessary gear back into the stash.
This is not where I buy an expensive replacement gun just because I have coupons.
The loadout that got me through SIRCAA is already proven.
I repair it and keep moving.
At Tachenko’s Memorial, Clear the Area Before Following the Anomaly
The approach to the memorial has radiation and hostile resistance.
I do not sprint directly at the anomaly marker while enemies are still controlling the area.
I clear the immediate threats first.
Then I follow the instructions connected to the detector.
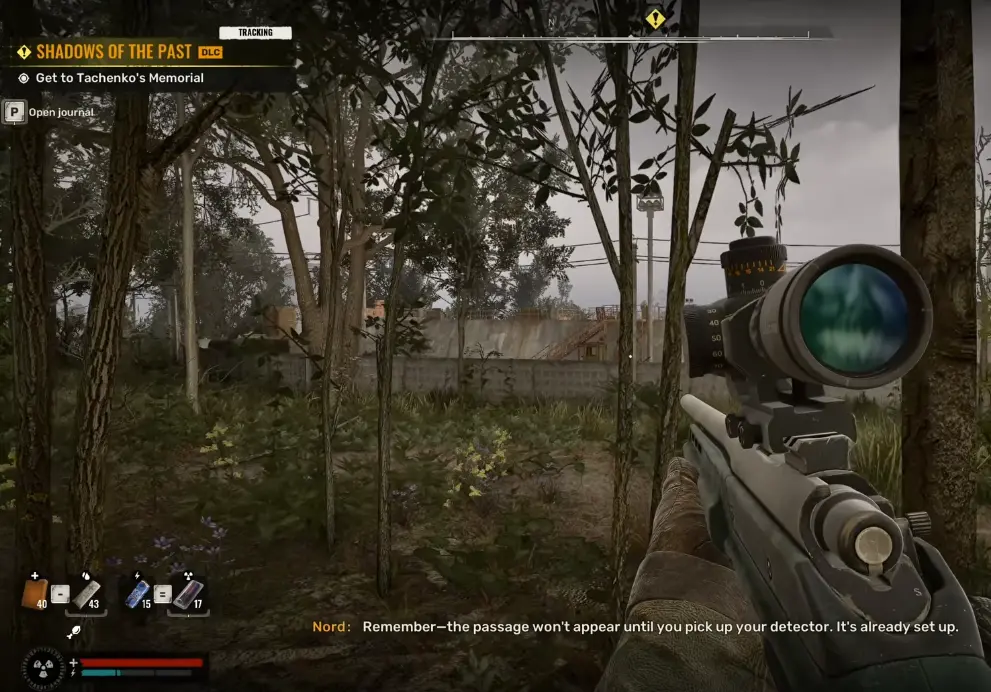
The important detail is:
the passage does not appear until the detector step is active.
So if I reach the correct place and nothing seems to be happening, I check the current objective before wandering away from the memorial.
I do not start searching the surrounding terrain for a normal cave entrance.
The route is tied to the anomaly.
The Detector Is a Story Tool Here, Not Something I Need to Buy
Around this stage I receive the Svarog detector naturally through the campaign.
I do not leave the mission to search traders for one.
For this page, the only thing that matters is that I use the detector when the objective tells me to, because it helps reveal the passage associated with the Bubble.
Its broader artifact-hunting value is separate from the route itself, so I do not turn this walkthrough into a detector guide.
Follow Nord Into the Bubble
After the detector step and the mercenary fight, the objective changes to Follow Nord to the Bubble.
That is my final checkpoint for Moving in the Shadows.
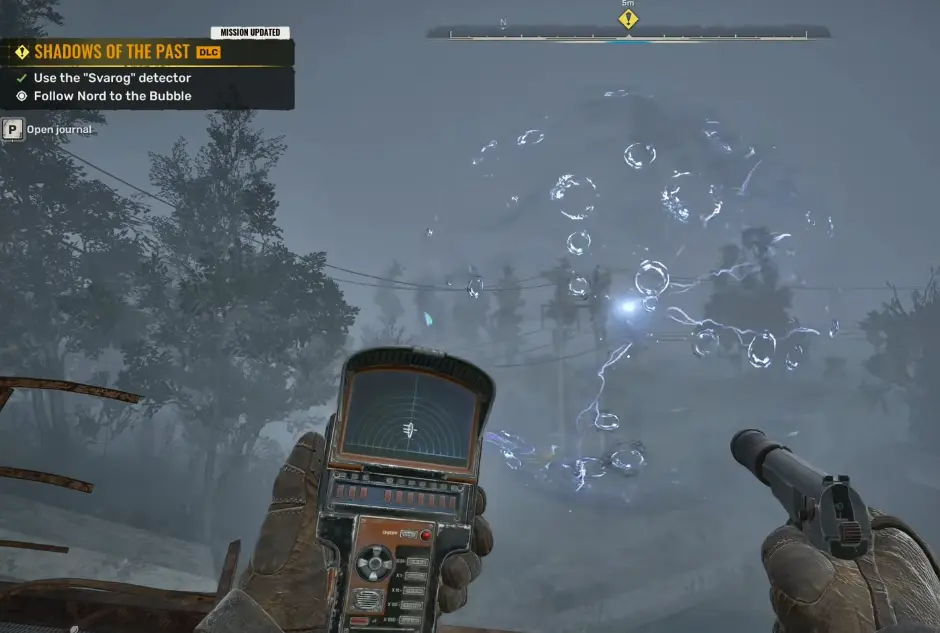
I make a manual save before going in.
The environment beyond the entrance starts behaving differently almost immediately.
My flashlight becomes less useful, spaces can change after I pass through them, and routes that looked familiar stop behaving like ordinary architecture.
I do not try to turn around and navigate by remembering where every previous door was.
The game is deliberately beginning to undermine that.
When Moving in the Shadows Ends
I know I have crossed into the next real player stage when the game formally changes the mission to:
Shadows of the Past.
That happens after the Bubble transition begins pulling me into the distorted Lymansk sequence.
At that point I stop using the logic that got me through SIRCAA.
The next area is much more about:
- changing rooms;
- false familiarity;
- unusual vertical paths;
- environmental clues;
- the hospital;
- following Tachenko’s trail.
That entire stage belongs to the Shadows of the Past walkthrough, rather than extending this page into another full region.
For Moving in the Shadows, the route I care about is complete:
Sultans → SIRCAA → archive → Suslov → Lucash trail → Tachenko memorial → Bubble.