STALKER 2 Iron Forest Guide: How to Enter & Walkthrough
Enter the Iron Forest in STALKER 2 Cost of Hope, choose the IPSF or tunnel route, fix the repeaters, clear the Testing Workshop and finish Distant Mirage.
Updated:
Quick Answer
Yes, I can enter the Iron Forest once the Cost of Hope DLC route is active.
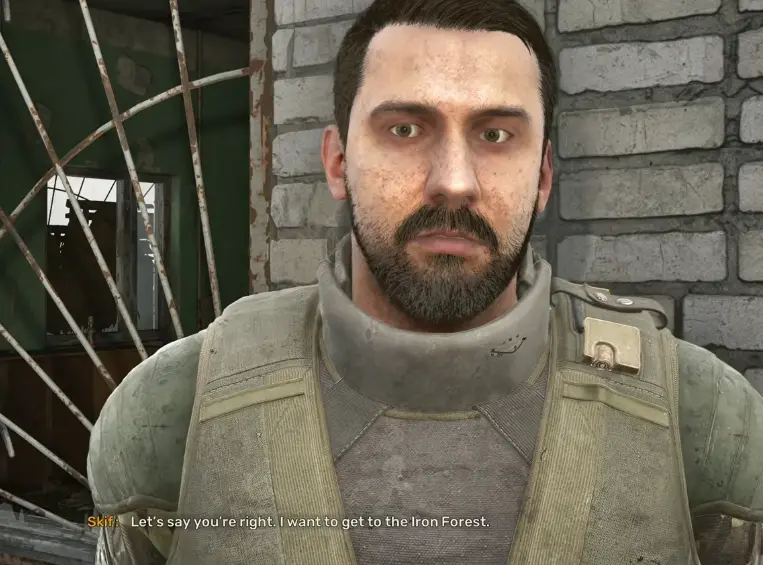
I start Terra Incognita, talk to Chatterbox at the Slag Heap, then use either the IPSF checkpoint or the hidden tunnel to get through the perimeter. For a first run, I prefer the IPSF route because helping the soldiers during the mutant attack opens a cleaner path and gives me the three missing-scout objective.
My main Iron Forest progression is:
Slag Heap → Chatterbox → IPSF checkpoint → Kurin → repeaters → Power Substation → Testing Workshop → Distant Mirage
If Cost of Hope itself has not appeared yet, I first use the How to Start Cost of Hope guide.
The Iron Forest used to be the kind of place I could see on the map without having a normal reason to enter.
Cost of Hope changes that.
Once Terra Incognita starts, the region becomes part of the DLC progression, and the problem is no longer whether the Iron Forest exists behind the wall. It is deciding which entrance to use and how much of the region I want to clear while following the main story.
How to Enter the Iron Forest in STALKER 2
I do not start by walking around the entire Iron Forest wall looking for a gap.
The DLC gives me the entry leads during Terra Incognita.
I first go to the:
Slag Heap
and find:
Chatterbox
His conversation points me toward the perimeter and the ways people have been getting through.
From there I can approach the IPSF checkpoint or use the alternative tunnel route.
If Terra Incognita is not available on my save yet, that is a Cost of Hope activation problem rather than an Iron Forest navigation problem.
Terra Incognita: Talk to Chatterbox at the Slag Heap
Once Terra Incognita is active, I track it in the PDA and travel to the Slag Heap.
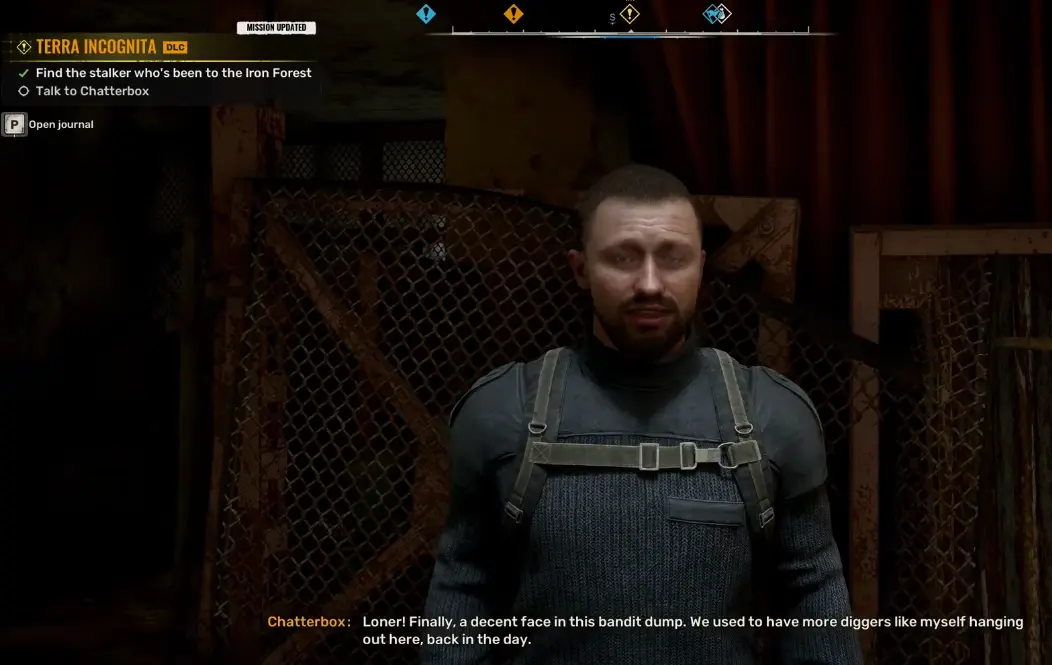
Chatterbox spends some time describing the Iron Forest itself: the blasts, mutants and IPSF presence.
I keep the conversation going.
Eventually I learn about the meeting place he used with Goodbye, while the IPSF checkpoint gives me another concrete route through the wall.
At this point I have enough information to stop searching the perimeter randomly.
IPSF Checkpoint or Tunnel: Which Entrance I Use
Both routes can get me into the Iron Forest.
For my first trip, I prefer:
the IPSF checkpoint
It gives me a more readable entry and connects directly to objectives that help orient me after crossing the perimeter.
IPSF Checkpoint Route
The checkpoint initially looks like a place I might have to fight through.
I hold fire.
Mutants attack the soldiers around the position, and helping deal with them lets the situation develop without turning the whole checkpoint hostile.
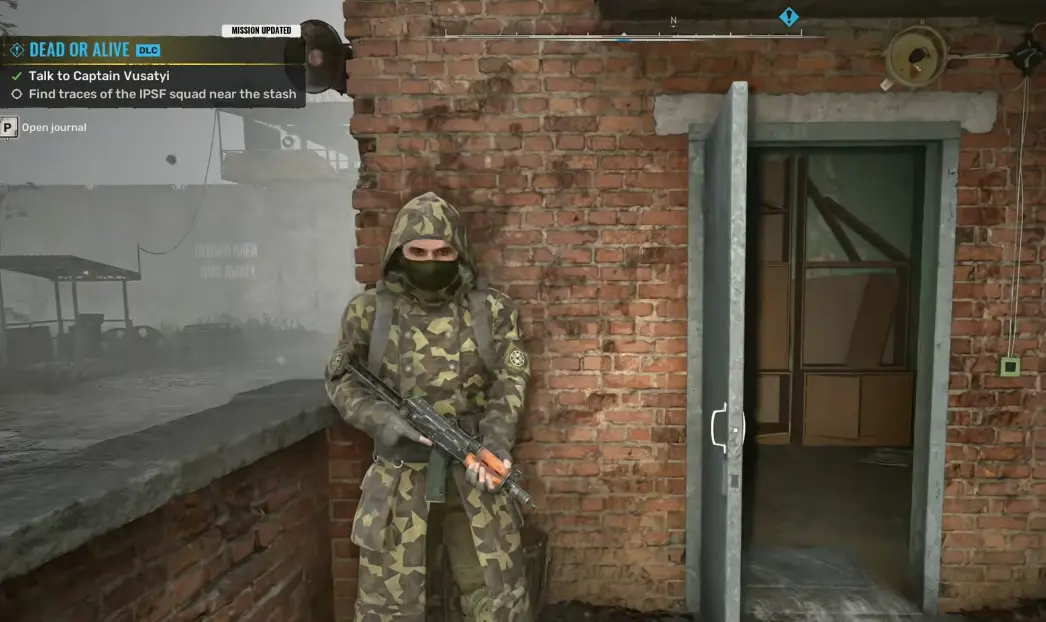
The captain tells me about three missing scouts inside the Iron Forest.
He provides their stash coordinates and asks me to find out what happened to them.
That gives my first entry a useful structure:
checkpoint → missing scouts → Freedom contacts → Kurin
Instead of arriving behind the wall with no context, I already have objectives leading farther into the region.
Tunnel Route
The tunnel is also a valid way through.
I use it when I specifically want the alternate entrance, but I do not find it as comfortable for a first visit.
The problem is the exit.
I was pushed almost immediately into a dangerous section and died once because I stopped to orient myself as though I had just emerged onto a normal open-world path.
If I take the tunnel, I make a manual save first.
After exiting, I move to safe ground before opening the PDA or studying the surroundings.
Follow the Missing Scouts Toward Kurin
After crossing into the Iron Forest, I eventually meet Freedom stalkers who know what happened to the missing IPSF group.
The wounded soldiers were sent to:
Kurin
Once the camp appears in my PDA, I stop hugging the perimeter and move toward it.
Kurin is where the Iron Forest begins to feel like a region I can actually work from rather than somewhere I have simply broken into.
Mutants can be attacking around the camp when I arrive, so I clear the immediate threat before settling into conversations and inventory management.
The larger story problem also starts becoming clearer here.
The strange blasts are disrupting communications and contributing to the increasingly aggressive mutant activity.
That becomes the thread I follow deeper into the region.
Do Not Clear Every Iron Forest POI Immediately
The Iron Forest is much larger than Terra Incognita initially suggests.
There are more than 20 marked points of interest, multiple side quests, two working hubs, stashes, artifacts and plenty of optional fights.
I do not sweep the entire map before continuing the main story.
My approach is:
main mission first → nearby optional content when it is already on my route
If a side objective is a short detour from where the story is already sending me, I take it.
If it sends me across the region while my current mission is pushing toward the blast investigation, I leave it for later.
This keeps ammunition, healing and repair costs under control without turning the Iron Forest into a straight corridor.
Use Kurin and Chief as Working Bases
The local hubs are what make longer Iron Forest runs manageable.
I use them to:
- repair weapons and armor;
- unload valuable loot;
- restock;
- move excess gear into the stash;
- pick up nearby work;
- reset before the next long mission.
Chief’s bunker became particularly useful because it gives me access to a stash, trading and guide services through Beethoven, with a bed becoming useful later in the progression.
I do not carry every rifle and mutant part deeper into the forest just because I found it.
Heavy loot makes the next interior mission harder for no reason.
I Do Not Replace My Whole Loadout With Update 2.0 Guns
Chief can sell newer weapons such as:
- Arev
- GP3A
- SKP
- Fora
I do not buy all of them just because they are new.
The Iron Forest puts enough pressure on ammunition, repairs and healing that I prefer a reliable existing loadout over spending most of my coupons testing several overlapping rifles.
If my primary is working, I repair it.
If I already have a dependable close-range weapon, I keep it.
I buy a new weapon when it fills a role I am actually missing.
That leaves me enough money to recover after the next major mission.
Follow Nitro and Mavka to the Repeater Problem
The investigation eventually connects Nitro, Mavka and the network of repeaters.
The blasts have a technological source, and the repeaters are part of the attempt to locate it.
One of Mavka’s installed units has stopped working.
Nitro tells me to inspect it.
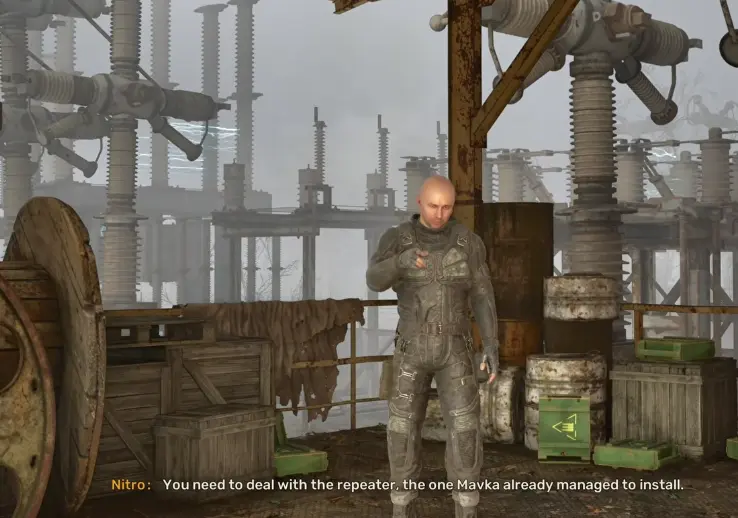
The marker can be misleading from below.
I look for the climbable structure and approach the repeater vertically.
Circling the building for a doorway that leads directly to the marker wastes more time than looking up.
Once I reach the unit and inspect it, I stay with the repeater investigation instead of trying to find the source of the blasts independently.
Defend Mavka at the Final Repeater
Another repeater sequence works differently.
Mavka handles the equipment while mutants attack.
My job is not to climb onto the machinery with her.
My job is to keep the area around it clear.
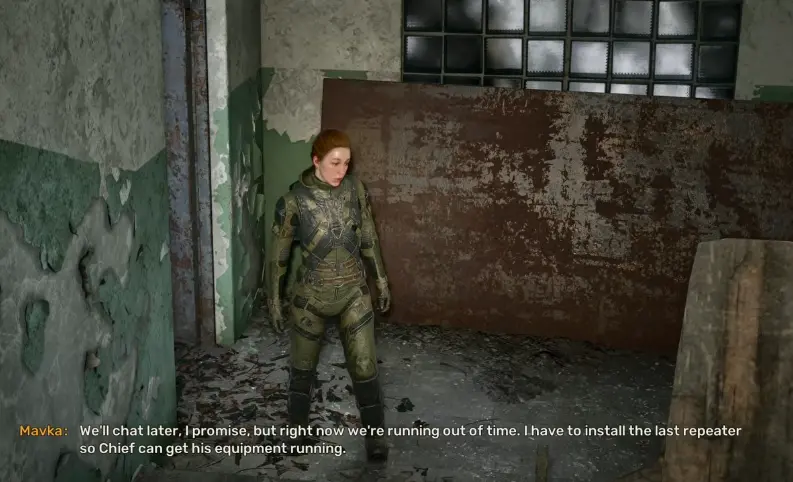
I like a shotgun or another fast close-range weapon here.
The enemies arrive close enough that relying entirely on a heavy scoped rifle makes the defense more awkward than it needs to be.
When the repeater succeeds, the signal points toward the:
Testing Workshop
That is my signal to stop wandering and prepare for the more committed interior section ahead.
In the Heart of the Iron Forest: Power Substation
The story takes me through the Power Substation before the Testing Workshop route fully opens.
If my armor or active weapon is already in poor condition, I repair before committing to this section.
The key objective inside the substation is the:
generator room
I need to find a key there before continuing.
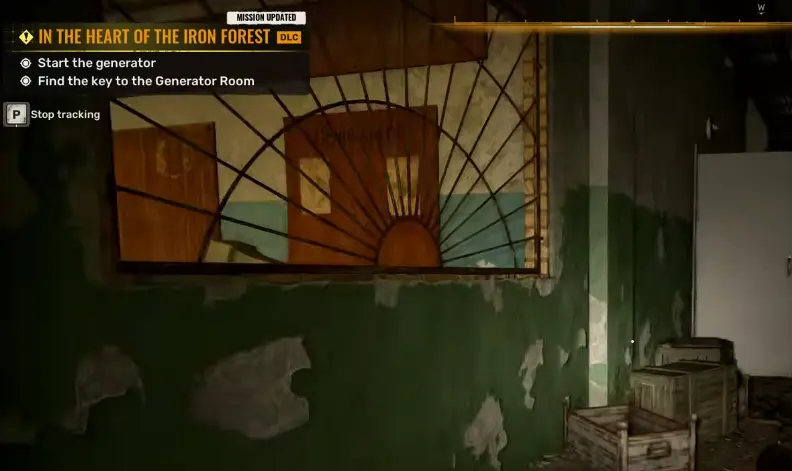
The room contains enough visual clutter that I initially kept checking shelves and corners farther away.
I keep the search inside the generator-room area.
Once I have the key, I follow the route downward and stop treating the mission like open-world exploration.
Restock Before the Testing Workshop
Before going underground, I want:
- my main weapon repaired;
- a dependable close-range weapon;
- medkits;
- bandages;
- ammunition for the weapons I am actually carrying;
- several energy drinks;
- enough free carry weight for useful loot.
If I have to choose between another expensive gun and the healing I need for the Workshop, I take the healing.
The next sections contain close fights, anomalies and fewer convenient chances to reset my loadout.
Testing Workshop: Use the Key Card and Restore Power
When the group moves toward the Testing Workshop, I receive a:
key card
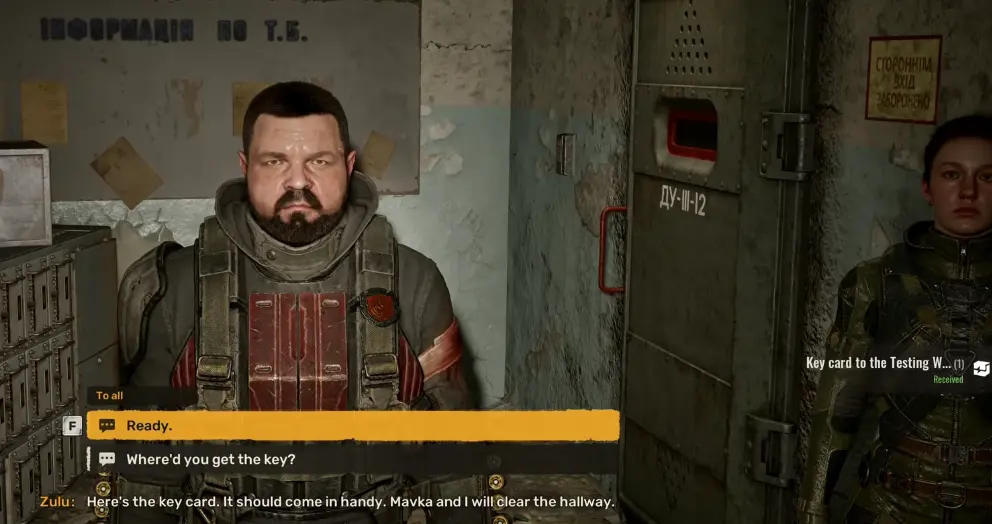
I follow the group through the underground tunnels.
The first major blockage can look like an access-card problem.
It is not.
The key card has already done its job.
The next problem is the facility’s electrical state.
When the control-room system is not working correctly, I move through the powered adjacent area and work toward restoring electricity instead of testing every locked door in the complex.
The Red Room and Poltergeist Are on the Main Route
The power route takes me toward a clearly red-lit room.
A Poltergeist encounter starts there.
That is not an optional side room.
I use cover and keep moving while dealing with the Poltergeist rather than standing in the middle of the room waiting for thrown objects to stop.
After the encounter, I can continue restoring the electrical route and regroup with the others.
The First Restored Door Is Not the End of the Workshop
Restoring power solves one obstruction.
There is still a larger hermetic door farther in.
When the control room does not open it, the group begins looking for another route.
I take that objective literally.
Instead of repeatedly returning to the same sealed door, I check:
- ledges;
- broken wall sections;
- climbable structures;
- side corridors;
- whether the objective marker is above or below my current level.
Verticality matters throughout this facility.
If the marker is no longer directly behind the door, I stop treating the door as the only path.
Loot Useful Supplies Before Triggering the Next Stage
The Testing Workshop contains side rooms and supplies worth checking before I push the final objective.
I prioritize:
- ammunition I actually use;
- medkits;
- bandages;
- grenades;
- quest items;
- valuable lightweight loot.
I leave broken weapons and other heavy junk unless I have a specific reason to carry them.
The next story transition makes the route more dangerous, and I would rather enter it well supplied than overloaded.
Distant Mirage Starts After the Workshop Investigation
After the facility investigation, the next major stage is:
Distant Mirage
I use the transition to finish checking the nearby rooms and traces connected to Lucash before pushing forward.
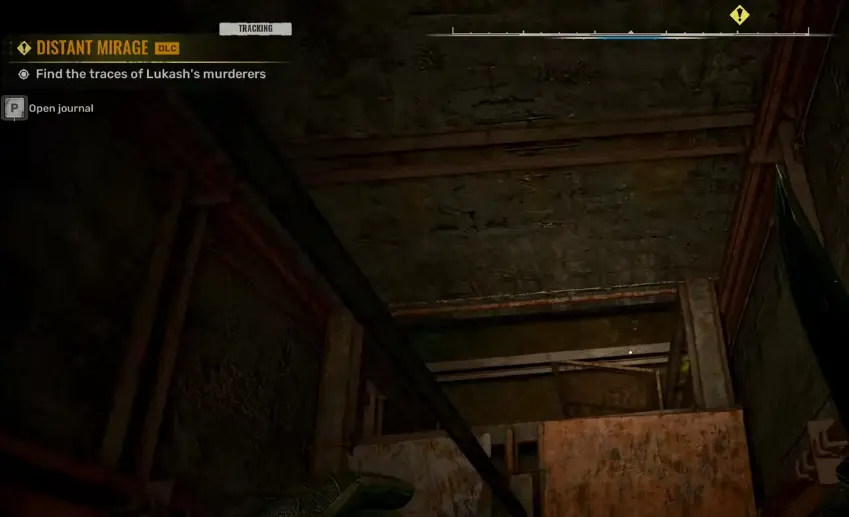
A key card and supplies appear around this transition.
I take what I need before moving into the more dangerous sequence ahead.
Distant Mirage and the Amok Fight
Distant Mirage is where this Iron Forest arc became most expensive for me.
Traps, anomalies, mutants and the Amok encounter arrive close enough together that saving every medkit for some imaginary later fight stopped making sense.
I save before the dangerous sections and use the healing I brought.
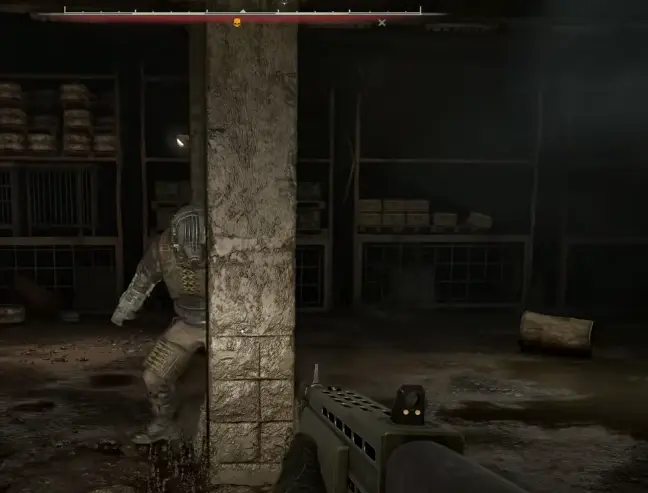
Against the Amok, I avoid dumping ammunition into its front.
The exposed back/spine gives me the better damage opportunity.
My safer rhythm is:
- create space;
- survive the attack;
- reposition;
- hit the exposed back when I have the angle;
- heal before bleeding and pressure stack into a larger problem.
I do not chase another damage window while already in a bad health state.
Distant Mirage Door Code: 3008
Later in Distant Mirage, the radio information gives me the keypad code:
3008
I use:
3008
rather than brute-forcing the keypad.
Cost of Hope frequently puts useful access information in the most recent dialogue, radio exchange, PDA entry or nearby document.
If I reach another keypad without knowing the code, I check those sources before trying random combinations.
What I Do Before Leaving the Iron Forest Story Block
After Distant Mirage, I use the local hub infrastructure one more time.
I unload important loot and repair the equipment I intend to keep using.
Then I decide whether any nearby side content is worth finishing before the story moves on.
I do not force a complete map clear.
The Iron Forest has enough optional locations that turning every remaining icon into a mandatory objective can add hours while doing very little for the next mission.
What I care about most is not abandoning something useful that is already on my route.
Why Cost of Hope May Stop After Distant Mirage
Distant Mirage closes the first major Cost of Hope story block.
If I started from Early Start, or if my existing campaign has not progressed far enough, the DLC may not immediately give me its next major section.
The important base-game checkpoint is:
A Minor Incident
If I have not completed it yet, I return to the Heart of Chornobyl main story.
I do not sleep repeatedly in the Iron Forest waiting for another Cost of Hope mission to trigger.
The exact start conditions are in the How to Start Cost of Hope guide.
Once the second half becomes available, the DLC shifts away from the mostly open Iron Forest progression and into the more movement- and puzzle-heavy missions that begin with Moving in the Shadows.
For the complete mission order after this point, I continue with the Cost of Hope Walkthrough.