How I Get Through X16 and Make the Duty or Freedom Choice
I choose an X16 approach, get the key card or explosives, restore power, clear the lab, and save at the real Duty/Freedom split.
Updated:
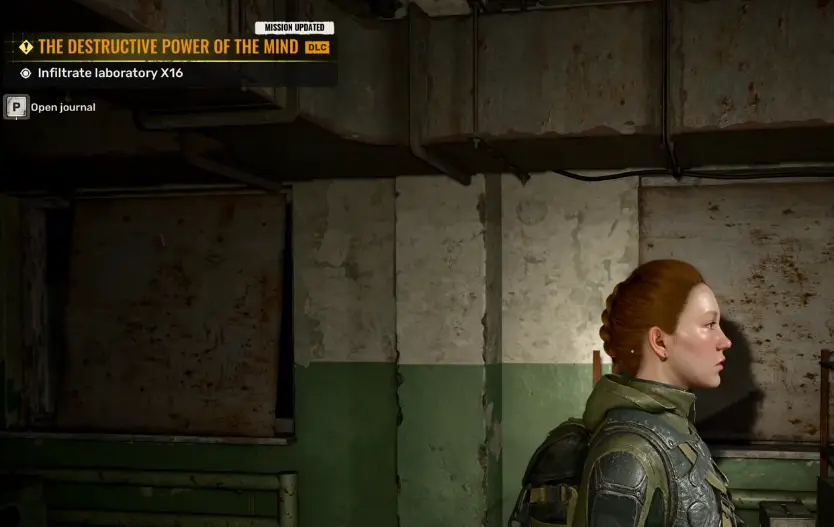
Quick Answer
The Destructive Power of the Mind contains two different Mavka/Zulu choices.
At the assault briefing, I choose only how to enter X16:
- Mavka → side entrance and X16 key card
- Zulu → main assault and explosives
That decision does not lock Duty or Freedom.
The routes converge deeper inside X16. On Mavka’s side I restore the laboratory power and use 1408 on the progression keypad; Zulu’s route uses charges on cracked walls to force a path inward.
The permanent faction split happens later, when Mavka and Zulu confront each other beside the technology. That is where I keep a separate manual save:
- support Mavka → Freedom
- support Zulu → Duty
The Destructive Power of the Mind Starts After Both Investigations
I do not expect the X16 assault to begin after completing only one mid-game investigation.
I need both:
- Shadows of the Past
- To the Origins of Freedom
If one is still active in my PDA, I finish it first.
Once both threads are resolved, Mavka and Zulu gather at the secret camp and agree on the immediate target:
Laboratory X16.
Their alliance is already strained, but they still have the same short-term problem—Nord and his mercenaries.
The argument over what should happen to the technology comes later.
I Go Into X16 Light Enough to Move
X16 is long enough that I notice bad inventory decisions.
Before the briefing, I repair the rifle and close-range weapon I actually use, top up their ammunition, and leave enough free weight to move normally through ladders, stairs and interior fights.
I do not repair every valuable gun in my backpack.
If I have been carrying a weapon for several missions without using it, I stash or sell it before X16 rather than paying to bring another heavy spare through the laboratory.
The First Mavka or Zulu Choice Only Changes the Assault
At the secret camp, the game asks whom I want to accompany.
This is the tactical choice.
Zulu wants to attack through the main entrance.
Mavka wants a quieter route through a side entrance.
The factions still attack X16 at the same time, and both routes eventually reach the same central laboratory.
So I choose based on the version of X16 I want to play.
Mavka
I choose Mavka when I want the side-entry route, key-card preparation and a quieter opening.
Zulu
I choose Zulu when I want the direct assault, explosives and cracked-wall breaches.
The approach also changes one unique weapon reward—Mavka’s route leads to Clapper, while Zulu’s leads to Warszawa—but I do not mistake that reward difference for the permanent faction decision.
Mavka Route: Get the X16 Key Card
Mavka splits the search between me and Zen because there are two cargo-receiving locations, and nobody knows which mercenary group has the card.
I check one location while Zen checks the other.
That distinction matters.
I do not need to personally loot the X16 key card for the mission to continue.
If I clear my assigned group and Zen radios that he has the card, I stop searching bodies and head back to Mavka.
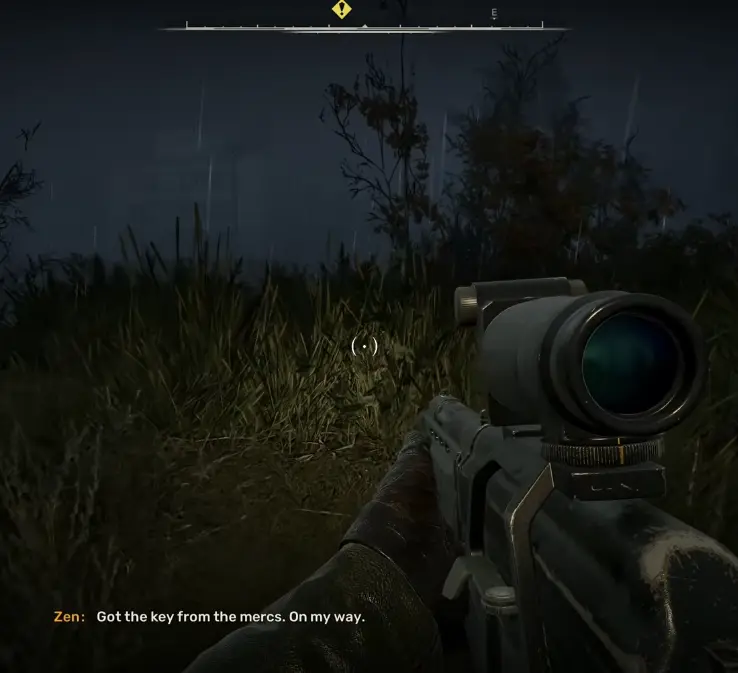
My side of the search takes me toward the Tunnel Under Lake area, where several mercenaries can be guarding the objective.
I do not turn the area into a compulsory full clear.
If enemies block the route, I deal with them.
If Zen already has the key and the remaining mercenaries no longer matter to the objective, I move on.
If the Objective Seems Stuck
I first listen for Zen’s radio update.
If he says he has the card, I return to Mavka.
If the mission still expects the card from my side, I check the relevant mercenary bodies before assuming the quest has broken.
The progression item matters more than eliminating one last enemy at the edge of the area.
Enter X16 Through Mavka’s Side Door
Once the card is secured, I regroup with Mavka.
I enter first through the side route, her team follows using the card, and Zulu’s group attacks the main entrance at roughly the same time.
I make a normal save before entering.
This is useful if I want to replay the assault itself, but it is not the permanent branch save.
That comes near the end of X16.
Zulu Route: Get the Explosives
Zulu handles the preparation completely differently.
He needs charges for the main assault and sends me to an old barracks where bandits have access to explosives.
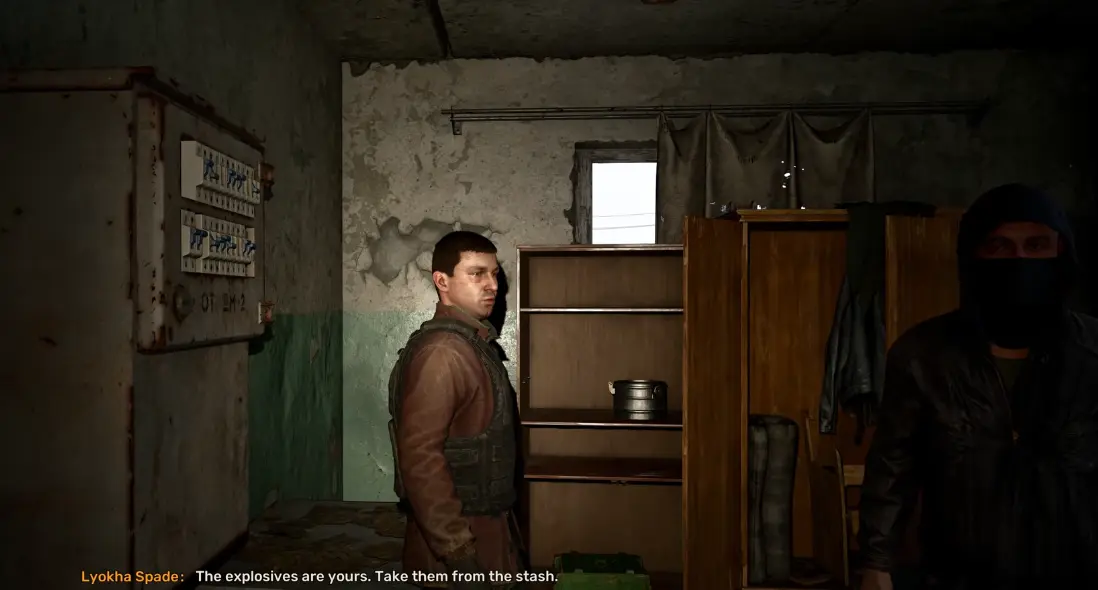
I can make the deal or turn the visit into a fight.
My decision is mostly economic.
If I have enough coupons and want to preserve ammunition and healing for X16, I pay.
If I am short on cash but well supplied for combat, fighting becomes more reasonable.
Either way, I leave with the charges.
Zulu Route: Breach the Cracked Walls
Zulu’s soldiers handle much of the direct pressure while I use the explosives to open the route.
The important visual clue is:
cracked walls.
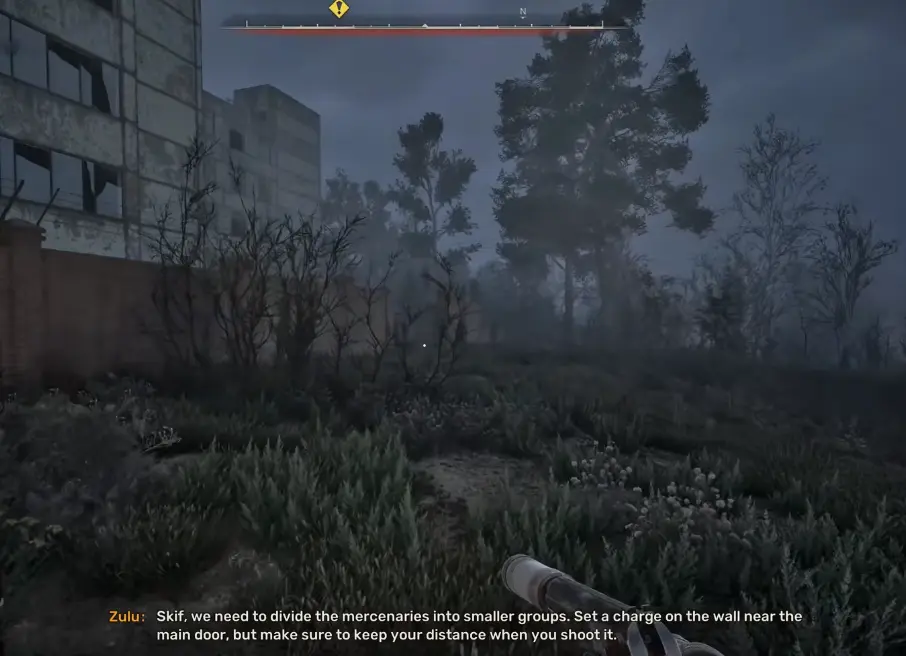
I do not search every room for a hidden demolition point.
The route directs me toward the walls that actually need charges.
An early breach opens the path around the main entrance, after which the assault continues down through the laboratory.
Another breach is used deeper around the lunchroom section.
I always create distance before detonating a charge.
Both Routes Converge Deeper Inside X16
Once the assault is fully underway, Mavka’s and Zulu’s routes stop behaving like separate campaigns.
Both teams are pushing toward the laboratory center.
Both are fighting Nord’s mercenaries.
Both eventually reach the same technology.
So I stop treating my opening partner as proof that I have already chosen Freedom or Duty.
I have not.
Mavka Route: Restore the Electricity
The first major progression blocker on the side-entry route appears when another key-card door stops working.
The problem is not the card.
The laboratory has lost power.
I follow the objective downward toward the power system instead of searching bodies for another access item.
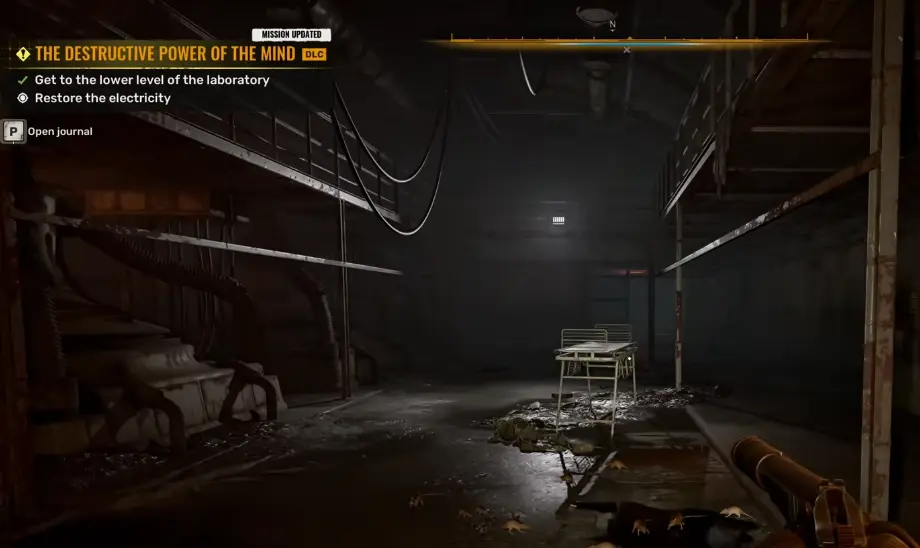
Once the electricity comes back, the blocked systems start working again and the route opens deeper into X16.
That is when I return upward rather than continuing to search the generator area.
X16 Progression Code: 1408
After restoring power, I reach the keypad on the Mavka route.
The code is:
1408
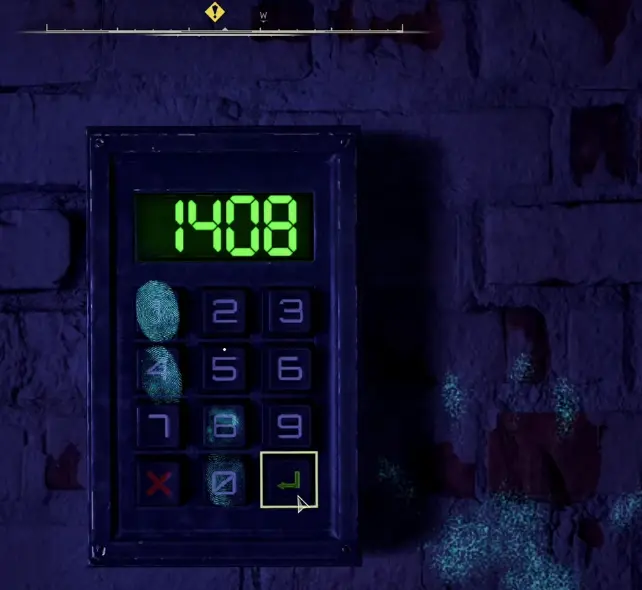
I solve the power problem first.
Trying keypad combinations before the laboratory systems are running is solving the wrong blocker.
Once the power is restored, I enter 1408 and continue.
Push Through the Central X16 Rooms
Deeper inside, X16 becomes less about infiltration and more about surviving the laboratory itself.
The route passes through areas such as:
- cafeteria and kitchen rooms;
- morgue and test spaces;
- old research areas;
- projector rooms;
- upper laboratory levels.
The mercenaries here can be much better protected than the enemies I met early in Cost of Hope.
If a helmeted fighter survives several hits, I use cover and finish the fight rather than assuming my weapon stopped working correctly.
I also resist the urge to clear every side room before advancing.
There is plenty to investigate, but the main route is long enough without turning every research room into a completion sweep.
Read the Colored-Wire Section Before Touching It
One laboratory section combines controls, colored wiring and nearby test subjects.
I clear immediate threats first.
Then I read the instructions around the room before interacting with the controls.
The result can change doors and containment areas nearby, so blindly cutting or activating the first obvious colored object can create more confusion than it solves.
When a control changes the environment, I expect new enemies or new access routes to appear and keep a close-range weapon ready.
Open the Route for the Other Team
Even after choosing one approach, I still hear and interact with the other assault group.
At one point teammates become blocked and need me to open their route.
I handle that before wandering away to loot side rooms.
Keeping both teams moving prevents unnecessary backtracking once the next objective fires.
The Projector Rooms Are Optional
The projector material inside X16 explains more of the experiments and what happened to the test subjects.
I interact with it when it is already on my route.
I do not treat every projector slide as mandatory progression.
If I am doing a completion run, I explore more thoroughly.
If I am here to finish The Destructive Power of the Mind, I keep moving once the route forward is open.
Optional X16 Safe: 171008
There is one optional detour I consider worth remembering because the reward is much better than an ordinary supply cache.
The safe uses:
171008
and contains the Brummbar Exoskeleton.
If I only care about the story, I can leave it and continue.
Save Enough Resources for the Final X16 Rooms
The deeper laboratory mixes mercenaries, mutants, test subjects and environmental hazards.
I stop worrying about being at absolutely full health after every small hit, but I do not carry bleeding or an empty magazine into another major room.
Before a difficult section, I mainly want:
- bleeding stopped;
- active weapons loaded;
- enough health to survive a mistake;
- enough stamina to reposition.
That matters more than preserving one medkit at all costs.
The Real Duty or Freedom Choice Happens at the Technology
Eventually Mavka and Zulu converge beside the technology.
This is the decision that matters.
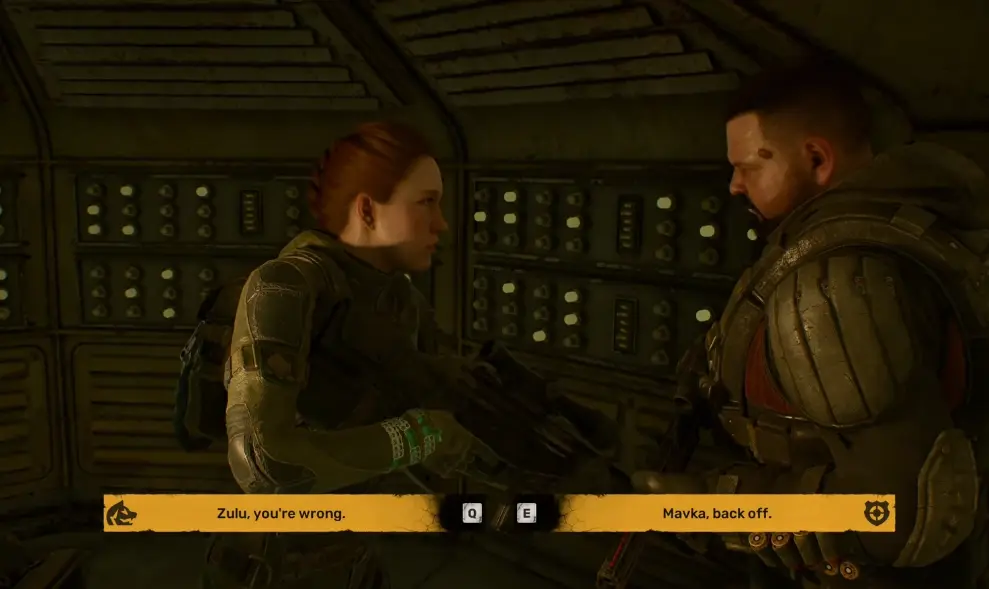
Zulu wants the technology destroyed.
Mavka wants it preserved and used.
The game lets me acknowledge that both arguments have merit, but that does not produce a neutral route.
I still have to choose.
The mapping is simple:
- support Mavka → Freedom
- support Zulu → Duty
This choice is independent of the assault partner I picked earlier.
I can enter X16 with Mavka and later support Zulu.
I can enter with Zulu and later support Mavka.
That is why I treat the briefing choice as tactical and this confrontation as permanent.
The full consequences of the two branches belong in my Duty or Freedom endings guide.
After the Choice, Check Targets Before Shooting
The X16 alliance ends quickly after I commit.
Members of the opposing faction can become hostile even though they were fighting beside me earlier in the mission.
If I supported Mavka, Duty is now the opposing side.
If I supported Zulu, Freedom is.
I do not run toward every human silhouette assuming the temporary alliance is still active.
I identify the target first and get out of X16.
What Comes Next
Once I leave the laboratory, the campaign becomes faction-specific.
Supporting Mavka leads into the Freedom late-game route.
Supporting Zulu leads into the Duty route.
Both eventually move toward Montreal, the CNPP, Reactor 4 and X19, but the missions and allies along the way are different.
The late-game route continues in the CNPP and X19 walkthrough.
For The Destructive Power of the Mind itself, the important progression is:
choose an X16 approach → get the key card or explosives → enter the lab → restore access → reach the technology → make the branch save → choose Freedom or Duty → escape X16.