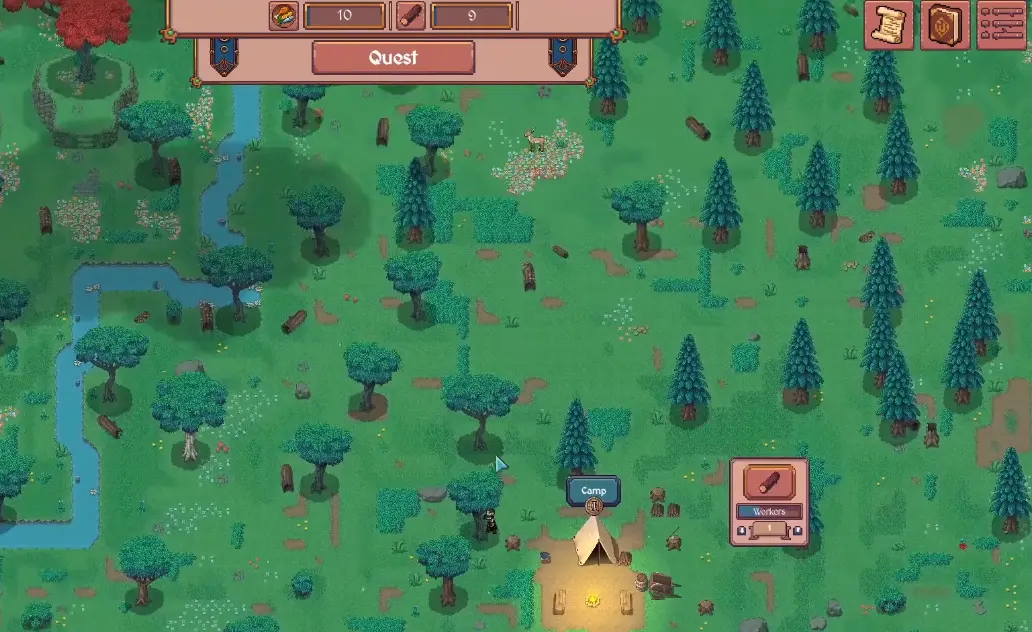
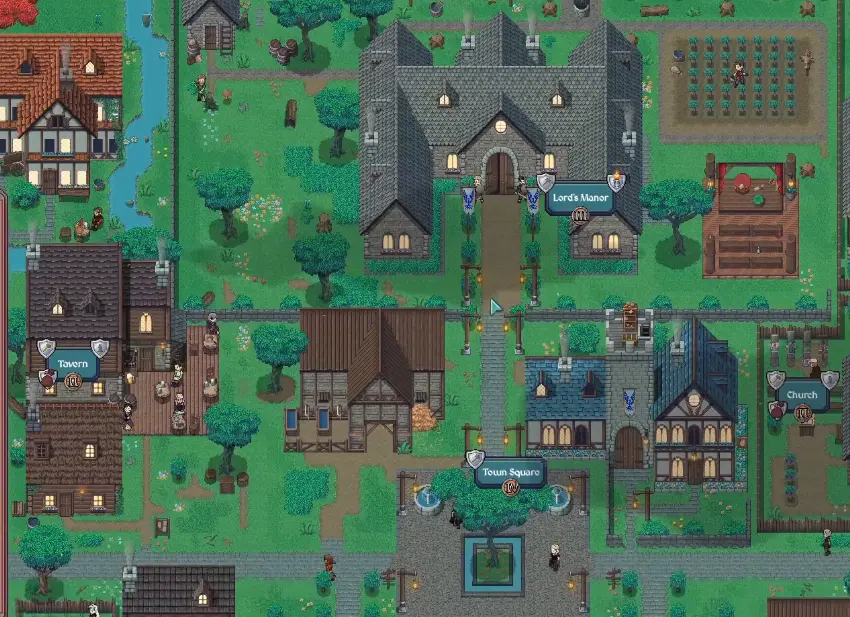
The Route I Use From Camp to Coronation
My complete Hearth and Hamlet progression route from the opening Camp to Gold, trade, Blueprints, Magic, Ashenholt, the Castle, coronation, and the epilogue.
Read Guide →Game Guide Hub
My quick route through Hearth and Hamlet's main blockers, so I can tell whether I should fix Food, save Gold, unlock a system, prepare for raids, or push the story.
Recommended Order
Use these guides to find the right Hearth and Hamlet walkthrough, solution or next step.
Walkthrough
My complete Hearth and Hamlet progression route from the opening Camp to Gold, trade, Blueprints, Magic, Ashenholt, the Castle, coronation, and the epilogue.
Gold Guide
My Gold route from the first Ashenholt demand to late-game costs, including when I mine, use Hunting, tax, upgrade storage, save, and stop buying side upgrades.
Blueprints Guide
How I unlock Blueprints, decide which building gets them first, and avoid wasting scarce designs on upgrades I can safely leave for later.
Food Shortage Guide
My recovery order for Food shortages: check Food flow, cut avoidable consumption, move workers, rebuild a surplus, then resume growth and military expansion.
Guide Cluster
My complete Hearth and Hamlet progression route from the opening Camp to Gold, trade, Blueprints, Magic, Ashenholt, the Castle, coronation, and the epilogue.
Read Guide →My Gold route from the first Ashenholt demand to late-game costs, including when I mine, use Hunting, tax, upgrade storage, save, and stop buying side upgrades.
Read Guide →How I unlock Blueprints, decide which building gets them first, and avoid wasting scarce designs on upgrades I can safely leave for later.
Read Guide →My recovery order for Food shortages: check Food flow, cut avoidable consumption, move workers, rebuild a surplus, then resume growth and military expansion.
Read Guide →My route from Stone Walls to Rubiscar, the Wizard, Witch's Mire, Magic harvesting, and the Magic Academy, including what I check before each gate.
Read Guide →My Caravan route from the first Market upgrade to two active trade routes, including how I read demand, choose exports, and avoid selling the next quest.
Read Guide →I buy upgrades that remove the next real bottleneck, not every glowing button. This is how I choose between unlocks, production, workers, and storage.
Read Guide →I stopped judging raids by enemy count alone. This is how I use Threat, Guards, Walls, First Strike and upkeep to decide when to recruit and when to hold.
Read Guide →Most achievements follow normal progression. I plan around the few that need 20 trades, 200% Happiness, full upgrades, no defeats, or a restricted run.
Read Guide →When I get stuck in Hearth and Hamlet, I first decide what kind of problem I actually have.
I get better results by fixing the active blocker than by buying every upgrade that happens to be available.
Hearth and Hamlet is easy to read while the settlement is still a small Camp.
Then the town grows.
More buildings open.
Enemies arrive.
Gold appears.
Trade starts.
Blueprints begin blocking upgrades.
Magic introduces another resource chain.
By that point I can have several useful-looking buttons on screen while only one of them actually moves the current objective forward.
That is when I stop asking:
What can I buy?
I ask:
What is stopping progression right now?
This hub is the map I use for that decision.
When I am genuinely lost, I go back to the current story objective.
The main progression moves through a recognizable chain:
Camp
→ population and Town Square
→ Iron and Guards
→ Gold
→ walls
→ trade
→ Blueprints
→ Stone Walls
→ Ship and Rubiscar
→ Wizard and Magic
→ late population and military stages
→ Ancient Evil
→ late diplomacy
→ Castle and coronation
The complete Hearth and Hamlet walkthrough owns that full order.
I use it when my question is:
What should I do next?
I do not use it when I already know the objective and only need help solving one system.
That distinction keeps the walkthrough from becoming a second copy of every guide in the cluster.
A large Food stockpile does not automatically mean the economy is safe.
If Food is falling every tick, the town is already spending its reserve.
That can happen because of:
When Food becomes the active problem, I stop adding new pressure and use the Food shortage guide.
That page owns the recovery order.
From the Hub, the decision is only:
Food flow is bad → fix Food first.
I do not try to solve starvation by buying unrelated Research.
Gold becomes dangerous because so many different systems compete for it.
If the next objective needs Gold and I keep buying every smaller upgrade that appears, the main gate can feel permanently far away.
When Gold is the blocker, I use the Gold guide.
That page owns:
The Hub only needs the routing rule:
If I know what the quest wants and Gold is the reason I cannot do it, I solve Gold rather than changing the story route.
A locked button can mean several different things.
It can be waiting on:
a higher building level
a later story step
a Blueprint
a different Blueprint tier
a resource capacity problem
Those are not the same blocker.
If the lock is specifically a Blueprint problem, I use the Blueprints guide.
If the card is waiting on a building level or I cannot decide whether that prerequisite is worth buying, I use the Research and upgrades guide.
My rule is:
If the normal resource bars are ready but the button is still locked, I stop gathering and inspect the lock itself.
I do not send a Caravan just because the slot is available.
I first decide what the town actually needs.
If I have a true surplus and another resource is blocking progression, trade can convert one into the other.
If the next quest needs the resource I would be exporting, I keep it.
The Caravan and trade guide owns:
From the Hub, I only need one question:
Is trade helping the next objective, or is it merely keeping the Caravan busy?
If it is only keeping the Caravan busy, I leave it idle.
Research becomes difficult when several upgrades are all useful.
I do not try to rank every upgrade in the game permanently.
Instead I ask:
What is preventing the next useful action?
If the next system is still locked, I prioritize the unlock.
If one resource is clearly behind, I improve that resource.
If several resources are slow, a broad multiplier becomes more attractive.
If storage is already sufficient, I skip storage.
If the next objective is already within reach, I stop buying side upgrades.
The Research and upgrades guide owns that full decision framework.
More enemies do not always mean I need the same proportional increase in Guards.
Walls, First Strike, soldier upgrades, enemy type, Threat, and the raid timer all change the decision.
When raids become the blocker, I use the Raids and Guards guide.
That page owns:
If my army is winning but the economy collapses under the army afterward, I switch problems.
At that point I no longer have a combat problem.
I have an economy problem.
Magic is not an early map secret.
It opens through later progression.
If I am seeing the Wizard, Rubiscar, swamp, or Magic-related objectives, I use the Magic unlock guide.
That page owns the full chain:
Harbor
→ Ship
→ Rubiscar
→ Wizard
→ Witch’s Mire
→ Magic Harvesting
→ Magic Academy
The most useful check is whether I am still missing a step in that chain or whether Magic production is already active and another resource has become the real blocker.
If Witch’s Mire is waiting on a Blueprint, I solve the Blueprint problem.
If Rubiscar is waiting on Gold, I solve Gold.
If the Wizard step leaves Food unstable, I solve Food.
I do not treat every late-game problem as a Magic problem just because Magic is involved.
Late in a run, the settlement can look finished before I have decided what kind of completion I want.
If I only want the ending, I keep following the walkthrough.
If I care about 100%, I check the Achievements guide before committing to the final sequence.
Some achievements are natural progression.
Others can be ruined much earlier in the run.
That is why I do not try to recover a restriction achievement at the ending after the restriction was already broken hours ago.
I either finish the current run normally or move that goal to another save.
Storage becomes a real problem only when capacity itself blocks the next useful action.
If the objective requires more of a resource than I can hold, I raise the cap.
If I repeatedly hit the cap and waste production, storage also becomes useful.
If neither is true, I usually leave capacity alone.
The full upgrade decision belongs in the Research and upgrades guide.
The Hub rule is:
If the requirement fits, keep producing.
If it physically cannot fit, fix storage.
I treat Sanitation as part of settlement development rather than a worker-produced resource.
When it becomes a visible problem, I check the town’s road and civic progression rather than pulling workers away from useful production at random.
In practice, better roads and later settlement improvements are the direction I look toward first.
I also separate Sanitation from a temporary Happiness problem.
If Happiness is low because of a raid loss, taxation, or another modifier, I fix the actual modifier rather than assuming Sanitation is responsible for everything.
Sanitation does not currently need its own page in this cluster.
I keep it here until it proves it deserves a dedicated Owner.
If the story starts asking for the Cathedral, I have not missed an early building.
It belongs to the late diplomacy and kingdom-building progression.
I stay on the current Church and diplomacy route, keep the economy stable, and complete the requirements as the story exposes them.
If I am not sure how close the Cathedral stage is to the ending, I return to the complete walkthrough.
I do not currently treat the Cathedral as a large enough independent system to justify a separate guide.
Before a large purchase, I ask:
Does this unlock the current objective or the system immediately after it?
Does it fix the resource actually blocking me?
Can the town afford the purchase without creating a new shortage?
If the answer is no to all three, I usually leave it alone.
That is the pattern I use across Hearth and Hamlet:
identify the blocker
→ solve the correct system
→ return to the main progression
→ repeat when the next blocker appears.