How I Survive GRAIN ROT Solo Without Throwing Away Good Runs
The solo route I use to survive Deep Layers runs, manage healing and stamina, carry smarter loot, protect progression items, and leave before greed ruins the run.
Updated:
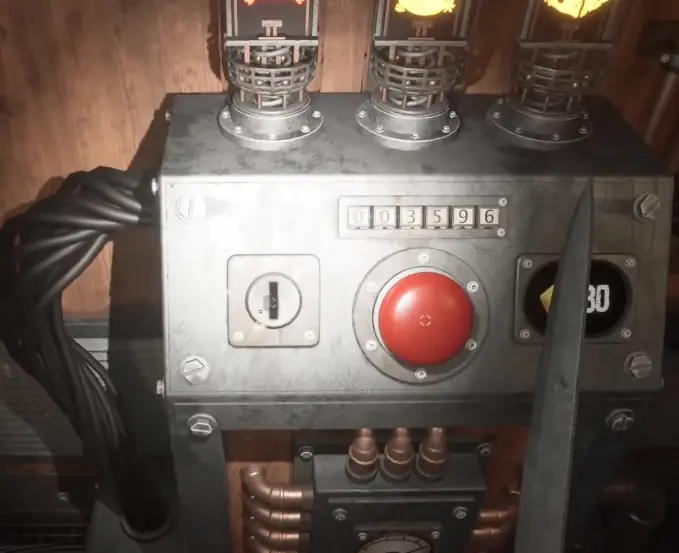
Quick Answer
Yes, I can progress through GRAIN ROT solo.
What made solo consistent was not learning how to kill everything.
It was learning when not to take another risk.
My solo loop is:
prepare only what I actually need → descend → make the exit manageable early → search one section at a time → carry loot I can move safely → preserve stamina for emergencies → secure the objective or enough resources → leave before another optional room turns the run into a reset.
I reached the Second Floor this way without needing another player.
GRAIN ROT is harsher solo because every job stops when I have a problem.
If an enemy chases me, nobody else is carrying valuables.
If I get lost, nobody else remembers the route.
If the elevator has another requirement, nobody else is solving it while I search another room.
And if I make a bad decision with an important item in my inventory, there is nobody else bringing it home.
That is why I stopped judging solo runs by:
how much of the floor did I clear?
I judge them by:
what useful progress survived the ride back upstairs?
I Do Not Spend Everything Before the Run
At the Outpost, I prepare for the problem I expect to have.
I do not empty all of my Scrap and Gold just because I am about to descend.
If my recent runs have been ending because I cannot survive mistakes, I work on survivability.
If the problem is stamina, I address stamina.
If the equipment pool is the thing holding me back, I look at the Workshop.
I keep all of the verified room numbers, furniture XP, Workshop tiers, and upgrade order in my Outpost Upgrades Guide.
For solo, the important principle is simpler:
I want the next purchase to change the outcome of the next run.
If I cannot explain how it does that, I usually save the resource.
I Start Carrying Glue Once Lack of Healing Has Already Cost Me a Run
This is one place where saving money became more expensive than spending it.
I had a solo run where my health dropped to 1 HP.
At that point, I desperately needed either a bed or another reliable source of recovery.
I did not find enough before the run collapsed.
After that, I stopped treating Glue as something I should always skip to save Gold.
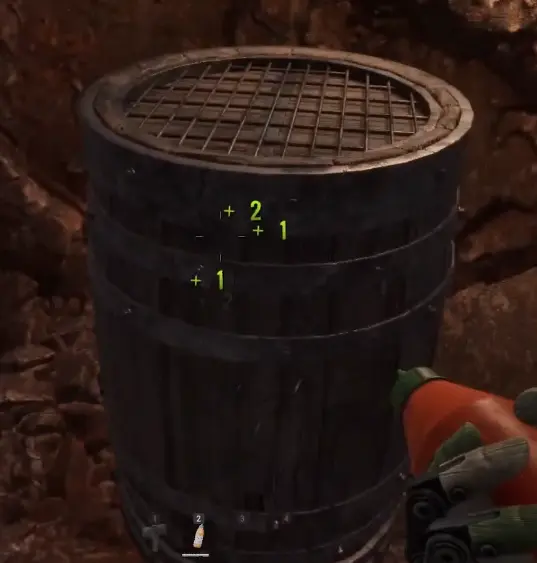
I still do not buy it every single time.
If I am making a short, low-risk resource run and already know a safe route, I may keep the money.
But if:
- the next objective is deeper;
- enemies have already been taking large chunks of health;
- I do not know where the next safe bed will be;
- one failed run would lose something important;
I am much happier to carry healing.
Beds and Glue Are Not the Same Tool
I originally assumed sitting down would help with health.
It did not work the way I wanted.
Sitting restored energy.
My health stayed damaged.
The reliable recovery point I found was a bed.
That changed how I value furniture underground.
If I find a bed in a room that is reasonably safe, I do not automatically destroy it for Scrap.
Sometimes the bed is more valuable alive.
My rule is:
bed = recovery point I can return to
Glue = recovery I can carry with me
That means I prefer a bed when:
- I already know the room is safe;
- I am planning another nearby branch;
- I can come back without losing the route.
I prefer Glue when:
- I am moving farther away;
- I cannot rely on finding another bed;
- the next dangerous section does not give me time for a long recovery stop.
A few extra Scrap is not automatically worth removing my only healing point.
My First Goal Downstairs Is a Return Route
When I enter the Deep Layers alone, I immediately start building a mental map around the elevator.
I do not need to memorize the whole floor.
I need to know how to get back.
My route usually looks like:
elevator / extraction area
↓
one connected branch
↓
check the nearby rooms
↓
return toward the anchor
↓
take another branch only if the run is still healthy
The layouts can change, so I do not use one permanent:
left → right → second door
route.
The elevator is much more useful as my anchor.
If I start seeing the same opened containers or the same furniture again, I assume I am looping and turn around.
Random exploration feels faster for the first few minutes.
It is much slower once I have to escape.
I Prepare Extraction Before I Desperately Need It
This is probably the biggest improvement I made solo.
I used to keep looting until the run became dangerous.
Then I would think about extraction.
Now I start making the exit usable while the floor is still under control.
On one solo run, this approach gave me enough control to continue searching after the exit was already prepared.
When the floor eventually became uncomfortable, I could simply go.
That successful run returned 1,200 XP and pushed me to Level 5.
I keep that result here because it demonstrates the solo strategy itself:
I did not need another player.
I needed the exit ready before the situation deteriorated.
The exact extraction requirements, processing route, and leave-or-stay logic belong in my Extraction Guide.
On this page, the solo lesson is:
solve the way home before I start gambling on bonus value.
I Check Value Before Carrying Something Awkward
Solo hauling has a hidden cost.
An object can be valuable and still be a poor solo pickup.
I have checked items with values such as:
32
and:
16.
I also found larger furniture that looked worthwhile but was awkward enough that carrying it alone would have slowed the entire run.
That is when I stopped looking only at the number.
My solo calculation became:
value / carrying risk
not:
highest visible value wins.
Before I pick up something bulky, I ask:
- how far is the processing point?
- can I still see around the object?
- will I be able to sprint if something appears?
- does this route cross rooms I already know are dangerous?
- is there a smaller item nearby that gives me almost as much value for much less risk?
A huge object can be excellent in co-op because several players are controlling the floor.
Solo, it can turn me into a slow target.
If the exit is already safe and the area is quiet, I may take it.
If I am already managing poor stamina or enemy pressure, I leave it.
I Save Stamina for a Problem, Not a Long Corridor
One of the easiest solo mistakes is sprinting because nothing is happening.
That empties the bar exactly before something does happen.
I now sprint to solve a problem.
I do not sprint just because the hallway is long.
Before entering a room I cannot properly read, I want enough stamina to:
turn around → create distance → reach the previous safe room.
This is especially important when I am carrying something bulky.
My visibility is already worse.
My movement is already less comfortable.
That is the worst time to spend the rest of my emergency stamina just to move faster.
I Do Not Fight Just Because an Enemy Exists
Solo taught me that avoiding a fight can be progression.
If an enemy is:
- not blocking the objective;
- not blocking the return route;
- not guarding something I actually need;
I do not automatically engage.
A fight costs more than health.
It can also cost:
- stamina;
- weapon durability;
- route awareness;
- time;
- the position I had already secured.
That makes optional combat much less attractive when the run is already good.
If I hear something in the next room and I cannot identify whether it is safe to fight, walking away can be the correct decision.
I am not trying to prove that every enemy on the floor is killable.
I am trying to bring the run home.
The Objective Becomes More Valuable Than the Remaining Loot
The clearest solo turning point for me was a rescue objective.
I found what I had entered the Deep Layers to recover.
There were still glowing valuables nearby.
I wanted them.
I started taking more.
Then the situation changed.
Instead of extending the run, I abandoned the optional loot and returned with the objective.
That was the right decision because it moved progression forward.
The unfinished rooms did not matter.
That became my general solo rule:
once the objective is worth more than the remaining floor, the run is finished.
That applies to:
- rescue objectives;
- progression items;
- enough Scrap for the upgrade I came for;
- a particularly strong resource haul.
I do not need the game to physically force me into the elevator.
I Treat the Second Floor Key as a Reason to Leave, Not Another Loot Opportunity
The Second Floor Key was another strong example.
Once I found it, I stopped treating the floor as a farming run.
I still had to make sure the current exit conditions were solved.
But I did not need another loot loop.
That is all the Key story needs to do on the Solo page.
The quest prerequisites, procedural search route, successful return, XP result, and what happens upstairs belong in my Second Floor Key Guide.
The solo lesson is simply:
important progression item in my inventory = optional risk becomes much less valuable.
Broken Fuse Means I Add One More Solo Job
Broken Fuse is harder alone because nobody else is searching while I do something else.
If that modifier appears, I start solving it during the run rather than discovering the problem only when I want to leave.
I do not repeat the full troubleshooting here.
The dead-Fuse issue, container search, usable replacement, elevator slot, and Compass alternative all belong in my Replace Fuse Guide.
For solo, what matters is workload.
A Broken Fuse run now has another job competing for:
- time;
- route awareness;
- stamina;
- safety.
That makes me less greedy with everything else.
If the floor already requires extra work just to make extraction possible, I do not also need to turn it into my longest farming run.
Grain Rot and Missing Health Are Separate Problems
Another thing I learned solo is that removing a bad status does not automatically mean I am ready for another run.
When Grain Rot builds up, I can clear it using burning exposure such as the sunlight outside the Outpost.
That exposure can hurt me too.
So I treat the process as two separate jobs:
remove the Rot
then:
restore the health I lost.
Sitting is not the solution I rely on for that second step.
I have seen sitting restore energy while my health remained damaged.
If I still need actual healing, I use something that restores health, such as:
- a bed;
- Glue.
I do not clear the status and immediately descend again with poor HP just because the Rot icon is gone.
A Broken Tool Can Be a Perfectly Good Reason to Leave
Not every return signal has to be dramatic.
Sometimes my Mallet breaks.
If the run is still near the beginning and I have another useful tool, I may continue.
If I already have:
- a useful amount of Scrap;
- enough money to improve something upstairs;
- a safe extraction route;
- no important reason to push deeper;
the broken Mallet can be the point where I stop.
I have had exactly that kind of run.
I had already gathered useful resources.
The Mallet broke.
I took one last nearby item and returned.
I had not explored the whole map.
It was still a good run.
That is much more efficient than turning every broken tool into:
I have already come this far, so I might as well keep going.
I Do Not Build My Solo Strategy Around Finding Another Vessel
The Spark system makes death feel as though it might be recoverable.
Sometimes it is.
That does not mean I plan around it.
I have had a run where my Vessel failed and I spent the next part desperately trying to recover through another body.
That is not a stable solo extraction plan.
So I treat Vessel recovery as:
emergency possibility
not:
permission to spend the last of my health.
If my current Vessel is almost gone and I already have the objective or resources I wanted, I leave.
I do not deliberately take another dangerous room because I hope a convenient replacement body will solve the consequences.
The safer run is the one where I never need that rescue.
I Leave Earlier When Several Small Problems Start Stacking
A solo run does not always collapse because of one huge mistake.
Often it is:
- health is a little low;
- stamina is a little low;
- the good weapon is nearly finished;
- I am starting to lose the route;
- the next room is unknown;
- the exit is two branches behind me.
Individually, none of those look terrible.
Together, they are the warning.
That is when I stop saying:
I can probably do one more room.
The decision I care about is not whether the next room is technically survivable.
It is whether surviving that room still leaves me enough margin for everything that can happen afterward.
My Solo Decision Rule
When I am standing at the next doorway and cannot decide whether to continue, I ask four questions.
Do I already have what I came for?
If yes, the next room must justify the extra risk.
Is my exit manageable right now?
If no, I fix that before going farther.
Do I still have enough health, stamina, and tools for a bad surprise?
If no, I turn around.
Would I be upset to lose what is already in this run?
If yes, that is usually the strongest signal to leave.
That is how I progress solo now.
I do not wait for the game to tell me the run is over.
I leave while the run is still good.
Five safe returns that improve my Outpost are worth much more than one spectacular floor that ends because I wanted one more glowing chair.
FAQ
Can I reach the Second Floor while playing GRAIN ROT solo? +
Yes. I progressed through the rescue and Second Floor Key sequence solo. The main difference was that I prepared my exit earlier, avoided unnecessary fights, and treated important quest items as a reason to stop farming.