How I Finish Find Clues About the Ancients in GRAIN ROT
My route from Dr. Quill to the Radio Tower and Ancient Facility, including Umbrella prep, all 10 clues, missed-note checks, and the return trip.
Updated:
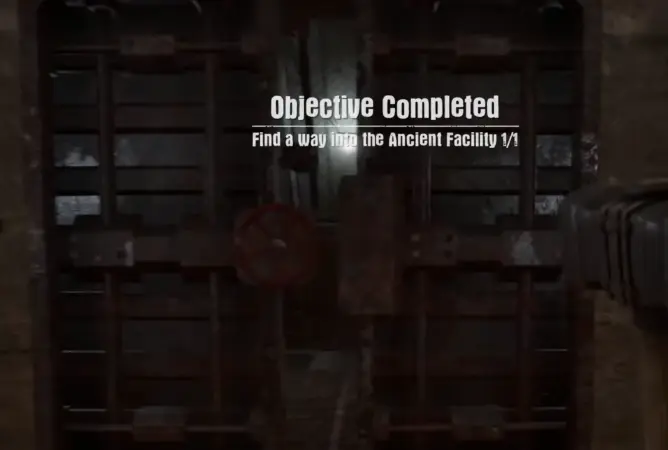
Quick Answer
If I am stuck on Find Clues About the Ancients, I stop looking in the Deep Layers.
The objective is topside.
I go toward the old Radio Tower in the desert, reach the underground Ancient Facility below it, and read the records inside until the objective reaches 10/10.
My preferred route is:
prepare an Umbrella → leave with full health and stamina → cross to the Radio Tower → enter the facility below it → read every record in the circular interior → backtrack if the counter is not 10/10 → return to Dr. Quill.
The biggest trap is leaving the facility because I think I reached the end. If the objective has not changed to Return to Dr. Quill, I am still missing a clue.
This objective confused me at first because I was used to solving progression by going back into the Deep Layers.
That is the wrong direction here.
Dr. Quill sends me outside, toward an old Radio Tower standing across the scorched desert.
The difficult part is not combat.
It is reaching the place without burning through my health, then making sure I actually read all 10 records before leaving.
Once I understood those two problems, the quest became much simpler.
I Do Not Start Crossing the Desert as Soon as I Get the Quest
Dr. Quill tells me that the ancient underground facility is beneath the old Radio Tower.
My first attempt was basically:
I can see it, so I can probably just run there.
That was a bad assumption.
The Radio Tower is farther away than it looks, and the exposed route drains my margin very quickly.
I got far enough to prove where the entrance was, but not comfortably enough to make that a route I wanted to repeat.
So before the next attempt, I stopped treating this like a normal short trip around the Outpost.
I prepared specifically for the crossing.
My Safer Route Uses an Umbrella
The cleanest solution I found was an Umbrella.
Once my Workshop progression was far enough for Umbrellas to appear in the shop, I saved Gold for them instead of buying another weapon I did not actually need.
On the run where I finally bought them, the displayed price was 300 Gold each.
That changed my spending priorities.
The quest was being blocked by the surface crossing, not by my damage.
So another weapon was not solving the problem.
The Umbrella was.
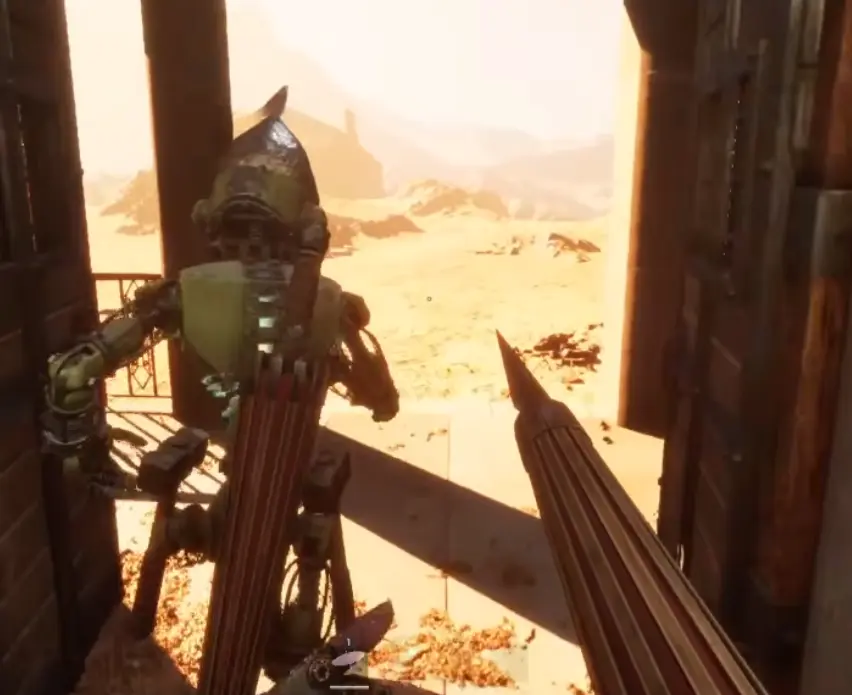
With my default mouse controls, I hold Right Click to keep the Umbrella protecting me while moving.
I also upgraded stamina before the trip because protection does not help much if I run out of movement halfway across the open ground.
For the full Workshop and permanent-room economy, I keep those decisions in my Outpost Upgrades guide.
Here, the important decision is simpler:
if reaching the Radio Tower is the blocker, I spend for the crossing before I spend for another fight.
I Can Reach It Without an Umbrella, but I Would Not Make That My Default
I also tested the harder route.
Instead of relying on an Umbrella, I used:
- upgraded Health;
- upgraded Stamina;
- an intermediate building as a rest point;
- Beds;
- Repair Glue for the longer second leg.
At that stage, Health and Stamina progression was already around Level 4–5.
Even then, the margins were ugly.
The first run from the Outpost to the intermediate building was survivable, but the second exposed leg toward the facility was longer.
That is where Repair Glue became much more valuable.
So if I do not have an Umbrella yet, I do not waste Glue during the first part of the route unless I genuinely need it.
I save it for the section that is actually harder.
The Intermediate Building Is My Checkpoint
From the main Outpost, I head toward the outer building on the left before trying to finish the whole trip.
I treat that building as a staging point.
If the Bed is available, I recover there.
If I have the resources to place a Bed or Chair and know I am going to use this route repeatedly, I am happy to leave useful recovery furniture there.
I do not immediately sprint back outside at half health.
I leave the checkpoint when:
my health is restored
and
my stamina is ready for another full run.
That is especially important on the no-Umbrella route.
Trying to combine both exposed legs into one heroic sprint cost me more time than simply stopping to recover properly.
From the Checkpoint, I Commit to the Radio Tower
The second run is the dangerous one.
Once I leave the intermediate building, I stop wandering toward side loot.
My destination is the Radio Tower and the entrance beneath it.
This is not where I detour into another building because I see something valuable.
If I brought an Umbrella, I keep it active while crossing.
If I am relying on Glue, I use it when the run is actually becoming dangerous, not just because I am missing a small amount of health.
The route already has a clear payoff.
I do not need to turn it into a loot run too.
The Ancient Facility Entrance Is Below the Radio Tower
When I reach the structure beneath the Radio Tower, I look for the way down into the underground facility.
Once I am inside, I stop worrying about the desert crossing for a moment.
If I can place or use a Bed safely, I recover before searching.
That gives me a much better buffer for the trip back later.
I also stop breaking every object I see.
The objective is not:
strip the facility for Scrap.
It is:
read 10 clues.
That distinction matters because the interior is easy to loop through.
The Facility Is Basically a Loop, So I Search It Like One
I do not try to memorize ten complicated room names.
The easier method is to use the entrance as an anchor and clear the facility systematically.
I start with the record near the first section, then take one side and keep moving through connected rooms instead of changing direction every time I see another doorway.
Early in my search, the counter reached 2/10 after reading another nearby record.
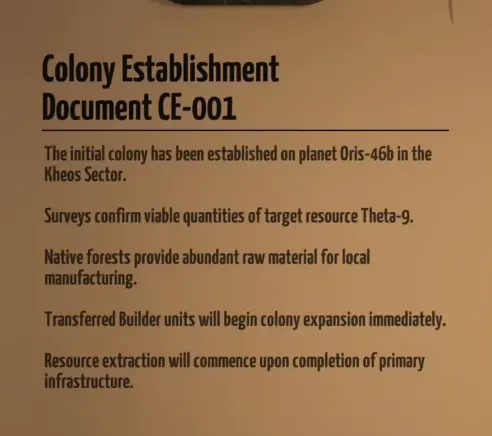
From there I keep checking:
- records sitting against walls;
- papers or recordings inside side rooms;
- the right side of rooms I would otherwise run straight through;
- small branches before reconnecting with the main loop.
The important thing is interacting with the records.
Simply reaching the facility does not progress all ten automatically.
I Use the Quest Counter Instead of Guessing Whether a Room Is Finished
This is the best way I found to avoid getting stuck.
Every time I read another record, I check whether the objective moved.
At one point I had explored most of the facility and still had 3 clues remaining.
That immediately told me I had not finished.
I did not leave.
I turned around and went back through the loop.
That backtracking found a room we had passed earlier.
This is why I do not use:
I have seen most of the map
as my completion condition.
I use:
10/10 and the quest changes.
If I Have Three Clues Left, I Backtrack Toward the Entrance Side
The interior eventually reconnects enough that it feels like I have already seen everything.
That is exactly where I almost left too early.
When I still had three records missing, I went back toward the earlier part of the route and checked the branch we had skipped.
That produced another clue and opened more of the remaining search.
I also check any room that looked unimportant on the first pass.
A record is easy to miss when I am focused on Gold, furniture, or a door that looks more important.
For this quest, the paper is more important than the loot.
The Last Clue Is Easy to Miss Near the Locked-Door Area
My final sticking point happened near a door that would not open.
My first reaction was that the missing clue must be behind the door.
It was not.
I was missing something in the accessible area.
I checked around that section again and found the final record nearby.
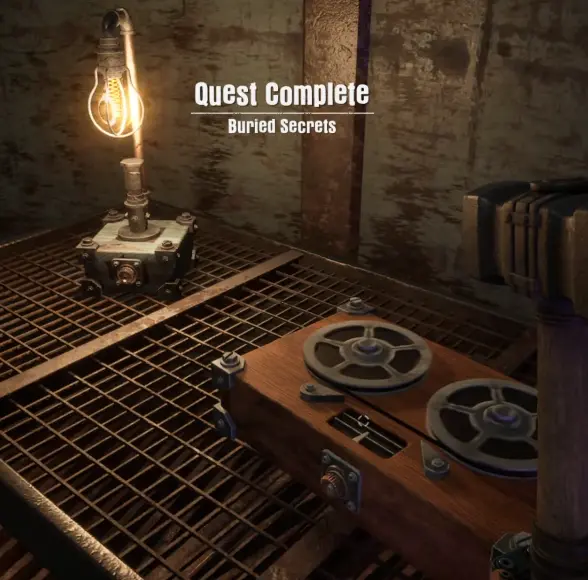
That is the troubleshooting rule I would use if this quest says 9/10:
do not assume the locked door is the solution.
Search the room and the previous loop again first.
Once I had the final record, the objective changed to:
Return to Dr. Quill.
That is my confirmation that the facility is finished.
I Stop Looting Once the Objective Says Return to Dr. Quill
There is plenty of stuff inside the facility that makes it tempting to keep searching.
I do not stay just because there is another object I can break.
At 10/10, the quest itself is secured.
Now my problem is getting back across the surface.
If my health is already low or I have consumed most of my Glue, every extra minute spent looting makes the return worse.
So this is another point where I change priorities:
before 10/10 → search
after 10/10 → return
That rule saved me from turning a completed objective into another failed trip.
I Prepare for the Return Before Leaving the Facility
Before I go back outside, I recover as much as I reasonably can.
If I still have:
- an Umbrella;
- Repair Glue;
- a usable Bed;
- full or near-full stamina;
I use those advantages before stepping into the exposed route.
One of my harder attempts used essentially all the available Glue reaching the facility.
The return immediately became much more dangerous.
That is why I now preserve at least some recovery if I am not using reliable surface protection.
If I have an Umbrella, I also avoid casually dropping it to pick up optional loot.
Losing surface protection for one extra object is a terrible trade when the quest is already complete.
Returning to Dr. Quill Finishes the Objective
After leaving the facility, I retrace the topside route and return to Dr. Quill.
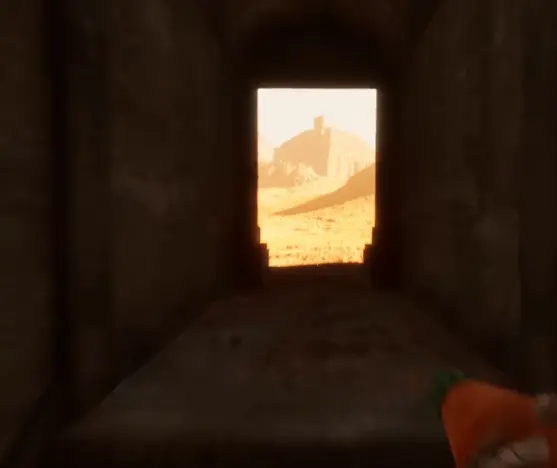
Once I report what I found, the story continues through additional conversations at the Outpost.
I do those before heading straight back into another random Deep Layers run.
At this point the important thing is not more loot.
It is letting the new information advance the progression that just opened.
If Find Clues About the Ancients Is Still Stuck, This Is What I Check
If the objective has not moved, I diagnose it by where I am stuck.
I cannot reach the Radio Tower:
I stop attempting the same underprepared sprint. I improve the surface route
with an Umbrella, more Health/Stamina, the intermediate rest building, or saved
Repair Glue.
I reached the Radio Tower but found no clues:
I am not finished on the surface. I need to enter the underground Ancient
Facility below it.
My counter is below 10/10:
I continue searching the interior loop and revisit skipped side rooms.
I am at 9/10 near a locked door:
I search the accessible area again instead of assuming the missing record is
behind the door.
I have 10/10:
I stop farming the facility and return to Dr. Quill.
That is the route that finally made this objective feel predictable:
prepare for the surface → reach the facility → trust the 10-clue counter → leave as soon as the quest changes.