How I Extract Safely in GRAIN ROT and Know When to Leave
How I process loot, prepare the exit before I need it, survive noisy extraction attempts, and decide when another room is no longer worth the run.
Updated:
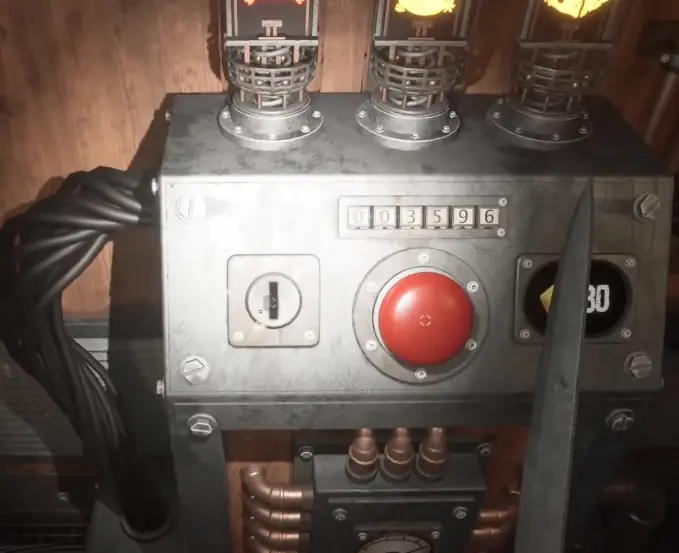
Quick Answer
To extract in GRAIN ROT, I bring valuable objects to the processing machine, convert enough of them to satisfy the current run’s extraction requirement, make sure the elevator has no unresolved extra condition, and then leave.
The biggest change I made was preparing that exit before I was desperate to use it.
My normal order is:
find the extraction area → start processing useful loot → get the exit ready or close to ready → continue only while the next room is worth the risk → leave as soon as the objective or haul matters more than another detour.
I do not use one fixed money target for every run. I check what the current floor actually requires.
Extraction stopped feeling random once I stopped treating it as the final thirty seconds of a Deep Layers run.
My early pattern was terrible:
explore too far → collect too much → get pressured → finally think about how to leave.
That meant I was trying to solve the most important part of the run at the moment when I had the least health, the least stamina, and the most enemies around me.
Now I build the escape into the run from the beginning.
That does not mean I leave as soon as the elevator becomes usable.
It means that once the run turns bad, I already know what I need to do.
Valuable Objects Only Help Once I Process Them
The first extraction mistake I made was thinking of every valuable object as money the moment I picked it up.
It is not.
I have to bring useful objects to the processing machine and convert their value.
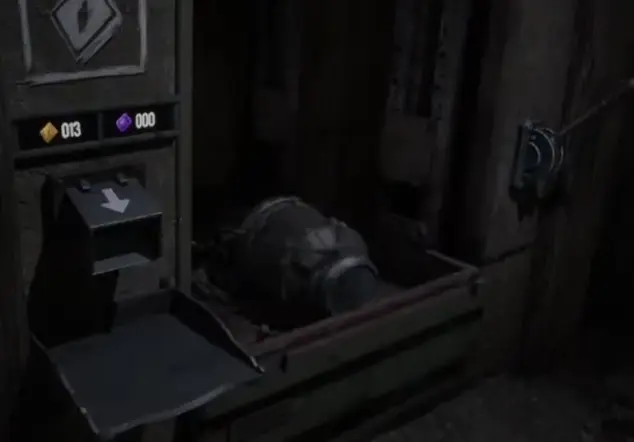
This changes which objects I bother carrying.
I do not automatically choose the biggest thing in the room.
Before hauling something, I ask:
How much value does it give me?
How far is the machine?
Will carrying it leave me unable to react?
Am I crossing a route I already know is dangerous?
Solo, this matters a lot.
A smaller item that I can move quickly can be worth more to the run than an awkward piece of furniture that blocks my view and burns most of my stamina before I even reach the machine.
The best item is not always the highest-value item.
It is the item I can actually bank safely.
The Extraction Requirement Is Not One Fixed Number
I would not memorize one number and use it for every run.
I have seen different requirements.
In one co-op run, the team had 100 available and only needed 60 to leave.
In another run, we were sitting at 55 and still needed more.
That was enough for me to stop thinking in terms of:
“GRAIN ROT always needs X to extract.”
The current run tells me what matters.
That distinction is important because the moment the requirement is satisfied, the value of another room changes.
Before that:
I still need something.
After that:
I need a reason to risk what I already have.
My Best Runs Have the Exit Ready Before I Get Greedy
One solo run is the clearest example of how I prefer to play now.
I had pushed the extraction value to 200.
At that point, I knew I had an escape ready if the run turned bad.
I still had 76 coins and wanted more Scrap, so I deliberately continued.
That is very different from being forced to keep searching.
I could now ask:
Is another branch worth it?
instead of:
How much longer am I trapped here?
I found more useful resources afterward.
Then I left.
I did not need to clear the map to make it a successful run.
That example is why I treat extraction preparation as insurance.
I hope I do not need to leave immediately.
I just want the option.
Enough Value Does Not Always Mean the Elevator Is Ready
The number is only one part of the exit.
Some elevator modifiers add another condition.
Broken Fuse is the clearest example.
If that modifier is active, I can finish the value requirement and still have another problem to solve before I leave.
So I separate two questions:
Have I processed enough value?
and:
Is the elevator actually ready?
I check that early rather than discovering the difference after everything else has gone wrong.
I keep the actual Fuse troubleshooting out of this page.
If the Fuse itself is the problem, my Replace Fuse Guide covers where I search, unusable Fuses, and the alternative solution.
For extraction purposes, the important rule is simply:
do not assume the money counter is the only exit condition.
The Main Extractor Can Make a Quiet Run Dangerous
Processing valuables is not always a harmless task.
The main Extractor can create enough noise to bring enemy pressure into the area.
I have been in a run where the team was still trying to finish putting value in when the room stopped being safe.
Enemies reached us before everything was finished.
At that point, continuing to stand beside the machine was worse than briefly abandoning it.
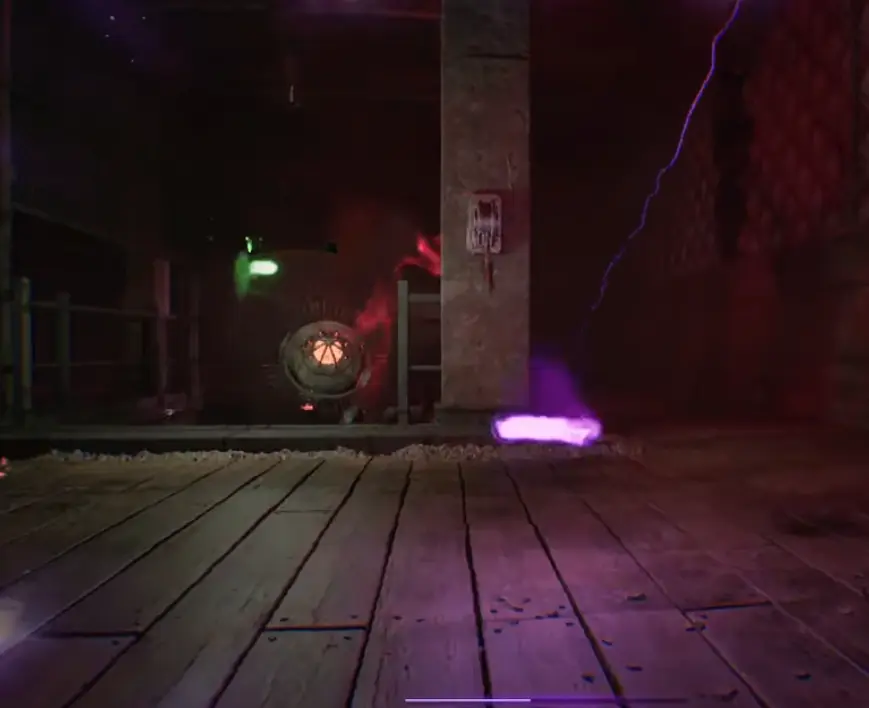
We had to create space, pull enemies away, return toward the elevator, and finish the escape under pressure.
That experience changed how I approach the machine.
Before I start relying on the main Extractor, I want to know:
- which doorway gets me out;
- how the machine connects back to the elevator;
- whether I still have enough stamina to make that route;
- whether the item I am carrying is important enough to abandon the rest of the loot.
The machine does not need to be safe forever.
I just need a plan for what I do when it stops being safe.
I Use Compactor as a Quieter Option When It Appears
Some runs give me access to a Compactor.
For extraction, the important fact is simple:
it processes valuables too, but it is much quieter than the main Extractor.
That can make it a better place to bank value when the nearby route is already under enemy pressure.
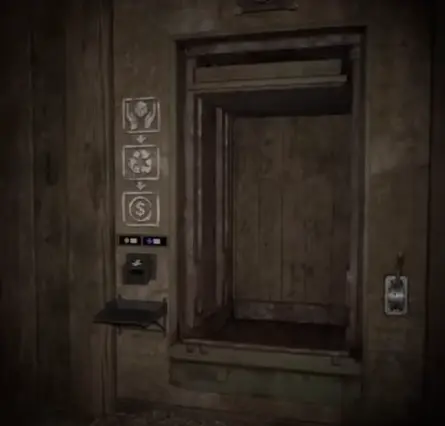
I do not need to duplicate the full modifier mechanics here.
The detailed noise behavior, room variants, and other Compactor-specific effects belong in my Elevator Symbols Guide.
From an extraction perspective, my decision is simply:
if the quieter machine keeps the route under control, I use it.
Profit Modifiers Change What I Carry, Not My Basic Exit Rule
Some elevator modifiers make processed valuables more profitable.
That can absolutely change which objects I prioritize.
It does not change the basic survival rule.
If the exit is already covered and the run is collapsing, I do not stay just because the current modifier makes another object more valuable.
The exact 2x Gold calculations and which currencies do or do not benefit are covered in the Elevator Symbols Guide.
On this page, the extraction lesson is simpler:
better payout is a reason to choose better loot—not a reason to ignore the condition of the run.
A profitable modifier still pays zero if I throw away the entire attempt.
A Quest Item Changes My Leave-or-Stay Decision Immediately
The strongest reason I have to leave is not money.
It is progression.
During the rescue objective, I still had useful loot around me after finding what I came for.
I wanted to keep taking it.
Then the situation got worse.
I abandoned the optional value and returned with the objective.
That return advanced progression and opened the next part of the Second Floor sequence.
The same logic applies once I am carrying the Second Floor Key.
At that point, the run is no longer mainly about profit.
My priority becomes:
make sure the exit works → take the safest route I know → go home.
Another random furniture item cannot compete with an objective that unlocks a new part of the game.
That is one of the easiest ways I distinguish a farming run from a progression run.
Scrap Can Be Enough Reason to Leave Too
Not every successful run needs a quest item.
Sometimes the thing I need upstairs is simply Scrap.
If the Outpost is waiting on one useful room upgrade and I already have enough resources to reach it, that changes how much I value another long branch.
I have had co-op runs where the group reached the point of:
we already have the Scrap we came for; we can leave.
That is a perfectly good extraction.
The important question is not:
Can I carry more?
It is:
Would more actually change what I can do when I get back?
If the answer is no, staying longer becomes much harder to justify.
For the actual room priorities, I leave the detail to my Outpost Upgrades Guide.
I Leave Earlier Solo Because Every Problem Stops My Progress
Solo makes extraction harsher for one simple reason:
I cannot divide the jobs.
In co-op, one player can move value while another watches the route.
Somebody can pull an enemy away while somebody else handles the machine.
Alone, when I am being chased, everything stops.
That makes a prepared exit much more valuable.
My solo approach is:
if the run already gives me enough to improve progression, I need a reason to stay.
I no longer require the game to force me out.
If the next room looks safe and useful, I may take it.
If I am already unsure, that uncertainty is often enough to turn around.
The full solo route, healing, stamina, and risk management belong in my Solo Guide.
I Save Stamina for the Return Instead of the Empty Hallway
A lot of extraction failures are really stamina failures.
If I sprint through every quiet corridor, I arrive at the dangerous part with nothing left.
I would rather move normally when the route is safe and save the bar for the moment when I actually need separation.
My return rhythm is:
move through the known route → recover before a dangerous crossing → sprint when a threat appears → slow down again once I have space.
This matters more once the haul becomes valuable.
The closer I am to completing a good run, the less interested I am in saving five seconds by emptying the sprint bar.
Certain elevator modifiers can make bad stamina management even more punishing, but I leave those modifier-specific numbers in the Elevator Symbols Guide.
The extraction principle stays the same:
do not spend the resource I need for the escape before the escape starts.
The Lever Is the End of the Plan, Not the Beginning
I do not think of reaching the elevator as the moment I start escaping.
The escape began much earlier.
My successful sequence is:
process enough value
↓
identify any extra exit condition
↓
make that condition solvable
↓
remember the route back
↓
preserve enough health and stamina to use it
↓
stop exploring when the run is worth protecting
↓
return and leave
By the time I reach the final interaction, most of the important decisions should already be finished.
If I arrive at the elevator with no stamina, no route knowledge, and enemies already behind me, I did not have an extraction plan.
I had hope.
When the Extraction Room Becomes Unsafe, I Create Space First
There is a point where trying to finish the machine becomes the bad decision.
If enemies have already reached the area and I am still missing some value, I do not stand beside the Extractor trading health for one more interaction.
I make the room safe enough to continue.
That can mean:
- leaving through the doorway;
- making an enemy follow;
- circling through a route I already know;
- returning from another angle;
- abandoning optional loot;
- or accepting that this run is no longer worth maximizing.
I have watched an extraction attempt deteriorate because everyone stayed focused on the money while the room itself was already lost.
Once the room is unsafe, the priority changes.
Survive first. Optimize second.
I Do Not Need to Finish Every Object I Already Carried There
This is another form of sunk-cost thinking that used to catch me.
If I carried three objects back toward extraction, I felt like I had to process all three.
I do not.
If the current requirement is already met after the first two, the third item is now optional.
That matters when:
- an enemy arrives;
- my health is low;
- my weapon breaks;
- somebody is already calling for the elevator;
- a quest item is more important than the remaining value.
The time I already spent moving the object does not make risking the entire run the correct choice.
Sometimes I drop it and leave.
My Extraction Decision Rule
Before I open another room after extraction is close to ready, I ask five questions.
Is the current value requirement satisfied?
If not, I still need a useful object.
If yes, everything beyond this point is optional.
Is there another exit condition?
If yes, I solve that before pushing farther away.
Am I carrying progression?
If yes, my greed threshold drops sharply.
Do I already have enough resources for the thing I wanted upstairs?
If yes, another farming loop has to justify itself.
If an enemy appeared right now, could I still make the return route?
If no, I turn around.
That is how I judge extraction now.
Not by how much of the floor I saw.
Not by whether every glowing object made it onto the machine.
Not by whether I squeezed the maximum theoretical value out of the modifier.
A successful GRAIN ROT extraction is the run where the resource, money, or progression I actually needed makes it back to the Outpost.
FAQ
Why can't I leave even after reaching the extraction value in GRAIN ROT? +
Reaching the value requirement may not be the only condition on that run. I check the elevator modifiers as well, because something like Broken Fuse can add another requirement before the exit is actually ready.