Welcome to Elderfield Fishing Guide: All 35 Fish, Bait & Rods
Find all 35 fish, get and upgrade every fishing rod, match bait to each area, catch quest fish, and handle seasons, time and the Fishing Contest.
Updated:
Quick Answer
Talk to Fisherman Herb at the Lakefront for your first rod, attach bait from the inventory, and match the bait to the water you are fishing. For a specific fish, check its area, season, time and recorded bait below before spending a rare bait stack.
Where Do I Get the First Fishing Rod?
Fishing starts with Fisherman Herb at the Lakefront.
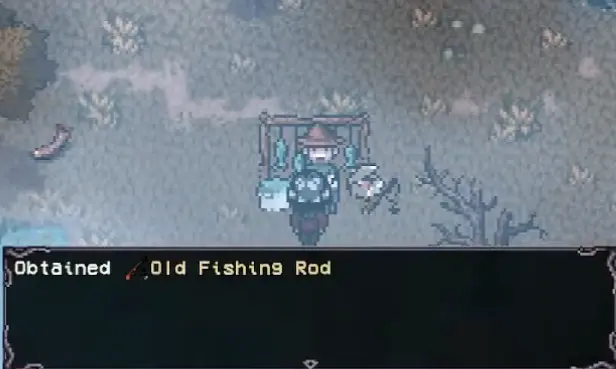
The rod does not arrive automatically through normal Farm progression. Herb gives me the starter Old Fishing Rod when I agree to try fishing, then immediately asks for a Ghost Flounder.
I prefer opening fishing reasonably early even when I am not planning a full fishing day. Fish later appear in cooking, NPC requests, Mall progression and collection work, so already having the rod prevents those tasks from becoming a second unlock detour.
When the problem is simply finding the Lakefront rather than fishing itself, the map and key locations guide is the faster reference.
All Three Fishing Rods and Their Upgrade Costs
Fishing has three rod tiers. The later rods are not just efficiency upgrades; some fishing spots will reject an earlier rod entirely.
| Fishing Rod | Fishing Lv. Shown on Rod | How to Get It | Upgrade Materials | Main New Fishing Access |
|---|---|---|---|---|
| Old Fishing Rod | Lv. 1 | Given by Fisherman Herb | — | Early fishing areas |
| Sturdy Fishing Rod | Lv. 2 | Forge in the Workshop | Old Fishing Rod ×1, Copper Bar ×8, Iron Bar ×6 | Old Woods Campsite |
| Quality Fishing Rod | Lv. 3 | Forge in the Workshop | Sturdy Fishing Rod ×1, Hardwood ×10, Void Crystal Bar ×4, Verdite Bar ×4, Green Crystal ×4 | Catacombs |
This is one of the easiest fishing blockers to diagnose because the game can name the missing rod tier directly.
When a spot requires a Quality Fishing Rod, changing bait is not the answer. I leave, finish the required crafting and progression, then return with the correct rod.
The same rule works in reverse: I do not rush an expensive rod upgrade just because the recipe exists if every fish I currently need is still available with the rod I already have.
Add Bait Before Interacting With the Water
Owning the rod is only half of the setup.
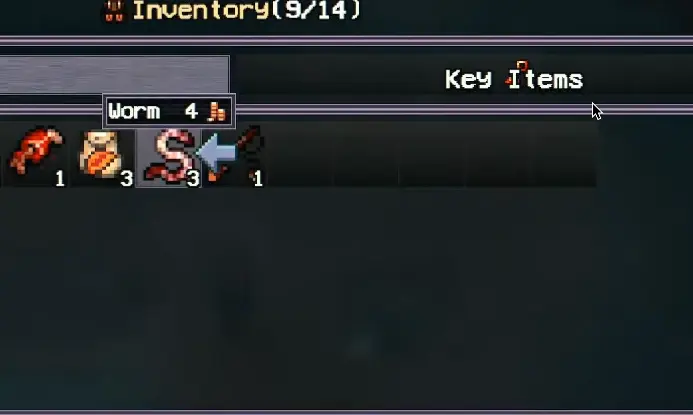
Bait is attached manually. I open the inventory, select the bait and use it; that bait is then loaded onto the fishing rod.
Later, the important question becomes which bait belongs to which water.
| Fishing Area | Normal Bait Setup | Practical Note |
|---|---|---|
| Lakefront | Worm, Leech | Herb’s early fishing chain starts here |
| Sewers | Maggot | Maggot Man is the important early bait source |
| Mall Administrator’s Office | Bug | Treat this as Mall fishing, not another Lakefront pool |
| Old Woods Campsite | Dragonfly | Lugworm is associated with the Fishing Contest |
| Catacombs | Firefly | Later water requiring the stronger rod tier |
| Town 1 | No specific bait condition recorded for the three Ghostfish | Do not invent a bait when the current fish records do not provide one |
The area table is the practical loadout I use before travelling.
Some individual fish also have a more specific bait route recorded. Those appear in the All Fish table farther down. When a fish has a named bait there, I follow that specific condition instead of assuming every fish in the same area behaves identically.
How the Fishing Minigame Works
Once a fish bites, fishing becomes a timing check.
A cursor moves across the bar. I press the confirm input while it overlaps the blue section. Correct inputs fill the progress meter until the fish is landed.
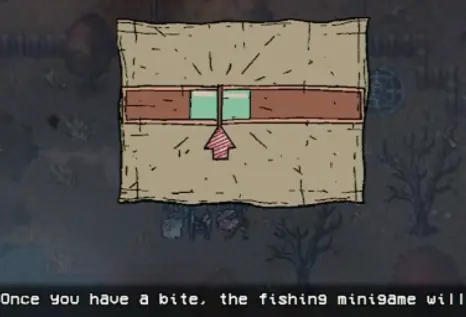
The opening input caused most of my early misses because reacting in anticipation was less reliable than waiting until I could actually see the overlap.
That mistake barely matters with a spare Worm. It matters much more when the bait took effort to collect or the fish is only available during a narrow season or event window.
The minigame itself stays consistent. Later fishing gets harder mainly because preparation becomes more specific.
Leave Inventory Space Before a Fishing Trip
One Ghost Flounder catch taught me to check the backpack before casting.
The catch succeeded, but my inventory was full. I had to throw away another item before the Ghost Flounder could enter the bag.
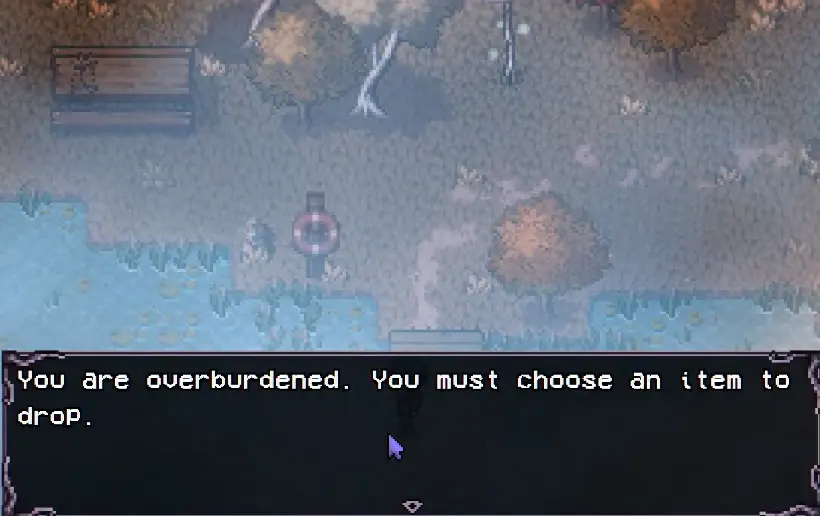
This becomes more important in the Old Woods and Catacombs because fishing is often only one part of a longer trip. Combat loot, forage and quest items can fill the bag before I ever reach the water.
For a session built around a specific fish, I leave enough space for the target plus any useful unexpected catches.
Catch Ghost Flounder at the Lakefront
Herb’s first target is Ghost Flounder.
The simple route is:
Lakefront → Worm → Ghost Flounder
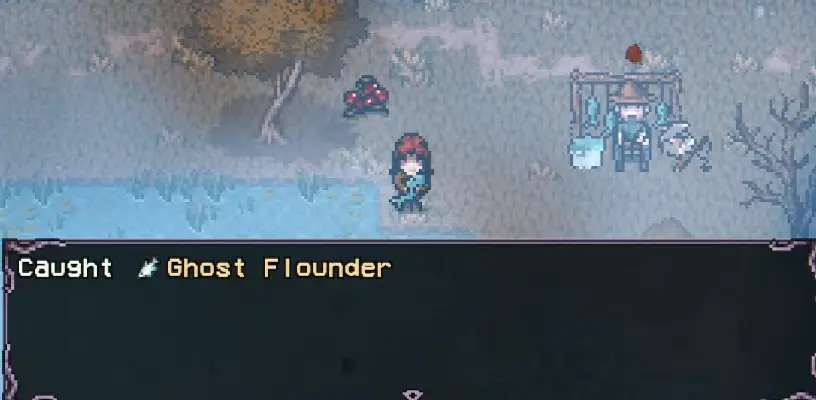
Other fish can appear first, so one Worm does not guarantee one Ghost Flounder.
Once the target is in my inventory, I bring that first copy back to Herb. His hand-in teaches additional fish recipes and advances the fishing chain.
Selling or cooking that first required copy gains very little compared with having to catch it again.
Use Leeches for Fog Eel
Herb’s next important target is Fog Eel, and this time he gives a much stronger bait clue:
use Leeches.
The fishing location stays at the Lakefront.
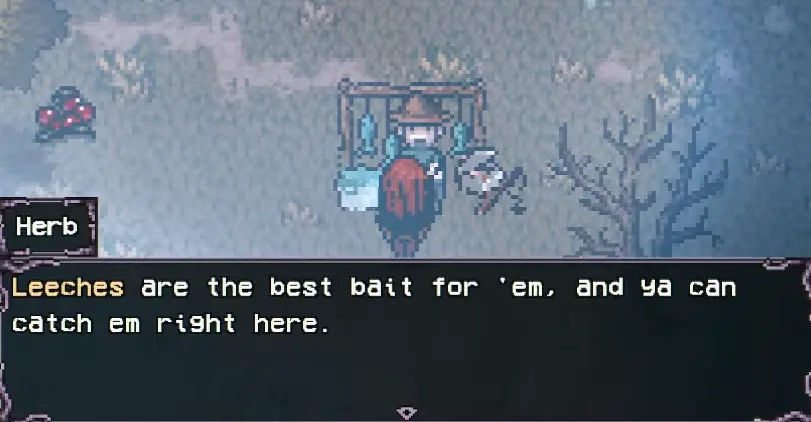
I do not spend the last Leeches on ordinary fishing immediately before this stage.
With Leeches equipped, Fog Eel becomes part of the Lakefront catch pool, but another fish can still bite first.
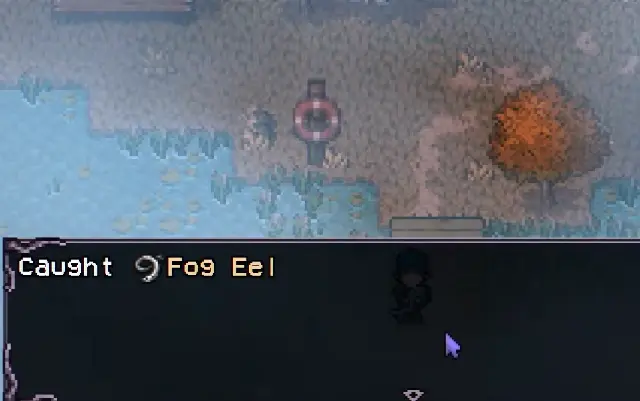
That distinction matters throughout the rest of fishing:
a required bait can be part of the solution without guaranteeing the next catch.
Maggot Man Gives Me Sewer Bait
The Sewers use a separate bait route.
Maggot Man exchanges:
2 Mystery Meat → 2 Maggots
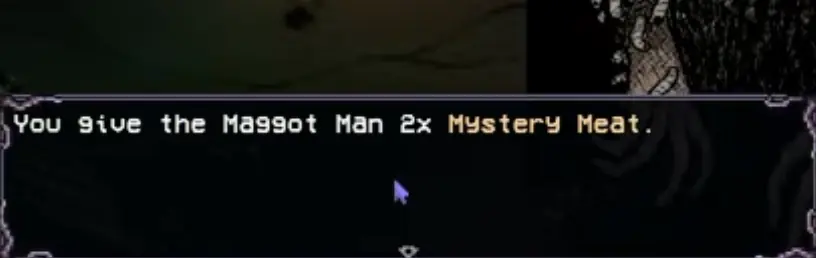
The two Sewer fish recorded in the current release are:
- Rot Puffer
- Slimefish
I make the trade when Sewer fishing is already something I intend to do.
Mystery Meat can still be useful elsewhere, so converting every two pieces into bait simply because Maggot Man is available removes options without solving an immediate problem.
Mall Fishing Is Its Own Small Catch Pool
The Mall has one recorded fish:
Stalktopus
The normal Mall bait setup is Bug.
Fishing can intersect with Mall progression, but I keep the two problems separate. This page answers how to catch the fish; opening offices, handling Mall keys and following the Administrator route belong to the Mall walkthrough.
That prevents a fishing lookup from turning into a second copy of the Mall route.
Rain Makes Long Fishing Sessions More Efficient
Fish bite faster in rain, which makes a noticeable difference when I already intend to spend several pieces of bait.
I still catch an urgent Ghost Flounder or Fog Eel on a normal day rather than delaying progression just to wait for weather.
Rain is more valuable when:
- I am using harder-to-replace bait;
- I need several attempts;
- I am chasing a quality requirement;
- or I have several fishing objectives waiting at once.
Fishing Level and quality bonuses also become much more important later than they were during Herb’s first two tasks.
Angler’s Potion Helps With Fish Quality
The Angler’s Potion adds:
+15% caught fish quality until midnight.
That is not necessary when a quest only asks for the correct species.
Its value jumps when the objective specifically asks for a quality threshold.
The clearest example is the later Gold-quality or higher Ancient Pike requirement. Catching an Ancient Pike below Gold proves that I found the correct fish, but it still does not finish that objective.
All 35 Fish, Locations, Seasons, Times and Recorded Bait
The current Steam release records 35 unique fish.
The table below separates fish-specific recorded conditions from the general bait setup listed earlier.
A dash does not mean that a fish can always be caught with no bait or under every possible condition. It means the current catch record does not give that fish an additional fish-specific requirement in that field.
For seasonal fish, I use the game’s season names. For time-gated fish, the records group them as Day or Night rather than requiring me to invent a narrower hour window.
| Fish | Recorded Area | Recorded Season | Recorded Time | Fish-Specific Recorded Bait |
|---|---|---|---|---|
| Aetherfin | Old Woods | — | — | — |
| Ancient Angler | Catacombs | — | — | — |
| Ancient Manta | Old Woods | — | — | Lugworm |
| Ancient Pike | Old Woods | — | — | Dragonfly / Lugworm |
| Ashball | Lakefront / Old Woods route also recorded | — | — | Leech |
| Big Ghostfish | Town 1 | — | — | — |
| Blerpfish | Old Woods | Season of the Harvest / Season of the Witch | Night | — |
| Blood Carp | Lakefront | Season of the Witch / Season of Death | Night | — |
| Bonefish | Catacombs | — | — | — |
| Bottom-Feeder | Lakefront | Season of the Harvest | — | — |
| Cave Serpent | Catacombs | — | — | — |
| Corpsefish | Lakefront | Season of Death | — | — |
| Dust Crab | Lakefront | Season of the Witch | Day | — |
| Fat Ghostfish | Town 1 | — | — | — |
| Fog Eel | Lakefront | — | — | Leech |
| Ghost Flounder | Lakefront | — | — | Worm |
| Glowfish | Lakefront | Season of the Harvest / Season of the Witch | Night | — |
| Gold Sturgeon | Old Woods | Season of Rebirth / Season of the Harvest | Day | — |
| Goldfish | Old Woods | — | — | — |
| Koi Fish | Old Woods | Season of the Witch / Season of Death | Day | — |
| Lake Screamer | Lakefront | Season of Rebirth / Season of the Harvest | Day | — |
| Manefish | Old Woods | Season of Rebirth / Season of the Harvest | Day | — |
| Midnight Crayfish | Lakefront | Season of Rebirth / Season of Death | Night | — |
| Mud Perch | Lakefront | — | — | — |
| Mud Serpent | Old Woods | — | — | Lugworm |
| Razorfish | Old Woods | — | — | Dragonfly / Lugworm |
| Rock Dweller | Lakefront | — | — | Leech |
| Rot Puffer | Sewers | — | — | — |
| Shyfish | Catacombs | — | — | — |
| Slimefish | Sewers | — | — | — |
| Small Ghostfish | Town 1 | — | — | — |
| Stalktopus | Mall | — | — | — |
| Stonelurker | Old Woods | — | — | — |
| Stoneshell Turtle | Old Woods | Season of Rebirth / Season of Death | Night | — |
| Void-Floater | Old Woods | Season of the Witch / Season of Death | Night | — |
The table is most useful as a filter.
If I need Blerpfish, for example, simply going to the Old Woods is not enough. I also need one of its recorded seasons and a nighttime session.
If I need Ghost Flounder, the situation is much simpler: Lakefront plus Worm.
That difference is why some fish feel common while another appears completely absent even after a long session in the correct region.
Seasonal Fish Are the Ones I Plan Ahead For
Thirteen fish in the current records have a season condition.
Those are the fish I check before sleeping through the end of a season, because replacing a missed opportunity may mean waiting much longer than replacing a bait stack.
The strongest planning cases are fish with both a season and time condition, including:
- Blerpfish
- Blood Carp
- Dust Crab
- Glowfish
- Gold Sturgeon
- Koi Fish
- Lake Screamer
- Manefish
- Midnight Crayfish
- Stoneshell Turtle
- Void-Floater
I do not need another table repeating their conditions; the All Fish table already holds the exact lookup.
The practical rule is enough:
season first → time second → location → bait.
That order prevents me from travelling across the map for a fish that cannot currently appear.
Old Woods Fishing Starts to Care About More Than Species
The Old Woods has one of the larger fish pools in the game, including Ancient Pike, Razorfish, Gold Sturgeon, Koi Fish, Aetherfin and several seasonal catches.
The surrounding region has its own progression, so if reaching the Campsite or moving through the Woods is what has stopped me, I use the Old Woods guide rather than repeating that route here.
For fishing itself, one later requirement is especially important:
Gold-quality or higher Ancient Pike.
This is the point where I stop thinking:
I caught Ancient Pike, so I am finished.
The species and the quality threshold are separate requirements.
When Ancient Pike is appearing but not reaching Gold quality, I work on fish-quality conditions instead of changing regions.
The Fishing Contest Runs on the 7th and 21st
The Fishing Contest takes place on the:
7th and 21st of every month
and runs until:
6:00 PM.
The event NPC also tells me to be there for judging at 6 PM or call the contest early when I am ready.
That makes arrival time part of the preparation. Showing up late and then spending the first part of the event buying bait or clearing inventory cuts directly into the useful fishing window.
I prepare the bag and money before travelling.
Save Lugworms for the Fishing Contest
The Old Woods Campsite normally uses Dragonflies, while Lugworms are tied to the Fishing Contest setup.
The current fish records associate Lugworms with catches including:
- Ancient Manta
- Mud Serpent
- Ancient Pike
- Razorfish
Ancient Pike and Razorfish also have Dragonfly routes, so I do not burn Lugworms on them automatically.
When the event is running, Lugworm-only records such as Ancient Manta and Mud Serpent are the more important reason to have that bait available.
That is a better use of a limited contest window than spending the first several casts on fish I can already target outside it.
Catacombs Fishing Is a Rod Check Before It Is a Bait Check
The Catacombs have their own fish pool:
- Ancient Angler
- Bonefish
- Cave Serpent
- Shyfish
The normal bait there is Firefly.
However, reaching Catacombs water with Fireflies does not automatically mean I can fish.
The later water requires the Quality Fishing Rod.
When that message appears, I stop changing bait and solve the equipment blocker first.
Likewise, if reaching the relevant part of the dungeon is the real problem, the Catacombs guide covers the dungeon progression. Fishing only needs to answer what happens once I am standing at usable water.
What About the Three Town 1 Ghostfish?
The Full Release records three fish under Town 1:
- Big Ghostfish
- Fat Ghostfish
- Small Ghostfish
Their current catch records do not provide the same bait, season or time detail available for the better-documented Lakefront and Old Woods fish.
I leave those cells blank in the main table rather than inventing a Worm, nighttime condition or special event.
That distinction is important for the whole page:
missing recorded detail is not evidence that every condition works.
Keep the First Rare Fish Until You Know Its Use
Fishing feeds more than one system.
A fish can be relevant to:
- an active quest;
- cooking;
- a quality-specific fishing objective;
- or a collection.
I therefore keep the first unfamiliar or seasonal fish until I know I no longer need that copy.
This matters most for a seasonal catch because replacing one may require another season rather than another five minutes at the same water.
The full collection route belongs with the relevant collection system; for fishing, the useful decision is simply not to sell the hard-to-replace first copy blindly.
Crab Pots Are Passive Support, Not a Replacement for Targeted Fishing
Crab Pots can be placed in outdoor water, baited and collected the following day.
They can contribute additional water-based collection catches and can overlap with a small number of fish obtained through rod fishing.
I treat them as passive support.
When I need a specific fish with a known location, season or time condition, the rod route remains the reliable way to target that requirement rather than hoping tomorrow’s Crab Pot solves it.
What Should I Bring to Each Fishing Area?
By midgame I no longer carry every bait stack everywhere.
I prepare around the destination.
| Destination | Rod I Make Sure I Have | Bait I Check Before Leaving | What Usually Sends Me There |
|---|---|---|---|
| Lakefront | Old Fishing Rod or better | Worm / Leech | Herb quests, Lakefront fish, seasonal fish |
| Sewers | Early rod tier | Maggot | Rot Puffer / Slimefish |
| Mall | Appropriate available rod | Bug | Stalktopus |
| Old Woods Campsite | Sturdy Fishing Rod or better | Dragonfly; Lugworm for Contest routes | Large Old Woods fish pool, seasonal catches, quality targets |
| Catacombs | Quality Fishing Rod | Firefly | Ancient Angler, Bonefish, Cave Serpent, Shyfish |
That short check prevents most wasted fishing trips.
When the fish still does not appear, I then compare its row in the All Fish table against the current season and time instead of immediately assuming the bait or game is broken.
When Should I Stop Fishing?
Fishing always offers one more possible reward.
Another cast might add Fishing progress, another recipe ingredient, another quality roll or another valuable catch.
That does not make the next cast efficient.
I usually stop when the objective that justified the trip has already been solved:
- the quest fish is safely in the bag;
- the seasonal fish has been caught;
- the quality requirement has been met;
- the Fishing Contest is approaching 6 PM;
- the limited bait stack is running low;
- or the next fish I need belongs to another season, time or area.
By this stage the blue timing bar is rarely the difficult part.
The real fishing decisions happen before the cast:
Am I at the right water, with the right rod, during the right conditions, using bait that actually belongs to the fish I want?