Welcome to Elderfield Greystone Estates Walkthrough
Get through Greystone Estates, reach Carla in Room 8, beat the Grave Warden and Flesh Girl, clear the laundry room, and handle the Giant Egg event.
Updated:
Quick Answer
Take Pen Pals from Brittany and go to Greystone Estates for Carla in Room 8. Work through the apartment floors until you can open Room 7, kill the Grave Warden, use its Sledgehammer on the blocked route, then reach Carla. Treat Apartment 4 and the basement laundry encounter as separate fights rather than part of the shortest route to Carla.
Pen Pals Sends Me to Room 8, but Room 8 Is Not a Straight Walk
Brittany gives Greystone Estates a much clearer purpose than wandering through the apartments on my own. Her missing pen pal is Carla, and the one piece of information I need before leaving town is specific: Carla lives in Room 8.
Brittany also gives me a reason to finish the trip rather than simply locating the room. She says that helping Carla will let her arrange for her father’s rare Bean Seeds to be stocked by Crawford.
That sounds like a simple delivery quest. Greystone turns it into a multi-floor route involving locked rooms, an alignment door, supernatural growth, a rubble barrier and a boss carrying exactly the tool needed to break through.
Before returning, I heal, save and bring a Cleansing Bomb if I have one. The first time I pushed the route without the right answer for the ghost growth, I ended up finding the correct floor but still could not get through.
Room 9 Shows Me Two Different Blockers
The confusing floor is the one around Room 9.
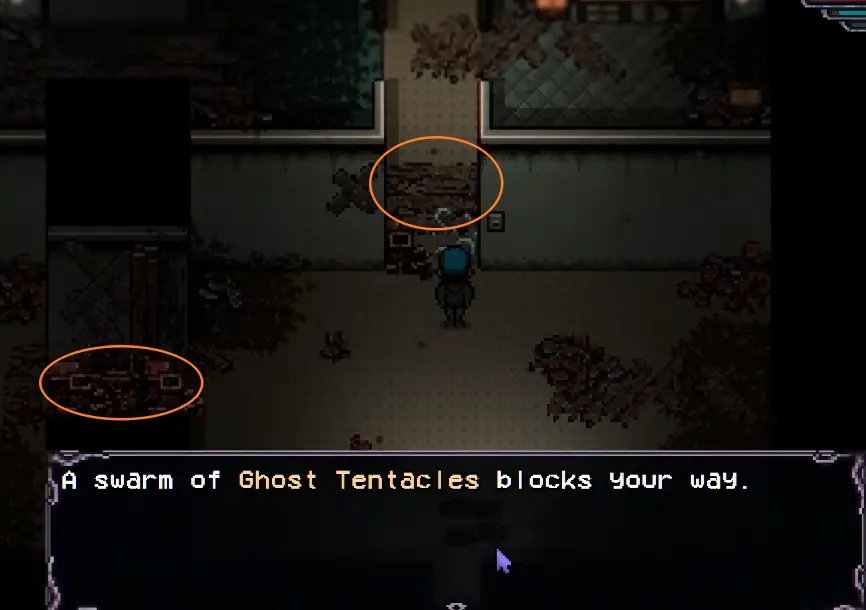
One path is covered by ghost tentacles. Nearby, a pile of heavy rubble blocks another route. These look like two versions of the same obstacle, but they are not.
Ordinary tools did not solve the rubble. Having a pickaxe in my inventory did not change the interaction, so I stopped treating it like another mining-tier check.
The ghost growth is different. Cleansing Bombs remove ghost tentacles, which makes carrying one into Greystone much better than reaching this floor and having to make another trip home.
The Gatis Door Can Wait
There is also a door in Greystone that only opens for followers of Gatis.
That door distracted me because I was aligned with another god when I found it, but it was not what stopped the Pen Pals route. Carla can still be pursued without immediately rebuilding the week around that one alignment gate.
If I already want the Gatis rooms, I plan the change around Sunday. Otherwise I mark the door and keep moving. The actual weekly alignment rules and Gatis tradeoffs are in the Old Gods guide.
This distinction matters inside Greystone because there are already enough real blockers. I do not want to turn every closed door into a prerequisite for Room 8.
Find the Room 7 Key and Deal With the Grave Warden
While clearing the floor, I picked up a Room 7 Key after fighting the enemies around the apartments.
Opening Room 7 leads to one of the important encounters in the building: the Grave Warden.
The fight is more useful than it first appears because the reward is not just experience. The Grave Warden has 180 HP, is weak to Curse damage, and deals Insight damage. Once I killed it, I received 100 XP and found a Sledgehammer among the remains.
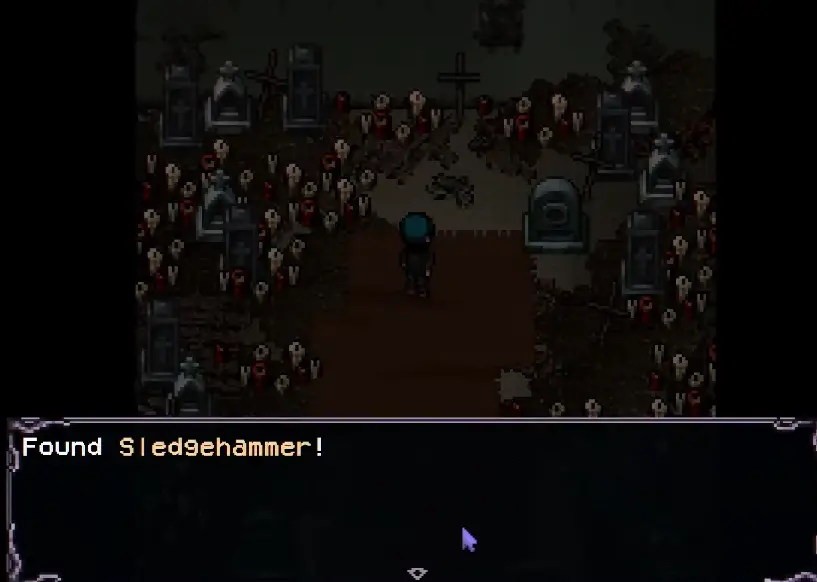
That weakness made the fight much more manageable with Curse-capable attacks than my first uncertain attempt suggested. I still keep enough HP to survive an unlucky sequence rather than spending every action on damage.
The useful part comes immediately afterward.
Use the Sledgehammer on the Rubble — It Breaks Afterward
The Sledgehammer is not a permanent replacement for my mining tools.
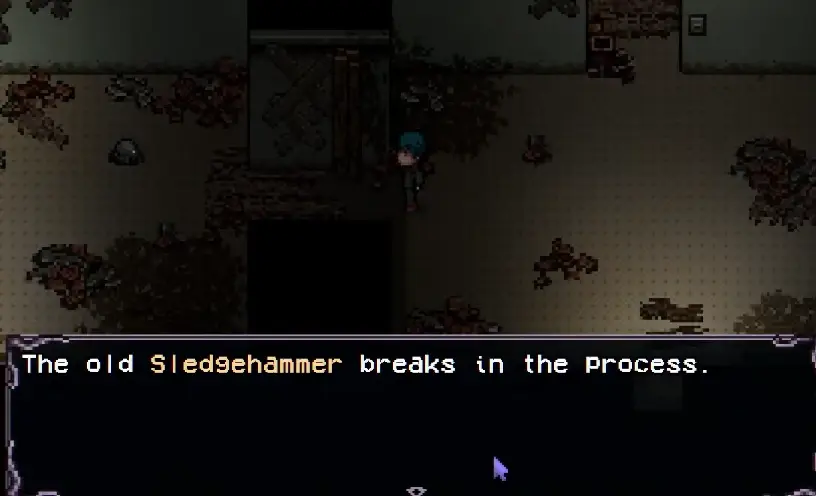
I take it back to the heavy debris that stopped me earlier and use it there. The rubble comes down, but the Sledgehammer breaks in the process.
That one-use behavior is why I do not wander off looking for another place to test it first. The item appears in the same broader sequence as the blocked route, and spending it there advances the trip to Carla.
Once that path is open, I can finally finish what looked like a much simpler request when Brittany first mentioned Room 8.
Carla Is Alive in Room 8
Carla is inside Room 8.
After all the locked-room trouble, her explanation is almost comically simple: she is fine, and the reason Brittany stopped hearing from her is that her door was locked.
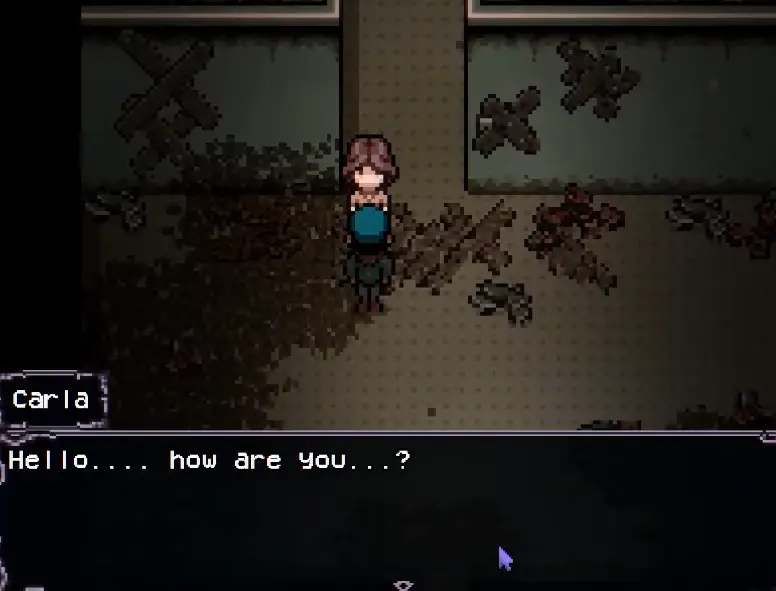
At that point I stop searching Greystone for another hidden Pen Pals objective. Carla agrees to send new mail, so I can leave the apartment route and report back rather than clearing every remaining room in the building.
Apartment 4 is the big exception. It is nearby, but it is a much harder combat problem and has nothing to do with getting Carla’s message delivered.
Apartment 4 Is a 300 HP Fight I Leave Until I Am Ready
My first visit to Apartment 4 ended badly.
The enemy inside is a child consumed by cursed flesh. During the fight, the main creature does not show a normal health bar, which made it difficult to judge whether my attacks were even accomplishing anything.
That uncertainty hid a much bigger number: the Flesh Girl actually has 300 HP.
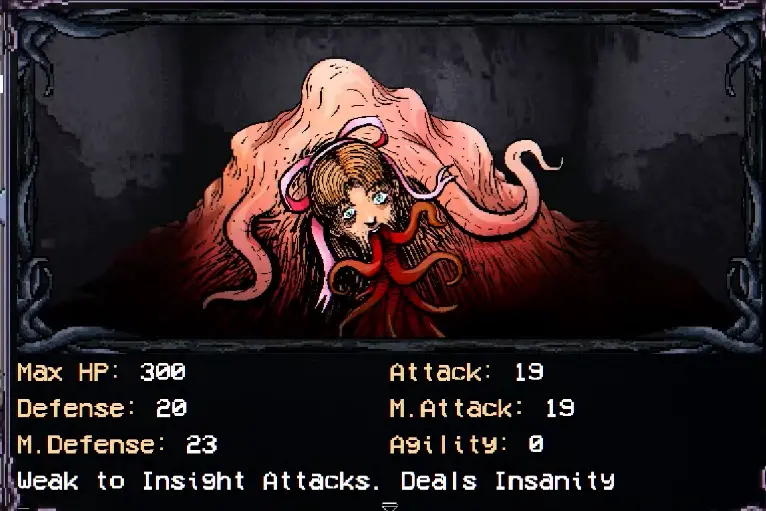
The fight can also produce a nasty action sequence. On the successful attempt I saw her attack four times during one sequence, while additional enemies complicated the turn order.
That changed how I approached the room. After the first death, I stopped using “I reached Apartment 4” as proof that I should finish it immediately. I came back stronger, saved before entering and carried enough healing to survive a bad turn rather than relying on seeing a health bar fall.
Once she finally died, the fleshy mass dropped 20 Mystery Meat, and I also came away with the Flesh Sandwich recipe.
For me, that makes Apartment 4 a good Greystone cleanup fight rather than something to force during the first Pen Pals visit.
The Laundry Room Has Its Own Boss
The basement laundry room becomes dangerous through a separate local task.
When I reached into the machine for the requested laundry, the Laundry Man appeared. This was one of the first fights in Greystone where ordinary damage numbers immediately told me I had entered something stronger than a normal encounter: a 16-damage hit barely removed a visible chunk, and my next attacks were still only chipping the boss down.
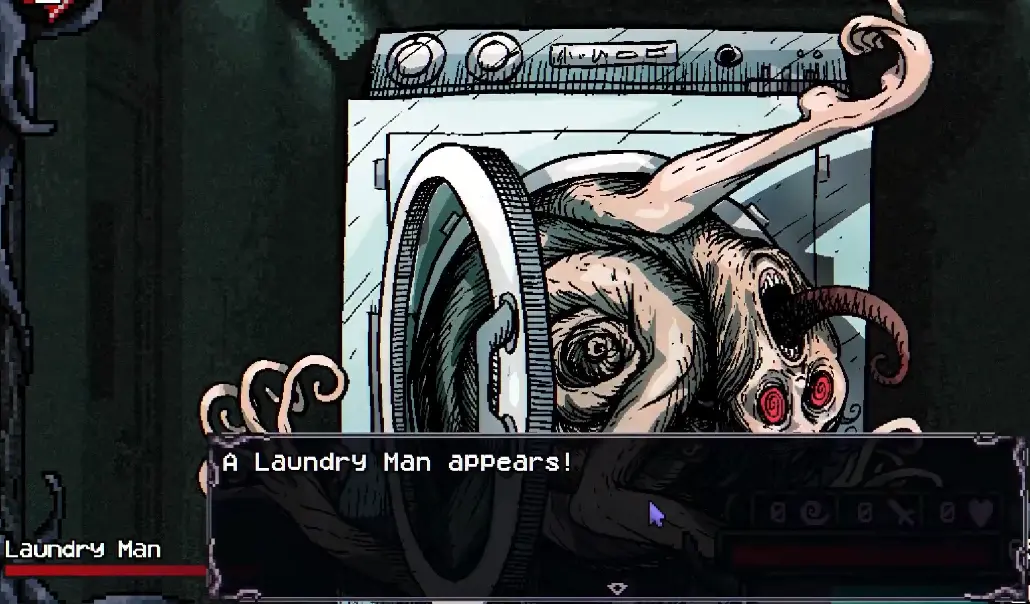
I considered fleeing, but his return damage was still survivable, so I changed the decision from “burst him down” to “stay alive and keep taking safe hits.”
That eventually worked. After a long fight I killed the Laundry Man and recovered the laundry needed for the task.
This is another place where saving resources matters more than clearing everything in one visit. If the fight is eating the food I intended to use on Room 4 or the Grave Warden, I would rather leave the basement objective for another trip.
A Giant Egg Can Appear Anywhere Inside Greystone
Greystone also has a much stranger event tied to an Elderfield News report about giant eggs.
The report does not give me one fixed room. It warns that eggs have been seen in places such as:
- stairwell corners;
- the laundry room;
- apartments;
- and other parts of Greystone Estates.
That wording matched what happened in my run. Searching only the basement did not work. I checked the laundry area, then started working through the rooms until the Giant Egg finally appeared.
This is not a route where I would tell somebody to walk directly to Room X, because the event itself says the egg can appear in different places.
The next step is much more concrete: take the egg to the Greystone rooftop.
There I found the Birdwoman asking for her child. Handing over the Giant Egg avoided a fight and earned a Jester Staff.
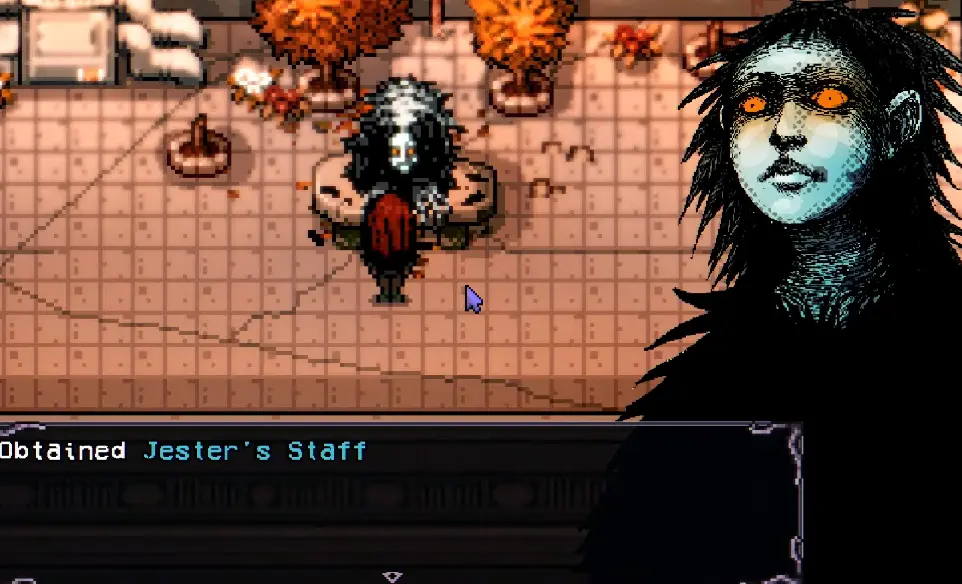
This is the kind of Greystone visit I only make when the broadcast is active. Searching every apartment for an egg without the event is a poor use of time.
The Nearby Bus Stop Becomes Worth More After the First Clear
Greystone is much less annoying once repeated trips stop requiring the full walk through Uptown.
The nearby bus stop is especially useful after Pen Pals, Apartment 4, the laundry room and random Greystone events have all given me reasons to return. I treat its travel cost and connections as part of town navigation rather than another Greystone objective; the map and key locations guide shows where I use the Uptown stop and the other major travel anchors.
For the first visit, walking there is fine.
After Greystone turns into a recurring destination, shortening the commute starts saving more than gold. It also means I arrive with my healing, inventory space and patience still reserved for the building itself.