Mall Walkthrough: Hall Monitor, Administrator & Mine
Follow the Mall route from Adrian's back-office key through Hall Monitor, security, Stalktopus, the Administrator, Mall Mine and Gem Golem.
Updated:
Quick Answer
Start the main Mall route after Adrian gives you the food-court back-office key. Find the Mall F1 Hallway Key, defeat Hall Monitor, then use both commands on the security terminal. Catch the Stalktopus the office worker wants to summon the Mall Administrator. Defeating the Administrator clears the tentacles from the Mall; if that fight is still too strong, use the Mall Mine to improve your progression instead.
Mall Progression at a Glance
The Mall stops feeling like a collection of disconnected locked rooms once Adrian’s quest gives it a clear chain of objectives. I use this order because every step either opens the next route or gives me something permanent enough to justify staying in the area.
| Stage | What Moves the Route Forward | What I Do Next |
|---|---|---|
| Food Court | Adrian’s back-office key | Enter the back offices instead of searching the public Mall for another route |
| F1 offices | Mall F1 Hallway Key | Open the F1 hallway and keep moving toward Hall Monitor |
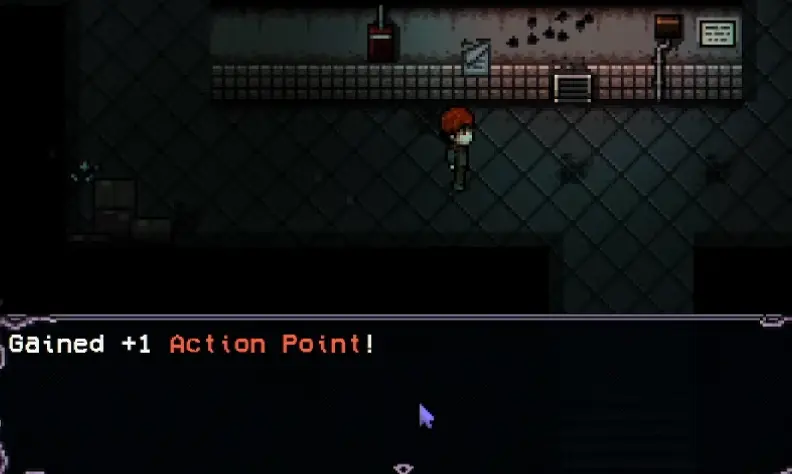
| Hall Monitor | Defeat the boss | Gain +1 Action Point and unlock combat shrine offerings |
| Security | Use both terminal commands | Unlock electronic doors and request F1 rubble removal |
| Administrator setup | Catch a Stalktopus | Return it to the office worker so the Administrator is called |
| Mall Administrator | Defeat the boss when the build can sustain the fight | Take the Skull of the Mall, then recheck office rooms after the tentacles disappear |
| Mall Mine | Strong enough pickaxe and Douglas’s offering | Reach the ancient statue and summon Gem Golem |
| Gem Golem | Defeat the guardian | Gain 150 EXP and finish the first major Sealed Passage objective |
| Deeper Mine | Tool and combat checks | Return later when a stronger pickaxe or stronger axe blocks further progress |
The important part is that I do not interpret every blocker the same way. A locked office, a weak mining tool and an enemy that is simply too strong need three different answers.
Adrian’s Key Is the Clean Start of the Mall Route
I can enter the Mall before Adrian’s problem reaches this stage, but the area becomes much easier to read after I visit his house and see the tentacles breaking through the walls.
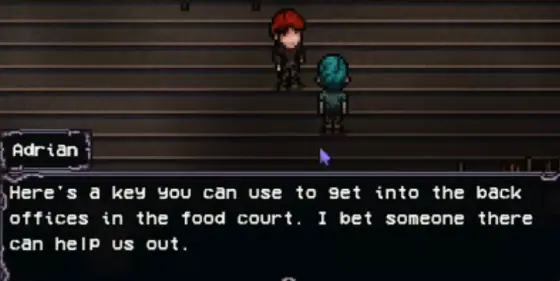
Adrian suspects the Mall is involved and gives me a key for the back offices in the food court. That is the point where I stop treating the building as somewhere to roam for random loot. I now have a specific door, a specific section of the Mall and a reason to push deeper.
I prepare before going in rather than using the office entrance as another quick sightseeing trip. Healing is more useful here than carrying a bag full of marginal loot, because the route mixes ordinary encounters with curses, dangerous containers and several fights before the important rewards appear.
Mimics are another reason I stop treating every chest as mandatory. I can clear the main Mall route without gambling health on every suspicious container I pass.
Find the Mall F1 Hallway Key Before Circling Back Outside
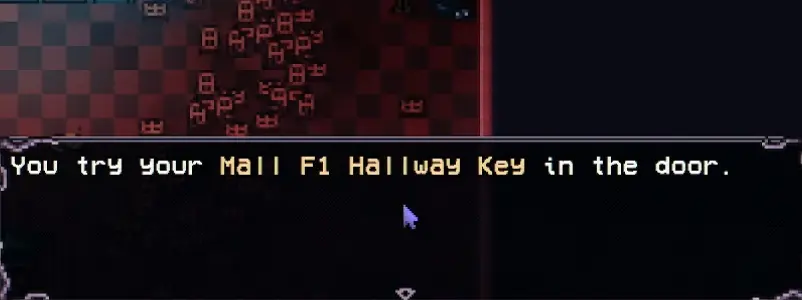
The first office section contains the Mall F1 Hallway Key. Once it is in my inventory, the useful move is to put it into the matching hallway door instead of returning to the food court and searching the public floor for some second entrance.
This part of the Mall can leave me carrying Weakness, so I check my condition before continuing into the more important fights. A status effect that was merely annoying against a normal shopper becomes much more expensive when it follows me into a boss room.
I also pick up the Police Voucher when passing through this route. It can be taken to the police station for police protection in the Mall, but I regard that as a useful side unlock rather than an instruction to abandon the current run immediately.
The first major destination is still Hall Monitor.
Hall Monitor Is Worth Prioritizing Because the Reward Changes Every Fight
Hall Monitor is the first Mall boss I make a point of finishing rather than simply testing.
I do not need a fully optimized build, but I want enough health and recovery that I am not entering the encounter already compromised by the hallway. The reason I am willing to spend resources here is the reward: defeating Hall Monitor gives a permanent +1 Action Point.
One additional action each round is much more meaningful than another small equipment increase. Healing, attacking, applying an item or setting up a ritual all compete for the same action economy, and Hall Monitor permanently gives me more room to work with.
The win also opens combat shrine offerings, so the fight improves progression in two ways rather than existing only for the Snooping Around achievement.
This is why I clear Hall Monitor before spending too much time trying to complete every optional room around F1.
Use Both Mall Security Commands Before Walking Away
The security terminal after Hall Monitor is one of the easiest places to create unnecessary backtracking.
There are two commands I need to use:
- Unlock All Electronic Doors
- Request Rubble Removal in F1 Hallway
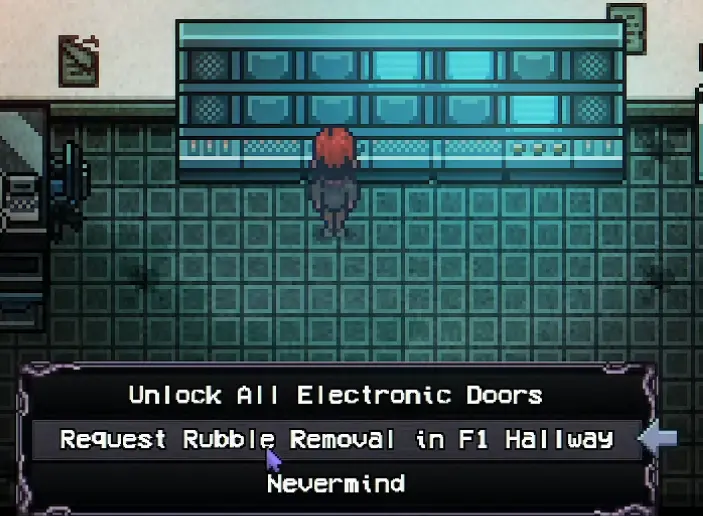
The rubble-removal option sounds mundane enough that it is easy to mistake it for flavor. It is not. Submitting the request changes the route, just as unlocking the electronic doors changes previously closed sections of the Mall.
I finish both jobs while I am already standing at the terminal. Leaving after only one command creates the particularly annoying situation where I reach another blocked route and have to retrace the entire office section for a menu option I already saw.
After security is handled, I revisit the newly useful parts of F1 rather than continuing to search for another key that no longer matters.
Catch a Stalktopus Before Expecting the Administrator to Appear
Eventually I reach the office worker who can actually call the Mall Administrator about the tentacles.
They will not do it just because I ask.
The worker wants a rare fish called a Stalktopus, caught from the pool around the corner. They can provide bugs for the fishing attempt if they still have some; if that supply is gone, I need to bring suitable bait myself.
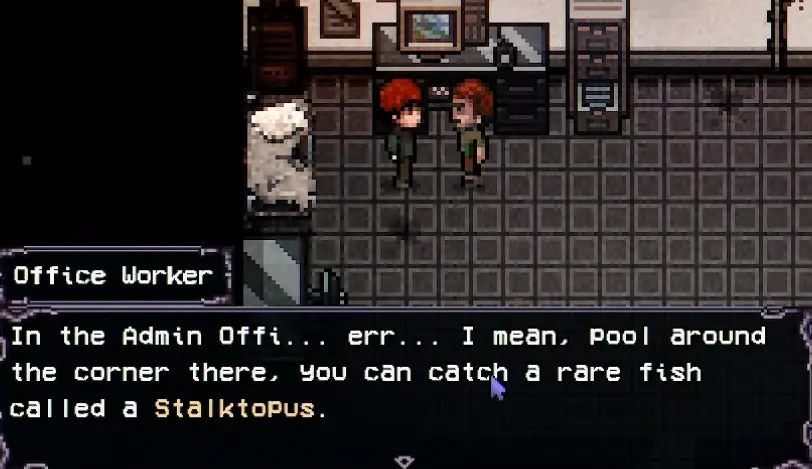
This is an easy place to think the Mall route has stalled when the real blocker belongs to another system. The office is correct. The NPC is correct. The missing step is fishing.
If bait, rod setup or the minigame itself is the problem, I use the fishing guide rather than repeating those mechanics here.
For this route, I only need to catch the Stalktopus and bring it back.
Once I hand over the fish, the worker calls the Administrator and sends me toward the nearby office. There is also a bed beside this part of the route, which I use before starting the fight.
That bed is well placed.
Mall Administrator Is a Gear Check, Not Just a 300 HP Health Bar
The jump from Hall Monitor to Mall Administrator is noticeable.
The Administrator’s 1.0 stat screen shows:
300 Max HP, 24 Defense, 24 Magic Defense, 18 Attack, 18 Magic Attack and 15 Agility.
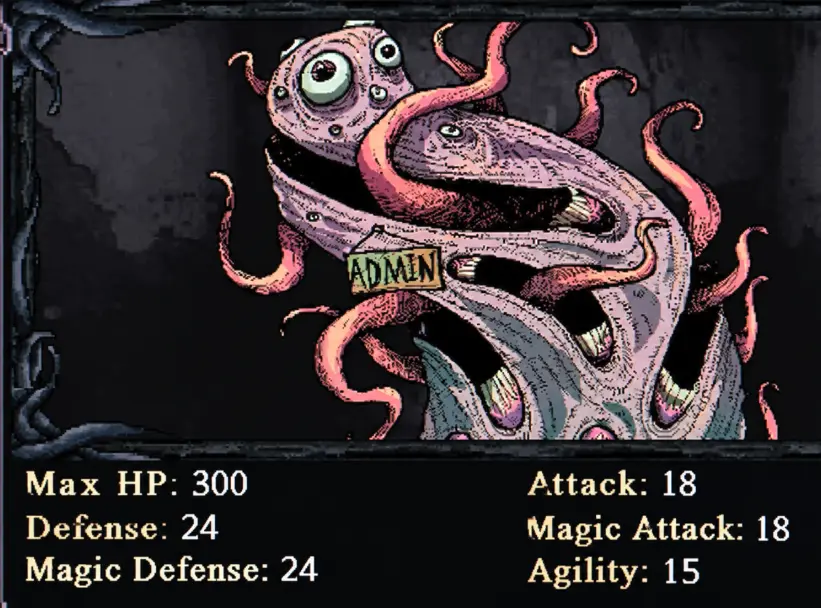
The raw HP is only part of the problem. In my attempt, the Administrator was taking three actions in a round while I was still operating with fewer useful actions of my own. That changed the fight much more than the health total did.
A 300 HP enemy can eventually be worn down if I can maintain pressure. An opponent taking repeated actions while I spend too many of mine recovering can win the resource race long before its HP reaches zero.
That is the test I use.
If I can attack, stabilize and still make forward progress, I stay. If most of my actions are being spent undoing the previous enemy turn, I leave.
A failed attempt does not erase the useful work already completed. Hall Monitor stays defeated, the extra Action Point remains active, and the F1 security changes remain in place.
After the Administrator Dies, Recheck the Offices
Winning the fight gives me the Skull of the Mall. The more important change for exploration happens immediately afterward: the tentacles slither away from the Mall.
That makes previously blocked office space worth another pass before I leave.
When I returned through the cleared section, I found useful items including Cleansing Bomb, Assorted Gems, Soulfruit Seed and Bitter Gel. I do not need to exhaustively search every container, but I also do not warp home the moment the Administrator falls.
The boss does more than finish a fight. It changes access inside the Mall, so I use that new access while I am already there.
If the Administrator Is Too Strong, Use the Mall Mine
The Mall Mine becomes relevant through another progression thread when Molly points me toward the Elder Gem and the proper mine beneath the food court.
Near the entrance, Mall Rat gives a useful warning: this is not the place to arrive with the weakest mining setup. A strong pickaxe matters once I begin pushing deeper resources and routes.
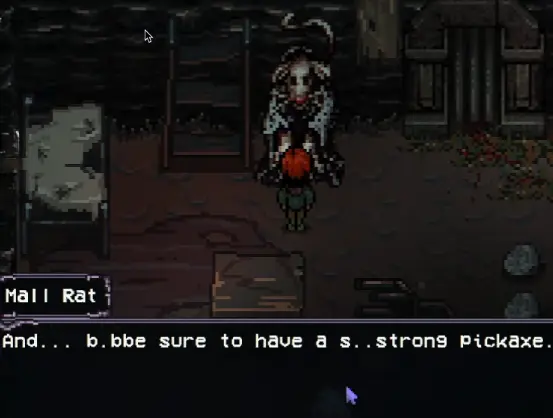
The pickaxe guide covers the actual Rusty, Basic, Sturdy, Quality and Superior progression. Here the decision is simpler: if a mining node explicitly rejects the current tool, exploring the same floor with that same tool will not make the restriction disappear.
The Mine is also why an unsuccessful Administrator attempt does not leave me with nothing productive to do. Ore, equipment progression and the Elder Gem route all give me ways to strengthen the run before I return.
The Sealed Passage Changes the Mine From Resource Run to Dungeon Route
The early parts of the Mall Mine can still feel like mining with monsters in the way. The Sealed Passage is where I start treating the trip differently.
Enemies are more dangerous, supplies matter more, and I am no longer descending simply to collect ore.
The important NPC here is Douglas.
He came looking for the Elder Gem, exhausted his supplies and ended up trapped. More importantly, he tells me exactly what the next objective needs: a special offering must be placed at a statue deeper in the Sealed Passage, and the guardian will only reveal itself after the offering is used.
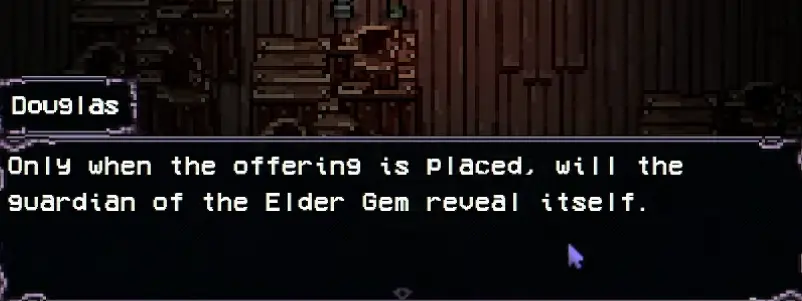
This is where I stop trying to solve the passage by exploring every side room first.
Finding the statue without the offering does not complete the sequence. Talking to Douglas turns what looks like an open-ended cave search into a specific route: take the offering, find the ancient statue, use it, fight what appears.
Place the Offering at the Ancient Statue to Summon Gem Golem
Deeper in the Sealed Passage, the ancient statue gives me the interaction Douglas described.
I place the offering.
The guardian appears:
Gem Golem.
This fight deserves preparation before I activate the statue. Gem Golem can prolong the battle with Soul Drain, while Energy Burst adds another source of pressure. A fight that drags on favors the boss because every turn spent repairing Soul Drain is another turn where I am not ending the encounter.
My successful approach is not to answer every lost point of health immediately. I bring enough recovery to survive the dangerous sequence, then keep enough actions available to maintain damage when the fight gives me room.
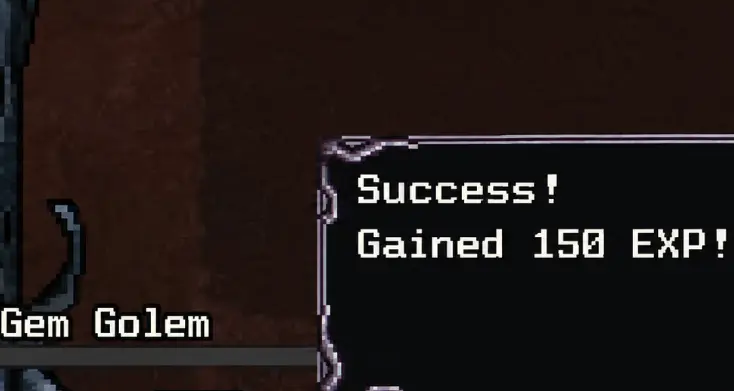
The victory gives 150 EXP along with the important progression from this route.
That is a sensible stopping point if my inventory, healing or equipment is already stretched. The Mine continues well beyond Gem Golem, but clearing the guardian does not obligate me to finish every lower floor in the same visit.
A Deeper Tree Requires a Stronger Axe
One detail from the deeper Mine is worth keeping exact because it changes what I do next.
The game tells me:
“You need a stronger axe to cut this tree.”
It does not name a specific axe tier in that prompt.
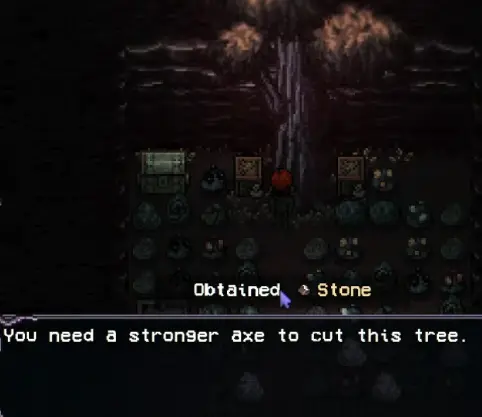
That means I leave with a clear equipment problem instead of searching the same floor for an alternate path.
By this point the Mine has shown three very different ways to stop me:
- a resource node can reject my current pickaxe;
- a tree can require a stronger axe;
- a fight can tell me through damage and action economy that my combat build is behind.
Trying to solve all three by wandering farther is where the Mine becomes frustrating.
The prompt usually tells me what category of progression I am missing.
I Prepare Differently for the Second Mall Mine Trip
The deeper I go, the less useful it is to arrive with a nearly full inventory and just enough healing for one encounter.
Ore, food, keys and unusual loot accumulate quickly. The enemies also begin making repeated attrition more expensive, especially when curses or other bad effects are already building.
Before returning for the lower floors, I want:
- a pickaxe capable of handling the resources I am actually targeting;
- an axe strong enough for the tree gate I already found;
- several genuinely empty inventory slots;
- enough healing for multiple encounters rather than one boss;
- and enough combat power that normal enemies are not consuming the supplies meant for the dangerous rooms.
I also pay attention to the clock. A deep run loses value quickly if I reach the interesting floor with no room left in the bag or the day about to end.
The first Mall visit is about opening routes.
The later Mine visit is about arriving prepared enough to use them.
When I Consider the First Mall Phase Finished
I do not use “every door is open” as the definition of finishing the Mall.
For the first major progression pass, I want the area to have changed in ways that matter beyond one visit:
- Adrian’s back-office route is open;
- the Mall F1 Hallway Key has been used;
- Hall Monitor is defeated;
- the permanent +1 Action Point is active;
- combat shrine offerings are available;
- electronic doors have been unlocked;
- F1 rubble removal has been requested;
- the office worker’s Stalktopus request is complete;
- the Mall Administrator has been defeated when my build is ready;
- the Skull of the Mall has been obtained;
- the Mall tentacles have disappeared and the blocked office section has been checked again;
- the Mall Mine progression is open;
- Douglas’s offering has been carried to the ancient statue;
- and Gem Golem has been defeated for 150 EXP when my build is ready.
There are still deeper floors, locked routes and tool gates after that. I leave them in place until I have a specific answer to the blocker rather than turning the Mall into an all-or-nothing clear.
The Mall also becomes important again later for a different reason. After Bone Cleanup gives me the Mall Elevator Key, the elevator leads into a new chain that moves through Deep Mall, Deep Woods and Deep Catacombs. I follow that sequence in Deeper Research.
Until that key exists, I do not treat the elevator as unfinished business. The first Mall phase is about Hall Monitor, the Administrator and the Mine; the elevator becomes useful when the later task gives me a concrete reason to return.
The Mall works better as a sequence of returns: open something permanent, learn what the next wall is asking for, improve the system it is testing, then come back when that change actually gives me a reason to push farther.