Welcome to Elderfield Catacombs Guide: Hammers, Sophia & Mines
Enter the Catacombs by the church, use one-use Small Hammers, collect 10 Living Bones for the Large Hammer, reach Sophia, and open the Mines.
Updated:
Quick Answer
Finish the Old Woods progression until Catacombs access opens, then enter beside the Church. Bring enough recovery for repeated fights, use Small Hammers only when a breakable route matters, and collect 10 Living Bones when the hardened-bone blockage stops further progress.
How Do I Get Into the Catacombs?
The Catacombs become much easier to understand once another part of the game actually sends me there.
Clearing the main Old Woods route eventually removes the Ancient Tree problem and advances the progression that opens access to the Catacombs. At that point I stop treating the location as an early map landmark and start treating it as the next full dungeon.
The normal entrance is beside the Church of the Old Gods.
That church landmark matters because the rooms below quickly branch into enough doors, walls and side paths that trying to navigate from memory gets messy. When I need to reset my bearings, the church-side entrance is the reference point I use.
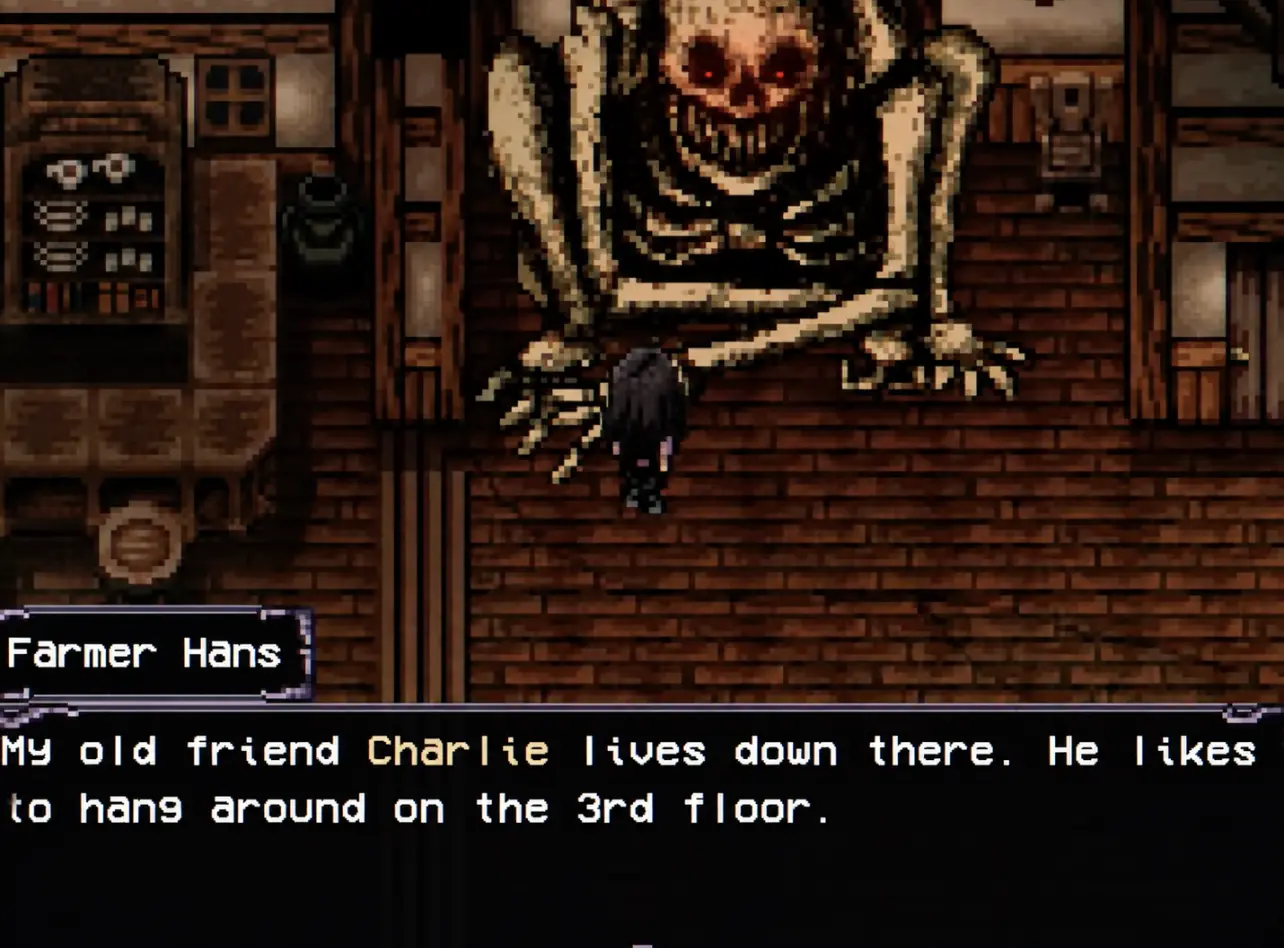
One later task also gives a very concrete reason to keep going: Sophia lives down in the Catacombs, and I am told to find Charlie on the third floor because he knows how to reach her.
That gives the dungeon a useful direction:
enter near the church → work downward through the floors → reach Charlie → follow the route toward Sophia.
The Catacombs Are a Resource Check Before They Are a Navigation Check
My first mistake here was spending too much food and MP just because another door was visible.
Normal enemies can be expensive enough that a run starts going bad well before a major encounter appears. A new room is not automatically worth another stack of recovery items.
When ordinary fights have already consumed most of what I brought, I leave. Returning with better equipment or a full supply is cheaper than reaching an important blocker with no healing left.
This matters even more because several Catacombs obstacles require specific consumable tools. Burning all my combat supplies and then discovering I also need another hammer creates a bad trip in both directions.
The dungeon is built for repeat visits.
Small Hammers Are One-Use Catacombs Tools
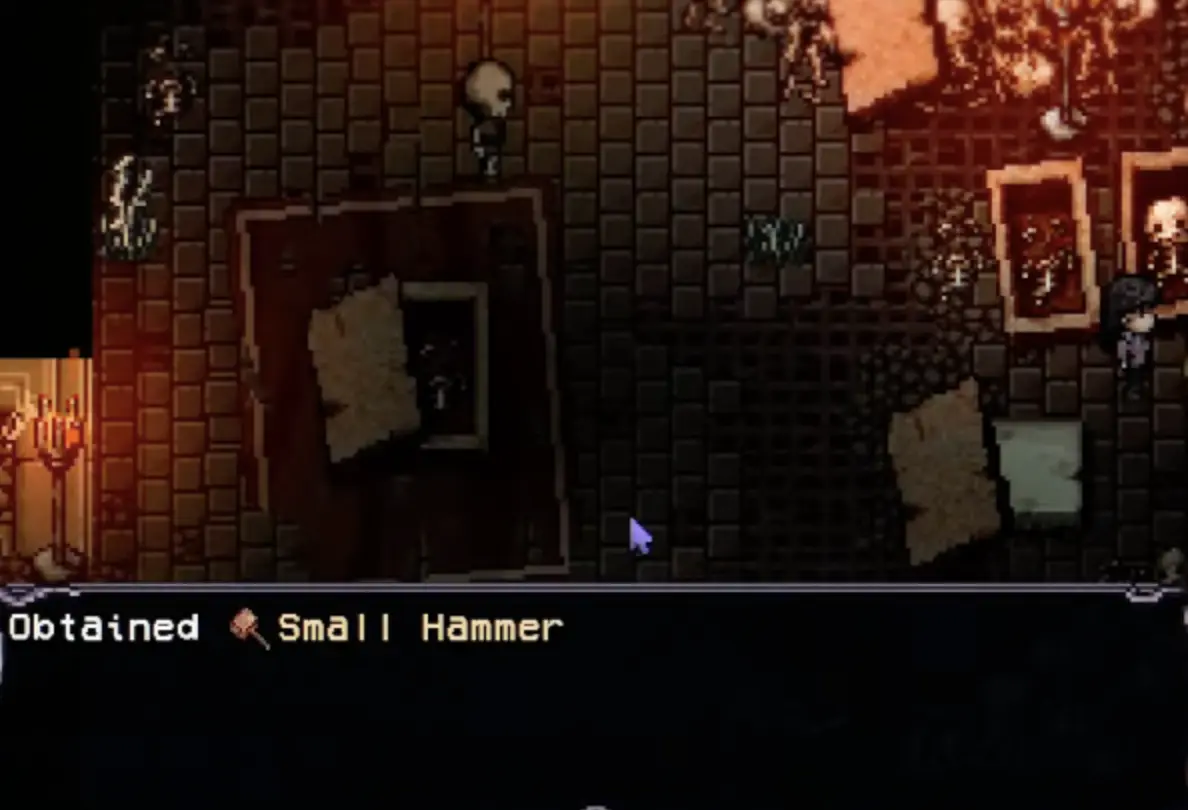
Small Hammers are consumable.
That is the first tool rule I want to know before spending one.
Some Catacombs barriers can be broken with a Small Hammer, but using it consumes the hammer. It is not a permanent tool upgrade like the pickaxe progression outside the dungeon.
I found additional Small Hammers while clearing the area, including from loot, but the supply is not reliable enough that I spend every one as soon as a breakable route appears.
A useful rule is to look at what sits behind the blocker in relation to my current objective.
If I am actively trying to reach a lower floor or complete a Catacombs task, spending the hammer makes sense.
If I am already low on healing and the opening is only another side branch, I would rather mark it mentally and return later.
Where Can I Get More Small Hammers?
The early supply can feel tight, especially after I realize they disappear on use.
There are three practical ways I encountered more:
- Catacombs quests can reward one;
- enemies or dungeon loot can produce additional Small Hammers;
- a skeleton merchant deeper inside sells them.
That merchant changes how aggressively I use the tool later. Before finding him, every hammer feels irreplaceable. Once his shop is available, running out stops being a permanent dead end.
I still do not buy them without a reason. A Small Hammer that sits unused in storage is just money converted into another inventory slot.
I buy one when a known breakable route is the next thing stopping me.
Why Do I Need 10 Living Bones?
Eventually the dungeon presents a different obstruction: hardened bones.
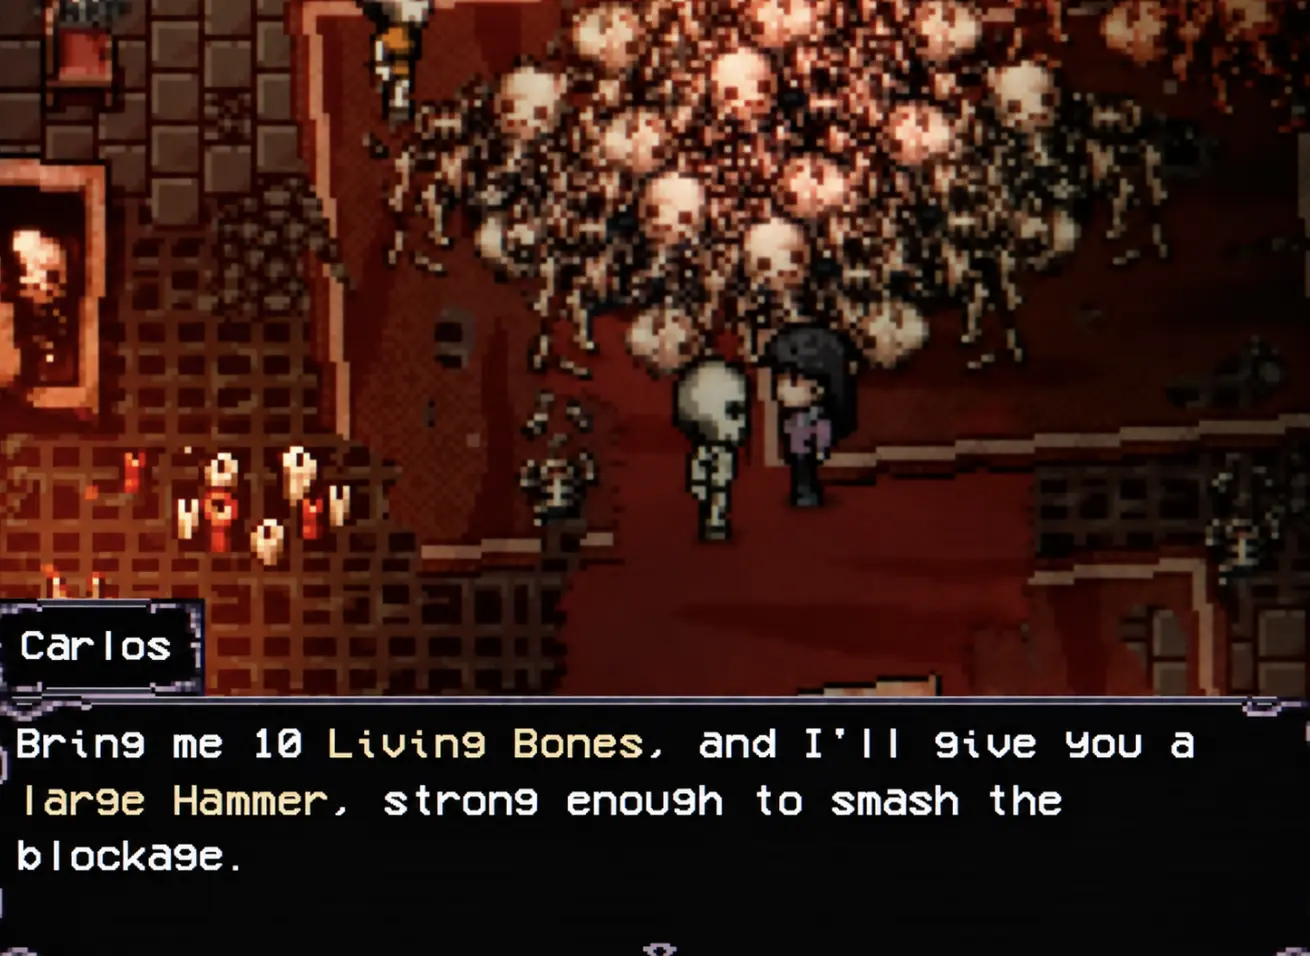
A researcher explains what happened. Life remains in skeleton bones for a time, but the local grave creatures drain that life until the remains become hard and rock-like.
A Small Hammer is not enough for this blockage.
The researcher asks for exactly:
10 Living Bones
and in exchange gives a Large Hammer strong enough to smash through the hardened-bone obstruction.
This is one of the points where clearing everything too early can make the next step feel worse than it is.
If I reach the researcher after already killing most of the nearby enemies, I may not have ten bones ready. The answer is not another hidden passage. I need more Living Bones.
That can mean another combat pass through the Catacombs rather than wasting time testing unrelated tools on the hardened barrier.
Small Hammer and Large Hammer Solve Different Problems
The similar names made me expect a normal upgrade chain.
They are better understood as two separate dungeon keys:
Small Hammer
- used on smaller breakable Catacombs barriers;
- consumed when used;
- can be obtained more than once.
Large Hammer
- tied to the 10 Living Bones objective;
- used for the hardened-bone blockage that prevents deeper progression.
I therefore do not save a Small Hammer expecting it to count as progress toward the large obstruction, and I do not spend time looking for ten bones just because I found an ordinary Small Hammer wall.
Matching the tool to the blocker saves a lot of wandering.
Find Charlie on the Third Floor Before Hunting for Sophia
Sophia is not presented as somebody standing near the Catacombs entrance.
The useful instruction is much more specific:
Charlie is on the third floor.
That is my navigation target.
I keep pushing the normal Catacombs progression until F3 is reachable, then search for Charlie rather than sweeping earlier floors again. He provides the next direction toward Sophia.
The later route centers on a large pit leading farther down. Once Charlie explains that Sophia has been causing trouble below, the pit stops looking like background scenery and becomes the next descent.
The important part is the order:
- get access to the Catacombs;
- work through the tool-gated routes;
- reach the third floor;
- find Charlie;
- use his information to continue toward Sophia.
Trying to jump straight from the entrance to “where is Sophia?” skips the part of the dungeon that actually makes her reachable.
When Should I Buy From the Skeleton Merchant?
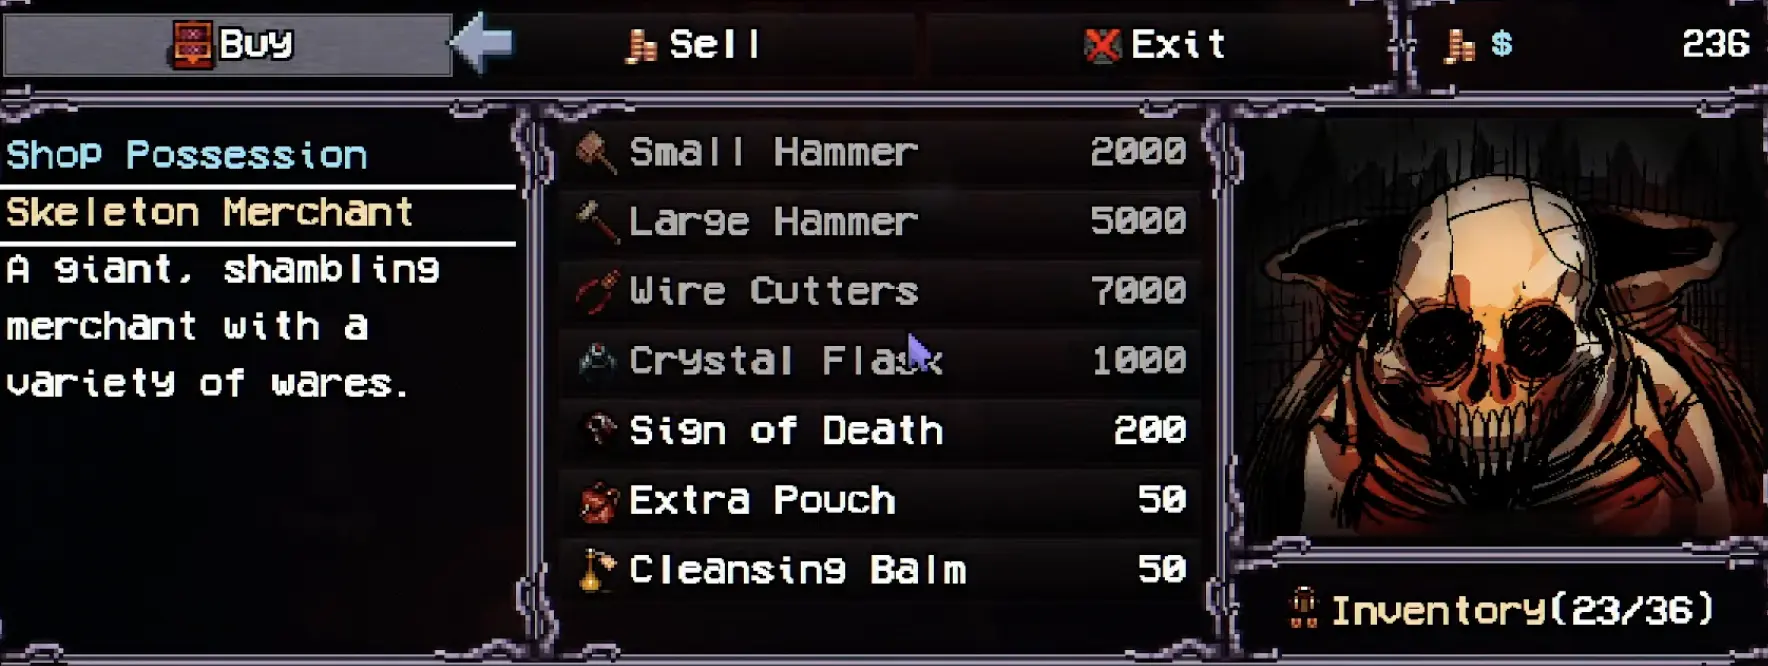
The skeleton merchant is one of the most useful stops in the later Catacombs because his stock directly answers several dungeon-specific problems.
He sells items including:
- Small Hammers
- Wire Cutters
- Extra Pouch
- Cleansing Balm
My priorities depend on what has actually stopped the run.
A missing Small Hammer justifies buying another hammer.
A fenced route toward the Mines makes Wire Cutters more valuable.
Repeated curse pressure can make Cleansing Balm worth carrying.
The Extra Pouch is useful in a loot-heavy dungeon, but I would not spend progression money on inventory convenience while a required tool is still missing.
Tools first, comfort second.
Wire Cutters Open the Catacombs Mines Route
The Wire Cutters are not another version of the hammer.
They solve a different barrier and are the important item for opening the route into the Catacombs Mines.
Once I have the cutters, I use them on the blocked mine access rather than carrying them around expecting every wire or sealed door to react.
That separation is useful because by this stage the Catacombs can put several blocker types close together:
- breakable barriers for Small Hammers;
- hardened bones for the Large Hammer;
- fenced access for Wire Cutters;
- Old God follower rooms;
- ordinary locked or progression-gated routes.
Using the wrong category of solution is one of the easiest ways to feel stuck here.
The Mines themselves are worth treating as another combat-and-resource branch rather than something I must completely exhaust before returning to the main Catacombs path. If the next objective is Sophia or deeper floor progression, I open what I need and keep that objective in view.
Do I Need a Different Old God for Catacombs Doors?
Some rooms inside the Catacombs are Old God follower rooms.
Those are not part of the normal hammer progression.
A door that requires Daeus, Kaal, Gatis, Delvek, Valtris, Nezroth or another alignment is asking for the weekly Church system, not another dungeon drop.
I leave those rooms when the alignment does not match and return during the appropriate week. That prevents a side room from derailing the main descent toward Charlie and Sophia.
The exact alignment bonuses, Forge recipes and follower-room routes stay in the Old Gods guide.
What Counts as Finishing the Normal Catacombs?
The lower route eventually leads beyond the ordinary skeleton rooms and tool checks into the Catacombs’ final major encounter.
The Catacombs Ghost is the endpoint I use for the normal dungeon clear.
Defeating it rewards the Catacombs Skull along with a Dream Pearl.
At that point I stop treating every deeper route as proof that the ordinary Catacombs are unfinished. The Skull is the important completion reward from this layer of the dungeon.
Deep Catacombs belongs to a later progression chain.
The large pit eventually becomes usable after I have the Climbing Rope, but the rope is not the only requirement. I also need enough progress in Meet Sophia for the descent to become available.
When Professor Dayton’s research starts sending me after the three Essences, I continue through Deeper Research rather than searching F1–F3 for another hammer, key or hidden wall.
The normal Catacombs route has already done its job:
church entrance → hammers and floor progression → Charlie → Sophia route → Catacombs Ghost → Catacombs Skull.