How I Beat Twisted Tower in Under Four Hours
My Speedy Spree route with practical pace checks, the detours I skip, and the progression mistakes that cost far more time than combat.
Updated:
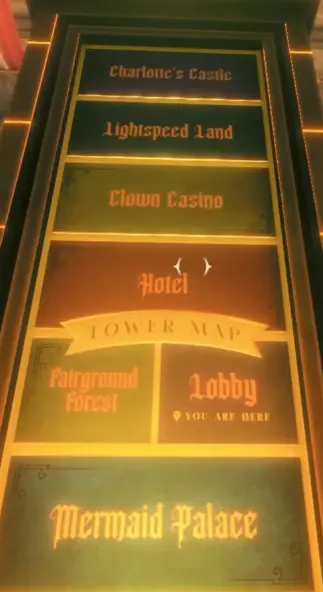
Quick Answer
Speedy Spree requires me to finish Twisted Tower in under 4 hours.
I do not need to play like a speedrunner.
My normal full route can already reach the finale a little after the three-hour mark even with some exploration, so I create my margin by removing the biggest time sinks:
skip optional Secret Areas
→ ignore restricted X-marked doors
→ return to the Lobby as soon as an area’s Twisted Token is finished
→ use the known Mermaid Palace, Casino, and Fairground Forest routes
→ do not turn every weapon station into a shopping stop
→ follow the intended ranged solutions instead of forcing dangerous fights
→ keep the final 30–40 minutes free for Charlotte’s Castle and Tower Top.
Speedy Spree sounds much harsher than it actually is.
The achievement asks me to scale the Tower in under four hours, but I do not need advanced movement tech or a perfect combat run to get there.
What cost me time on my first playthrough was much simpler:
- checking rooms I had already finished;
- revisiting restricted doors;
- wandering around Godmother Maze;
- staying in an area after getting its Twisted Token;
- searching for a movement solution before unlocking the correct toy;
- taking optional Secret Area detours;
- stopping at upgrade stations every time I saw one.
Once I remove those mistakes, the four-hour target gives me useful breathing room.
My Conservative Pace Checks
I do not try to hit exact split times.
Instead, I use a few generous checkpoints to tell whether the run is still healthy.
| Progress checkpoint | My comfortable target |
|---|---|
| Hotel Twisted Token | Before 0:45 |
| Sewer Twisted Token | Before 1:20 |
| Clown Casino complete | Before 1:50 |
| Fairground Forest Token | Before 2:25 |
| Jet Pack / Lightspeed route | Before 2:40 |
| Lightspeed Land | Before 2:50 |
| Charlotte’s Castle | Before 3:20 |
| Tower Top | Before 3:40 |
| Finish | Under 4:00 |
These are not hidden game requirements.
They are deliberately conservative checkpoints.
If I finish the Hotel at 47 minutes, I do not restart automatically.
If I reach Lightspeed Land at 2:55, I still have a real chance.
What matters is whether I am still following the correct route or actively losing time because I do not know what comes next.
Learn the Route Before Attempting Speedy Spree
I do Speedy Spree after at least one normal clear.
There are too many progression traps for me to enjoy learning them against a clock.
My main route is:
Beach / Lobby
→ Hotel
→ Lobby
→ Mermaid Palace / Sewer
→ Lobby
→ Clown Casino
→ Lobby
→ Fairground Forest
→ Lobby / Bell Tower
→ Lightspeed Pass
→ Lightspeed Land
→ Charlotte’s Castle
→ Tower Top.
If I still need to discover where an objective goes, I use the full walkthrough before starting my timed attempt.
The biggest improvement is not moving faster.
It is never wondering where to go next.
Hotel — My First Check Is the Twisted Token
I want the Hotel finished comfortably inside the first hour.
I follow the mandatory route and do not try to turn the opening floor into a completionist clear.
The X-marked doors are especially easy to waste time on.
They are restricted during this part of the first playthrough.
I leave them alone.
My real endpoint is the Hotel Twisted Token.
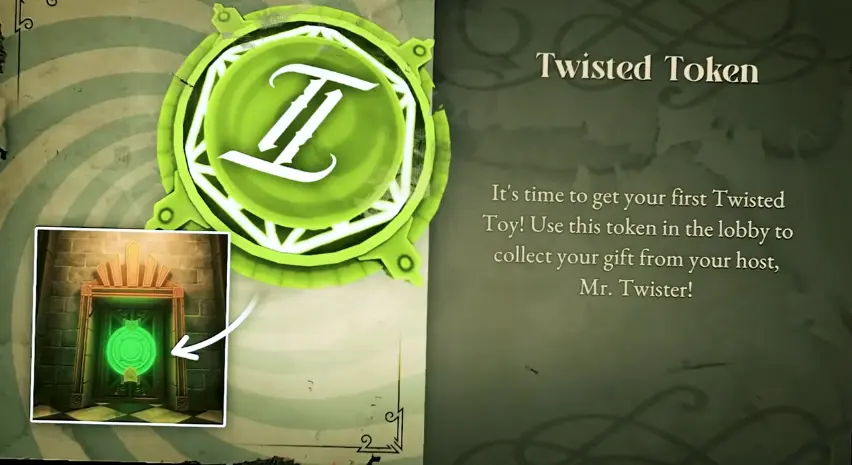
As soon as the token sends me back to the Lobby, I go.
I do not finish one more lap through the Hotel “just in case.”
That is a rule I keep for the rest of the run.
Do Not Over-Shop in the Early Game
Weapon stations are another quiet source of lost time.
I still buy an upgrade when it clearly makes the next fights safer or faster.
What I avoid is stopping to analyze every available purchase.
For Speedy Spree, I care about a practical loadout, not perfect weapon progression.
I also do not combine this attempt with Ticket Titan or Weapon Wizard unless those achievements happen naturally.
Saving 2,000 tickets and maxing every weapon create different priorities from simply finishing quickly.
This run has one job:
keep the Tower moving forward.
Mermaid Palace — Knowing the Puzzle Saves More Time Than Moving Fast
Mermaid Palace is a good example of where route knowledge matters more than raw speed.
The area deliberately sends me to important locations before I have everything needed to use them.
On the timed run, I already know that the Valve Wheel and Crimson Pearl progression require backtracking.
So when I reach a blocker, I do not stand there trying random interactions.
I follow the known Mermaid Palace route and continue through the Sewer.
My real pace checkpoint is the Sewer Twisted Token, not opening the Crimson Pearl.
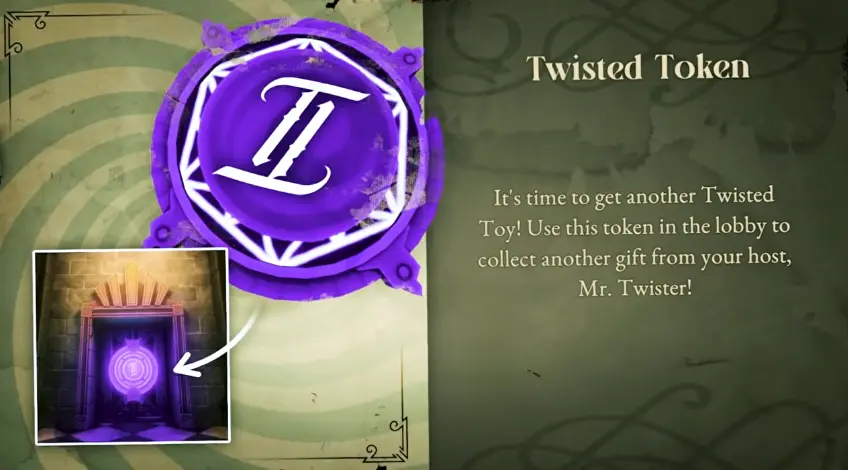
The Sewer spider rush is another place where trying to clear everything costs time.
I use a strong close-range weapon and keep moving.
The objective is the exit, not exterminating every spider.
Fairy Wings Are a Real Time Saver
After the Sewer return, I get the Fairy Wings.
Their air dash is useful beyond simply solving required gaps.
Once I have them, normal traversal becomes faster.
I use the dash whenever it cleanly moves me through safe space, but I do not turn every corridor into a risky movement experiment.
A failed jump costs far more time than a slightly slower safe landing.
The same principle applies to every later movement toy.
I use the mechanics I know.
I do not invent shortcuts during the achievement attempt.
Clown Casino — Three Levers Are My Only Progress Counter
Clown Casino can absorb a lot of time because the environment keeps reconnecting with earlier rooms.
I simplify it to one progress condition:
finish all three levers.
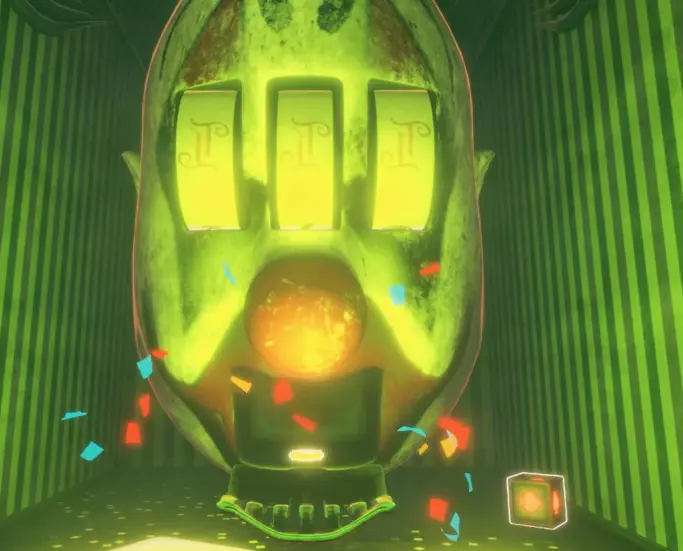
I do not keep checking the clown’s mouth after every individual puzzle.
I also do not revisit the Casino Secret Area during this run.
Pressure buttons, the Bubble Gun, later doors and Giggle Coaster all belong to the same main progression chain.
If I need that route again, I follow the Clown Casino puzzle guide rather than improvising.
Once the three levers are done, I take the token and head straight back to the Lobby.
Do Not Turn the Lobby Into a Cleanup Zone
Every return to the Lobby creates temptation.
I now have another movement ability.
Something I saw earlier may finally be reachable.
There are doors I remember.
There are supplies and upgrades nearby.
For Speedy Spree, I resist most of that.
The Lobby is primarily my transition hub.
When the Casino return makes the trampoline progression available, I use it and continue toward Fairground Forest.
I do not start a tour of every previously unreachable corner.
Fairground Forest — This Is Where I Protect My Time Buffer
Fairground Forest is the area I most want memorized before attempting Speedy Spree.
There are several places where uncertainty can burn minutes:
- the three-platform sequence;
- a platform respawning at its original location;
- the Sling Snipe ranged interaction;
- Godmother Maze;
- the Ferris Wheel backtrack.
I do not need to explain those puzzles again here.
I follow the known Fairground Forest route and judge my progress by the final Ferris Wheel sequence.
The most important thing I do differently from my first run is Godmother Maze.
I do not wander randomly until I recognize something.
I already know to use the larger landmarks above the maze when the hedge corridors start looking identical.
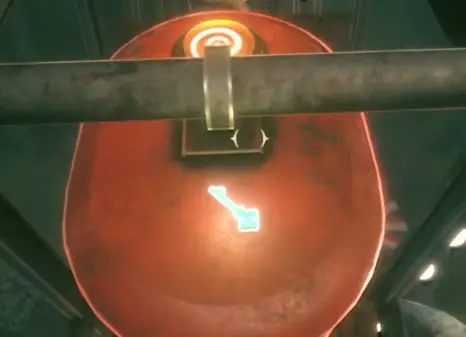
After escaping, I backtrack to the Ferris Wheel, climb it, take the key and finish the area.
Skip Secret Safari on This Attempt
Speedy Spree and Secret Safari can technically pull me in opposite directions.
Speedy Spree rewards a clean mandatory route.
Secret Safari asks me to take every hidden detour in one playthrough.
I keep them separate.
That is especially important once the game reaches the later traversal sections, where an optional secret can also introduce unnecessary death risk.
I do not need every secret for Speedy Spree.
So I do not collect every secret.
Fairground Forest Token → Lobby → Red Token → Bell Tower
After the Forest token, I return to the Lobby.
This transition is easy to waste time on if I forget what comes next.
I do not search another floor.
I use the trampoline progression to reach the red token, enter the Bell Tower, and continue toward the Jet Pack.
Once I have the Jet Pack, the next important checkpoint is the Lightspeedland Ticket.
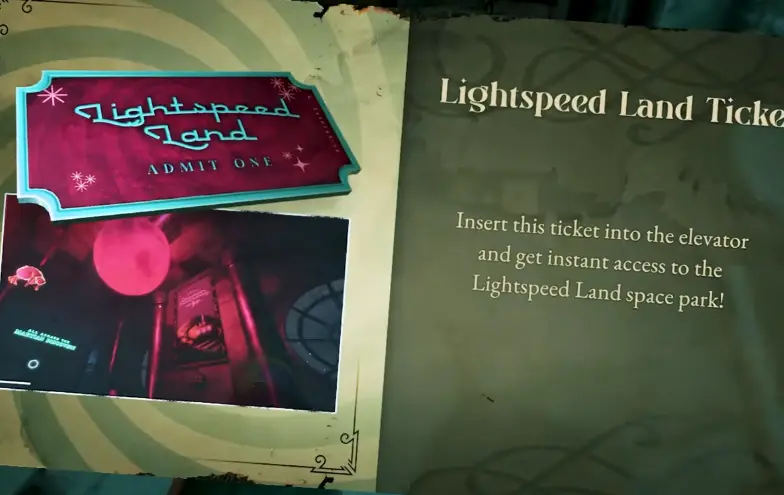
At this stage, I want plenty of margin left.
If I have spent close to three hours before even reaching Lightspeed Pass, I know I need to stop taking optional detours entirely.
Lightspeed Pass — Use the Intended Cannon Solution
Lightspeed Pass has another place where brute force wastes both time and health.
When the minigun blocks the route, I use the Big Boy Cannon.
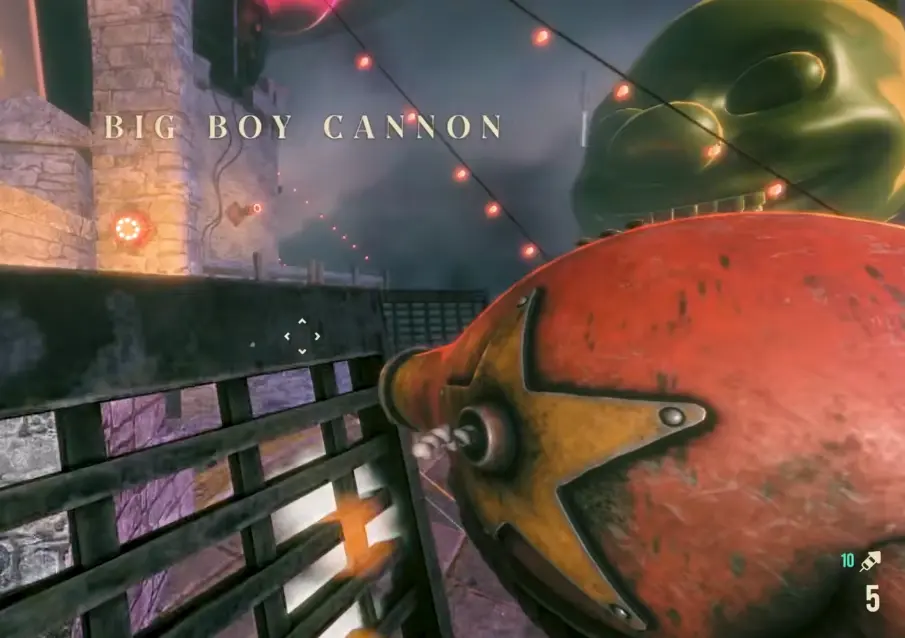
This is the type of shortcut I trust.
It is not an exploit or an awkward movement skip.
It is the solution the level gives me.
Knowing that interaction in advance makes the whole section faster and safer.
Lightspeed Land — Do Not Waste Time Looking for Your Old Weapons
Lightspeed Land deliberately takes away the weapons I collected earlier.
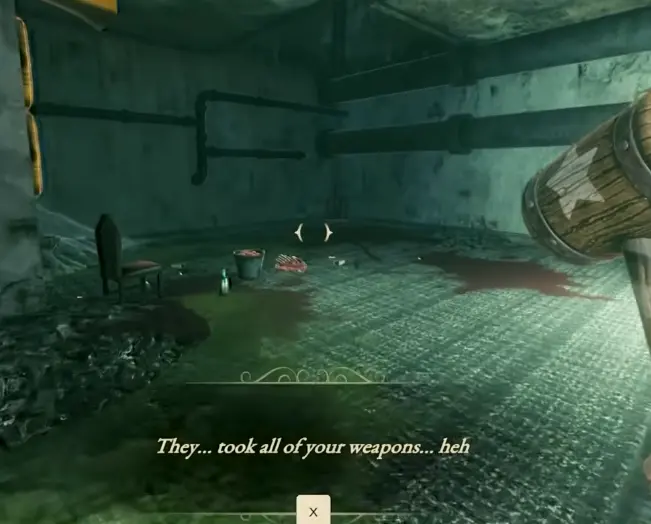
On a timed run, this matters because I do not:
- reload looking for a bug;
- search backward for an inventory trigger;
- assume I missed a weapon locker before the fall.
The reset is supposed to happen.
I rebuild from the weapons scattered through Lightspeed Land and continue.
I also skip its optional Secret Area.
That detour is exactly the kind of unnecessary movement risk that has no value for Speedy Spree.
I Would Rather Finish a Fight Cleanly Than Restart the Run
Speedy Spree is not No-Death Daredevil.
If a fight takes me 30 seconds longer because I back off, heal, or use safer positioning, that is usually fine.
A death, recovery, repeated fight, or confused reroute can cost far more.
So I do not play recklessly just because there is a clock.
Four hours gives me enough margin to fight under control.
What I remove is wasted navigation, not every second of safe play.
Charlotte’s Castle — I Want This Section With Time to Spare
When I reach Charlotte’s Castle, I am in the final stretch.
The route still includes real combat:
fight forward
→ reach the required device
→ head back
→ handle another major fight
→ receive the Ticket to the Top.
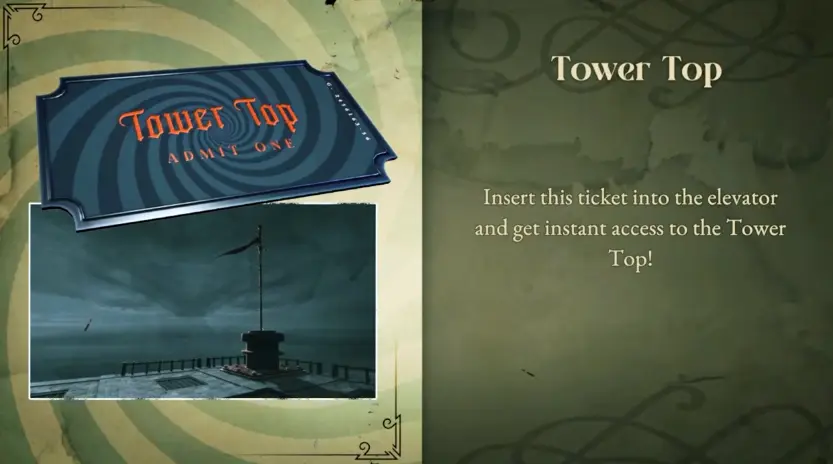
This is why my comfortable checkpoint puts Charlotte’s Castle well before the final 40 minutes.
I want room for a messy fight without turning the ending into a panic.
Once the Ticket to the Top appears, I stop shopping or searching.
I go to Tower Top.
Tower Top — Do Not Throw Away the Run Trying to Save Seconds
The final challenge changes the Tower around me.

If I arrive with a healthy buffer, there is no reason to suddenly play like a world-record attempt.
I watch my footing.
I take the attack opportunities the fight gives me.
I finish the sequence.
Speedy Spree only cares that the full Tower is completed under four hours.
Finishing at 3:59 counts just as much as finishing at 2:59.
Where I Actually Save the Most Time
My biggest gains do not come from combat tricks.
They come from making the correct decision immediately.
I save time when I:
take a Twisted Token and leave the completed area
instead of searching for another main objective.
I save time when I:
recognize a movement-gated route
instead of attempting the same impossible jump repeatedly.
I save time when I:
use the known puzzle sequence
instead of rediscovering it.
And I save the most time when I:
leave optional completionist content for another playthrough.
That is enough to make Speedy Spree a route-planning achievement rather than an extreme speedrun.