Where I Find Every Secret Area in Twisted Tower
My story-order route through Twisted Tower's hidden secret areas, including the easy-to-miss detours in the Hotel, Casino, Forest, and Lightspeed Land.
Updated:
Quick Answer
For Secret Safari, I collect the hidden Secret Areas during the same run instead of planning to clean them up after the ending.
My safest order is:
Beach
→ Hotel / Kids Corner
→ Mermaid Palace
→ Nipples Bridge
→ Clown Casino
→ Fairground Forest platform section
→ Ferris Wheel / Godmother Maze
→ Lightspeed Land
The Journal tracks Secret Areas, so I check it before leaving a major part of the tower.
The most dangerous one for me is the Lightspeed Land detour. I do not rush that jump or side route just because I can see where I want to land.
The first secret is easy.
Finding all of them in one playthrough is the real problem.
Secret Spectacle only asks me to uncover at least one Secret Area, and its achievement rate is 88.5%.
Secret Safari requires every hidden Secret Area in one playthrough, and its rate is only 0.7%.
That difference matches how I actually play the game.
I can stumble into one secret almost immediately.
What costs me the achievement is forgetting a side route three areas later and continuing too far before I notice.
So I do not treat secrets as endgame cleanup.
I collect them in story order and use the Journal as my running check.
If I need the main route between these checkpoints, I follow my Twisted Tower walkthrough rather than mixing every puzzle solution into this page.
Beach Secret — Check Before Entering the Tower
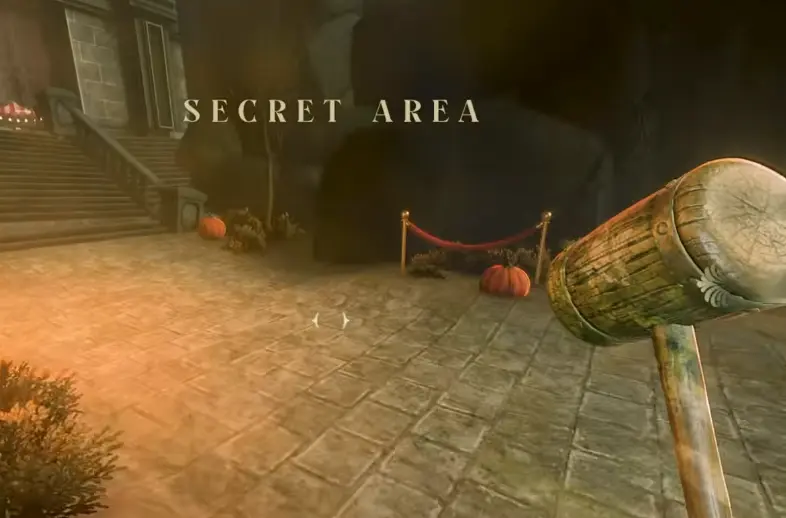
I find my first Secret Area during the opening Beach section.
This is after I pick up the Twisted Mallet and learn to slide, but before I properly settle into the Lobby progression.
The mistake here is simply moving too efficiently.
The tower entrance is obvious, so my instinct was to keep following the main objective.
Instead, I use the opening movement tutorial as my reminder to check the nearby side space before leaving the Beach.
This first discovery is enough to trigger Secret Spectacle.
More importantly, it teaches me what the game considers a Secret Area.
After reaching the Lobby, I also make a habit of checking the Journal because it tracks the hidden areas I have found.
I do not leave the opening area thinking:
I’ll remember to come back later.
For Secret Safari, that is exactly the habit I want to avoid.
Hotel Secret — Kids Corner During the Combat Route
My next Secret Area is in the Hotel.
I reach it after progressing far enough to obtain the Red Key and move into the Kids Corner portion of the level.
This one is easy to miss because combat is happening around the same stretch.
When enemies are pressuring me, the natural reaction is to finish the fight and chase the main route.
I deliberately check the side space before leaving the area.
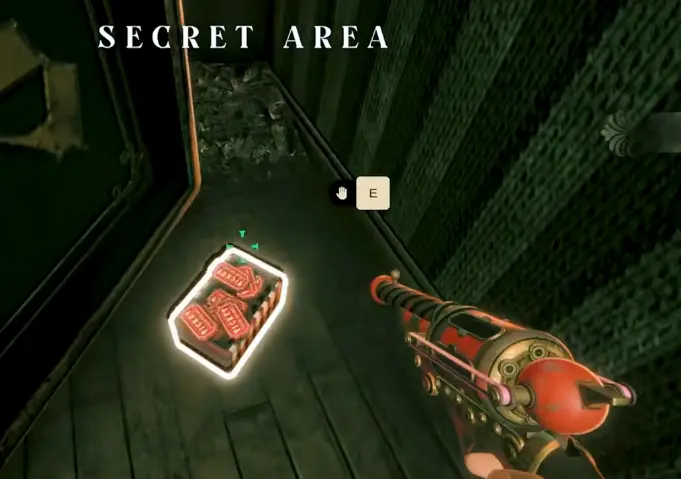
My progression check here is simple:
Red Key
→ Kids Corner
→ Secret Area
→ continue toward the later Hotel route.
I do not confuse this with the X-marked reconstruction doors.
Those doors are deliberately unavailable when I first see them.
The secret is something I can actually reach during the active Hotel route, so I do not waste time trying every blocked reconstruction entrance.
Mermaid Palace Secret — Find It Around the Valve Wheel Route
The Mermaid Palace secret sits around one of the area’s biggest progression blockers: the Valve Wheel.
I eventually reach a mechanism that needs the wheel.
If I arrive without it, I stop trying to interact with the mechanism and search the reachable side route.
That search also takes me through the Secret Area.
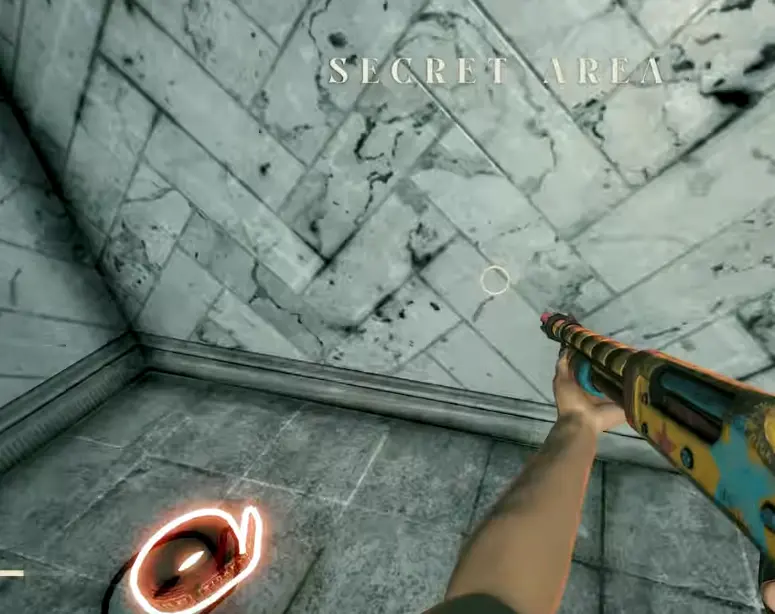
Shortly afterward I find the Valve Wheel and continue toward The Crimson Pearl.
That makes this secret easy to anchor in my memory:
need Valve Wheel
→ check side route
→ Secret Area
→ get Valve Wheel
→ continue Mermaid Palace.
I do not need to mix the later device and password sequence into my secret search.
If I am stuck on the Crimson Pearl itself, that is a separate progression problem covered in the Mermaid Palace puzzle guide.
Nipples Bridge Secret — Take the Detour Before Clown Casino
After finishing the Mermaid Palace and Sewer route, I return to the Lobby and eventually open the path toward Clown Casino.
The route crosses Nipples Bridge.
This is exactly the sort of transition section where I normally stop looking for secrets.
I can already see that I am heading toward the next major level, so it feels like the bridge only exists to connect two destinations.
I check the optional route before entering the Casino proper.
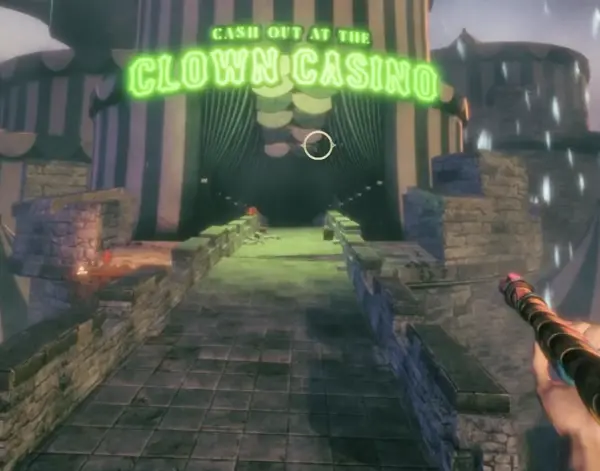
My checkpoint is:
Lobby
→ Nipples Bridge
→ Secret Area
→ Clown Casino Gamblin’ Hall
If I have already started working on the Casino’s pressure buttons and levers without checking the bridge detour, I backtrack before going much farther.
Clown Casino Secret — Watch for the Side Passage
The Clown Casino secret is much easier to overlook because the level gives me several other things to think about at once.
By this point I am dealing with:
- pressure buttons;
- multiple levers;
- the Bubble Gun;
- increasingly aggressive clown fights;
- Firecrackers;
- doors that can be opened as the route develops.
My secret checkpoint comes during the later Casino progression, after I have already started using the Firecrackers.
I watch for a side passage instead of automatically following the combat route forward.
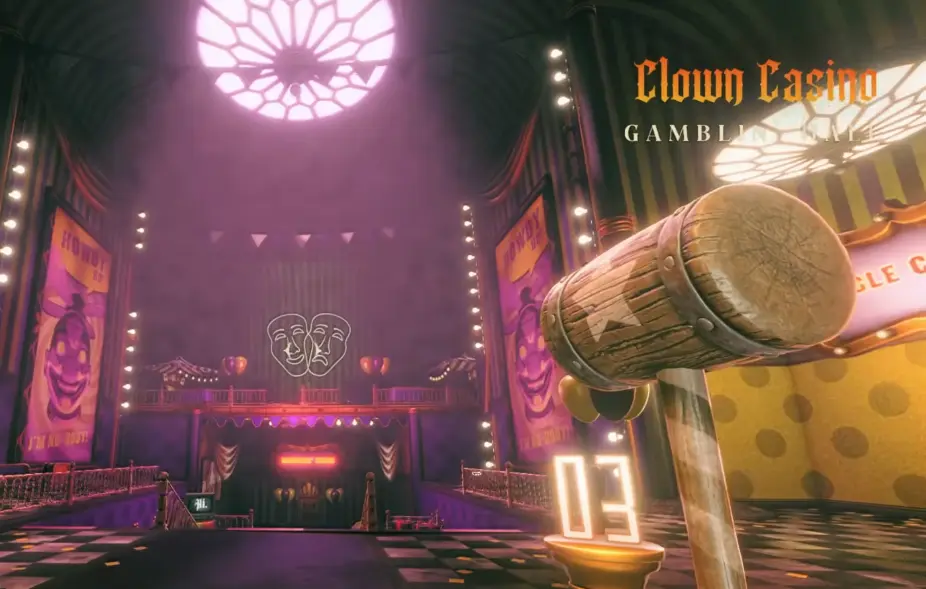
After entering it, I confirm the Secret Area before continuing.
A useful second checkpoint is the Quack Attacker.
I find that weapon later in the same stretch.
If I have reached the Quack Attacker without remembering the Casino secret, that is my signal to stop and check the preceding rooms before continuing to the coaster.
The main three-lever progression belongs to the Clown Casino puzzle guide; here I only care about making sure the optional secret detour is complete before I leave.
Fairground Forest Secret — The Three-Platform Section
The first Fairground Forest secret is tied closely to the early three-platform progression.
One platform is already connected when I arrive.
As I find the others, I use the platform route to reach the hidden area instead of treating each platform as something that only serves the main objective.
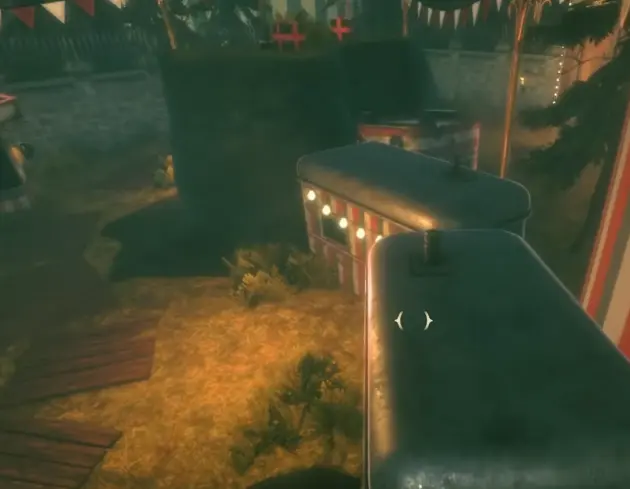
There is one annoying behavior here that made me think I had lost progression.
A platform I had already moved appeared to vanish.
When I checked its original pickup point, it had respawned there.
So if the platform count suddenly looks wrong, I do not assume the route is broken.
I go back to where I originally found the missing platform.
Once the secret is complete, I continue forward and eventually reach the later Ferris Wheel side of Fairground Forest.
Ferris Wheel Secret — Check Before Committing to Godmother Maze
There is another Secret Area around the Ferris Wheel / Godmother Maze progression.
This one is especially easy to mentally merge with the maze because the whole section feels like one long objective.
When I first reach the Ferris Wheel, it does not behave like a normal working ride.
Before committing all of my attention to the maze, I check the nearby optional route and clear the Secret Area.
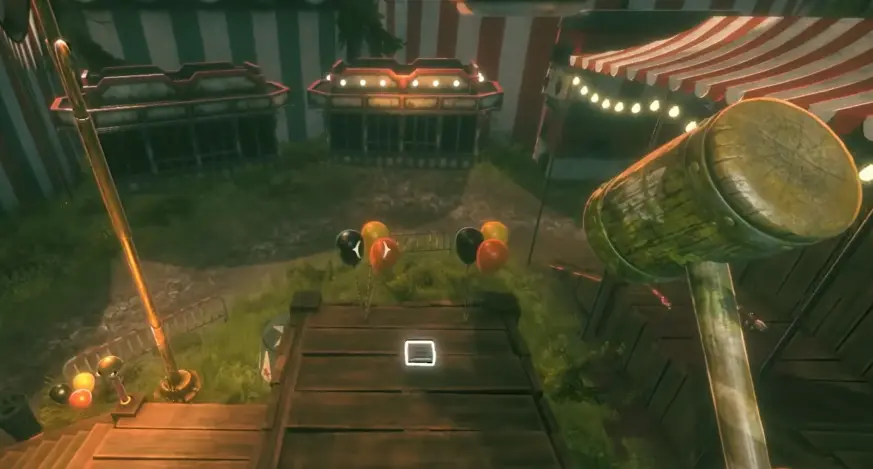
Then I handle the maze.
The maze itself was a bigger navigation problem for me than the secret.
When I started looping through familiar corridors, looking upward gave me much better landmarks than staring at the walls directly in front of me.
After getting through the maze, I return to the Ferris Wheel and continue the main progression.
If I need the full platform, maze, key and Ferris Wheel sequence, I use the Fairground Forest maze guide.
Lightspeed Land Secret — Do Not Rush the Detour
The Lightspeed Land secret is the one I treat with the most respect.
By this stage, the level has already stripped away my existing weapons and forced me to rebuild my loadout from pickups around the space station.
Later I reconnect with the roller-coaster route and recover the Sling Snipe.
The Secret Area appears around this later section.
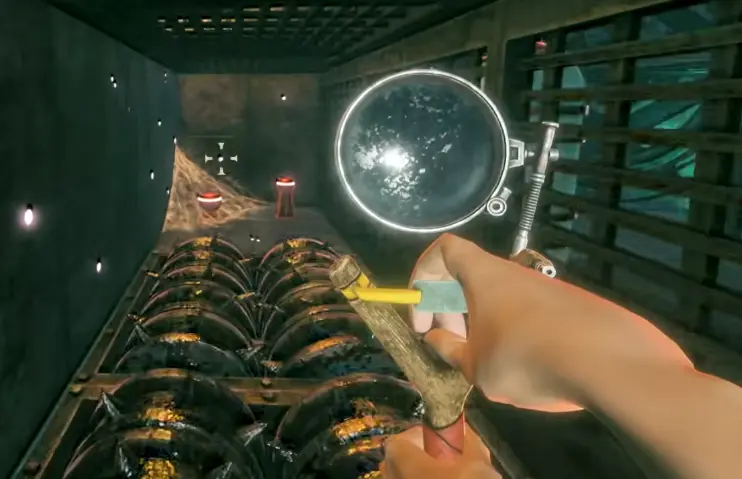
This was the secret where I learned not to confuse:
I can see the destination
with
I have lined up a safe route to it.
The detour can punish a rushed approach badly.
By this point I have already invested a lot of time into the same Secret Safari run, so I value survival and positioning more than getting into the hidden area two seconds faster.
I make the detour, confirm the Secret Area, and only then return to the main Lightspeed Land route.
My Secret Safari Check Before the Final Climb
Once I leave Lightspeed Land and move toward Charlotte’s Castle and Tower Top, I stop treating unexplored side paths casually.
Before committing to the final climb, I check my Journal.
My story-order checklist is:
Beach
→ Hotel / Kids Corner
→ Mermaid Palace / Valve Wheel route
→ Nipples Bridge
→ Clown Casino side passage
→ Fairground Forest platform section
→ Ferris Wheel / Godmother Maze
→ Lightspeed Land
If something is missing, I would rather notice before the final sequence than discover after the ending that my Secret Safari run was incomplete.
Secret Safari is specifically a single-playthrough achievement.
That is why I build the secret checks into normal progression instead of treating them as a separate cleanup session.
For the rest of the achievement route, including the sub-four-hour run, no-death clear and weapon upgrades, I keep those requirements in the Twisted Tower achievements guide.