How I Get Through Mermaid Palace and Open the Crimson Pearl
My route through Mermaid Palace when the Valve Wheel, password, and Crimson Pearl stop progress, plus the order that keeps me from backtracking blindly.
Updated:
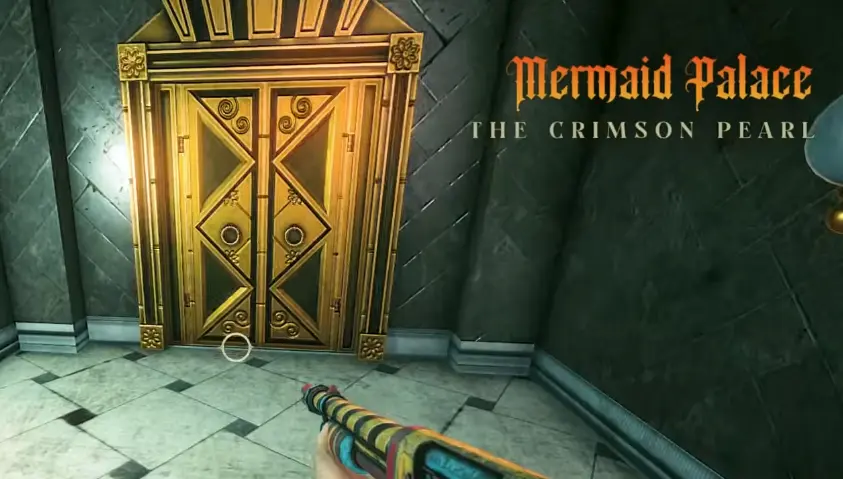
Quick Answer
The Mermaid Palace progression that matters is:
enter the waterpark
→ follow the West Poolrooms route
→ reach the empty Valve Wheel socket
→ search the nearby side route and get the Valve Wheel
→ continue toward the Crimson Pearl
→ activate the required device
→ find the VIP notice with code 1326
→ return and enter 1326 at the Crimson Pearl
→ pick up the Marble Magnum
→ finish the fight and continue down into the Sewer
The two places where I stop trying to force progress are the Valve Wheel mechanism and the password door. Both are telling me to leave briefly, complete another step, and come back.
Mermaid Palace was the first area where I kept reaching the correct place before I had the item or information needed to use it.
That creates two easy traps:
I found the Valve mechanism, so the wheel must be in this room.
and later:
I found the password door, so I must be able to solve it immediately.
Neither assumption helped me.
The area makes much more sense when I treat it as a short chain of deliberate backtracks rather than one continuous forward path.
Enter Mermaid Palace After Getting the Harpoon
I reach Mermaid Palace after the Hotel sends me back through the Lobby progression.
By this point I have the Harpoon and the Mermaid Palace Ticket.
The Harpoon is already teaching me to read the environment differently: blue grapple targets are real traversal points rather than decoration.
I do not return to the Hotel looking for another route once the Mermaid Palace Ticket is available.
I use the ticket and enter the underground waterpark.
If I am still missing the Harpoon or wondering why the next traversal route does not work, I check the movement toys progression instead of searching Mermaid Palace for an item that belongs earlier in the game.
Watch the Oxygen Gauge Underwater
Mermaid Palace introduces sustained underwater movement.
There is an oxygen gauge in the center of the HUD while I am submerged.
That changes how I explore.
I do not enter every underwater side corridor just because I can see it.
My rule is:
main route first, surface when needed, then take deliberate side checks.
This becomes more important later because the area contains both mandatory progression and optional hidden spaces.
I do not want to confuse an oxygen problem with a puzzle problem.
If I am running out of air, the answer is usually to manage the dive better.
If I am standing in front of a mechanism with an obviously missing part, that is when I start looking for the actual puzzle item.
West Poolrooms — The Valve Wheel Is the First Real Blocker
I eventually reach the West Poolrooms and a mechanism with a missing Valve Wheel.
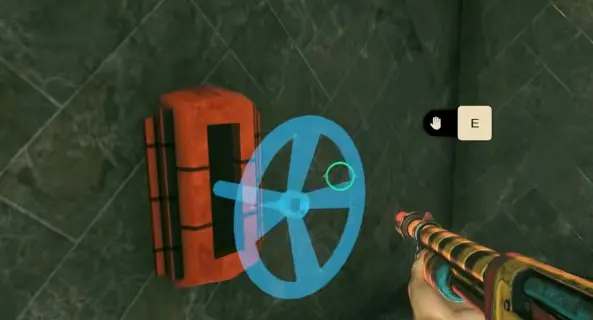
This is where I initially wanted to search the same immediate room.
That is not the useful move.
The mechanism is effectively telling me:
you are in the right area, but you are missing the object.
So I turn away from it and search the reachable side route.
Where I Find the Valve Wheel
The Valve Wheel appears shortly after the empty mechanism.
The nearby route also passes through one of Mermaid Palace’s hidden side areas, which makes this section easy to confuse with optional exploration.
For progression, I only care about one thing:
leave with the Valve Wheel.
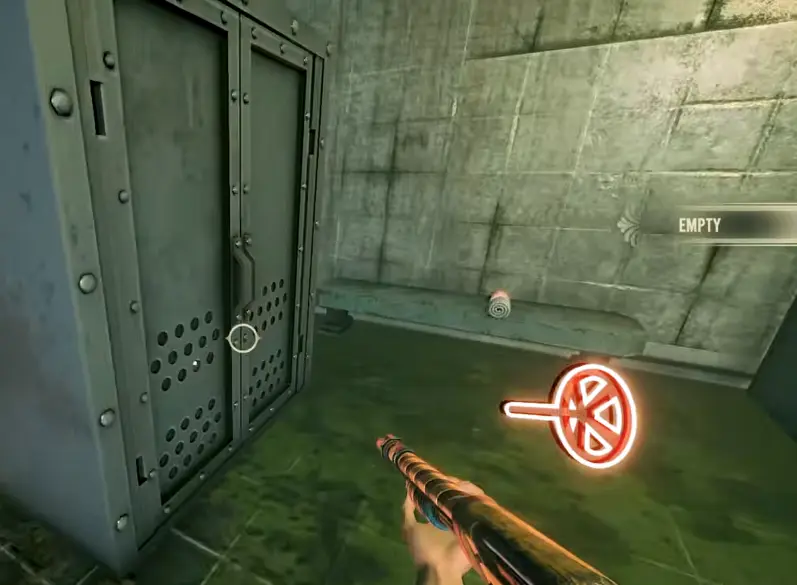
Once I have it, I go back to the mechanism I already found.
I do not keep exploring simply because the side route continues to look interesting.
That is the backtrack that actually advances the area.
There is a Secret Area around this same section, but I keep its exact route in the all secrets guide so the progression puzzle and Secret Safari route do not become the same page.
Continue Toward the Crimson Pearl
After the Valve Wheel progression opens the route, I continue deeper into Mermaid Palace until I reach The Crimson Pearl.
This door is the second major place where I can waste time.
I am physically standing at the destination.
The name is on the wall.
The route clearly wants me inside.
But that does not mean the password is supposed to be guessed here.
If the Password Is Missing, Stop Guessing
When I reach the password interaction too early, I do not brute-force possible answers.
I backtrack.
There is another device in the surrounding Mermaid Palace progression that needs to be activated first.
This is the key order:
reach the password block
→ realize the prerequisite is still incomplete
→ return to the earlier device
→ activate it
→ follow the newly useful route/information
→ obtain the password
→ return to the Crimson Pearl.
The important part is the order, not memorizing a number from somebody else’s run.
When I activate the required device, I can progress to the point where the game gives me the password information I need.
That makes this route much safer after updates too: I am following the game’s own progression trigger rather than relying on a code with no context.
The Crimson Pearl Password Is 1326
After activating the required device, I find the VIP entry notice that gives me the temporary access code:
1326
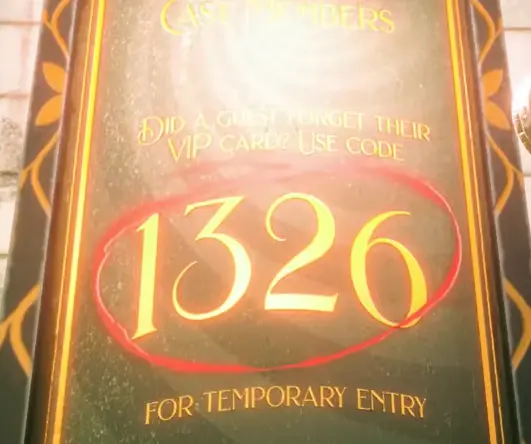
I return to the Crimson Pearl and enter 1326.
If I reached the door before finding this notice, I was simply one progression step too early.
Open the Crimson Pearl
With the prerequisite device complete, I return to the door and enter 1326 to open the Crimson Pearl.
This is the payoff for the area’s backtracking chain:
Valve Wheel
→ device
→ password
→ Crimson Pearl
Once the door opens, I know I am back on the main progression route.
I no longer need to keep checking the earlier pool rooms.
Pick Up the Marble Magnum
Inside the Crimson Pearl progression I obtain the Marble Magnum.
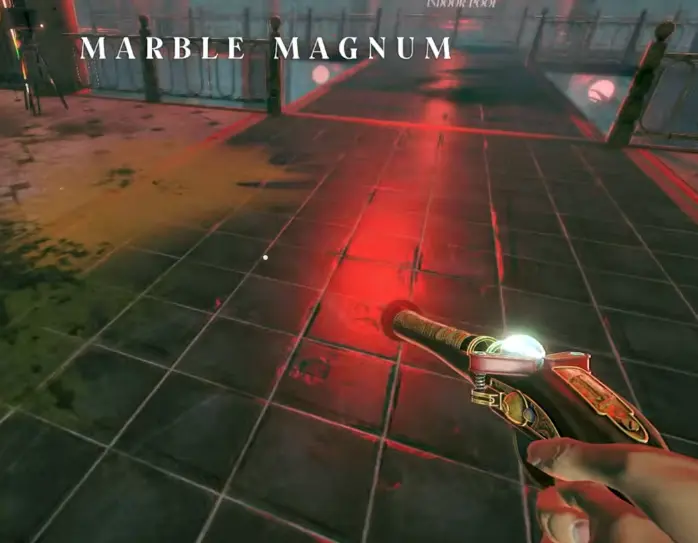
I treat the weapon pickup as a checkpoint.
If I have reached what looks like the later Mermaid Palace route but still do not have the Marble Magnum, I would check whether I actually finished the Crimson Pearl sequence rather than continuing downward.
The Magnum becomes useful beyond this room, but I do not stop here and spend every ticket available just because I have a new weapon.
I first make sure I have enough health and ammunition for the fight directly ahead.
Later ticket and upgrade decisions matter for achievements such as Ticket Titan and Weapon Wizard, so I prefer spending when an upgrade gives me a clear practical advantage rather than emptying my balance automatically.
Prepare Before the Crimson Pearl Fight
The fight immediately after the pickup is a noticeable difficulty spike compared with simply navigating the password route.
This is where I care more about entering prepared than squeezing one extra optional room into the route.
Before committing, I want:
- enough health that one mistake does not end the attempt;
- ammunition in a weapon I am already comfortable with;
- room to learn the Marble Magnum without depending on it for every shot.
I do not treat a brand-new weapon as an automatic replacement for everything I already know how to use.
The Marble Magnum hits hard, but a familiar weapon is still useful if the fight becomes messy at close range.
After the Fight, Go Down Into the Sewer
Once the Crimson Pearl fight is over, Mermaid Palace continues downward.
The route eventually puts me back underwater and sends me into the Sewer.
This direction feels wrong the first time because the larger objective is to climb the Tower and reach Charlotte.
I am now doing the opposite.
I keep going.
The downward route is intentional.
When I reach the Sewer, I know the Crimson Pearl puzzle chain is finished and the next progression phase has begun.
The Sewer Is a Movement Problem More Than a Puzzle
The Sewer replaces the Valve Wheel and password-style blockers with sustained pressure.
The spiders are the main problem.
Getting hit can interfere with visibility, and the encounter can keep producing enough pressure that trying to stand still and clear everything is a bad trade.
When the route opens, I prioritize:
survive → keep moving → reach the elevator
rather than:
kill every spider before taking another step.
A strong close-range option helps here.
I also avoid stopping in exposed space just to pick through minor resources while the encounter is still active.
At the end of the Sewer route I reach another Twisted Token.
That is my signal to stop searching Mermaid Palace entirely and return to the Lobby.
The complete token-to-toy chain belongs in the Twisted Token guide, but for this puzzle route the important conclusion is simple:
once I leave the Sewer with the token, Mermaid Palace is done.