Where I Find Every Twisted Token and What It Opens
My story-order Twisted Token route through the Hotel, Sewer, Clown Casino, Fairground Forest, and the final red token in the Lobby.
Updated:
Quick Answer
I treat Twisted Tokens as progression items, not optional collectibles.
My route is:
Hotel token
→ return to Lobby
→ Harpoon
→ Mermaid Palace / Sewer token
→ return to Lobby
→ Fairy Wings
→ Clown Casino token
→ return to Lobby
→ Bouncy Boots / trampoline progression
→ Fairground Forest token
→ return to Lobby
→ use the trampoline to reach the red token
→ Bell Tower
→ Jet Pack
The most important habit is simple: when an area gives me a Twisted Token and tells me to return to the Lobby, I stop searching that area for the next main objective.
Twisted Tokens confused me at first because they look like collectibles, but that is not how I use them.
They are part of Twisted Tower’s main progression loop.
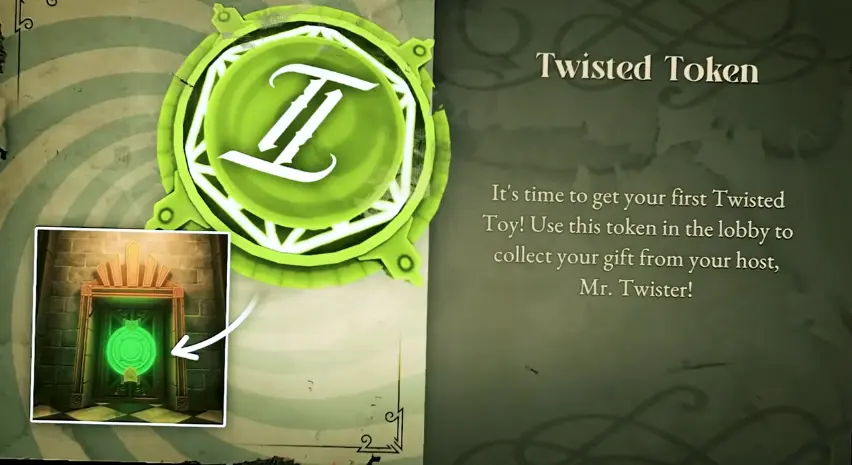
The first token explains the system directly: I take a Twisted Token back to the Lobby and use it to collect a new gift from Mr. Twister.
Once I understood that, I stopped making one of my biggest progression mistakes:
getting a token and continuing to search the area I had already completed.
For me, a Twisted Token is usually an exit signal.
I take it, return to the Lobby, and look for whatever has changed.
Hotel Twisted Token — My First Token
The first Twisted Token comes near the end of the Hotel route.
I do not find it in one of the opening Family Center rooms.
I first need to progress through the Hotel, get the Red Key, work through Kids Corner, reach the moving-stair section, obtain the Honeymoon Suites Key, and continue into the Honeymoon Suites.
After the later Hotel sequence, I reach the token.
It is the green Twisted Token.
This is also the token where the game explicitly teaches me what these items are for.
The token card tells me to use it in the Lobby to collect my first Twisted Toy.
What I Do After Getting It
I leave the Hotel.
I do not start checking old X-marked reconstruction doors.
I do not search the Honeymoon Suites for another main key.
I follow the route back to the elevator and return to the Lobby.
That is the correct backtrack.
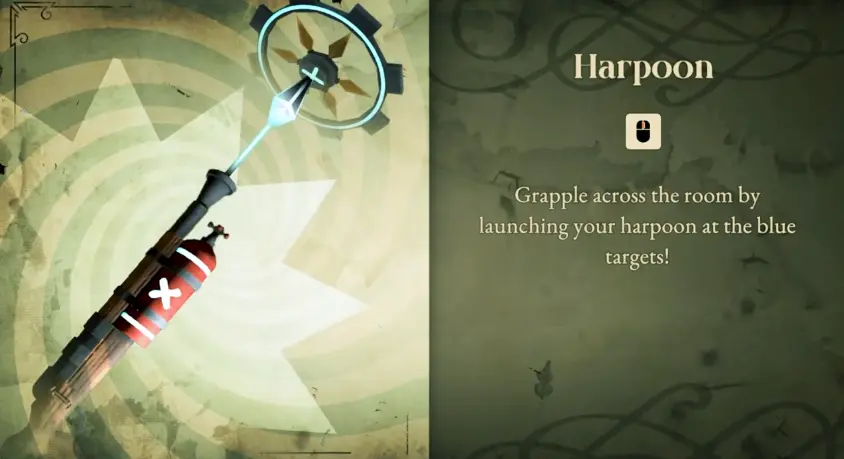
The reward chain then takes me into the Lobby basement progression and eventually gives me the Harpoon.
Shortly afterward, I obtain the Mermaid Palace Ticket.
That is how I know the first token cycle is complete:
Hotel
→ green token
→ Lobby
→ Harpoon
→ Mermaid Palace
If I have the Hotel token but am still wandering around upstairs, I return to the Lobby.
Sewer Twisted Token — Finish Mermaid Palace First
The next Twisted Token comes at the end of the Mermaid Palace / Sewer progression.
This one is easy to misread because the major Mermaid Palace puzzle appears earlier.
Opening the Crimson Pearl is not the end of this token route.
I still need to:
open the Crimson Pearl
→ obtain the Marble Magnum
→ survive the following fight
→ dive down
→ enter the Sewer
→ push through the spider section
→ reach the elevator.
The Valve Wheel and 1326 Crimson Pearl code are covered in the Mermaid Palace puzzle route.
For the token, I keep going until the Sewer itself is finished.
The Sewer Token Is Beside the Exit Route
After the spider run, I finally reach the elevator area and find another Twisted Token.
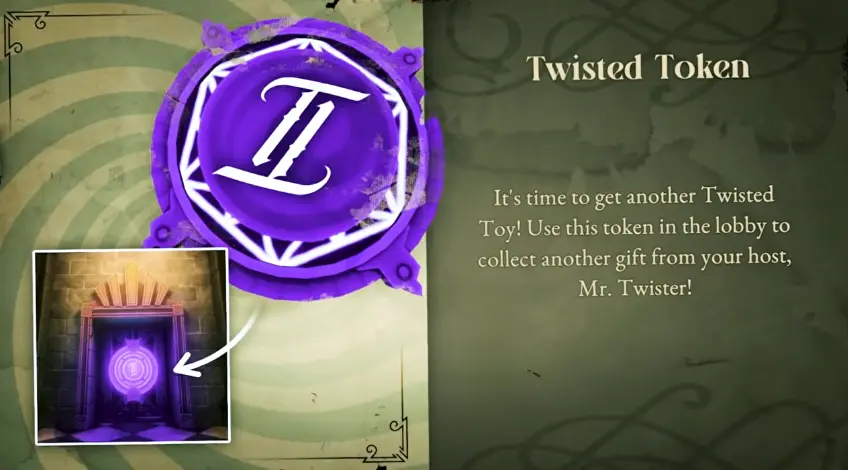
This is a useful progression check.
If I have opened the Crimson Pearl but have not found this token, Mermaid Palace is not fully finished yet.
I keep moving down through the Sewer.
Once I have the token, I stop.
Sewer Token → Fairy Wings
Back in the Lobby, the next important toy is the Fairy Wings.
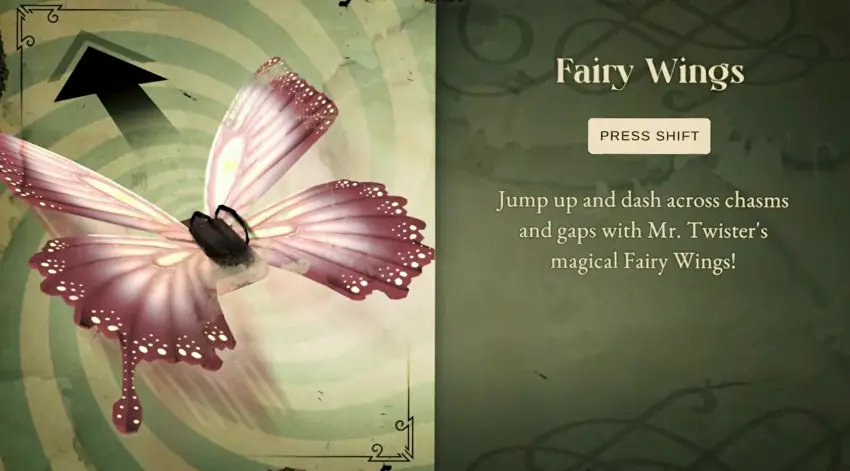
The Wings’ own instruction card gives me the practical mechanic:
press Shift after jumping to dash across chasms and gaps.
That is more important to me than simply thinking of them as a speed upgrade.
Once I have the Wings, I continue the Lobby route until the game sends me toward Clown Casino.
I do not immediately revisit every earlier platform just because I can move farther now.
The main story already gives me a new destination.
Clown Casino Twisted Token — Three Levers First
The Clown Casino token is different because I can identify its destination very early.
The game tells me to collect the Twisted Token from the clown’s mouth.
But I cannot simply walk over and take it.
The whole Casino progression exists to make that token available.
I use one number as my completion check:
3 levers.
If I have only activated one or two, I stay in the Casino.
Pressure buttons, the Bubble Gun, later keys, explosive doors and Giggle Coaster all feed into that larger three-lever sequence.
The complete mechanism route is in my Clown Casino puzzle guide.
Take the Casino Token Only After All Three Levers
Once all three lever indicators are active, the token becomes my next objective.
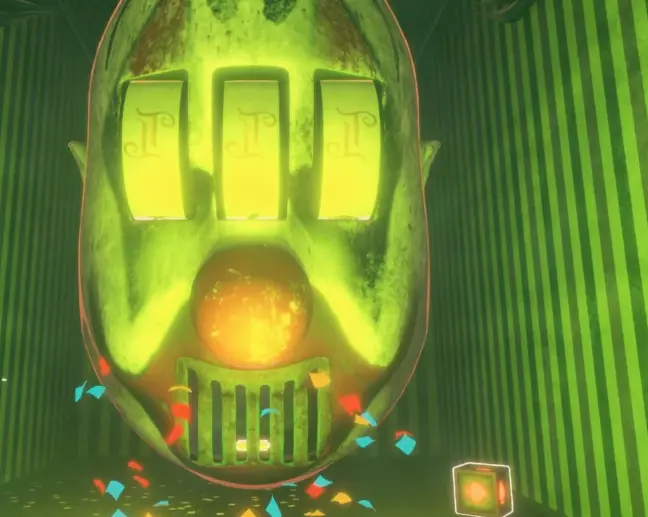
The moment I take it, I stop treating Clown Casino as the main progression area.
I head for the elevator and go back to the Lobby.
Casino Token → Bouncy Boots Progression
This return changes something I have been seeing since very early in the game:
the Lobby trampoline finally becomes usable.
Near the beginning of the story, I can stand beside that trampoline but cannot use it.
After finishing Clown Casino and returning with its token, I progress through the East Lounge and can finally bounce high enough to reach the new route.
Mr. Twister even comments on my new shoes before sending me outside.
That is the Bouncy Boots stage of the toy progression.
I do not need to test every old jumping spot yet.
The next main instruction is much clearer:
exit the Tower
→ cross the Beach
→ enter Fairground Forest.
Fairground Forest Twisted Token — Do Not Stop at the Maze
The Fairground Forest token comes much later in the area than the opening three-platform puzzle.
I first work through:
three platforms
→ carousel/combat progression
→ Sling Snipe
→ distant red target
→ later combat section
→ Ferris Wheel
→ Godmother Maze
→ return to Ferris Wheel
→ climb on top
→ get the key.
Only after that sequence do I reach the Forest token.
If I am stuck before then, the full route is in the Fairground Forest and Godmother Maze guide.
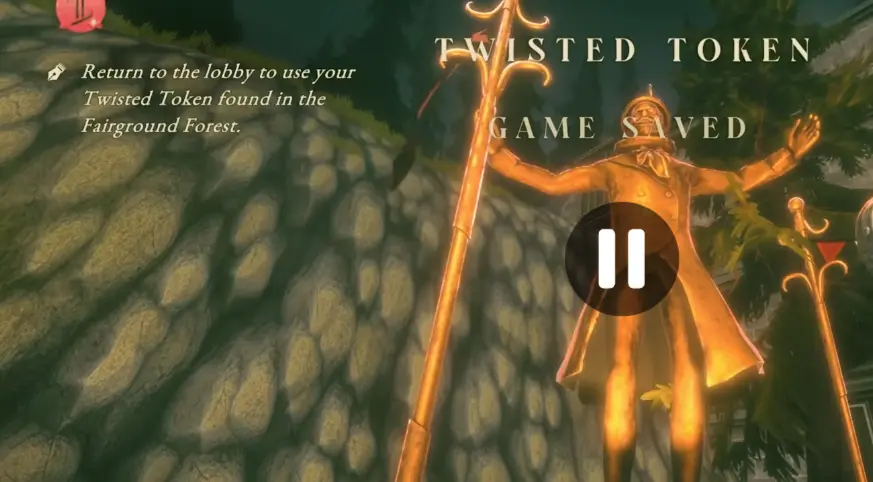
Again, the game tells me what to do:
return to the Lobby and use the Twisted Token found in Fairground Forest.
I listen to that instruction.
I do not stay outside looking for the Jet Pack just because Piper mentioned that I will eventually need one for Lightspeed Land.
The Fairground Forest Return Has One Extra Step
This is the point where the token chain is slightly less obvious than the earlier ones.
After returning to the Lobby, I do not immediately pick up the Jet Pack beside the elevator.
Instead, I notice a red token above me.
I already have the movement needed to reach it.
The same trampoline that was unusable early in the game is now part of the route.
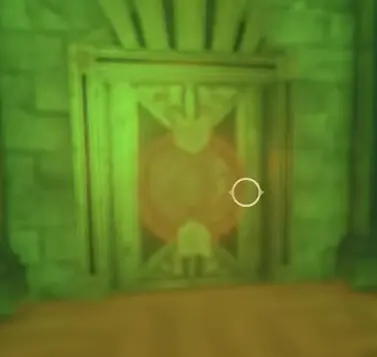
This is why I keep the red token as its own step.
I do not collapse the sequence into:
Fairground Forest token = Jet Pack
because that skips what I actually have to do in the Lobby.
My route is:
Fairground Forest token
→ return to Lobby
→ use trampoline
→ get the red token
→ enter the Bell Tower route.
Red Token → Bell Tower → Jet Pack
After reaching the red token, I continue into Lobby: Bell Tower.
This is the route that eventually leads me to the Twisted Jet Pack.
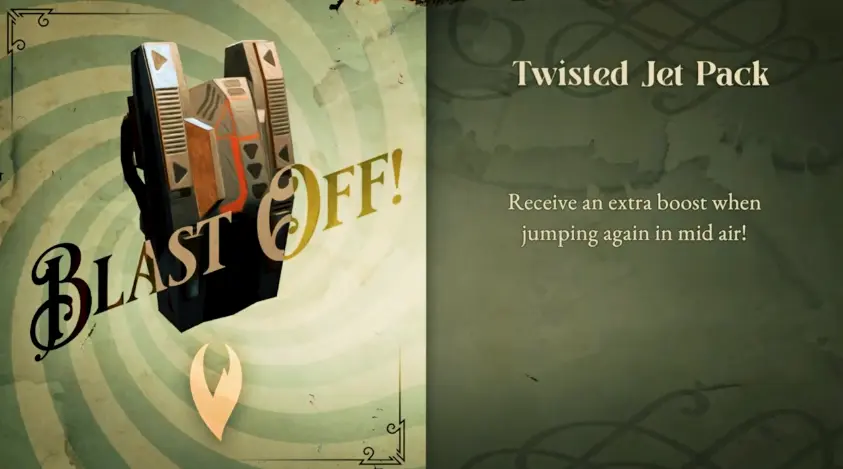
The Jet Pack instruction card tells me exactly what changes:
jump again in mid-air to receive an extra boost.
Piper had already warned me that I would need the Jet Pack to reach Lightspeed Land.
So once I get it, I stop searching the Bell Tower for another movement upgrade.
The next meaningful reward is the Lightspeedland Ticket, and then I can continue to Lightspeed Pass.
The detailed controls and practical uses of Harpoon, Fairy Wings, Bouncy Boots and Jet Pack stay together in my movement toys guide.
When I Return to the Lobby and When I Keep Going
The rule I use throughout the token chain is consistent.
If I am still solving the area’s main blocker, I stay.
That means:
- Hotel before the Honeymoon Suites progression is finished;
- Mermaid Palace before I get through the Sewer;
- Clown Casino before all three levers are active;
- Fairground Forest before the maze, Ferris Wheel and key sequence is complete.
Once I actually pick up the area’s Twisted Token and the objective sends me back to the Lobby, I leave.
I do not use “maybe there is one more main room” as a reason to delay the return.
That rhythm is what keeps my run moving:
finish the blocker
→ take the token
→ return to Lobby
→ use the new traversal progression
→ follow the next destination.