Final Chapter Walkthrough – Liber Ark & Axis Pillar
Cross Liber Ark, free the Capuas, climb Axis Pillar, reach the Core Sector, defeat Weissmann, and escape the collapsing city.
Updated:
Quick Answer
After the Arseille crash-lands on Liber Ark, use the ship as your base and explore east through the city. Open the underground route, use Kloe when the biometric lock blocks progress, then enter the Glorious and get a current security card from 2F toward the bow to free the prisoners. Return to the Arseille when the story calls you back, then climb Axis Pillar through Bleublanc → Walter → Luciola → Renne → Loewe before taking the large elevator down to the Core Sector.
The Final Chapter stops behaving like the regional investigations that carried most of the game.
Once the Arseille reaches Liber Ark, the route becomes one continuous endgame sequence. The early hours are about opening paths through the ancient city and dealing with the Glorious. After that, the structure becomes much simpler: climb Axis Pillar, clear the Enforcers blocking each stage, descend to the Core Sector, then survive the final battles and get out before the city collapses.
If the Arseille has not left Liberl yet, finish the Chapter 8 walkthrough first.
The Arseille Crash-Lands on the West Side of Liber Ark
The approach does not end with a clean landing.
The Arseille breaks through Society aircraft and gets past the Glorious, but a black Archaism attacks as the ship reaches the floating city. The party survives the crash, although the Arseille can no longer take off immediately.
The important positions are established right away:
the Arseille is on the westernmost side of Liber Ark, while the Glorious has landed on the eastern side.
Repairs begin on the Arseille, and Estelle’s group is sent out to secure a route through the city.
That is your first real objective. Do not wait on the ship for another departure sequence.
Arts and Orbments Work Normally Again
Chapter 8 trains you to expect trouble whenever the Zero Field Generator stops working, so the crash can make this moment confusing.
The Arseille’s Zero Field Generator has been disabled by the impact.
Your tactical orbments still work.
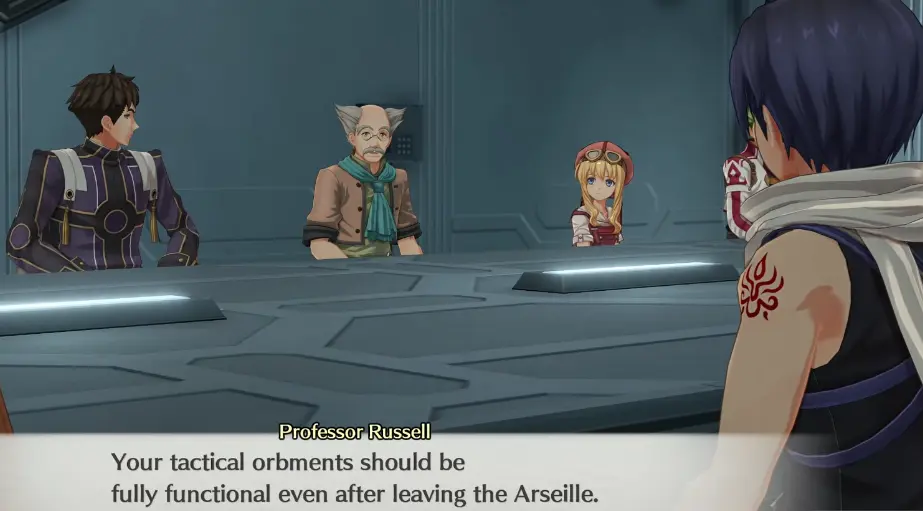
Liber Ark itself is not suppressing the party’s orbments the way the shutdown affected Liberl below. Arts are therefore available normally once you leave the ship.
The Arseille’s workshop also remains usable, so I use this first stop to fix obvious equipment or orbment weaknesses rather than preparing for another no-Arts section.
Open the Underground Passage to Reach the Other Sectors
The outdoor area around the crash site is large, but the main route does not require wandering across every visible platform.
Push forward until you reach the gate leading below the surface.
Once opened, the party identifies the underground passage as part of Liber Ark’s transportation network. It links the different sectors of the city and becomes the route you use to move away from the western crash site.
The huge tower visible in the distance is important, but you are not ready to enter it yet.
For now, follow the underground route.
Use Kloe When the Biometric System Stops You
One of the first hard blockers is a biometric terminal.
The surrounding rooms do not contain a password that bypasses it, and repeatedly checking the terminal does not change anything.
The party eventually reaches the key realization: access is tied to people who belong to Liber Ark’s original population.
That makes Kloe the person you need.
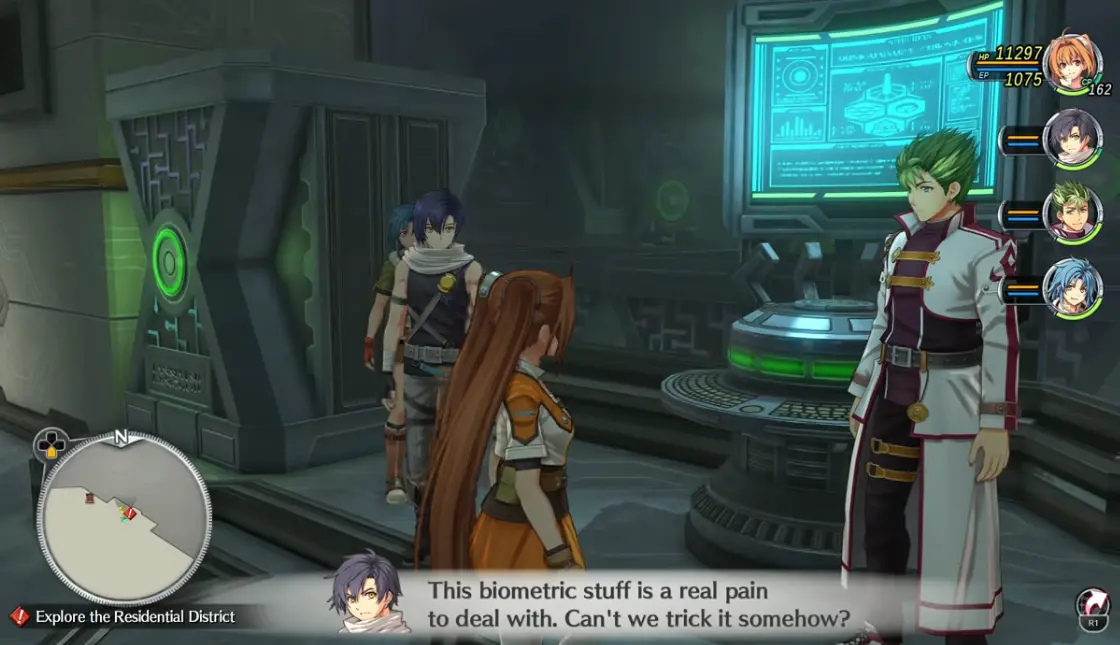
Bring Kloe when this route requires her and continue once the system accepts the authentication.
Do not spend time combing earlier rooms for a security card. That is a different blocker later in the chapter.
Follow the Route Until You Meet Josette
Further east, the party reaches the Bobcat and reconnects with Josette.
Kyle, Don and the rest of the crew are missing.
Josette explains that the Society captured them after Jaegers arrived, and Joshua concludes that the prisoners are most likely being held aboard the Glorious.
That changes the immediate destination.
Keep pushing east until you can board the Society’s ship.
Reach the Prisoners on the Glorious
The Glorious is familiar from Chapter 6, but this time the objective is different.
You are not trying to escape it.
You are trying to reach Kyle, Don and the captured Capua crew.
Eventually the party finds them behind an energy barrier.
At that point, attacking the cell or looking for a stronger explosive will not help.
The barrier has to be opened through the ship’s security system.
Get the Security Card from 2F Toward the Bow
Joshua explains that the previous card he used is no longer valid.
You need a current one.
Its location is specific:
Glorious 2F, toward the bow, near the room where Joshua was held before.
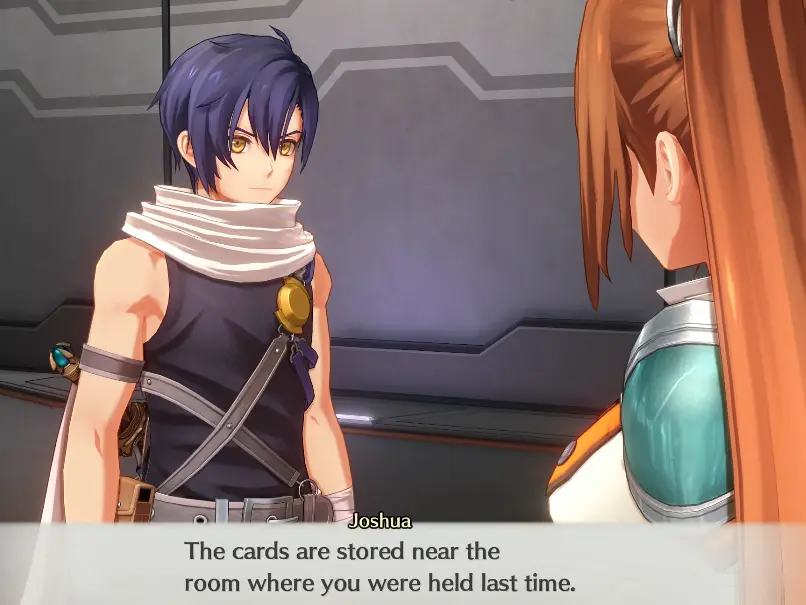
From the prisoner area, head back toward the entrance and use the elevator on the opposite side to reach the second floor.
Find the card, then return to the prisoners and use it at the terminal.
Once the barrier is gone, the rescue is complete.
You do not need another card for a second prisoner group.
Finish the Julia and Mueller Battle When Control Switches
The story briefly moves away from Estelle’s party during the Liber Ark route.
When control switches to Julia and Mueller, clear the required battle and let the sequence finish.
There is no route decision or separate puzzle to solve during this section.
Once it ends, return your attention to the main party’s advance through Liber Ark.
Head for Axis Pillar After the City Route Is Cleared
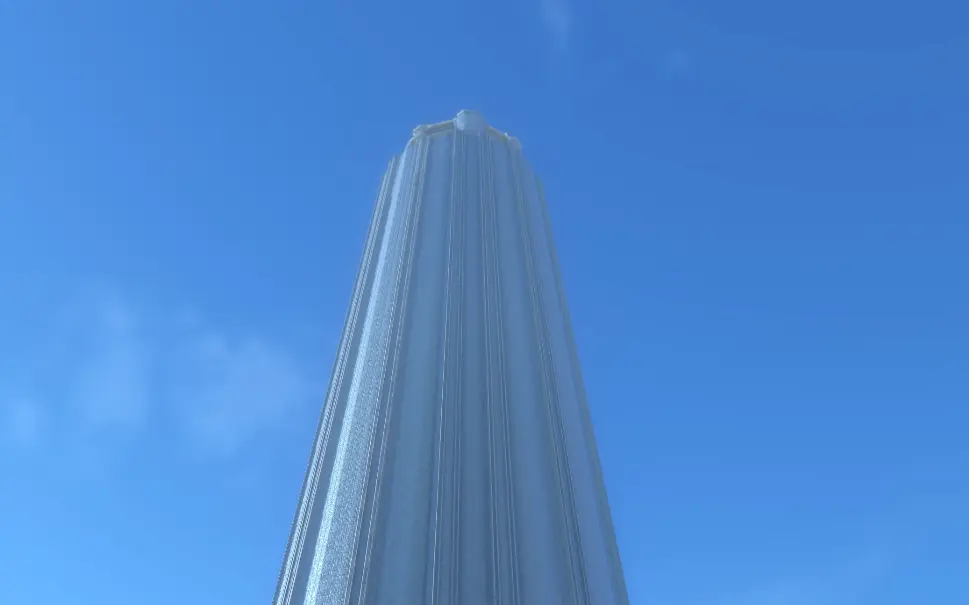
The massive tower visible since the crash is Axis Pillar.
Before entering, the story sends the group back to the Arseille for an operations-room briefing.
Use that return trip.
The next section stacks several major fights with much less wandering between them, so this is a better place to make serious upgrades than the first minutes after the crash.
I restore the party, finish important weapon and orbment upgrades, refill recovery supplies, and choose the characters I want for the climb.
If I am still checking completion requirements, I also look at the achievement requirements here rather than waiting until after the final battles.
Axis Pillar Boss Order
Axis Pillar is a vertical progression sequence.
The required Enforcer order is:
Bleublanc → Walter → Luciola → Renne → Loewe.
The important part is what happens after each fight.
The Enforcers are positioned around terminals controlling access higher in the tower. When a boss is finished, deal with the terminal before searching for another route.
Bleublanc Guards the First Terminal
Bleublanc is the first major blocker.
He tells the party exactly what the device beside him does:
the terminal locks the gate to the uppermost floors of Axis Pillar.
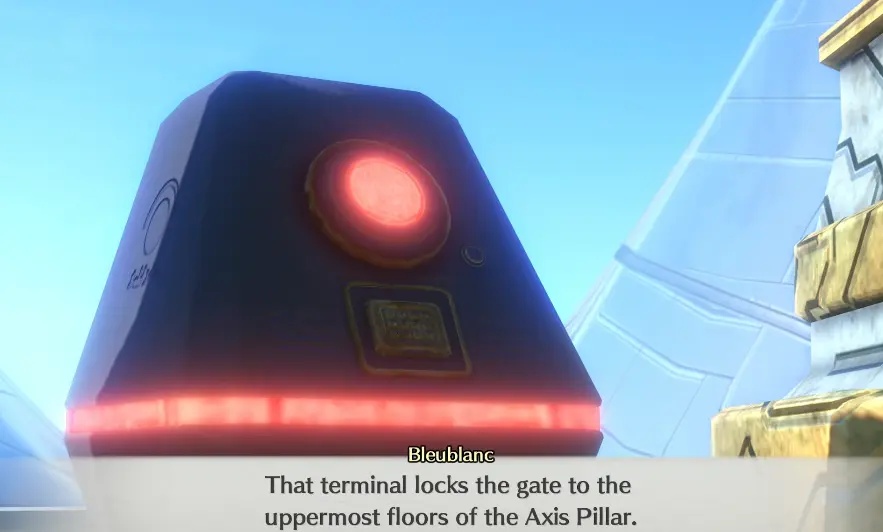
After the battle, use the terminal.
Do not leave the area before doing that, because the next part of the tower will remain blocked.
Walter Is the Next Forced Fight
Continue climbing until Walter appears.
Jyn’s confrontation with him takes over the scene, but the progression requirement is simple: finish the fight and let their story sequence play out.
When Walter is down, the party returns to the terminal.
Use it and continue upward.
There is no second Walter battle hidden on the same level.
Luciola Blocks the Third Stage
The next Enforcer is Luciola.
Sherazard is central to the confrontation, and the fight again leans on the illusion and status effects associated with Luciola.
Keep recovery ready for lost turns and disrupted characters rather than trying to solve the fight entirely through raw damage.
Once the battle and its story sequence finish, handle the terminal and keep climbing.
Renne Comes Before Loewe
Renne is the fourth Enforcer in the Axis Pillar sequence.
By this point the pattern is established, so there is no reason to return to another part of Liber Ark after her fight.
Finish the encounter, use the terminal, then continue toward the top.
The next confrontation is the one Joshua has been expecting.
Prepare Before Fighting Loewe
Loewe is the last Enforcer between the party and the Core Sector.
The game warns you before the confrontation, and that warning is worth taking seriously.
I go in with the party fully restored rather than saving ordinary healing for later. There is still a final boss afterward, but carrying unused common recovery items through a fight this demanding does not help.
Once the group fight finishes, Joshua and Loewe’s confrontation continues through the story.
The key result for progression is that Loewe is defeated and the route deeper into Liber Ark finally opens.
Take the Large Elevator Down to the Core Sector
Weissmann intervenes after the Loewe sequence and regains control over Joshua.
This is scripted.
No accessory, dialogue choice or alternate party setup prevents it.
Weissmann then leaves for the Core Sector.
Loewe points Estelle toward the next route:
the large elevator at the back of the area.
Take it down.
The elevator descends far below Axis Pillar into the center of the floating city.
Once you reach the Core Sector, use the last rest point before proceeding.
This is the point where I spend whatever normal recovery or preparation resources I was still saving for a later dungeon. There is no separate region after this.
Joshua’s Control Sequence Is Part of the Story
Weissmann orders Joshua to turn against Estelle.
You cannot interrupt the sequence with a combat action.
Let it play.
Joshua had already prepared for the possibility that Weissmann would activate the stigma again, and the plan eventually allows him to break free.
The important gameplay result is simple:
Joshua returns to the party and the Weissmann battle begins.
There is no missed choice if you reached this scene and temporarily lost control of him.
Defeat Weissmann’s First Form
The opening Weissmann fight behaves like a normal boss battle.
Keep the party stable and finish the phase.
Do not empty every rare resource at the first sign of trouble, because the fight does not end when Weissmann goes down.
He merges with the Aureole and changes form.
That is when the unusual mechanic begins.
Angel Weissmann’s Barrier Makes Early Attacks Ineffective
The transformed boss initially appears to ignore the party’s attacks.
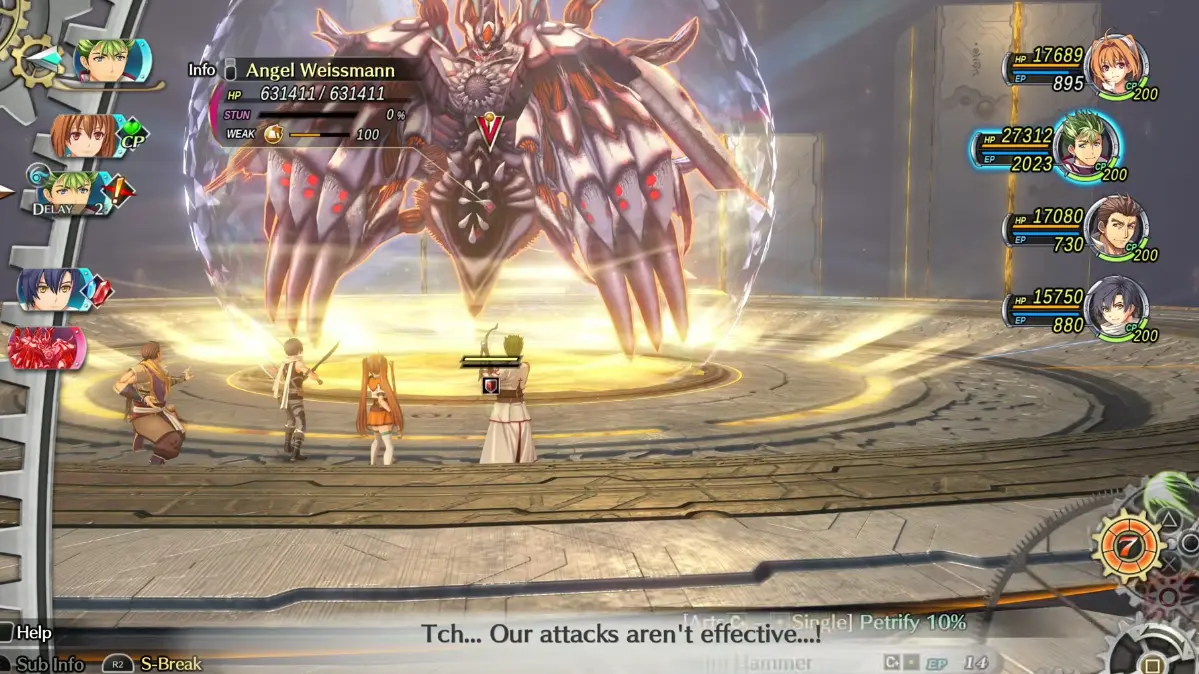
This is not a sign that you equipped the wrong quartz or entered the battle underleveled.
The barrier is supposed to stop normal damage at this point.
Loewe eventually breaks the barrier and creates the opening the party needs.
From there, the battle becomes a real damage fight again.
Attack When the Barrier Is Down
Once the scripted barrier has been broken, pay attention to the boss’s defensive state.
When the barrier is active, stabilize the party rather than wasting the strongest actions into protection.
When the game signals that the barrier has lifted, push damage before Weissmann recovers.
This final stretch is where strong healing and revival items are meant to be used.
There is no harder story dungeon waiting after the Core Sector.
Finish the battle.
The Aureole Disappears and Liber Ark Starts Collapsing
Defeating the final form removes the Aureole from the city.
That solves the shutdown problem, but it creates another one immediately.
Liber Ark was being sustained by the Aureole.
Without it, the entire structure starts falling apart.
The party begins evacuating through Axis Pillar.
Do not stay behind looking for post-boss treasure or another hidden terminal.
The next objective is escape.
Kevin Handles Weissmann After the Final Battle
Weissmann survives the main battle sequence long enough for one last confrontation.
Kevin stays behind and deals with him.
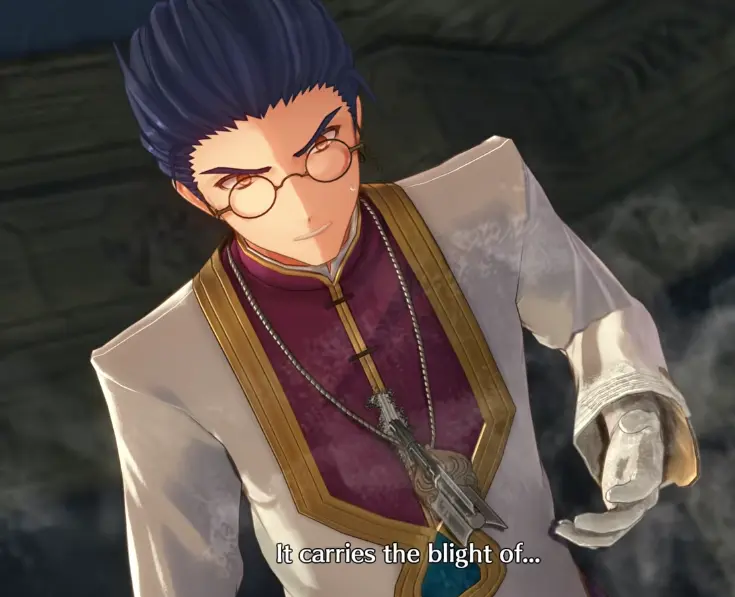
There is nothing the player needs to trigger here.
Let the scene finish and continue the evacuation.
Use the Emergency Evacuation Tunnel When the Route Collapses
The escape does not remain straightforward.
A collapse cuts Estelle and Joshua off from the others, and the normal Axis Pillar route becomes unusable.
Jumping the gap is not possible.
The way out is a route the party noticed earlier:
the emergency evacuation tunnel in front of Axis Pillar.
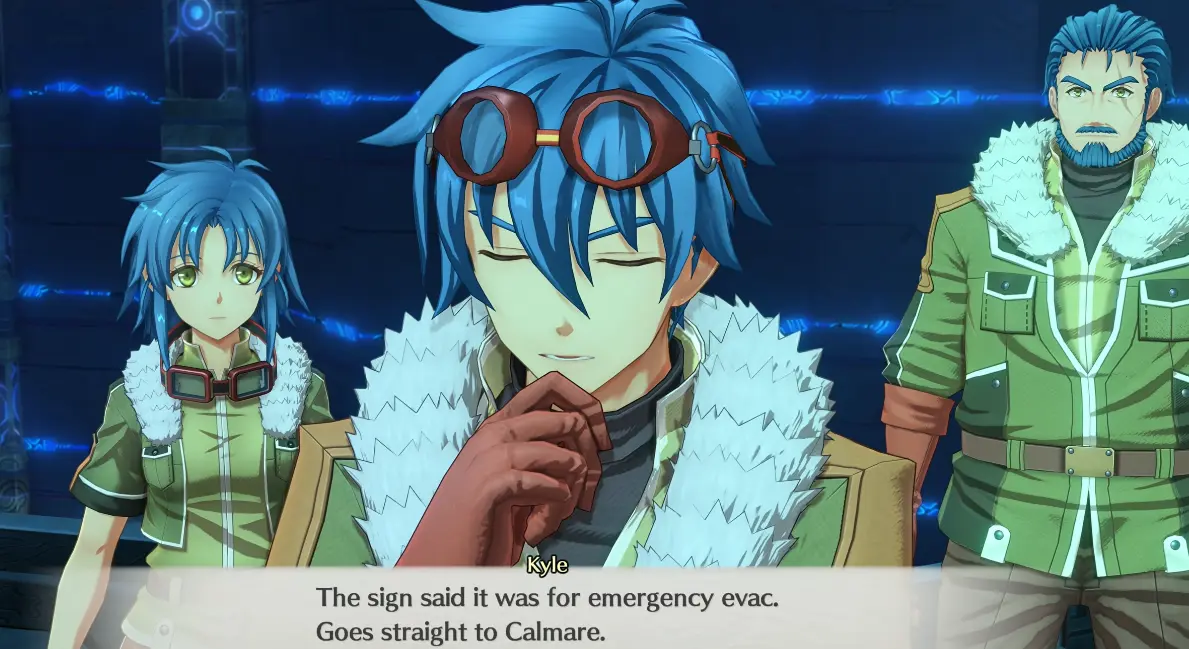
The city’s disaster system has unlocked the gate.
Backtrack toward the front of Axis Pillar and enter that tunnel.
Do not keep trying to cross the broken main route.
There is still combat during the escape, but the objective is no longer exploration. Keep moving toward the exit while the city is failing around you.
Once Estelle and Joshua make it through the evacuation route, the dungeon portion of the Final Chapter is over.
The remaining scenes close out Liber Ark, the Orbal Shutdown, and their journey together.