Chapter 7 Walkthrough – The Tetracyclic Towers
Clear all four Shadow Towers, handle their traps and Enforcer fights, survive Pater-Mater, then follow the Beta Gospel plan to the Aureole.
Updated:
Quick Answer
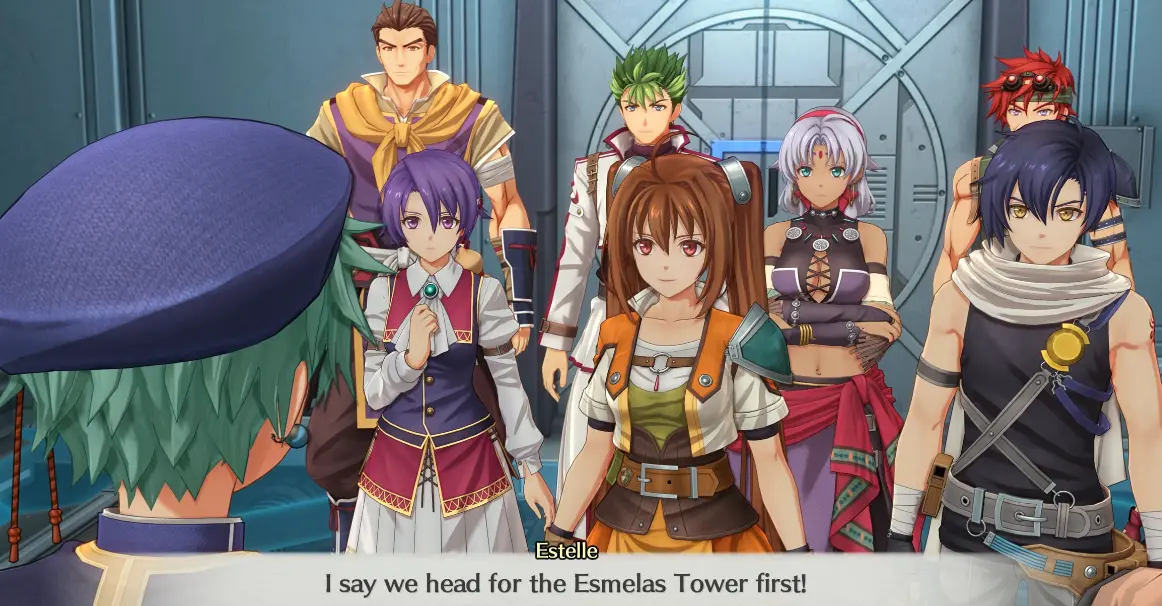
Take the Arseille to Esmelas Tower first, then clear the remaining Shadow Towers one at a time and return to the ship after each tower reverts. The sequence leads through Blueblanc, Walter, Luciola, and Renne at Amberl Tower. After the fourth tower, stay aboard the Arseille, wait for Professor Russell’s analysis, then go to the forward deck when Weissmann contacts the ship.
Chapter 7 finally stops sending the party from one regional incident to another. Four Tetracyclic Towers are active at the same time, dark distortions hang over them, patrol ships lose their orbal systems when they approach, and individual Enforcers are strong enough to drive off the army’s ground teams.
That changes the job completely. The Royal Army asks the Bracer Guild to handle the towers and lends the Arseille for transport, turning the chapter into a repeated operation:
fly to a tower → enter the distorted interior → reach the Enforcer at the top → let the tower revert → return to the Arseille.
The order is not based on which tower looks closest on the map. Intelligence already identifies Blueblanc at Esmelas, so the party begins with the one target it understands.
If Joshua has not returned to the group yet, finish the Chapter 6 walkthrough first.
For an A-Rank run, Chapter 7 has no bonus-BP dialogue or battle condition to protect; the broader totals remain in the BP and quest guide.
Esmelas Tower Comes First Because Blueblanc Is Already Confirmed
Before departure, Professor Russell asks where the operation should begin.
Amberl and Carnelia are geographically closer, but the Arseille is fast enough that travel distance is not the useful deciding factor. Scouts approaching Esmelas Tower saw a masked man in white, which gives the party a confirmed Enforcer instead of a guess.
That makes Esmelas the first stop.
Once the Arseille reaches the Rolent region, enter the tower.
Do not expect the inside to resemble the Esmelas Tower you already know.
The Shadow Tower Interior Is a Different Space
The first climb establishes the rule that applies to all four towers.
Crossing the entrance triggers a form of spatial translocation. The familiar tower interior disappears and the party finds itself in a distorted space of floating paths, night-sky scenery and disconnected platforms.
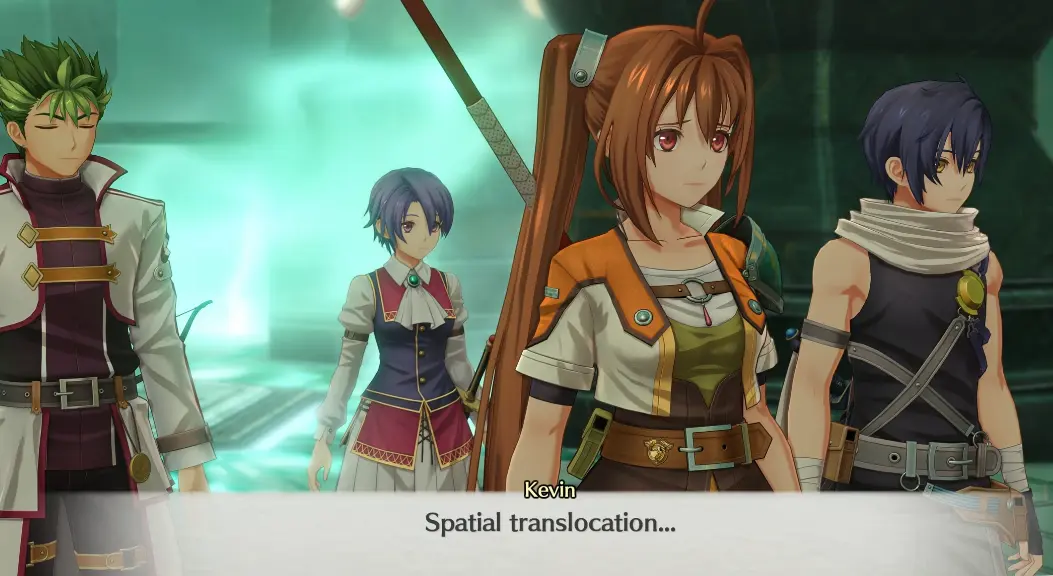
The change is dramatic enough to make it look as though you have entered the wrong area, but there is no alternate entrance to find.
Follow the available paths upward.
The strange geometry is part of the route.
Cross the Electrical Hazard Instead of Searching for a Switch
Esmelas introduces an electrical trap partway through the climb.
The party’s reaction gives away the solution: move through it quickly.
There is no nearby control panel you need to disable first, and waiting inside the affected section only adds unnecessary damage.
Use the rest point near the upper section if the climb has worn the party down, then continue to the rooftop barrier.
Blueblanc Uses Clones and Shadows at the Top
The rooftop still exists inside the distorted space, but Blueblanc is waiting there behind the barrier.
His fight is built around copies, shadows and misdirection rather than the direct pressure you will see later from Walter.
The most useful adjustment is keeping at least one reliable wide-area option available. Once the copies start making target identification uncertain, area attacks can pressure the field without spending an important turn guessing which Blueblanc is real.
After the fight, Blueblanc leaves and the distortion disappears.
The tower returns to its normal state, but the Society’s device is still sitting on the rooftop.
The First Beta Gospel Shows That the Tower Reverting Is Not a Failure
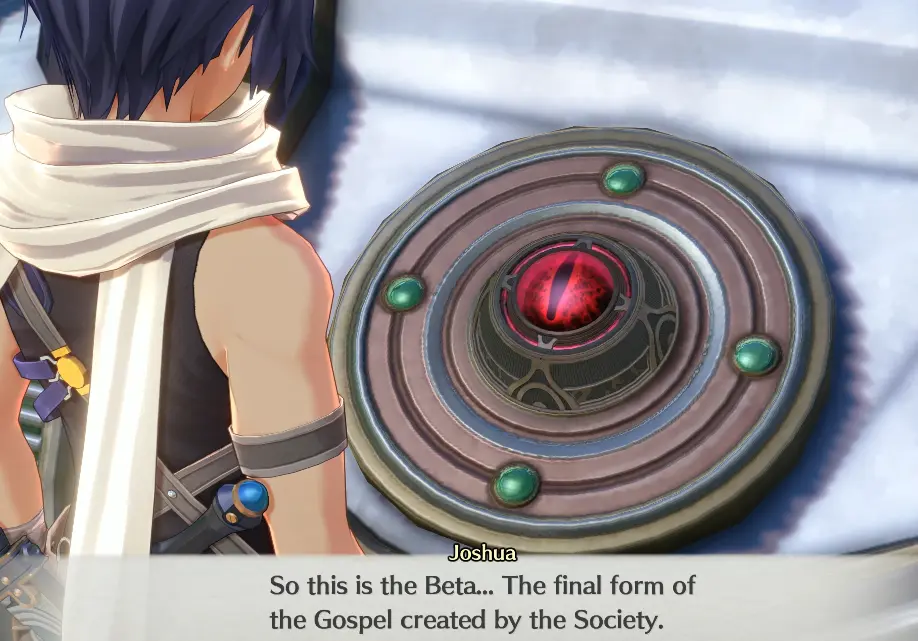
The device left behind is much larger than the earlier Gospels.
The party identifies it as a Beta Gospel, the completed form of the technology the Society has been refining through the earlier chapters.
There is nothing else to unlock at Esmelas after this.
Once the rooftop is normal again, return to the Arseille and report what happened.
The chapter repeats this return-to-ship rhythm after the next towers as well.
Carnelia Tower Brings Jyn Into Walter’s Fight
The next destination is Carnelia Tower.
Jyn asks to join because Walter is waiting there, turning this climb into the confrontation that has been building between the two of them.
The military forces nearby already have their own battle under control. You do not need to clear the surrounding battlefield before entering the tower.
Inside, the same Shadow Tower rule applies, but Carnelia uses a different layout and a different environmental hazard.
Move Through the Fire Trap
Carnelia replaces Esmelas’s electrical section with fire.
Again, the obstacle is not asking for a hidden disable mechanism. The party recognizes that standing around only makes things worse, so the practical answer is to find the route through and keep moving.
Recover once you reach a safe section rather than burning resources while still inside the hazard.
Walter is waiting at the top.
Walter Starts the Fight With Steel Cougars
Walter opens by bringing Steel Cougars into the battle.
Unlike Blueblanc, he does not rely on confusing the party about what is real. The pressure here is physical and direct, and the fight eventually narrows into the history between Walter and Jyn.
The important point is that the later one-on-one tension is scripted into the encounter.
There is a stage where the rest of the party cannot simply interrupt and settle things for Jyn. Let that sequence play out rather than treating the lack of intervention as a missed command.
Kilika eventually arrives, and the old relationship between all three characters finally comes into the open.
When Walter leaves and the tower reverts, return to the Arseille.
The Third Tower Belongs to Sherazard and Luciola
The third tower shifts the focus to Sherazard.
By now she knows Luciola is waiting somewhere among the remaining towers, and there is no path around that confrontation.
Use the rest point before the rooftop if the climb has drained the party, then continue until Luciola appears.
She summons yin-and-yang spirits through her own style of Eastern talisman magic.
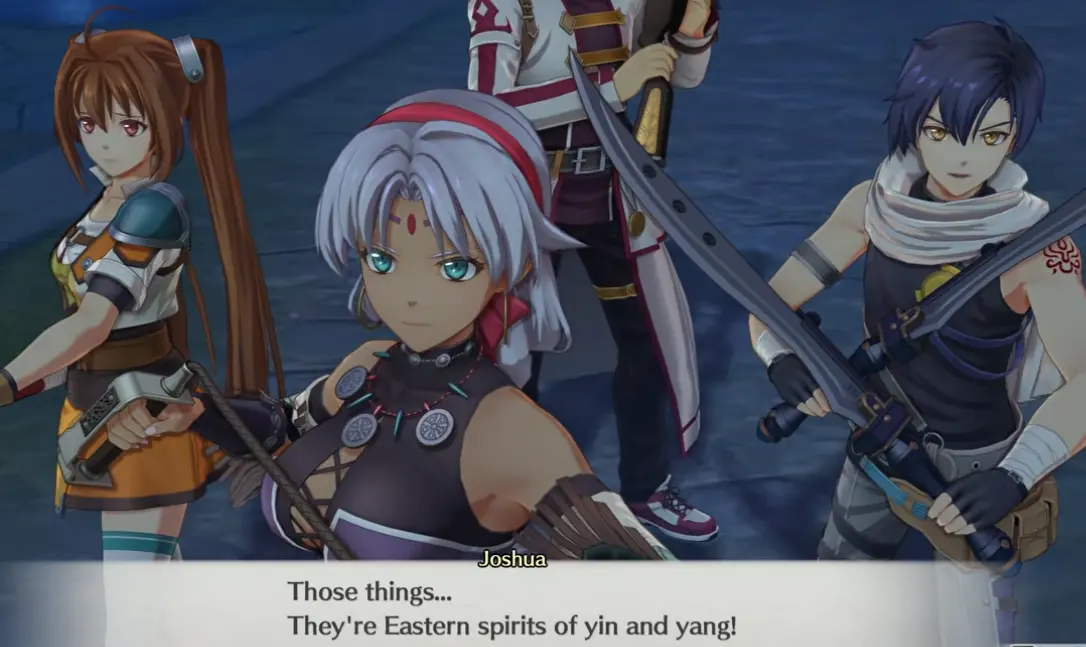
The real complication is not simply that there are extra enemies. Luciola can interfere with turns through status effects while the spirits keep adding actions of their own.
I prioritize getting disabled characters functioning again first. If the spirits are creating too many incoming turns, reduce their numbers rather than trying to ignore the entire field until Luciola falls.
Sherazard remains the center of the encounter. She makes Luciola promise to explain herself if Sherazard can prove her strength.
After the fight, Luciola keeps that promise and reveals part of the truth surrounding Mr. Harvey and the old circus troupe.
There is no second hidden boss behind the conversation.
Once the tower begins reverting, the group confirms that three towers are finished.
Return to the Arseille for the final operation.
Amberl Tower Is Last
Reconnaissance over Amberl Tower reports a girl carrying a huge scythe.
The identity is obvious:
Renne.
Joshua also knows what she may bring with her. Renne controls Pater-Mater, the enormous tactical-class Archaism associated with her, so the final tower is not likely to end with an ordinary Enforcer fight.
Amberl adds one more environmental hazard before you reach her.
Do Not Stay Inside the Toxic Gas
The party eventually realizes that part of the Shadow Tower is filled with toxic gas.
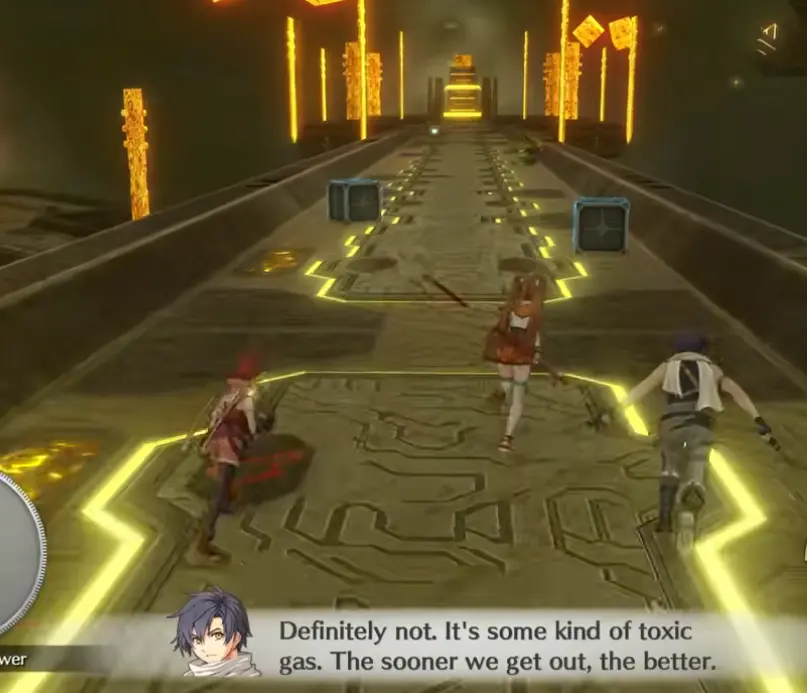
This is not a place to deliberately farm every optional encounter.
Push through the gas, restore the party once the route gives you breathing room, and continue toward the top.
Renne is waiting there.
Renne’s Fight Has a Second Stage
Estelle tries to reach Renne through conversation, especially now that Joshua is back, but the confrontation still turns into battle.
The opening stage is Renne with additional enemies on the field.
Once those helpers are gone, the encounter changes completely.
Renne calls Pater-Mater.
That is the point where the final tower stops behaving like the previous three.
Low Damage Against Pater-Mater Is Expected
Pater-Mater’s armor is far beyond the normal Archaisms encountered earlier in the chapter.
There is a point where the party explicitly notices that its attacks are barely doing anything.
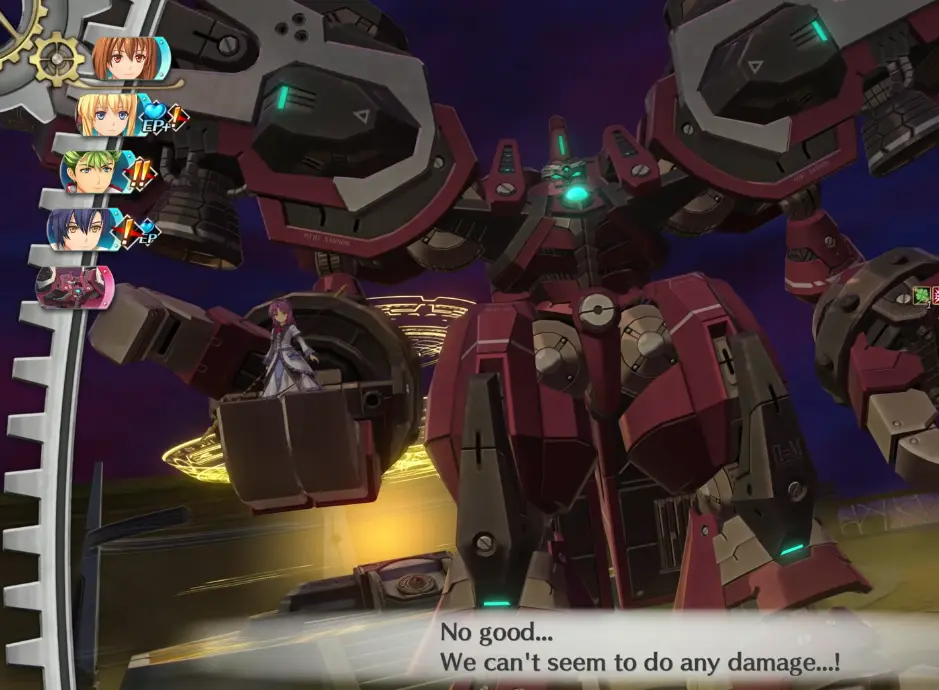
Do not reload because the damage suddenly looks wrong.
You have not missed a required switch, weapon or environmental interaction.
Amberl is the final tower of Chapter 7, so I am willing to spend normal healing and revival items here rather than lose the fight while protecting a stockpile. I still keep genuinely rare late-game resources in reserve when possible because the story is far from over after this chapter.
Eventually the encounter reaches its conclusion and the tower starts reverting.
Renne then reveals the detail that changes the meaning of all four victories:
the Professor told her to return once the Beta process was complete.
The towers returning to normal was part of the plan.
The Four Towers Were Never Meant to Stay Distorted
After Amberl, all four Tetracyclic Towers look normal again.
The surrounding Archaisms and armored beasts are being contained, so the situation briefly resembles a successful cleanup operation.
Professor Russell’s analysis proves otherwise.
Return to the Arseille and wait for him to finish examining the data crystals gathered from the towers.
His conclusion explains both the strange interiors and the Beta Gospels.
The Tetracyclic Towers Were Sealing the Aureole
The four towers are part of a much older system.
Their purpose was to keep the Aureole sealed in another dimension.
That also explains why the Shadow Tower interiors did not match the physical buildings.
The distorted spaces were tied to the same dimensional system containing the Aureole.
The Gospels were not simply producing isolated effects anymore.
The completed Beta versions were functioning as terminals connected to that system.
Before the group can respond, Weissmann contacts the Arseille.
Go to the Forward Deck When Weissmann Calls
Weissmann interferes with the ship’s information systems, but he does not seize control of the Arseille.
He wants everyone to see what the four activations accomplished.
His instruction is direct:
go to the forward deck.
There is no fifth tower to investigate and no hidden control-room step aboard the ship.
Go forward and look outside.
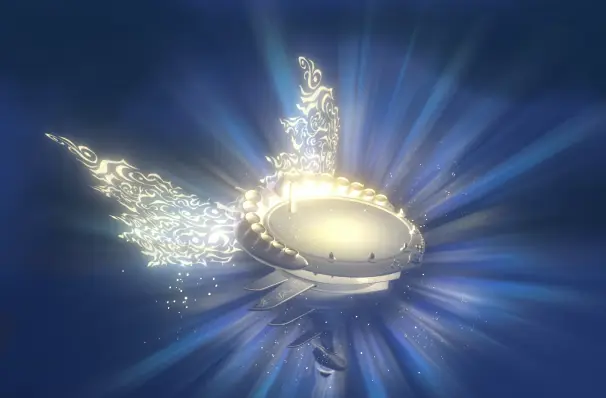
The enormous structure appearing in the distance is the result of the entire tower operation.
The Society’s earlier Gospel experiments were steps toward creating terminals capable of interacting with the Aureole’s seal. Once all four Beta installations completed their work, the third phase of Weissmann’s plan was finished.
That is why Blueblanc, Walter, Luciola and Renne never behaved as though losing their tower fights meant the operation had failed.
They only needed enough time for the activation to complete.
Chapter 7 ends with the Aureole fully visible and the scale of the next crisis finally clear.