Chapter 2 Walkthrough – The Raging Land
Follow Chapter 2 from Zeiss through the earthquake investigation, Elmo Village, the hot spring source cave, and the Abyss Worm fight.
Updated:

Quick Answer
After landing in Zeiss, report to the Bracer Guild, reconnect with Professor Russell and Tita, and keep advancing the earthquake investigation until the three measuring points identify Elmo Village. At Elmo, get the pump shed back-door key, enter the hot spring source cave, then continue until you reach Walter and the Abyss Worms.
Coming out of Chapter 1, Chapter 2 changes the pace completely. Ruan was a witness hunt; Zeiss gives you a technical investigation where the next destination only becomes obvious after enough measurements have been collected.
That is the main reason this chapter can feel less direct than it actually is. The story keeps moving between tremor reports, Russell’s equipment, and Guild updates before it finally narrows the problem down to one location.
This route follows the Scherazard branch through Chapter 2. Party-specific scenes can differ, but the earthquake investigation, Elmo sequence, and chapter-ending route stay centered on the same objectives.
Report to the Zeiss Bracer Guild After Landing
The first earthquake hits almost as soon as the party arrives at the Zeiss landing port.
Do not start searching the city for an epicenter yet. The tremor is the introduction to the chapter, not a signal that the answer is somewhere beside the airport.
Go straight to the Zeiss Bracer Guild.
The reports coming into the branch make one thing clear: earthquakes like this are not normal in Liberl.
That gives the Guild a reason to treat the incident as an investigation rather than a random natural disaster. Follow the story from the branch until the party reconnects with Professor Russell and Tita.
If you are protecting an A-Rank run, Chapter 2 also contains several bonus-BP checks and a quest that appears after the main chapter events. The exact choices and thresholds are listed in the BP and quest guide.
Russell Needs Data From Three Measuring Points
Russell’s equipment turns the investigation from scattered eyewitness reports into something measurable.
The important progression goal here is not a specific monster or dungeon. You need to keep advancing the earthquake checks until three measuring devices are contributing enough data for Russell to compare what is happening underground.
That means some backtracking around Zeiss is intentional.
Once the monitoring network is active, stay with the analysis instead of assuming you should immediately return to the Guild.
The next major tremor gives Russell the evidence he needs.
The Leiston Reading Changes the Investigation
The equipment detects a major disturbance around Leiston Fortress.
The useful discovery is not simply that an earthquake happened there. Russell sees that the underground septium flow was disturbed before the tremor itself.
That means something is manipulating the septium veins and concentrating their energy strongly enough to create a localized earthquake.
From this point onward, you are no longer searching for a natural geological epicenter.
Russell compares the three sets of measurements and traces the disturbance toward Elmo Village, near the Steam Springs.

Once Elmo is identified, leave Zeiss.
The investigation has already done the work of narrowing the search area for you.
Go to Elmo Village With Tita
Tita joins the trip because the group is no longer just investigating reports; the next stage may involve machinery or orbment technology.
Travel to Elmo Village and speak with the people at the inn.
The Steam Springs immediately provide the next clue: the water has become far hotter than normal.
That moves the investigation from the village as a whole to the system feeding the hot springs.
The next thing you need is easy to miss if you head outside too quickly:
the pump shed back-door key.
Get the Pump Shed Key Before Searching the Springs
The hot spring source is not reached through the normal front route.
You need the key that opens the back door on the left side of the pump shed.
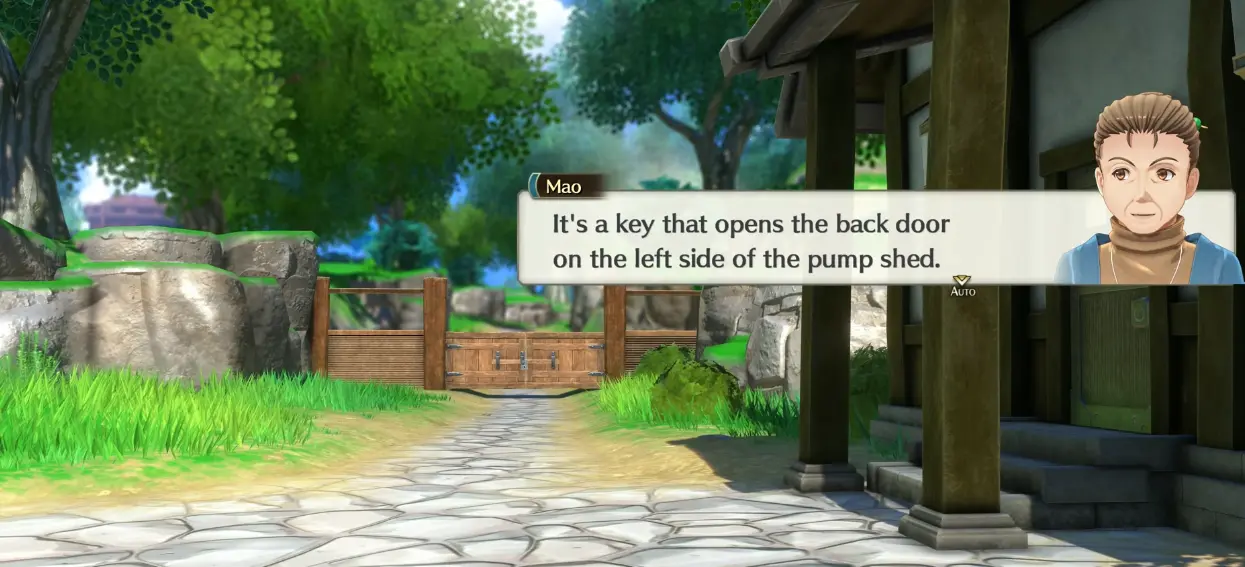
Once you have it, stop searching the rest of Elmo for another story trigger.
Go to the pump shed, use the back entrance, and continue into the source cave.
Follow the Hot Spring Source Cave to the Disturbance
The cave is the final exploration section of the earthquake case.
There is no second village objective hidden inside it. Keep moving deeper until the party starts seeing the abnormal energy tied to the septium veins.
This is also the point where I make sure the active party is recovered. The cave ends in a boss sequence, so reaching the final area with badly depleted HP or EP only creates an avoidable problem.
Treasure along the way is worth taking if it is on your route, but the real landmark is the point where the underground disturbance becomes visibly unnatural.
Walter is waiting at the source.
Walter Is Using a Gospel to Disturb the Septium Veins
Walter confirms that the earthquakes were deliberate.
The Society has placed a stake-like device into the septium vein, then connected the experiment to a Gospel. The Gospel extends the effect far beyond the immediate cave, allowing the disturbance to produce earthquakes across the Zeiss region.
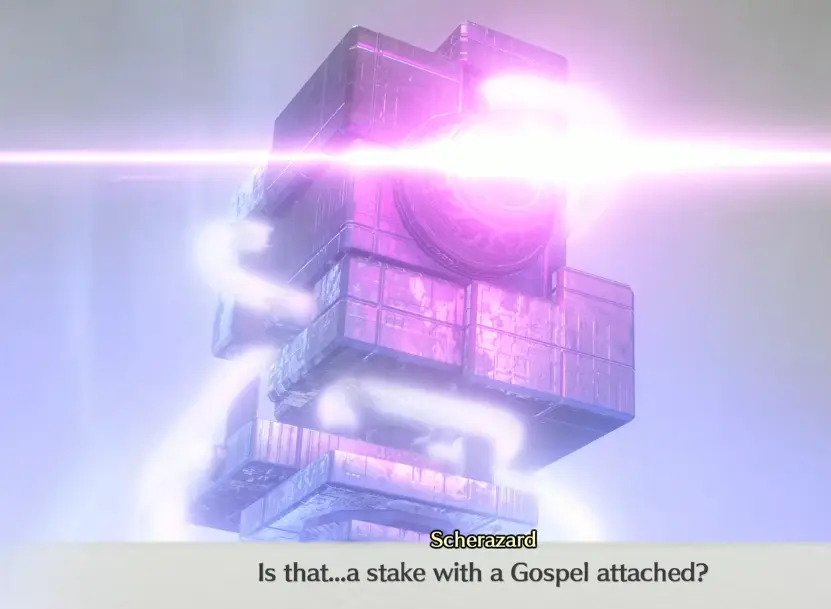
Walter himself is not the normal boss fight here.
After explaining enough of the experiment to make its purpose clear, he leaves the party with Abyss Worms affected by the disturbed veins.
Abyss Worms – Do Not Trigger Several Retaliations at Once
This fight becomes dangerous when damage is spread carelessly across the whole group.
The worms can answer attacks with earthquake-like retaliation, so repeatedly clipping several of them with broad damage can create more incoming pressure than the party needs to handle.
I keep the number of active damaged worms low.
Choose one target, push it toward defeat, then move to the next instead of rotating attacks across the entire field.
Strong single-target Crafts and Arts are useful when they help remove a worm before another round of retaliation.
Wide-area damage is less attractive here unless it actually finishes multiple targets. Hitting everything without killing anything can make the next exchange worse.
There is no need to hoard every recovery item for a later chapter. Use what you need to keep the party stable through the fight, especially once several worms have already acted.
After the Abyss Worms fall, the confrontation with Walter continues as a story scene rather than a normal second boss phase.
Jyn and Kloe Interrupt the Walter Confrontation
Walter remains far beyond what the party can simply settle in a straightforward fight at this point.
The situation changes when Jyn and Kloe arrive.
Walter eventually withdraws with the Gospel, and the artificial disturbance affecting the septium veins begins to settle.
The important result is that the earthquake experiment has ended.
There is no second hidden epicenter to find after this scene.
Return to Zeiss.
Report Back in Zeiss Before Leaving for Grancel
Once the group gets back, Russell and the Central Factory can handle the technical follow-up on the device and Gospel.
The main story is already moving elsewhere.
A new request has arrived from the Grancel Guild, connected to the Royal Army, and Estelle is specifically wanted in the capital.
Before boarding the airliner, check the Guild if you are doing a completion run. Chapter 2 has work that can still matter after the earthquake case itself is finished, so this is the wrong moment to assume that “main story complete” means everything in Zeiss is finished.
For the exact BP and quest conditions, use the BP and quest guide.
Jyn continues with the group because of Walter, while Tita’s involvement also deepens after seeing how heavily the Society is relying on advanced technology.
Once you are ready, board the airliner for Grancel.
Continue to Chapter 3
The earthquake investigation closes in Zeiss, but the Society’s activity does not.
The next stage moves to the capital and begins A Mad Tea Party.
Continue with the Chapter 3 walkthrough after arriving in Grancel.