Chapter 4 Walkthrough – Malevolent Mist
Get through Chapter 4 from Rolent's coma cases to Perzel Farm, Mistwald's looping paths, the Gospel, Estelle's dream, and Luciola.
Updated:
Quick Answer
When the airliner is forced to stop in Rolent, report to the Rolent Bracer Guild and follow the coma investigation until it sends you to Perzel Farm. Return to Rolent afterward, continue the case until Mistwald becomes the destination, then use the flowers with butterflies to escape the looping paths and reach the Gospel.
The trip to Bose ends before it really begins.
After the Tea Party incident in Grancel, the party boards an airliner expecting to continue west. Instead, visibility collapses around Rolent, flights are suspended, and an unscheduled stop turns into an entire chapter.
At first, the obvious mystery is the fog. That stops being the most important question once people begin falling into an unnatural sleep.
The route through Malevolent Mist is therefore less about finding one dungeon entrance and more about following the investigation as it changes shape: Rolent → coma cases → Perzel Farm → Rolent → Mistwald.
If you are still dealing with the Tea Party in Grancel, finish the Chapter 3 walkthrough first.
Get Off the Airliner and Go to the Rolent Guild
The airliner is still headed toward Bose when it reaches an abnormally dense fog bank over Rolent.
The control tower is relying on searchlights to maintain visibility, and outgoing flights are suspended.
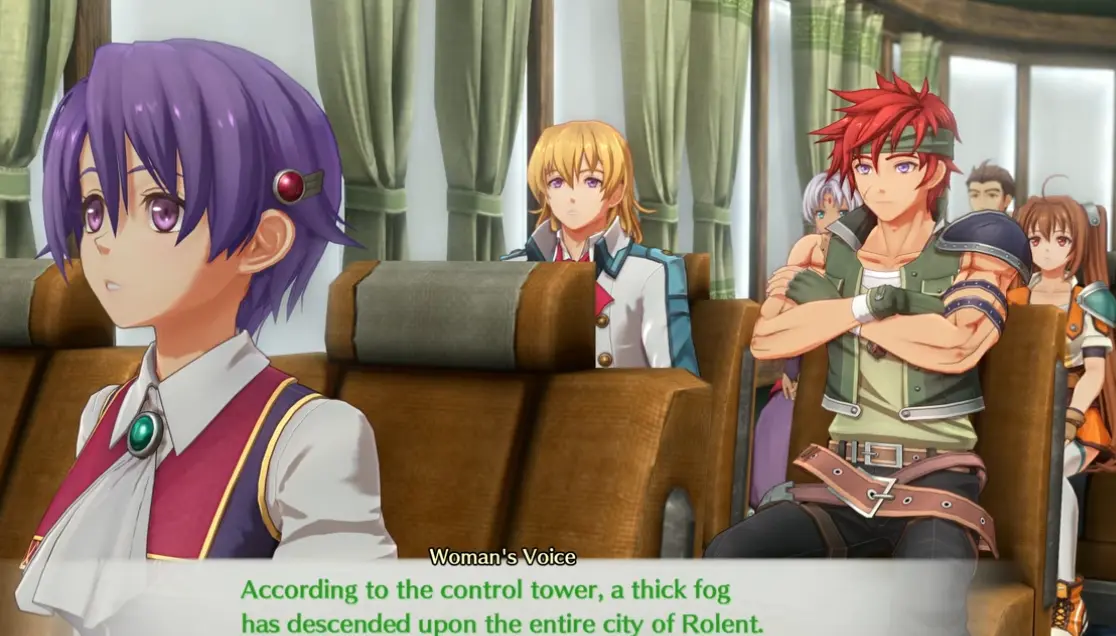
Once the party gets off the ship, forget about Bose for the moment.
Go into town and report to the Rolent Bracer Guild. The group already suspects the situation may be connected to the Society, and the Guild is where the incident begins turning into an investigation.
The Coma Cases Become the Real Problem
Mayor Klaus arrives with a much more concrete problem than bad visibility.
His maid Rita has collapsed, and similar cases begin appearing around Rolent.
The victims are not suffering from ordinary exhaustion. They fall into a deep, unnatural sleep and do not wake normally.
Follow the required interviews and visits around town until the party begins finding common details between the cases.
The important pattern is:
- the victims collapse while the fog is active;
- witnesses do not have a normal explanation for what happened;
- a woman in black starts appearing around the incidents;
- the sound of a bell keeps returning as the investigation develops.
Chapter 4 has BP-sensitive investigation choices during this section. If you are protecting an A-Rank run, check the BP and quest guide when those choices appear rather than trying to reconstruct them after leaving Rolent.
Let the Night Investigation Finish Before Looking Outside Town
The party eventually prepares for another possible attack during the night.
This section does not require a manual sweep of every Rolent street.
Follow the story through the Bright residence and the overnight events. The next useful lead comes from what happens afterward, not from finding a hidden NPC in the dark.
By the time the investigation expands beyond the city, Perzel Farm becomes the next destination.
Go to Perzel Farm When the Fog Reaches It
Head to Perzel Farm once the case points there.
The approach already tells you the incident has spread. Visibility has deteriorated and hostile creatures appear around the farm.
Clear the enemies outside, then go into the house.
Do not turn around as soon as the battle ends.
The actual discovery is inside:
Tio and the rest of the Perzel family are unconscious.
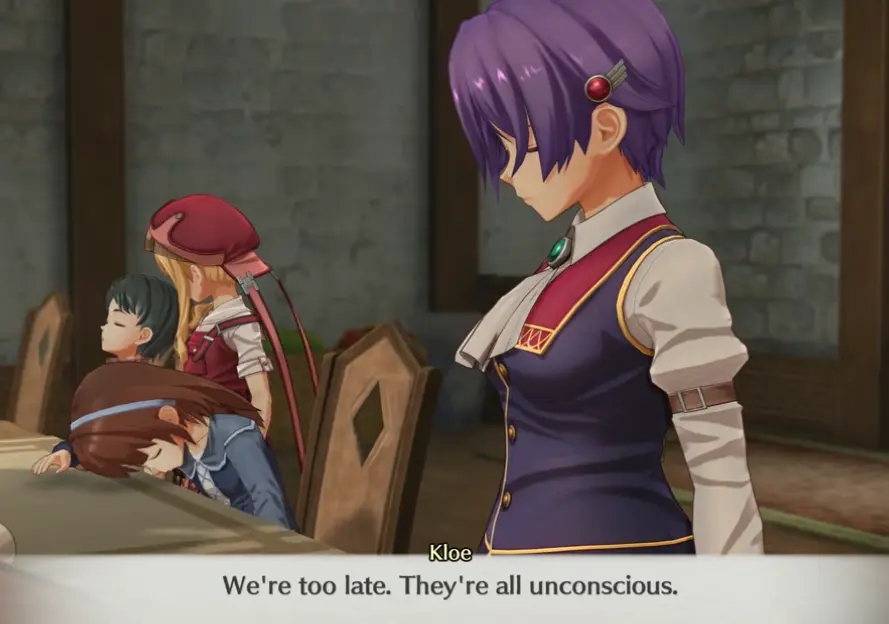
This confirms that the attacker is not confined to Rolent itself.
Kevin arrives after the incident and stays with the family, which frees Estelle’s group to take the information back rather than leaving someone behind at the farm.
Return to Rolent.
The Bell Stops Being a Coincidence
As the investigation continues, Sherazard reacts strongly to the sound of a bell.
That matters because the bell is no longer an isolated detail.
The fog, the sleeping victims, the woman in black and the repeated bell all point toward one person deliberately guiding what is happening.
Keep following the story until the investigation finally produces a location instead of another witness:
Mistwald.
Once that destination is given, head into the forest.
Why Mistwald Keeps Sending You Back to the Start
Mistwald is the main navigation trap in Chapter 4.
The forest initially behaves normally. After the bell sounds and the fog thickens, the party becomes trapped in a repeating section.
Choosing directions at random can send you through several screens before dropping you back where you started.
That loop is intentional.
The route forward is marked visually.
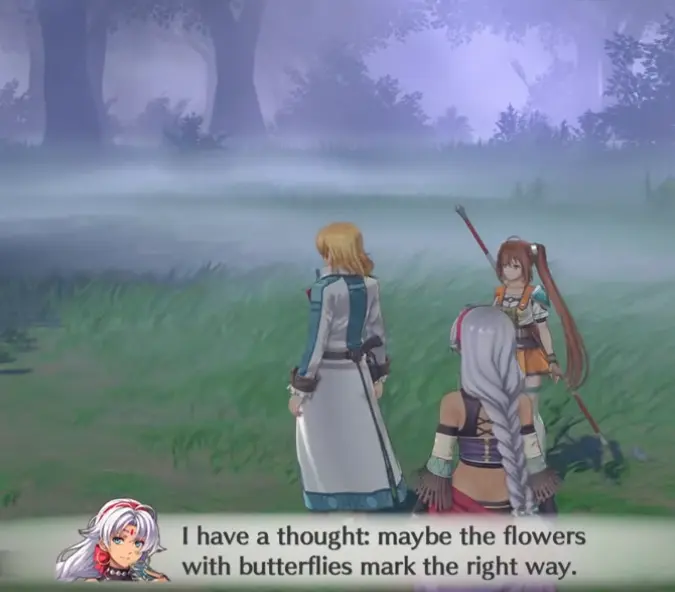
Look for flowers with butterflies beside the correct path.
I stop thinking in terms of compass direction once the looping starts. At each choice, I check the edge of the path for the flower-and-butterfly marker and take that branch.
If the party returns to the same opening section, the previous choice was wrong.
You will continue hearing bells while navigating the fog, but this is not a separate sound puzzle that needs to be solved first.
Use the visual marker and keep moving.
Reaching the Gospel Means You Cleared the Loop
The repeating route eventually opens into an area where fog is rising directly from the water.
A Gospel is sitting there.
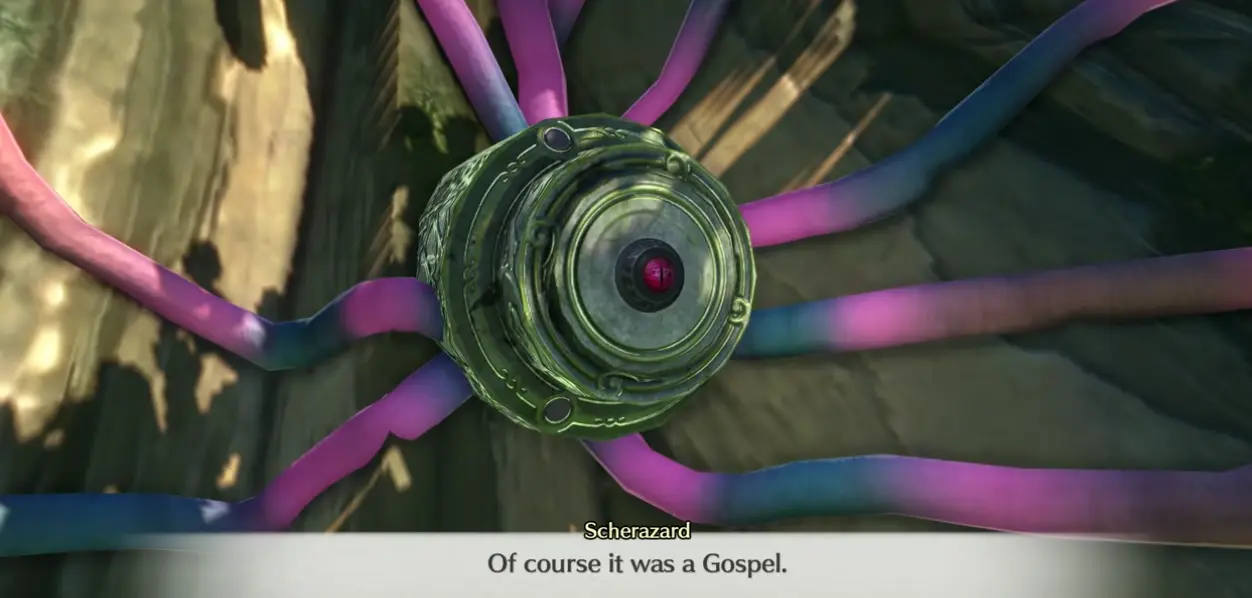
This is the source of the phenomenon affecting the region.
You cannot simply walk up and remove it.
Creatures appear around the device first, so clear that battle and let the scene continue.
The important thing to know before the fight is that Chapter 4 does not end with a normal Luciola boss immediately afterward. Once these creatures are defeated, the Gospel’s real effect on Estelle becomes the focus.
The Creatures Around the Gospel Are Not the Person Behind the Incident
The enemies guarding the Gospel are later described as familiars.
Defeating them removes the immediate combat threat, but it does not remove the person controlling what is happening.
There is no special target-order trick required to advance this part of the chapter. Keep the party stable, finish the group, and let the next event trigger.
Once the battle ends, Estelle wakes up somewhere completely different.
Estelle’s Dream Is Not Another Mistwald Puzzle
Estelle opens her eyes at home.
The fog is gone. Cassius is there.
Then the scene reveals something impossible:
Lena Bright is alive.
For a while, the dream behaves like an ordinary morning from Estelle’s childhood. The longer it continues, the more the inconsistencies begin to break through.
Estelle remembers Mistwald.
She remembers the life she has actually lived.
Eventually she understands that the world in front of her is built around something she desperately wants, not something that can be real.
There is no hidden choice that requires you to find a way back into the forest manually.
Continue through the conversations.
The sequence ends when Estelle accepts reality and leaves the dream behind.
Luciola Explains the Fog and the Dreams
After Estelle wakes, Sherazard calls out the person behind the incident.
Luciola, Enforcer No. 6, appears.
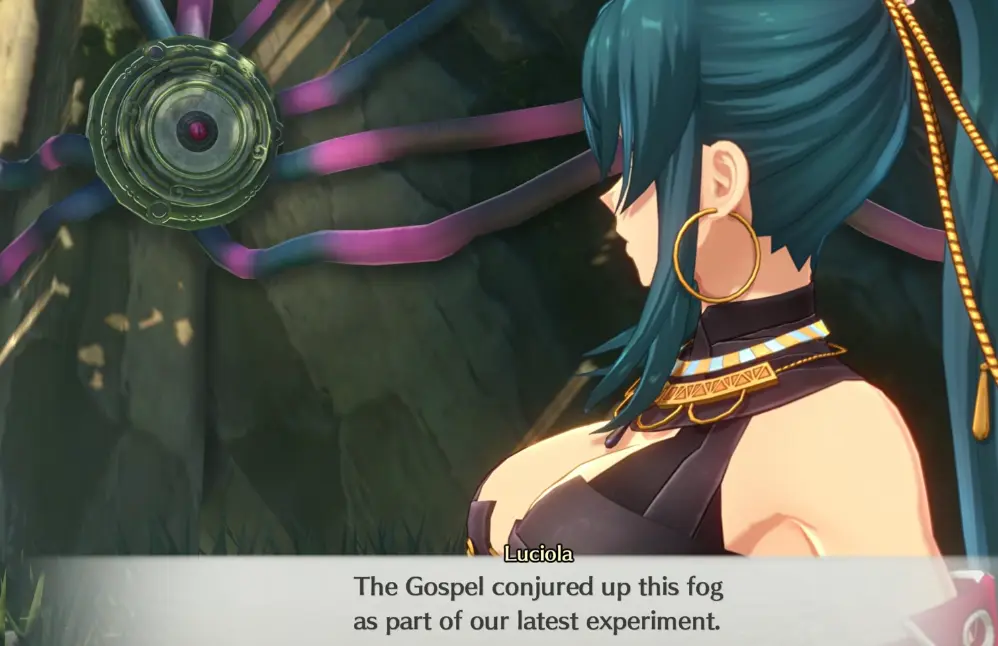
Her explanation connects the chapter’s strange events.
The Gospel is responsible for the fog and the dream-producing effect. Luciola’s bells guide that influence toward the victims.
That is why the chapter kept presenting the same elements in different places:
fog, sleep, bell, dream.
The coma cases were never separate attacks from the Mistwald incident. They were all part of the same experiment.
Luciola does not remain for a conventional boss fight here.
After speaking with Sherazard, she leaves.
Return to Rolent Once the Fog Clears
The experiment ends after the Mistwald confrontation.
Back in Rolent, the people who had fallen unconscious begin waking up and the dense fog clears from the region.
There is no second Gospel to find and no reason to go back through Mistwald looking for another Luciola encounter.
At that point, the route that Chapter 4 interrupted becomes relevant again.
The party was originally traveling to Bose.
Before leaving Rolent, check any Guild work you still intend to finish, especially on a completion run, then continue west when you are ready.
The next incident starts with ordinary work around Bose before escalating into Ragnard’s attack. Continue with the Chapter 5 walkthrough once you arrive.