Chapter 6 Walkthrough – The Whereabouts of Bonds
Follow Chapter 6 from Valleria Lake through the hidden research facility, the fake Joshua trap, the Glorious, and the escape with Joshua.
Updated:
Quick Answer
At Kingfisher Inn, let Kevin restore Kurt’s memories, then take a small team to the hidden research facility on the northwestern shore of Valleria Lake. Inside, keep exploring until you find the card key, then rescue Grant → Carna → Anelace. After Anelace points you toward the rooftop, go up, finish the fake-Joshua sequence, and continue through the Glorious until Joshua gets you to the hangar.
Chapter 6 has two completely different halves.
The first is a rescue operation around Valleria Lake. Kurt returns badly injured, his memories have been tampered with, and the party finally gets a location for the Society’s hidden research facility. Once inside, the job is simple in principle: find the three missing bracers and get them out.
The second half abandons that structure entirely. The rooftop sequence ends with Estelle aboard the Crimson Ark Glorious, and the chapter turns into a solo escape before Joshua finally re-enters the story for real.
If you have not finished the Ragnard incident yet, complete the Chapter 5 walkthrough first.
Kurt Drifts Back to Kingfisher Inn
The chapter’s real lead arrives at Kingfisher Inn.
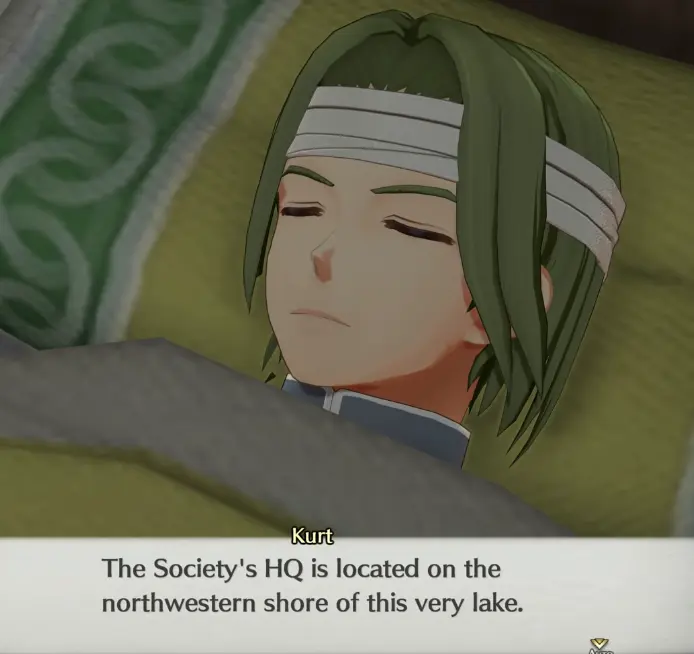
Kurt is found unconscious in a boat after his team gets close to the Society’s base. He survived, but something is wrong with his memory. He knows he had been working with Grant, Carna and Anelace, yet the details of what happened at the facility have been blocked.
Jin cannot simply repeat the treatment he used before because Kurt is badly injured and the problem is deeper than physical shock.
Kevin can help.
His technique restores enough of Kurt’s memory to reveal the location the party has been searching for:
the Society’s research facility is on the northwestern shore of Valleria Lake.
The facility has stayed hidden because the Society is masking it from both directions. A projected decoy conceals it from airships, while dense fog interferes with anyone approaching by land.
That explains why ordinary patrols did not find it earlier.
Take a Small Strike Team, and Bring Kevin
Sending everyone is a bad approach.
The group explicitly decides that a large party would be easy to spot long before it reached the facility, so Estelle forms a smaller infiltration team instead.
Kevin asks to come for a practical reason: the missing bracers may have had their memories altered just like Kurt.
I treat Kevin as part of the mission rather than a luxury healer here. Even if another character can cover recovery, nobody else in the group is being brought specifically to deal with Society memory manipulation.
Once the party is chosen, cross the lake and enter the research complex.
The Facility Looks Empty, but Keep Moving
The research facility is strangely quiet.
Kurt remembers soldiers, researchers and Enforcers, but by the time Estelle enters, most of the visible personnel have already disappeared. That does not mean you arrived too late or entered the wrong building.
Your objective is still inside:
Grant, Carna and Anelace.
The important progression rule in this dungeon is to keep opening unexplored routes instead of assuming every locked door is immediately solvable.
One door makes that especially obvious.
The Locked Door Needs a Card Key
Eventually the party reaches a door that will not open.
The game tells you what is missing:
a card key.
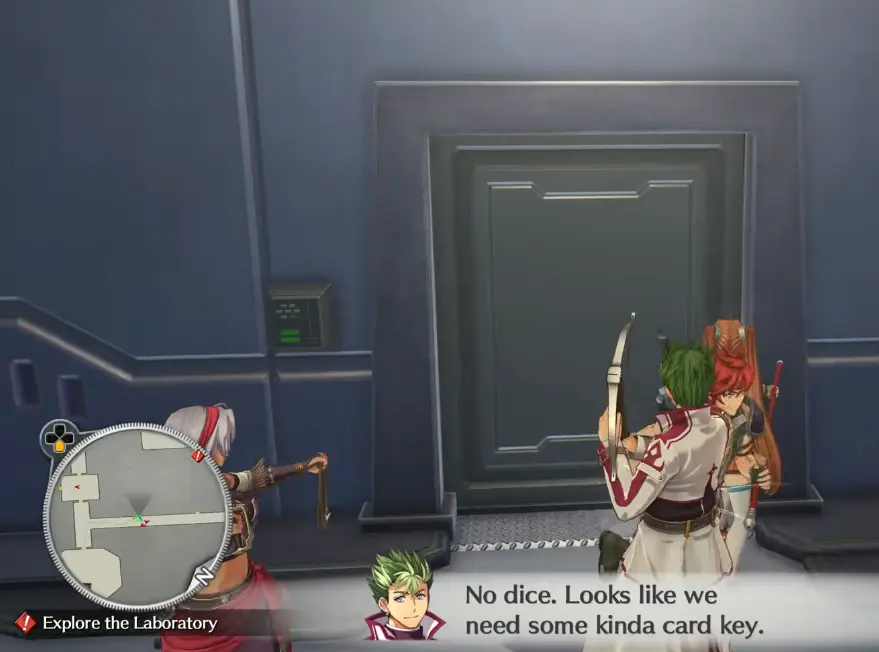
Do not waste time repeatedly checking the same terminal or backtracking to the lake.
There are still accessible sections of the facility. Continue exploring them and come back once you have the key.
This is also a good point to keep the party in decent condition. The missing bracers have not simply been locked in cells.
Grant Is the First Bracer You Find
Grant appears first, but he is under the Society’s control.
You cannot talk him out of the condition before the fight. Neutralize him, then let the scene continue until he returns to himself.
Afterward, Grant explains that the three captured bracers were separated. He does not know exactly where Carna and Anelace are, but both should still be somewhere inside the complex.
Grant is capable of making his own way out.
That leaves:
Carna and Anelace.
Keep moving deeper instead of escorting Grant all the way back to the boat.
Rescue Carna Before Anelace
The next controlled bracer is Carna.
Handle the fight the same way: the combat is part of breaking the Society’s control, not a sign that you missed a dialogue option before entering the room.
Once Carna recovers, the situation becomes clearer. She remembers the facility being much busier earlier, with soldiers and researchers throughout the complex, which confirms that the Society has deliberately evacuated most of the site.
Anelace is the last missing bracer.
By the time you find her, the rescue count should be:
Grant → Carna → Anelace.
If Anelace is the first captive you are trying to reach, you have skipped part of the facility route.
Anelace Gives You the Rooftop Lead
After the third rescue, Anelace adds something much more important than another facility clue.
She says she saw Joshua.
The sighting was brief, but she remembers dark hair, his clothes, and how quickly he cut through the soldiers around her. She also gives you the most useful piece of navigation information in the second half of the facility:
there is an airship dock on the rooftop, and that is where the remaining soldiers and researchers appeared to be heading.
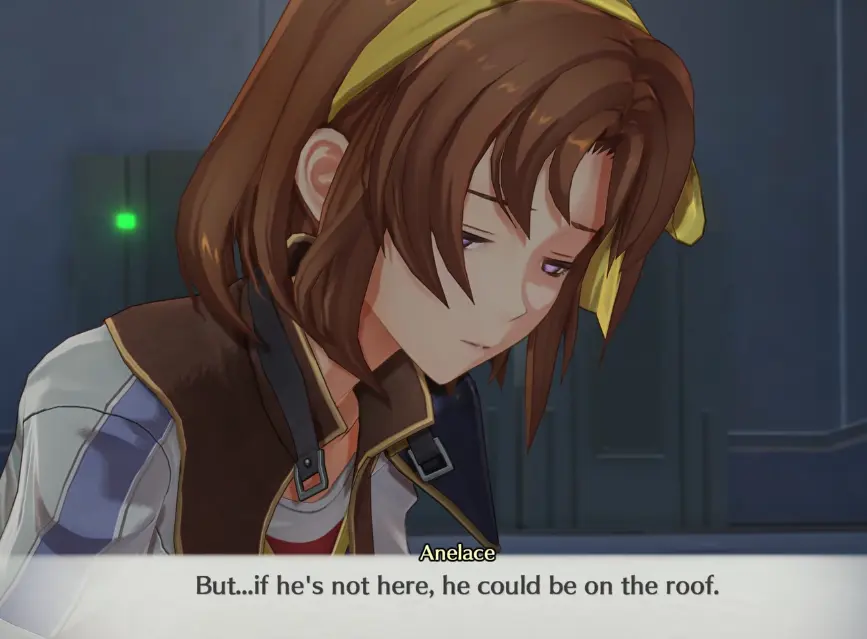
At this point, stop searching the lower floors for another prisoner.
Go up.
The Joshua on the Rooftop Is a Fake
The rooftop appears to give Estelle exactly what she has been chasing for most of the game.
Joshua is there.
The reunion does not last.
During the fight, the party recognizes that the person in front of them is another constructed imitation rather than Joshua himself.
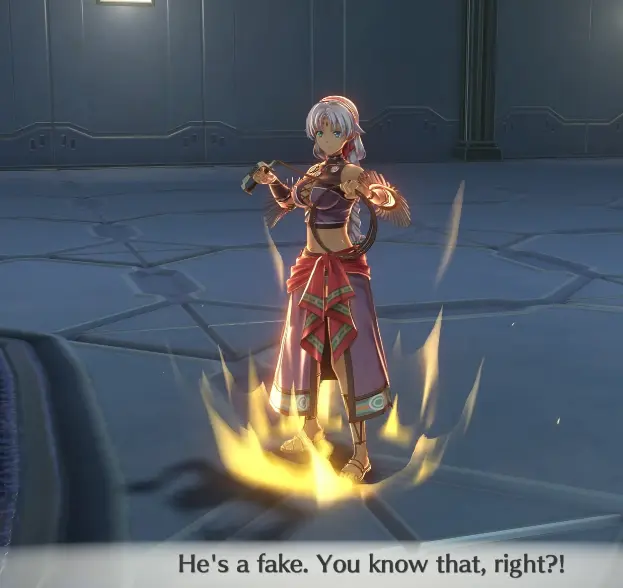
The fake is connected to the same line of research that has been running through the facility.
What happens next is also part of the story.
When Estelle wakes up again, the scale of the chapter changes completely.
Estelle Wakes Up on the Crimson Ark Glorious
Renne is there when Estelle gets her bearings.
She tells her to look outside.
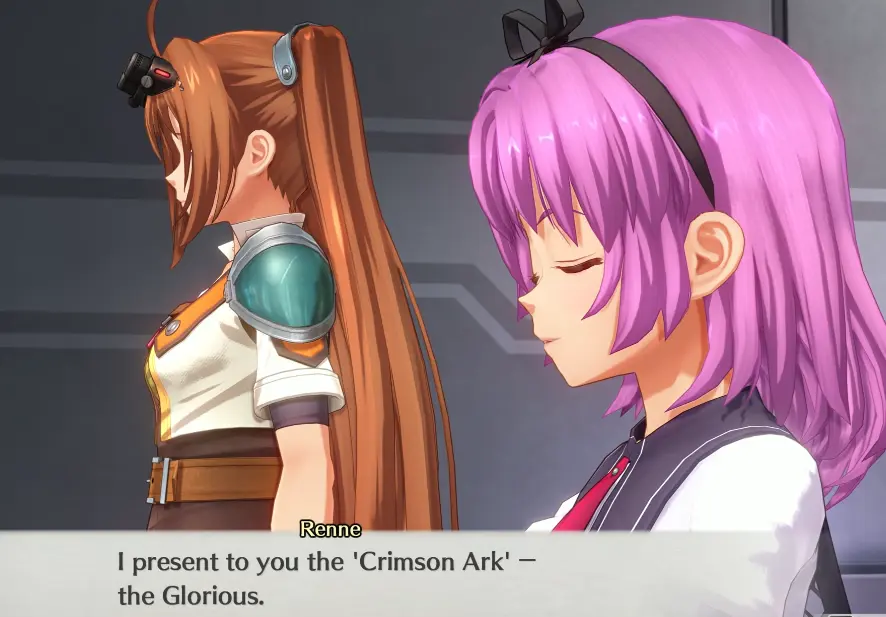
The ship is the Crimson Ark Glorious.
This is not a short transport scene back to another Liberl location. Estelle is now inside the Society’s mobile base, separated from the rest of the party.
Renne eventually takes her toward the Sanctuary, which is on the ship’s highest level.
Follow her.
Follow Renne to the Sanctuary
The route to the Sanctuary passes a restricted checkpoint that uses vocal biometrics.
Renne identifies herself as Enforcer No. 15 and receives clearance, allowing Estelle through.
There is no key item you need to find before this checkpoint. Stay with Renne until she leaves Estelle outside the Sanctuary.
Inside is the person Estelle knew as Professor Alba.
His real name is Georg Weissmann, and he is one of Ouroboros’s Anguis.
This conversation explains much of what happened to Joshua before and during the previous game, but it does not give Estelle an immediate escape route.
Once the Sanctuary sequence ends, the chapter moves into Estelle’s attempt to get off the Glorious.
Estelle’s Solo Escape Has One Important BP Fight
Estelle eventually gets out and starts moving through the ship alone.
This is a long enough section that I treat recovery resources as usable rather than decorative. There is no full party standing behind her if a normal encounter leaves her badly weakened.
One confrontation in this escape also matters to an A-Rank run: Estelle faces the enhanced Society soldiers during the solo section.
If you are protecting maximum Bracer Points, win the encounter outright rather than settling for the reduced result. The exact BP difference and preparation belong in the BP and quest guide.
After that fight, the scene finally delivers the reunion the chapter has been teasing.
The Real Joshua Returns
Joshua appears during Estelle’s escape.
This time, it is actually him.
Loewe also confronts the pair, but Joshua has already prepared the one piece of leverage that makes escape possible.
He sabotaged the Glorious before coming for Estelle.
Not one engine.
All 22 engines.
He jammed them in different ways, forcing Loewe to choose between continuing the confrontation and preventing the entire ship from crashing.
That creates the opening Estelle and Joshua need.
Joshua’s escape ship is waiting in the hangar inside the ship’s hold. Take the stairs ahead and keep moving toward it.
The Glorious Hangar Holds 12 Airships
The size of the hangar makes the Glorious’s scale much easier to understand.
Joshua explains that it can store 12 airships.
His escape craft is docked at the far end.
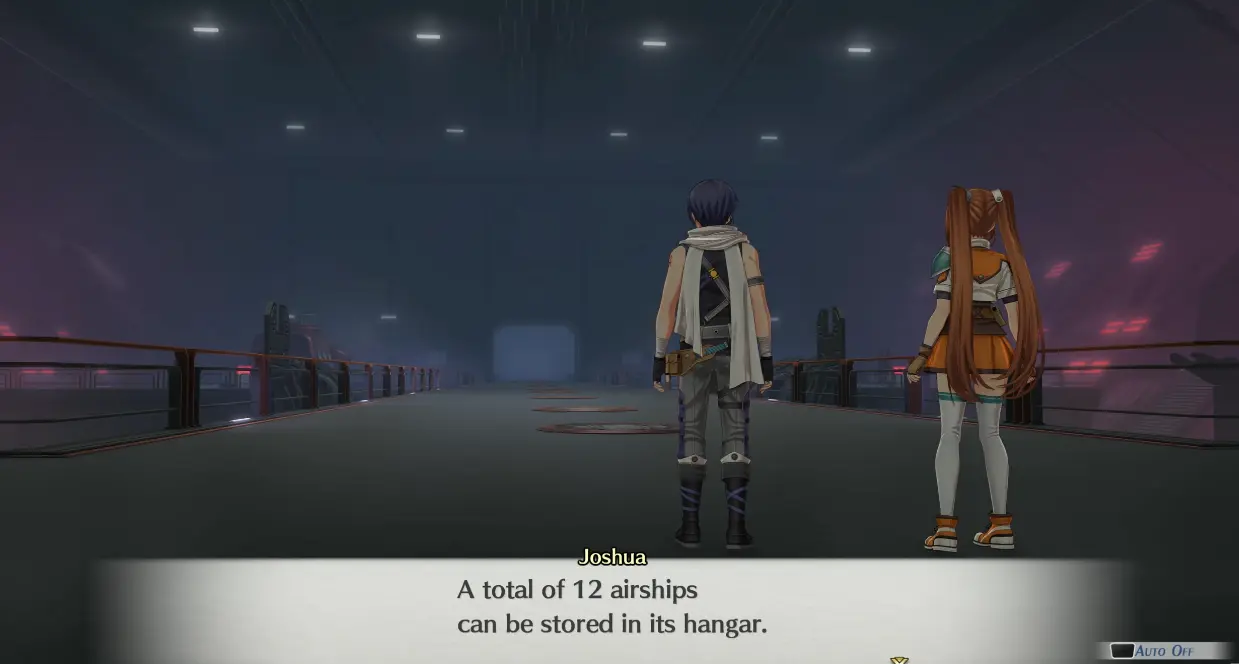
Do not turn around because the hangar looks like another large exploration area.
The objective is already clear: reach the ship Joshua secured.
Campanella intercepts the pair before they can leave cleanly, so deal with that encounter and keep moving.
The Escape Craft Has No Weapons
Once Estelle and Joshua launch, the Glorious sends pursuit units after them.
The radar shows three incoming contacts.
The stolen craft cannot simply turn around and fight because Joshua chose it for accessibility during a maintenance check, not combat capability.
It has no weapons.
That makes this an escape sequence rather than another normal vehicle battle.
Let Joshua keep the craft moving and continue through the pursuit scenes. The situation eventually connects back to the Capua family and the Bobcat, giving Estelle and Joshua the opening they need to survive the chase.
Finish the Reunion and Return to the Group
Once they are clear of the Glorious, Chapter 6 finally has room to slow down.
Joshua explains more of what he had been trying to do alone, including his plan against the Society and the risks he was willing to take before Estelle was captured.
The important progression result is simpler:
Joshua is back with Estelle.
The chapter no longer ends with another search for him or another fake.
After the remaining scenes with the Capuas and the reunion sequence play out, the story moves directly toward the Society’s next phase.
Continue with the Chapter 7 walkthrough once the four Tetracyclic Towers become the new crisis.