The Sinking City 2 Walkthrough: My Full Story Route
This is the route I use from flooded Arkham to the ending, including the major story gates, Shoggoth, Fish Market, the wreck, and final boss.
Updated:
Quick Answer
My main route through The Sinking City 2 is:
Opening residential district → Miskatonic Library Annex → Shoggoth → Redemption Church → Arkham Printing House / broken crane → Devil’s Reef Hotel → resurrection ritual → Akeley Memorial Hospital → Arkham Fish Market → electrical station and wreck → portal and Elder Things ruins → final boss → final ritual
If I know where I am but a safe, lock or puzzle is stopping me, I use the puzzles, codes and investigations guide instead of turning the main walkthrough into a list of every combination and symbol.
I use this walkthrough for one question:
where do I go next?
The Sinking City 2 constantly puts optional investigations, locked rooms and collectibles beside the main route, so it is easy to lose the story thread while chasing something I cannot finish yet.
I do not try to clear Arkham room by room.
I follow the current story objective, finish nearby optional content when it fits the same route, and move forward once the area has given me what I actually need.
Opening Arkham — Get the First Floodgate Working
After leaving Calvin and Fay’s apartment, my first clear destination is the Miskatonic Library Annex.
The problem is that the flooded residential route is blocked.
I reach the first gate, find the electrical system dead, and have to clear the small apartment-and-radio-shop loop before I can continue.
This section includes:
- Apartment 5;
- the radio shop;
- the missing electrical fuses;
- and the gate Fuse Box.
I handle those together rather than leaving one unfinished and sailing back later.
The full safe deduction and electrical layout are in the opening Fuse Box and Apartment 5 guide.
Once the gate opens, I stop searching the residential building and take the route toward Miskatonic University.
Reach the Miskatonic Library Annex
The Annex is where the game starts opening up beyond the introductory survival route.
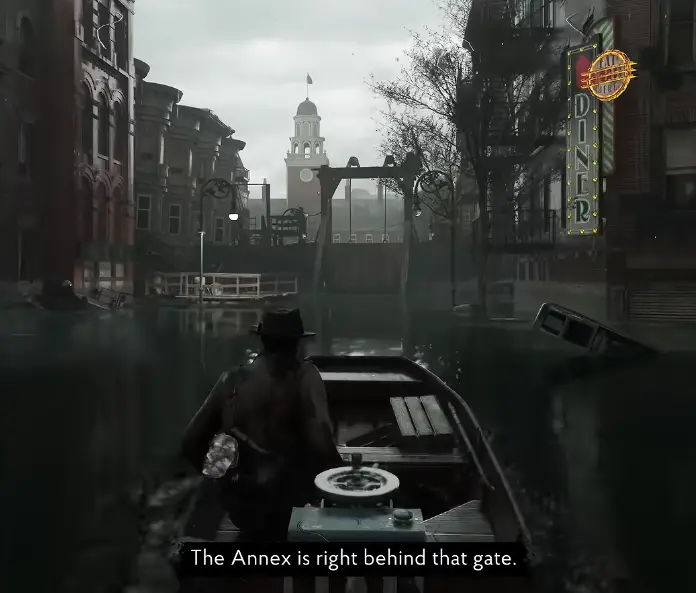
My main goal here is the book Calvin believes can help bring Fay back.
I push toward the restricted part of the Annex instead of trying to solve every side route immediately.
This is also where I first encounter E.R.C.s.
If I see a crate without an Activator, I remember it and continue. The crate does not have another hidden opening method.
The useful rule for this section is simply:
restricted section first, unfinished optional containers later.
Shoggoth — Activate the Three Devices, Then Shoot the Eyes
The first major fixed boss encounter is the Shoggoth.
The part that matters is that I do not treat the creature’s body as the main target.
There are three devices around the encounter.
I use those first.
Once the mechanism exposes the Shoggoth’s vulnerable eyes, that is when I commit my damage.
My loop is:
reach a device
→ activate it
→ keep moving while the arena becomes dangerous
→ shoot the exposed eyes
→ move to the next device
I do not stand still dumping handgun rounds into the creature while its weak point is closed.
That wastes ammunition and keeps me in danger longer.
When the eyes are exposed, I spend the damage.
When they are not, I prioritize movement and the next device.
This is one of the first fights that teaches me the difference between an enemy I can simply shoot and a boss built around an arena mechanic.
Once the Shoggoth is down, I continue the Library objective and move toward the route that eventually sends me across Arkham for the next part of the ritual.
Redemption Church — Open the Route or Finish the Optional Mystery
The next major district takes me through Redemption Church.
This area has two different goals that are easy to confuse:
main-story progression
and
the optional church investigation.
I do not need to treat the entire Trident mystery as though it is blocking the main story.
For a story-focused run, I open the required floodgate and continue.
For a completion-focused run, I prefer finishing the church investigation while I am already here because the Church Key, Star Key and related Evidence are all fresh.
The complete route is in the Redemption Church and Trident guide.
Once the route beyond the church is open, I continue toward the blocked passage to Devil’s Reef.
The Broken Crane Needs Gasoline and a Steel Gear
The next obvious blocker is the crane beside the whale.
It cannot move because I am missing:
Gasoline
and
a Steel Gear.
The clues around the crane point me toward two useful destinations:
- the fire-station side of the district;
- the Arkham Printing House.
The Printing House route also reconnects through the Redemption Church graveyard once I have the Graveyard Key.
I handle those two objectives as one progression loop rather than repeatedly crossing the district.
Once I have the required fuel and gear, I return to the crane and clear the route toward Devil’s Reef.
Finish the Printing House Detour While I Am Here
The Arkham Printing House contains required crane progression as well as part of the optional cursed press investigation.
That makes it one of the easiest side investigations to combine with the story.
I pick up the Printing Plates when the route naturally passes them.
I do not return to the press after every plate.
Once I have all three, I make one return and finish the investigation.
The Plate A/B/C route and final press choice are in the Printing Press puzzle guide.
After the crane works, Devil’s Reef becomes my next major destination.
Devil’s Reef Hotel — Follow the Access Chain
Devil’s Reef Hotel looks like a floor-by-floor exploration area.
I had better results treating it as a chain of newly opened access routes.
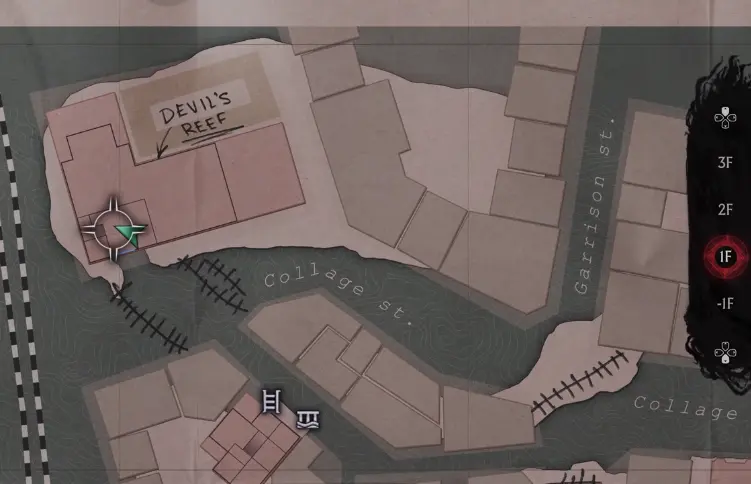
My broad route is:
hotel information
→ Staff Key access
→ Lorelei Tokens
→ Lorelei Lock
→ backstage / generator
→ final hotel sequence
The Room 301 safe, Staff Key progression and individual hotel blockers are in the Devil’s Reef Hotel guide.
Once the backstage sequence is complete, I do not keep searching the hotel for another main-story objective.
The point of coming here is Lorelei.
I take her back.
Return to the Library and Perform the Resurrection Ritual
Lorelei is needed for the translation that makes the ritual possible.
So after Devil’s Reef, I return to the Library instead of starting another district cleanup.
Once the translation is ready, I perform the ritual.
This is the major transition that finally changes Calvin and Fay’s situation and starts the next stage of the story.
Afterward, Fay can help track what happened to her body.
That takes me toward Akeley Memorial Hospital.
Akeley Memorial Hospital — Reset the Three Prism Stations
The hospital is the densest puzzle area in the main story.
The central mechanic is one Prism and three stations:
- treatment room;
- chapel;
- basement.
Only a charged Prism can break the containment field.
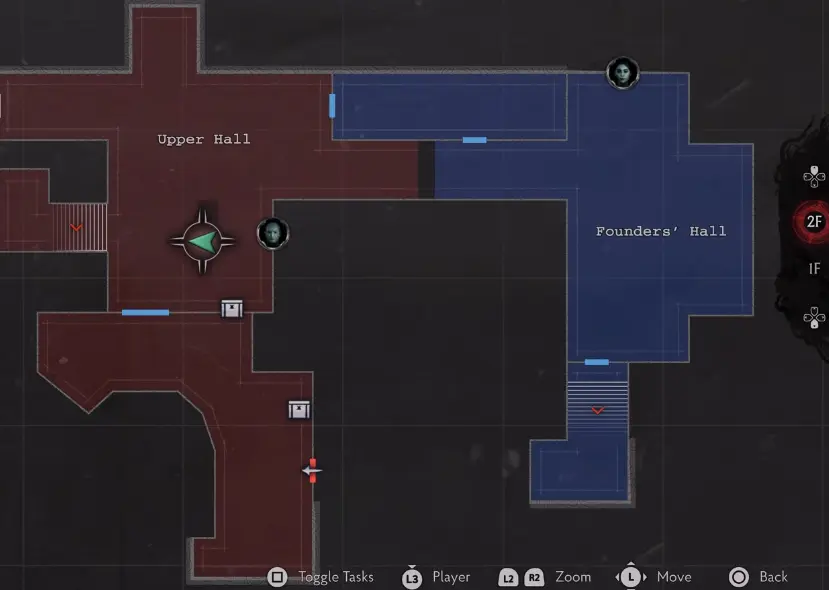
I collect the relevant symbols and progression items as I move through each hospital section, then return to the station that uses them.
I also encounter face masks, rusted routes, the Wireless Room investigation and three Nightmares along the way.
The exact Prism layouts, Locker Storage Room, Wireless Room and mask progression are in the Akeley Memorial Hospital puzzle guide.
For the main story, I keep following the Prism reset procedure until I can break the remaining containment route and finish the hospital sequence.
Once Fay’s body is taken again, I leave Akeley and follow the new trail.
Follow Fay’s Body to Arkham Fish Market
After the hospital, the next route is much more direct.
Fay can sense where her body has gone, so I return to the boat and follow that trail to the Arkham Fish Market.
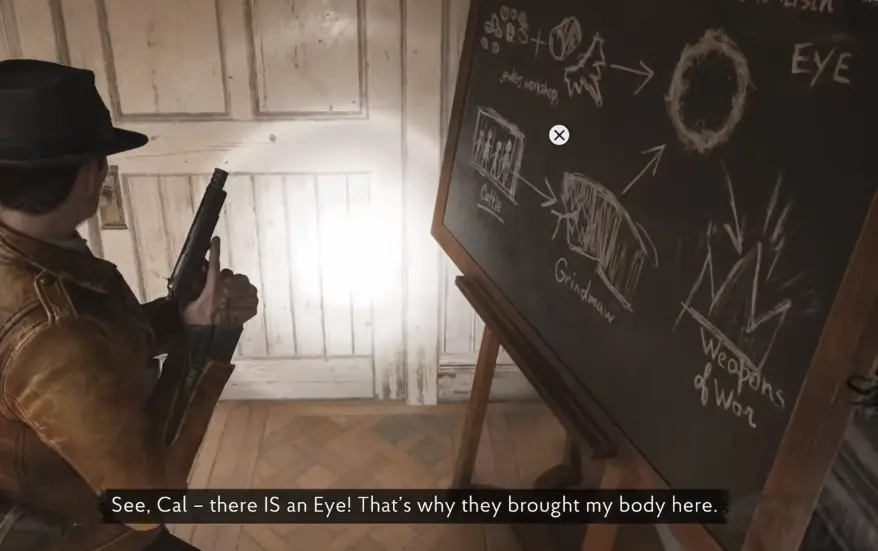
The Fish Market contains another Eye and a series of blockers tied to the route toward Fay’s body.
This is also where combat becomes expensive enough that I stop trying to preserve every strong round.
If an encounter is directly blocking the next story interaction, I use the weapon that gets me through it cleanly.
The Fish Market Barrier Responds to a Song
One of the major Fish Market barriers is not solved by shooting it.
The clue points toward a song.
That sends me through the next investigation chain until I have what I need to break the ward and continue.
I follow the music-related objective instead of wasting ammunition on the barrier or searching for an explosive solution.
Once that route opens, I continue toward the items needed for the Eye-related equipment.
Fish Market Safe Code: 6294
A later memory sequence points me toward a hidden Leiden jar and gives me the combination I need.
The safe code is:
6294
I enter 6294, retrieve what I need, and continue toward the electrical station.
This is the important point in the Fish Market route:
the safe is not the end of the investigation.
It is one step in the item chain leading toward the charged equipment I need next.
Defend the Electrical Station Until the Charge Finishes
At the electrical station, I focus on the machine rather than chasing every enemy that appears.
When power is interrupted, I restore it.
When enemies pressure the station, I clear the ones interfering with the objective.
My goal is to let the charge finish.
Once it does, the route into the wreck opens.
At that point I stop exploring the market and head inside.
Inside the Wreck — Use the Devices Against the Eye
Inside the wreck, I find Fay’s body again.
The encounter is built around the Eye and the devices surrounding it.
I activate the required devices as openings appear.
Once all of them are active, the Eye becomes vulnerable to the next part of the sequence.
When it closes, I push the interaction rather than continuing to treat the room as a normal enemy arena.
After that encounter, the Slither take Fay’s body through a portal.
I follow them.
The Portal Leads to the Elder Things Ruins
The portal takes me out of the flooded Arkham environment and into the frozen late-game area.
Eventually I reach the remains of an Elder Things necropolis.
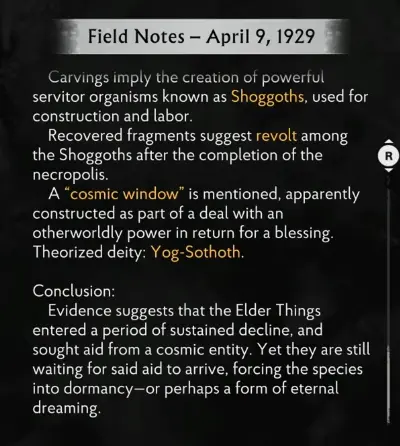
From this point on, I stop planning around another large Arkham exploration loop.
I follow the portal route and Fay’s trail deeper into the ruins.
This is also where I stop saving premium ammunition for an imaginary later chapter.
The final fights are now close enough that strong ammo has a job.
Before the Final Fight
Before going through the final major transition, I make one practical check:
- health is topped up;
- I have multiple healing options;
- my main weapon has enough ammunition;
- I have one stronger burst-damage weapon ready.
I do not need every weapon I own.
I need enough damage and healing to survive the encounter in front of me.
Then I commit to the final area.
Final Boss — Kill the Slither When It Starts Feeding
The final boss changes priorities during the fight.
At first I damage the boss normally.
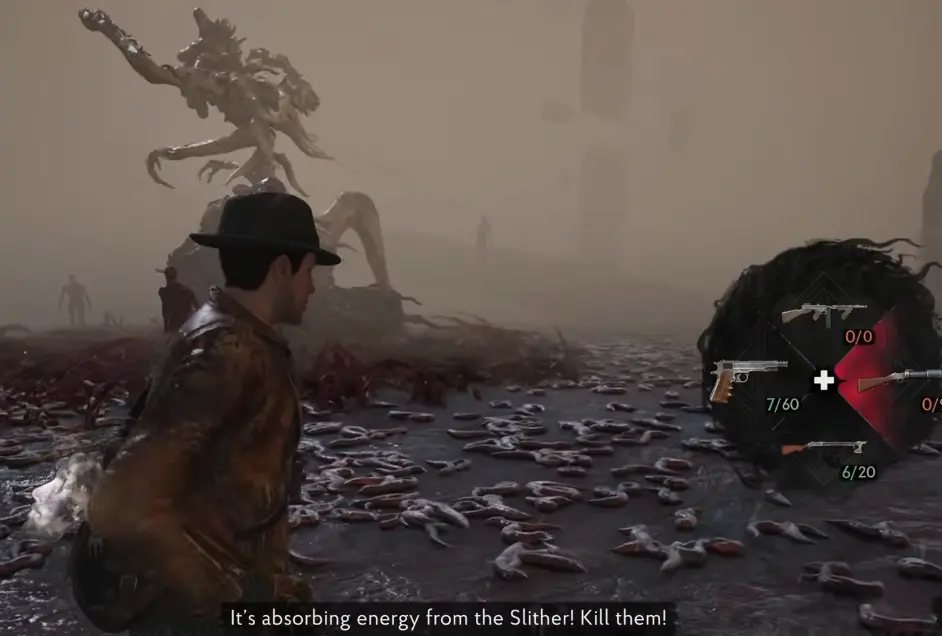
Then it summons Slither.
The important moment is when the boss starts absorbing energy from them.
When I see that happen, I switch targets.
I kill the Slither before returning to the boss.
Later the fight adds airborne targets.
I shoot those when they appear.
The final major hazard is the moving whirlwind.
I do not stand still trying to finish another magazine while it closes in.
My practical sequence is:
damage the boss
→ kill Slither during the energy-feed phase
→ shoot the airborne targets
→ move away from the whirlwind
→ return to boss damage
The fight became much more manageable once I stopped treating every phase as a straight DPS race.
Finish the Final Ritual
Once the boss is dead, I move to Fay’s body.
There is no new exploration chapter after this fight.
I complete the ritual and let the final story sequence play out.
For the main walkthrough, that is the endpoint:
defeat the final boss
→ reach Fay
→ complete the ritual
→ finish the game