How I Solve Akeley Memorial Hospital Puzzles
My route through Akeley Memorial Hospital, including the Prism system, 0297 locker code, face masks, Wireless Room brains, and all three Nightmares.
Updated:
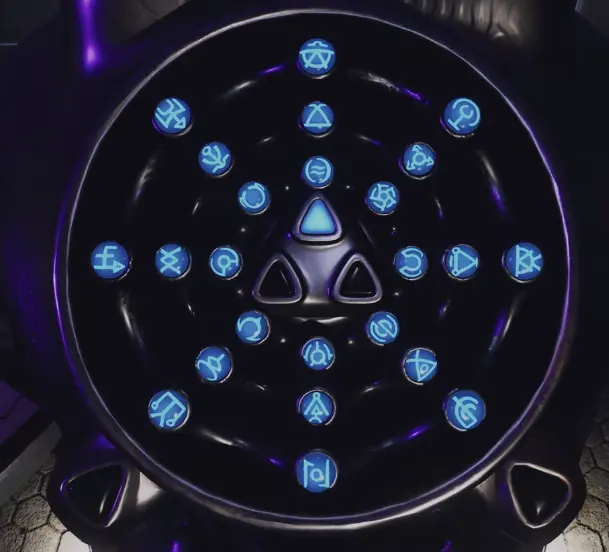
Quick Answer
Akeley Memorial Hospital revolves around one Prism and three reset stations.
My route is:
First Floor
→ get the map
→ read the Station Manual, Prism Schematics and Reset Protocol
→ take the Prism
→ get the Woman’s Face Mask
Basement
→ get Anti-Rust Acid
→ open the Locker Storage Room with 0297
→ finish the Blue symbol set
→ solve the Blue Prism Station
Second Floor and later routes
→ get the Caduceus Key
→ collect Pink and Yellow symbols
→ complete the face-mask route
→ defeat all 3 Nightmares for Sterilizer
→ finish the Wireless Room investigation
→ solve Yellow
→ get the Head Surgeon’s Face Mask and Vertebral Key
→ solve Pink
The important Prism rule is simple:
I collect the complete symbol set for a color before returning to its station.
Akeley Memorial looks like several unrelated puzzle systems stacked on top of each other.
It is actually much more structured.
The hospital keeps giving me new items that reopen old routes:
- a reusable Prism;
- three color-coded symbol sets;
- face masks for mirror doors;
- Anti-Rust Acid for jammed doors;
- and keys for restricted sections.
Once I identify which item belongs to which blocker, the hospital becomes much easier to route.
Start With the First Floor Map
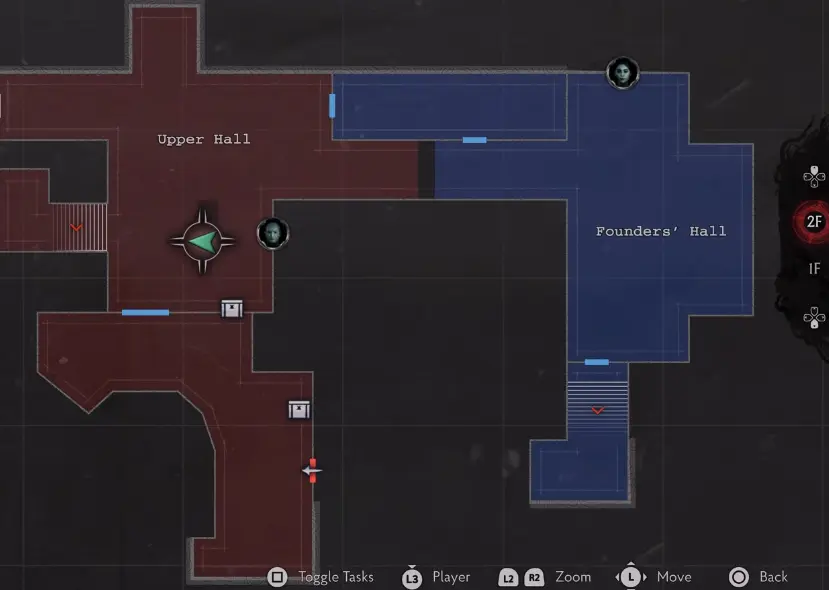
The First Floor map is the first thing I want because Akeley repeatedly sends me between the First Floor, Basement, Second Floor, treatment rooms and chapel.
My first important Evidence pieces are:
Station Manual
Prism System Schematics
and
Prism Station Reset Protocol.
Together they explain the hospital’s main progression mechanic.
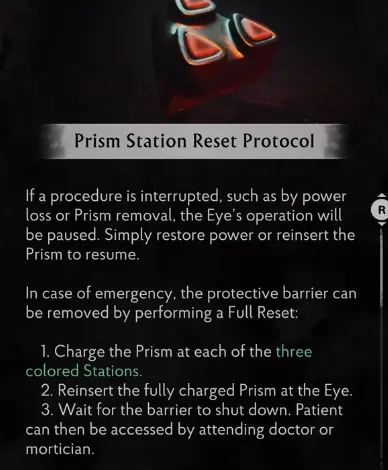
There Is One Prism, Not Three
The Reset Protocol identifies three stations:
- treatment room;
- chapel;
- basement.
Only a charged Prism can disengage the containment field.
That gives me the central hospital loop:
collect a complete symbol set
→ enter those symbols at the matching station
→ charge the Prism
→ use the charged Prism on the next containment field
→ recover the Prism
→ continue
This is also where players can create unnecessary backtracking.
Finding one Blue, Yellow or Pink symbol does not mean the associated station is ready.
I wait until I have the complete set for that color.
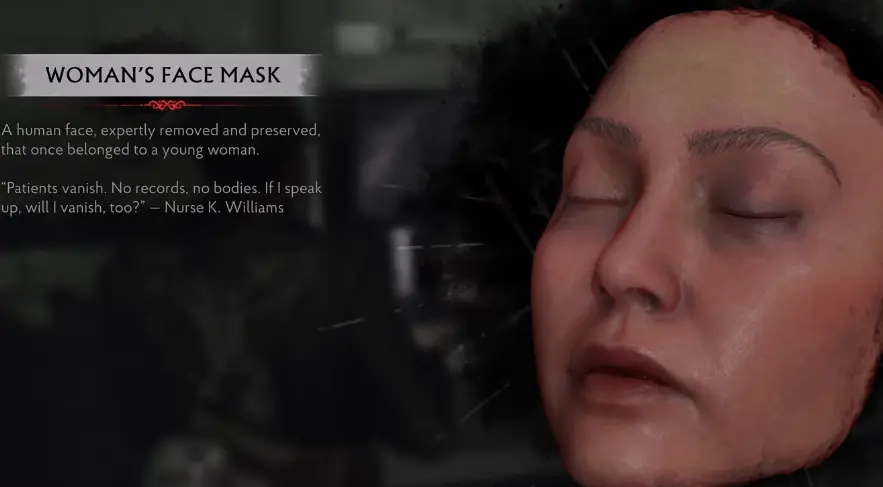
Get the Woman’s Face Mask Before Rechecking Mirror Doors
Early in the route I find the Woman’s Face Mask.
Later the same system expands through:
- Right Half of a Face;
- Left Half of a Face;
- Old Man’s Face Mask;
- Head Surgeon’s Face Mask.
The two face halves belong to the same progression chain, so once I have both pieces I complete that route rather than treating them as unrelated collectibles.
Go to the Basement for Anti-Rust Acid and the Blue Route
The Basement is the first major loop I finish.
This section gives me several useful progression pieces close together:
- Basement map;
- additional Blue symbol Evidence;
- E.R.C. Activator Pen;
- Anti-Rust Acid;
- an E.R.C. with an Inventory Expansion;
- the Locker Storage Room;
- and the remaining Blue progression.
Anti-Rust Acid is what turns the hospital’s jammed, rusted doors into usable routes.
Before I have it, those doors are simply not ready.
Locker Storage Room Code: 0297
The Locker Storage Room uses the code:
0297
Inside I get Doyle’s Cold Blood, a weapon accessory.
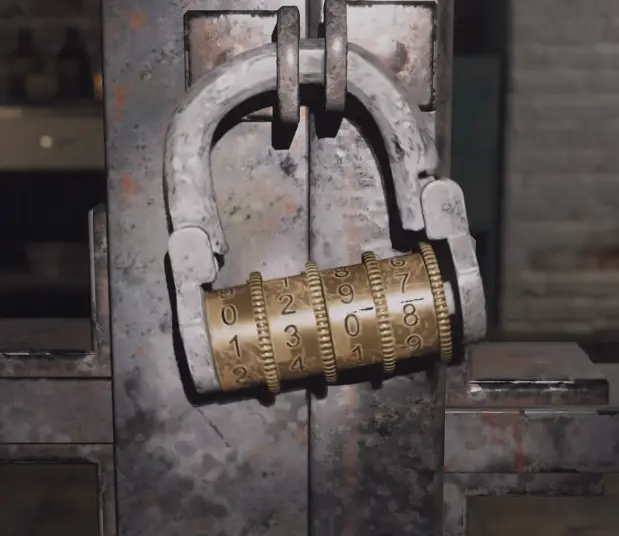
I handle this while I am already in the Basement.
It sits naturally between collecting the Basement tools and finishing the Blue Prism route, so there is little reason to leave it for a later hospital cleanup.
Solve the Blue Prism Station
After collecting the full Blue symbol set, I return to the Blue Prism Station.
I enter the matching symbols and charge the Prism.
That charged Prism lets me continue through the next containment section.
From this point on, Yellow and Pink use the same basic logic.
I do not need to relearn the Prism system each time; I only need the correct Evidence set.
Move Upstairs for the Caduceus Key and New Symbol Sets
The Second Floor starts several later hospital routes at once.
The important progression items here include:
- Caduceus Key;
- additional Pink symbols;
- Yellow symbols;
- more face pieces;
- and the first Nightmare encounter.
I collect what is accessible along the floor before deciding which route is now complete enough to close.
This is also where the hospital begins mixing its optional objectives directly into the main progression path.
Defeat All Three Nightmares for Sterilizer
Akeley contains three Nightmares.
Defeating all three unlocks Sterilizer.
They are spread across the later hospital progression rather than placed together in one dedicated arena.
That makes the cleanest completion route straightforward:
Nightmare 1 — during the earlier upper-hospital section
Nightmare 2 — during the later Pink-route progression
Nightmare 3 — after the final Pink section
I defeat them when I encounter them naturally.
That way, when the third one goes down, I know the hospital’s Nightmare objective is finished without needing to reconstruct which encounter I skipped.
Pick Up the Black Reef Longshot
The Black Reef Longshot rifle is also found during the hospital route.
I take it when I reach it, but the hospital page does not need to duplicate the full weapon discussion.
The location and weapon-specific details stay in the all weapon locations guide.
For Akeley progression, the important point is simply that this is where the rifle becomes available.
The Wireless Room Brains Use Contradictory Testimonies
Later I find the Note About Wireless Room and eventually reach the machine connected to the brains.
The doctors are trying to triangulate three frequencies:
Primary
Secondary
and
Tertiary.
The trick is that the testimonies cannot all be accepted at face value.
One testimony says the Secondary is higher than the Primary, claims the Primary is well above 20 Hz, and warns me not to believe Pence.
Another says the Primary is between 10 and 20 Hz and describes the Tertiary in relation to the first two.
The third gives another Primary/Secondary relationship, says the Tertiary is under 30 Hz, and claims Wright is always wrong.
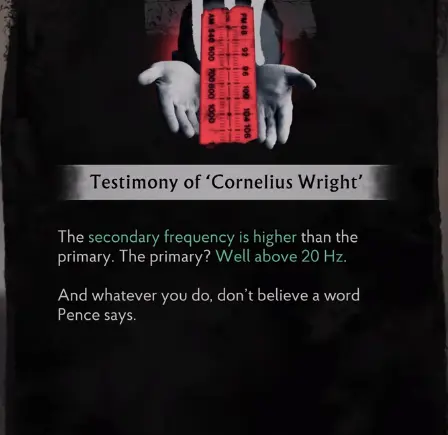
This is the real blocker:
I cannot make every testimony true simultaneously.
I have to compare the three statements and use the contradictions to identify the valid frequency relationships.
Once the machine is tuned correctly, the investigation completes.
The reward is 3 Dream Essence.
That makes this one of the optional hospital investigations I finish during the first visit rather than leaving behind.
Solve the Yellow Prism Station
After collecting the remaining Yellow symbol Evidence, I return to the Yellow Prism Station.
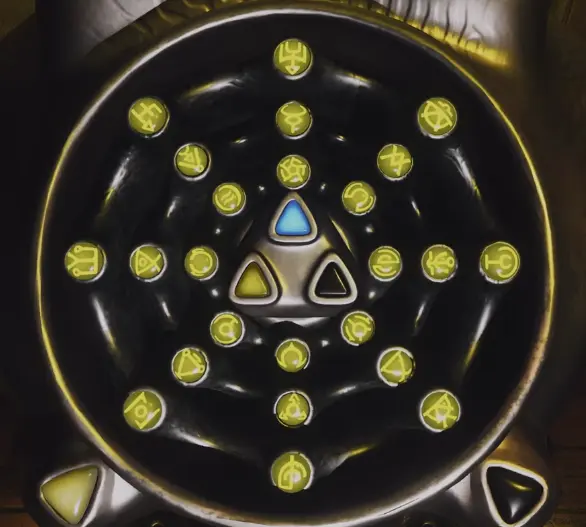
Once Yellow is solved, I continue through the newly available hospital route.
Around this stage I also obtain two important progression items:
Head Surgeon’s Face Mask
and
Vertebral Key.
Those move me into the final restricted portion of Akeley.
Finish the Head Surgeon’s Mask and Vertebral Key Route
The Head Surgeon’s Face Mask belongs to the same mirror-door system introduced by the Woman’s Face Mask earlier.
The Vertebral Key opens another later restricted route.
By this point I am no longer searching the hospital for an unknown mechanic.
I already know what each class of item does:
face → mirror door
key → restricted route
symbol set → Prism Station
That is what makes the late hospital much more readable than the opening section.
Solve the Pink Prism Station Last
Pink is the final Prism color I finish.
I collect the remaining Pink Evidence first, then return to the station.
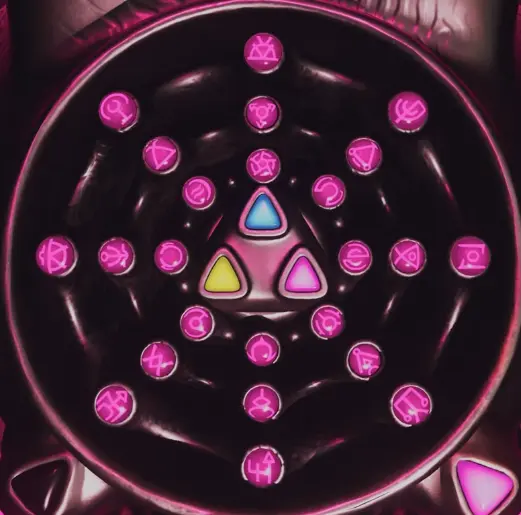
The second Nightmare appears shortly before this late section, and the third follows afterward.
Once Pink is complete and the third Nightmare is dead, most of the hospital’s major optional and puzzle cleanup is behind me.
What I Finish Before Leaving Akeley Memorial
Before I commit to the hospital’s final story sequence, I check that I have completed:
Blue Prism Station
Yellow Prism Station
Pink Prism Station
the face-mask and mirror-door progression
Locker Storage Room — 0297
Wireless Room Brains
and, for a completion run,
all 3 Nightmares
The hospital’s structure looks messy at first, but every major blocker eventually falls into one of four categories:
Prism
face
key
or
tool
Once I identify which category the current door or machine belongs to, I usually know whether I should solve it now or continue deeper into Akeley first.