How I Find All 3 Printing Plates and Solve the Red Press
My route to Printing Plates A, B and C, how the cursed Red Franklin works, and when I choose the gold shotgun stock or silver Dream Essence reward.
Updated:
Quick Answer
The cursed Red Franklin press requires 3 Printing Plates: A, B and C.
I collect them in this order:
Plate C — during the Star Key route around Redemption Church.
Plate A — inside the Arkham Printing House, reached through the church graveyard.
Plate B — at Professor Geller’s private residence beside the fire department.
I do not return to the press until I have all three.
At the Red Franklin:
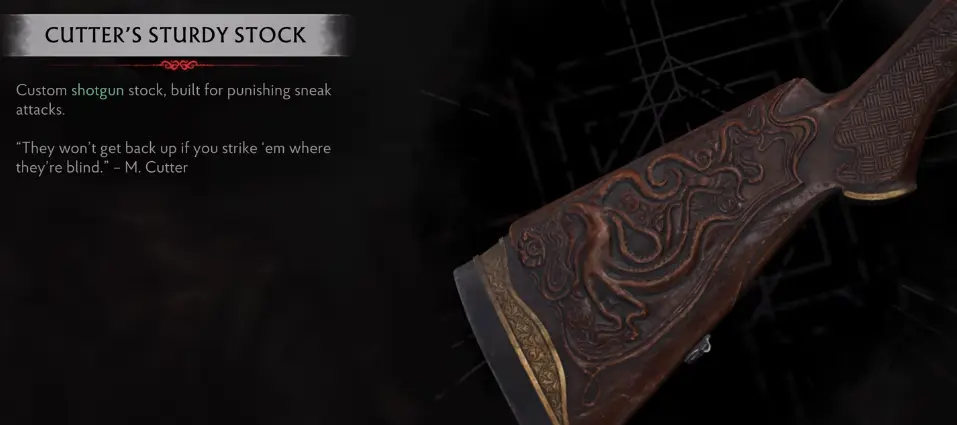
all gold → Cutter’s Sturdy Stock
all silver → 2 Dream Essence
I save before choosing because the Red Franklin clue warns that a human can endure only one use.
The biggest trap in this investigation is assuming the first Printing Plate means the press is ready.
It is not.
I find Plate C much earlier than Plate B, and the three pieces are spread across the same wider district I am already exploring for the church, broken crane and Printing House.
So I treat this as one investigation that develops alongside the main route.
My progression is:
Church → Plate C
→ Printing House → Plate A
→ Professor Geller’s residence → Plate B
→ return with all three
→ choose gold or silver
That prevents the Red Franklin from turning into three separate trips.
Printing Plate C Is on the Redemption Church Route
Printing Plate C is the first plate I find.
It appears during the Star Key side of the Redemption Church route, close to The First Vision and the other church investigation Evidence.
If I am already following the Redemption Church and Trident route, I collect Plate C before leaving that part of the district.
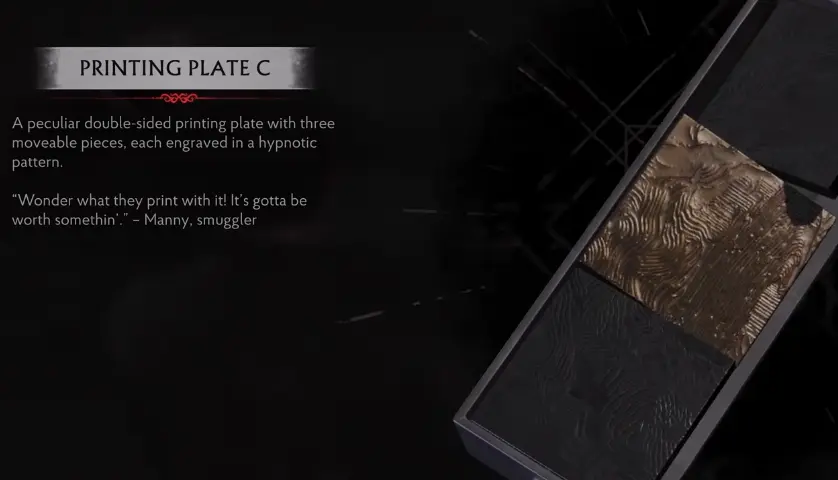
The plate also tells me something about the eventual puzzle.
It is double-sided, and its engraved sections can be moved and flipped.
So this is not a three-key puzzle where I simply insert A, B and C.
The plates themselves have to form the correct image later.
For now, I keep Plate C and continue the district.
Reach the Arkham Printing House Through the Graveyard
After the church, the main route eventually brings me to the broken crane blocking the way toward Devil’s Reef.
The crane needs two items:
Steel Gear
and
Gasoline.
The clues point toward the fire-station side of the district and the Arkham Printing House.
The flooded streets make the Printing House route less obvious than it sounds.
I reach it through the Redemption Church graveyard.
Once I have the Graveyard Key, I return to the church, open that route and push through toward the Printing House.
That trip is worth making now because I am not coming here only for the optional plate.
The same area also contains progression items needed for the crane.
Printing Plate A Is Inside the Printing House
Inside the Arkham Printing House I find Printing Plate A.
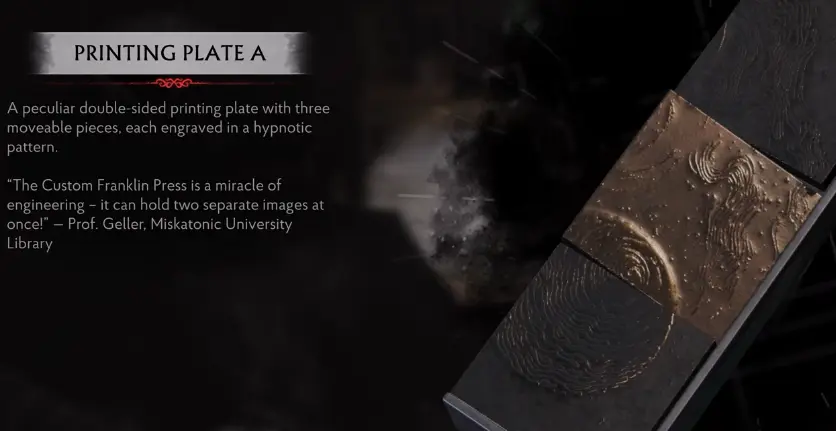
At this point I have A and C.
I still do not go back to the Red Franklin.
That was my first wrong instinct.
Two plates look close enough to completion that it feels as though B must be hidden in another Printing House room.
It is not.
Do Not Miss the A.P.H. Key
One smaller blocker inside the Printing House is the A.P.H. Key.
It is easy enough to walk past that I check the immediate office area carefully before assuming a locked Printing House route belongs to later story progression.
The important clue for me is the map.
If the game is still pointing me toward a key in the current section, I finish searching that section before leaving the building.
This prevents an unnecessary full loop back through the graveyard.
Printing Plate B Is Beside the Fire Department
Plate B is not inside the Printing House.
This was the main location mistake I made.
The Evidence Incident During Study explains that Professor Geller moved a plate to his:
private residence beside the fire department.
I follow that literally.
I return to the fire-department area and enter the accessible residence beside it instead of searching another Printing House floor.
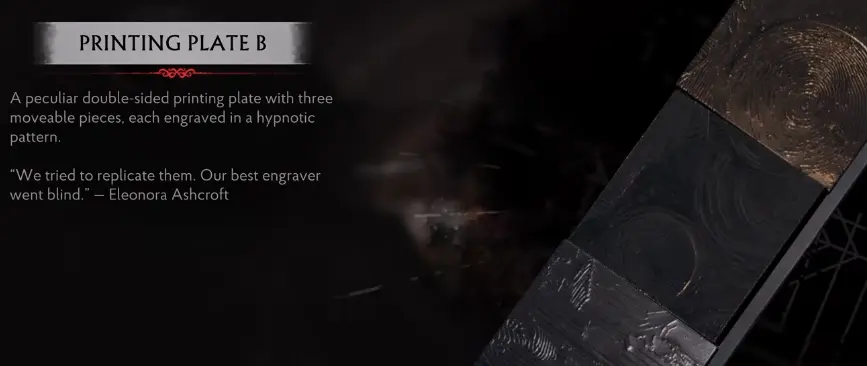
Here I collect Printing Plate B and the Evidence about the custom Red Franklin.
Now I finally have the complete set:
A + B + C
This is the point where I return to the press.
How the Custom Red Franklin Works
The Red Franklin uses the peculiar double-sided Printing Plates rather than ordinary printing plates.
The Evidence explains the important difference between the two sides:
silver is associated with the essence of the Dreamlands.
gold gives an offensive benefit.
It also gives a warning I take seriously:
a human can only endure one use.
So I do not press Validate on a random mixed arrangement just to experiment.
I choose the reward first.
Then I build the matching image.
How I Solve the Plate Puzzle
All three plates need to contribute to one coherent finished image.
The important mechanical detail is that the plate sections can be rearranged and flipped between their two sides.
My first mistake was changing several pieces quickly.
Once I did that, I could no longer tell which part of the picture I had actually fixed.
I get better results by working one visible section at a time:
choose gold or silver first
→ move one section
→ check how its pattern connects
→ flip it if the wrong side is showing
→ continue across the image
→ Validate only when the full design is consistent
There is no advantage to building half of the image in gold and half in silver when I already know which reward I want.
Gold Solution — Cutter’s Sturdy Stock
For the gold result, I arrange the complete design with the gold side showing.
Then I press Validate.
The reward is:
Cutter’s Sturdy Stock
It is a Field Surgeon shotgun accessory built around stronger attacks from behind.
This is normally the reward I take on a first run when the Field Surgeon is already part of my active loadout.
The reason is not that 2 Dream Essence is weak.
It is that Dream Essence has other sources, while Cutter’s Sturdy Stock is the unique equipment reward attached to this side of the choice.
Completing the cursed press investigation also gives me The Red Press achievement.
Silver Solution — 2 Dream Essence
For the alternative result, I arrange the complete image with the silver side showing.

The silver reward is:
2 Dream Essence
I take this when Talent progression matters more to me than another shotgun attachment.
So my decision is:
Field Surgeon is part of my build → gold
I would rather accelerate Talents → silver
For my normal first playthrough, I prefer gold.
Save Before Choosing Gold or Silver
I make a manual save before committing to the Red Franklin.
The Evidence explicitly warns that humans can only endure one use, so I treat the choice as final for that save state.
That means I decide before pressing Validate instead of assuming I can take the gold reward and immediately run the press again for silver.
If I want to compare both outcomes myself, I do it from the save.
My Complete Printing Press Route
By the time I leave this investigation, I expect to have:
Plate C — Redemption Church / Star Key route
Plate A — Arkham Printing House
A.P.H. Key — Printing House route
Plate B — Professor Geller’s residence beside the fire department
all 3 plates installed and aligned
and one final reward:
Gold → Cutter’s Sturdy Stock
or
Silver → 2 Dream Essence
Once the press validates and the investigation completes, I stop treating the Printing House as unfinished.
The next main progression problem is the broken crane and the route toward Devil’s Reef.