Silent Hill Townfall Part 6 Simon Walkthrough
Finish Part 6 as Simon through the Access Card route, Remote Systems Control, Auxiliary Lines, Valve F, final controls, and the last boss.
Updated:
Quick Answer
Find the Access Card in the facility, then use it on the shutter beside the stairs near the clamps. In Remote Systems Control, work through the CCTV controls, then complete the Auxiliary Lines section until all three indicator lights are green.
Part 6 begins immediately after the final CEG sequence in Part 5 Richard, with Simon back in control.
The last part is less about finding one password and more about surviving a long chain of connected industrial systems. The important sequence is:
Access Card → shutter → Remote Systems Control → CCTV IDs → Auxiliary Lines → Remote Systems Control again → Valve F → main control board → final confrontation
The area also contains one of the most dangerous roaming enemies in the game. Several routes make you cross the same rooms repeatedly, so spending every shell during the first encounter can leave Simon badly equipped for the fight at the end.
Move Through the Facility Until You Find the Access Card
The opening section behaves like a maze. Many doors are locked, vertical connections are easy to miss, and the large enemy can appear while Simon is still trying to determine which floor actually contains the next usable room.
Keep checking stairs and elevators rather than assuming a locked door requires a nearby keypad.
Eventually you reach the room containing the Access Card.
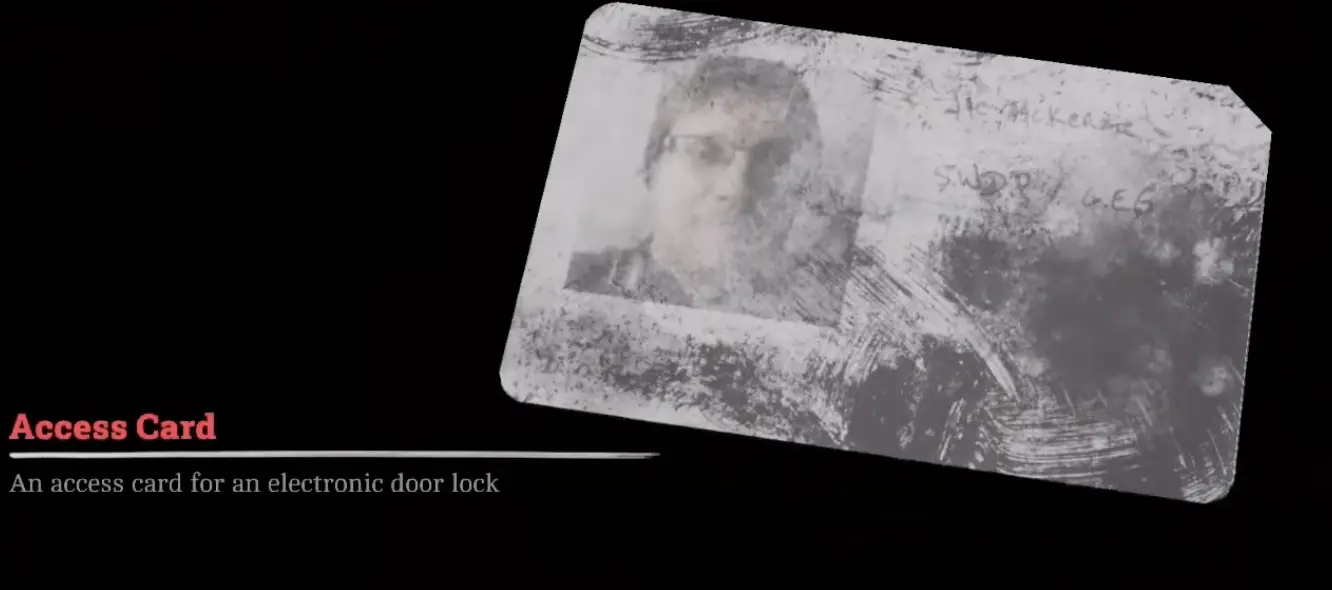
Picking it up does not immediately make the destination obvious. The card is used farther back near the clamp area rather than on another door in the same room.
There are several dangerous crossings between those two points. When the large enemy is already patrolling the hallway, I wait for it to commit to one direction before making the run instead of firing continuously.
A Flare Gun can stun the large threat long enough to create space. That is more useful here than trying to turn every encounter into a full fight.
Return Toward the Clamps and Find the Shutter
Bring the Access Card back toward the area marked by the clamps.
Look for the staircase beside that section and the locked shutter door with a card reader.
Use the Access Card there.
The game then moves Simon into the next control sequence.
This is the point where wandering the earlier maze stops being useful. Once the shutter accepts the card, follow the newly opened route into Remote Systems Control.
Use Remote Systems Control and the CCTV Cameras
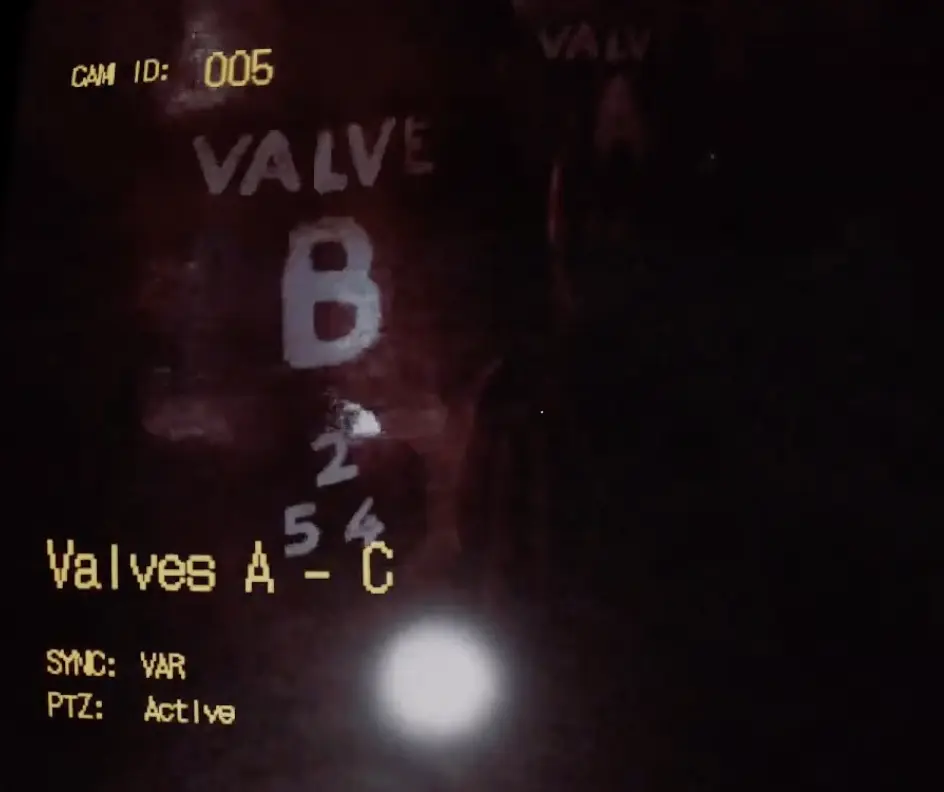
The control room uses CCTV feeds and equipment IDs rather than a single four-digit password.
One of the first useful IDs is:
Valve B — 254
Cycle through the CCTV feeds until you locate the correct unit, then match the identifier with the control information at the console.
The next important system is Filter A.
For that step:
Camera ID — 00
Filter A ID — 103
The IDs are there to identify the correct equipment and its corresponding control symbol. Do not treat every three-digit number in the room as a keypad PIN.
Once Filter A has been dealt with correctly, another storage point becomes usable.
Open Locker A2 and Take the Key
After the Filter A step, check the locker area.
The relevant locker is:
A2
Open it and take the key inside.
That key sends Simon away from Remote Systems Control again.
This stretch is where Part 6 becomes especially punishing if you have not saved recently. The game gives Simon key items but does not necessarily create a convenient checkpoint every time he changes floors.
Use the key to continue down into the industrial area.
Find the Auxiliary Lines Room
The next large puzzle is built around wall switches connected to the Auxiliary Lines.
There are nine single-line switches involved.
This is not a simple case of putting every handle into the same position. The painted line pattern tells you how the switches relate to one another, and the game only confirms the section once the correct group has been set.
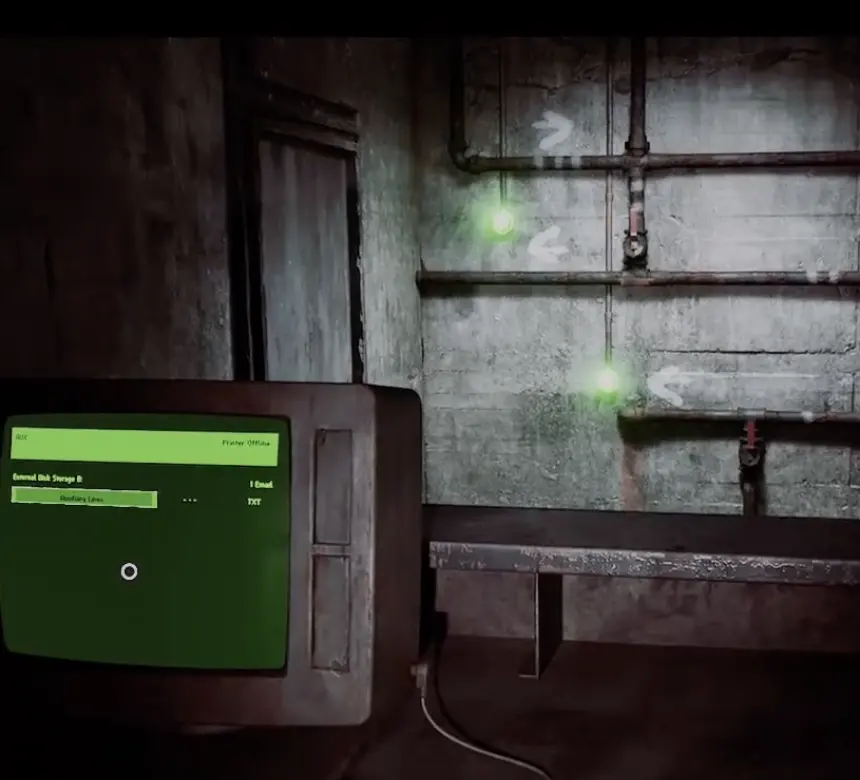
The clearest completion check is not the physical angle of one individual lever.
Look at the indicators.
You need:
three green lights
before leaving the room.
If the lights refuse to complete after several changes, reloading the save before the puzzle is safer than continuing to flip already-correct switches without knowing their original state.
Once all three lights are green, go back upstairs.
Return to Remote Systems Control
Back in the control room, continue through the CCTV and regulator sequence.
The purpose of this second visit is to stabilize the remaining system and clear the route deeper into the facility.
When the setup succeeds, the game reports that the overheat has been averted and opens access toward:
Valve F
Do not go back to the Access Card shutter or Auxiliary Lines room after that message. Those steps are finished.
If this is New Game Plus, check your ending route before leaving this control section. Part 6 contains the final Dog Ending coin and the last Sci-Fi/UFO items, and passing them can force another run. The all endings guide covers the Room 793, Room 621 and final keypad steps.
Leave Remote Systems Control and head downstairs.
Find Valve F
Follow the newly available lower route until you locate Valve F.
Interact with the red wheel.
This does not end the facility sequence. Turning Valve F changes the state of the system and sends Simon back toward the main controls one more time.
The repeated climb is intentional; there is not a second Valve F hidden elsewhere.
Once the wheel has been operated, return to the large control board.
Configure the Final Control Board
The last major machine presents several separate settings at once.
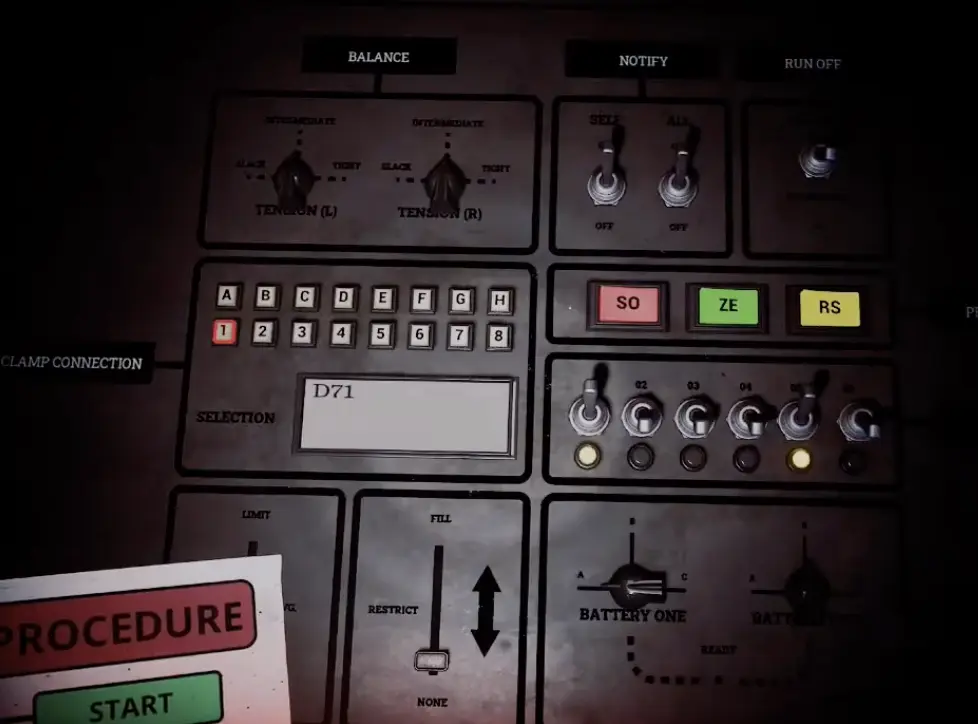
Several values are useful for checking that you are working on the correct controls:
Panel model — 920
Clamp Connection — D71
Set the pressure control at the lower-left to the required SET position, switch the required Self and All controls on, and set both left and right tension controls to their required immediate state.
The runoff control needs to be disengaged, while the relevant flow control is set to none.
Enter:
D71
for the Clamp Connection.
When the board is configured correctly, the green release button begins flashing.
Press it.
That is the real confirmation that the control sequence is complete. If the green release never becomes available, one of the earlier board settings is still wrong.
Follow the Story Sequence After the Release
The facility sequence gives way to a longer story section involving Simon, Richard and responsibility for the SWDP disaster on St. Amelia.
At this stage, stop searching the machinery for another code.
The important route is simply forward.
Simon eventually confronts what Richard expected him to say about the disaster, the agreement surrounding his survival, and the heart transplant that kept him alive.
After the scenes finish, gameplay resumes briefly.
Keep moving until the final confrontation begins.
Save Shotgun Ammo for the Final Fight
The final encounter is much more combat-heavy than most of Townfall.
The boss can attack Simon at range, close distance extremely quickly and punish you even when you think you have created enough space. Additional enemies also enter the arena during the fight.
The shotgun is the most useful weapon I had here.
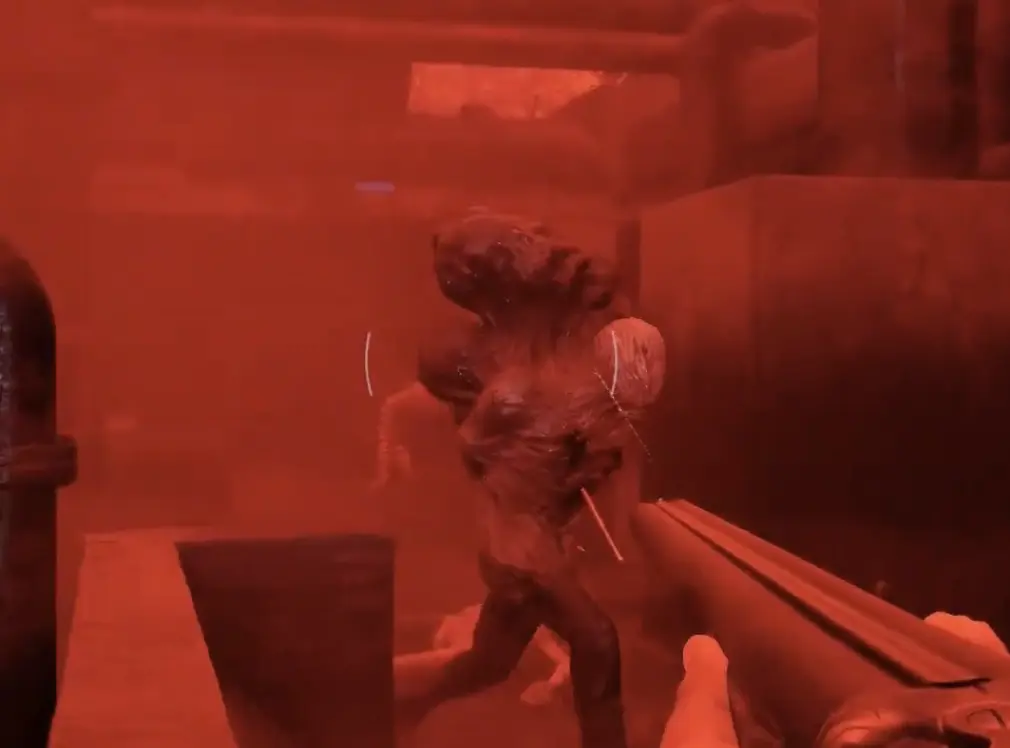
There are supplies around the arena, including ammunition and healing.
That does not mean you should wait until Simon is empty before collecting them. Reloading prevents you from grabbing nearby items, and the boss can close distance while the animation is still running.
A safer rhythm is:
- fire while you have a clear line on the boss;
- create distance before reloading;
- collect healing or shells while the immediate path is clear;
- kill an additional enemy when it is physically trapping Simon rather than letting the group build up behind you.
The screen also distorts during later stages of the fight. Simon can still be moving while that effect happens, so holding a direction blindly can carry you straight into another attack.
The boss is dangerous enough on its own. Getting surrounded by the additional enemies is what made most failed attempts collapse.
Keep Moving After the Boss
Winning the fight does not immediately roll the credits.
Continue through the remaining scenes and follow the open path.
There is no final keypad or another large machinery puzzle after the boss. The rest of the sequence resolves Simon’s confrontation with Richard and returns to the consequences of their agreement.
Townfall has five endings, so completing Part 6 does not guarantee the same result on every playthrough.
On this run, the ending shown after the final sequence was:
Abandoned Ending
If you received a different result, or want to target Justice, Forever, Dog or Sci-Fi/UFO, use the all endings guide for the kills-versus-Discoveries rules and the NG+ requirements.
The game then moves into the credits and results screen. Once the ending title appears, Part 6 is complete.