Silent Hill Townfall Part 4 Clara Woods Walkthrough
Get through Clara Woods, solve the CEG locker and house puzzles, collect all three Mechanical Parts, open the Strange Gate, and finish the Tower route.
Updated:
Quick Answer
Start at the CEG employee lockers, use 772 to open the South Brae route, then complete the three house-and-locker chains until you have all three Mechanical Parts. Combine them, open the Strange Gate, and continue through the Tower until Part 5 begins.
Clara Woods is where Townfall stops behaving like a sequence of isolated puzzles and turns into one long dependency chain.
You will find locker numbers before their barcodes, houses before you have the key or tool needed to search them properly, and codes before the game lets you interact with the lock they belong to. Knowing the final numbers helps, but several steps still have to be completed in the intended order.
The clean route is to treat the CEG employee locker building as your base. Each branch sends you into Clara Woods for a clue or barcode, then brings you back to open a locker and collect one of the items needed for the Mechanical Device.
Start at the CEG Employee Lockers
Once Part 4 opens Clara Woods, move toward the CEG facilities and find the employee locker building.
The first thing worth understanding is how these lockers work.
A visible locker number and a known PIN are not always enough. Several lockers only become usable after you have found the matching barcode and scanned it at the reader.
That is why Locker 75 can feel broken if you walk up to it too early.
Search the building carefully before leaving. You are looking for two early leads:
- the Lost and Found locker;
- the barcode associated with Locker 75.
If this is New Game Plus, Clara Woods also contains steps for both secret endings. Check the all endings guide before pushing too far into the area if you are collecting the Dog or Sci-Fi/UFO requirements.
Open Lost and Found With 772
The Lost and Found locker uses:
772
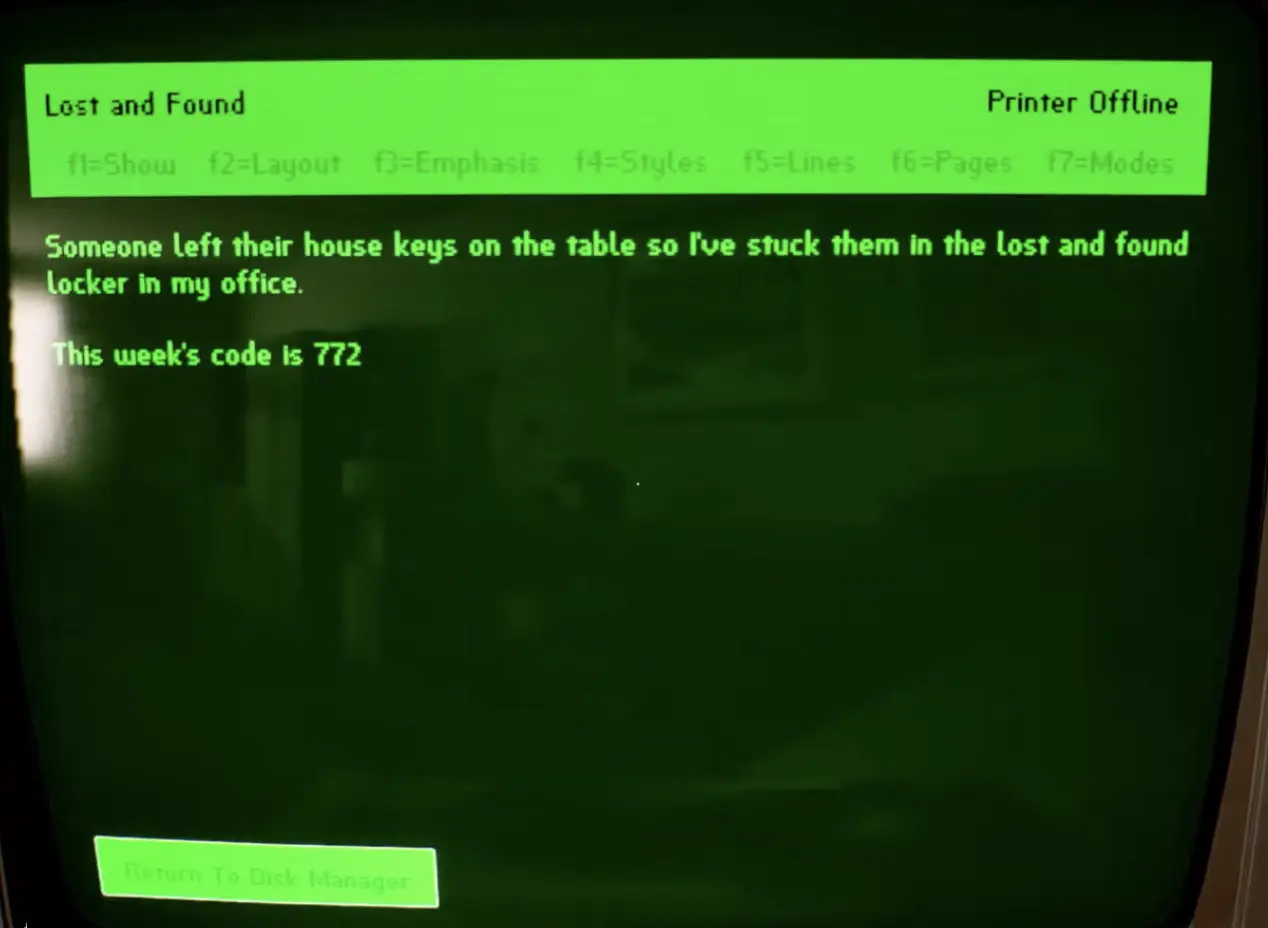
Inside is the item that sends you toward the South Brae houses.
This is the first major turning point in Clara Woods. Before opening it, a large part of the area looks accessible but produces little except locked doors and dead ends.
Once you have the South Brae access item, stop circling the employee buildings and move into the housing area.
Scan Locker 75 and Enter 184
The barcode for Locker 75 must be scanned before the locker becomes useful.
Once it is registered, the PIN is:
184
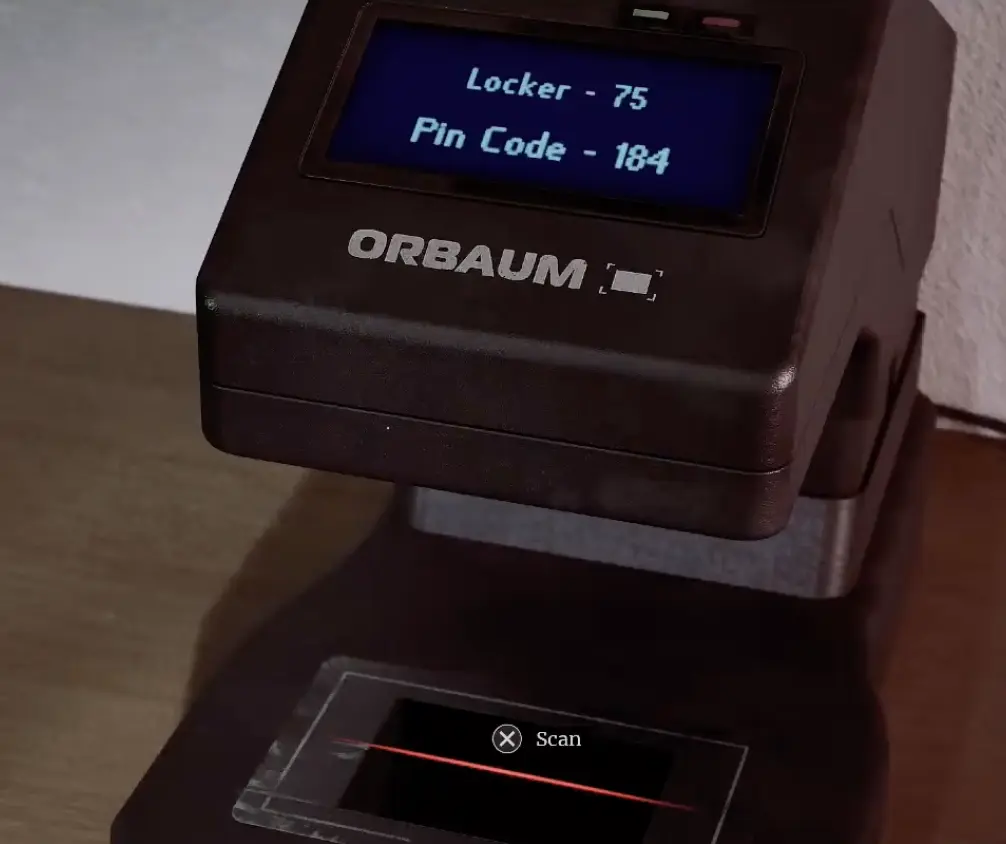
Inside is the Flare Gun.
The Flare Gun can damage a target with a direct hit or create a loud distraction. I would not burn every flare on ordinary enemies, though. Several later routes force you through tight spaces where pulling enemies away from a doorway is more useful than simply hurting one.
Keep at least one flare if you can. The Flare Gun remains useful much later, where a direct hit can briefly stun one of the large roaming enemies.
The weapon is not the main progression reward here, so after collecting it, return to the South Brae objective.
Enter 5 South Brae
Use the South Brae access item to enter 5 South Brae.
This house contains the first long puzzle chain of Part 4.
Search upstairs and collect the key needed to open the disk storage. Your goal is to obtain the grouped floppy disks tied to the computer in the house.
The important thing to remember is that the disks cannot simply be inserted and read immediately.
One of them is damaged, so you need repair software before the files can be recovered.
Get the Disk Repair Software
Leave the house and go to Atlas Computers.
Search the shop for the software used to repair damaged floppy disks, then take it back to the computer at 5 South Brae.
This is one of the easiest places to lose the thread because Clara Woods gives you several computers, disks and locked houses at roughly the same time. The repair software belongs specifically to the South Brae computer sequence.
On New Game Plus, this wider Atlas Square section also contains one of the items required for the Sci-Fi/UFO Ending. The all endings guide gives the complete secret-ending route so you can collect it before leaving the area.
Repair and Reassemble the Floppy Disk Files
At the computer in 5 South Brae, start with the disk-repair software.
Repair the damaged disk, then work through the numbered floppy disks in the order requested by the machine.
The process requires swapping disks several times rather than leaving one inserted from start to finish.
Once the files are restored, turn on the connected printer and print the recovered document.
The document identifies a Reciprocating Compressor and gives its part number:
956
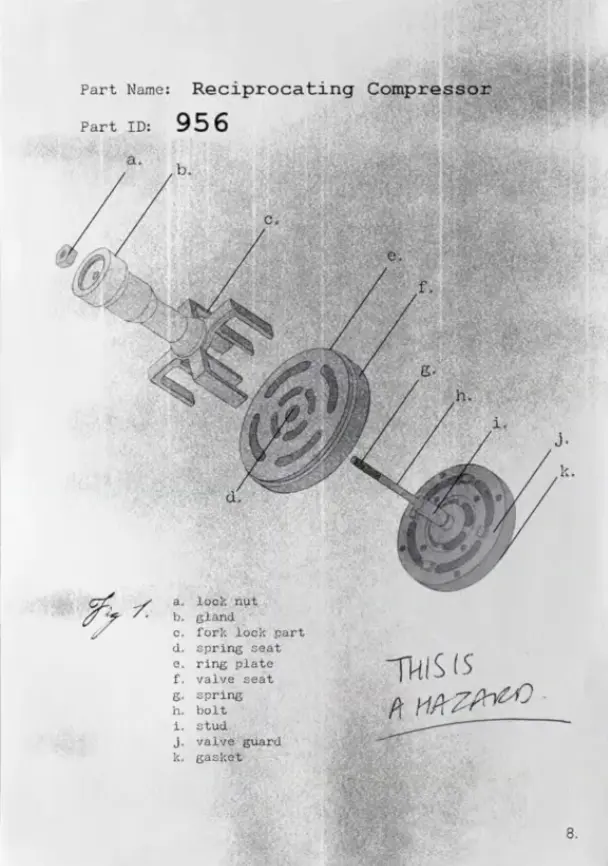
That number is the next safe code.
Use 956 on the South Brae Safe
Enter:
956
on the nearby safe.
The reward is not one of the Mechanical Parts directly.
Instead, the safe gives you a barcode.
That barcode points back to the employee lockers.
This is the pattern Clara Woods repeats several times:
house puzzle → barcode → employee locker → progression item
Do not keep searching South Brae for the Mechanical Part after getting the barcode. Return to the CEG locker building.
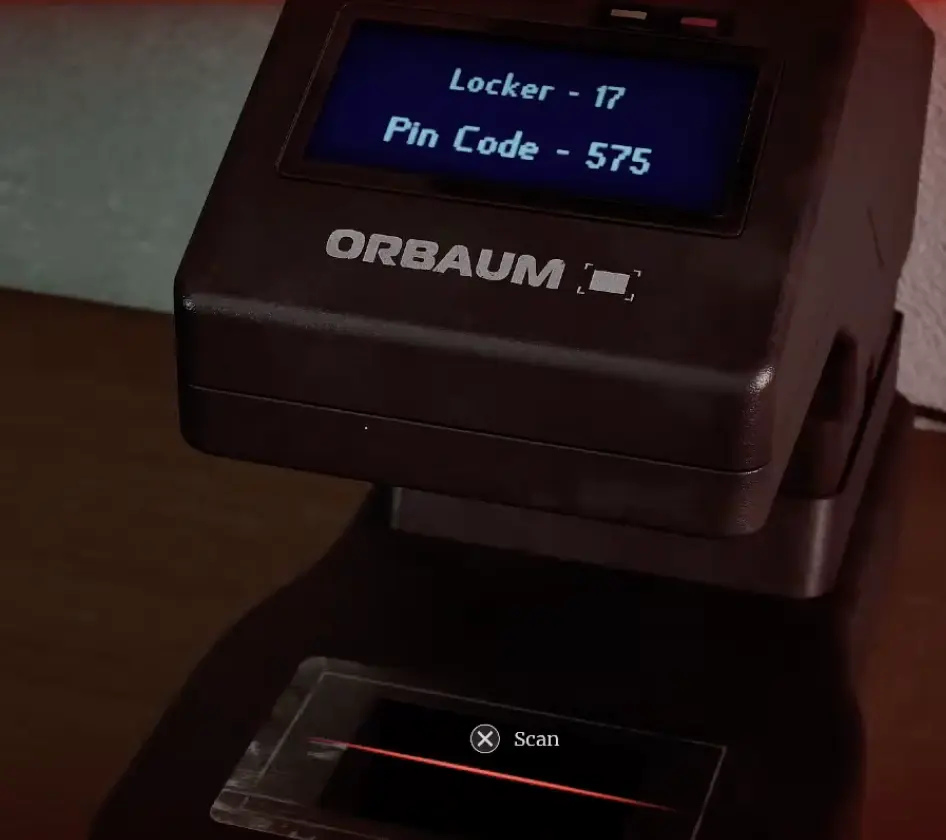
Scan the Barcode and Open Locker 17 With 575
Scan the new barcode at the locker terminal.
It identifies:
Locker 17
with PIN:
575
Locker 17 gives you two important rewards:
- Boltcutters
- Mechanical Part #1
The Boltcutters matter immediately.
Several gates and blocked routes that looked useless earlier in Clara Woods can now be opened, so this is the moment when exploration expands.
On New Game Plus, the Boltcutters also open access used during the Dog Ending route. The all endings guide shows where to finish the Silver Coin step before continuing deeper into Part 4.
Use the Boltcutters to Reach North Brae
With the Boltcutters, open the chained routes leading deeper into the housing estate.
Your next major branch is North Brae.
Inside the relevant house, read the Lamenting Poem.
The highlighted ideas are:
boats
arches
children
The poem is not just story text. Those three highlighted elements correspond to the visual clues used to derive the safe combination.
The correct safe code is:
736
Open the safe and take the barcode inside.
That barcode belongs to another CEG locker.
Return to the employee locker building when you are ready.
Open Locker 204 With 971
Scan the North Brae barcode.
The terminal gives:
Locker 204 — 971
Enter:
971
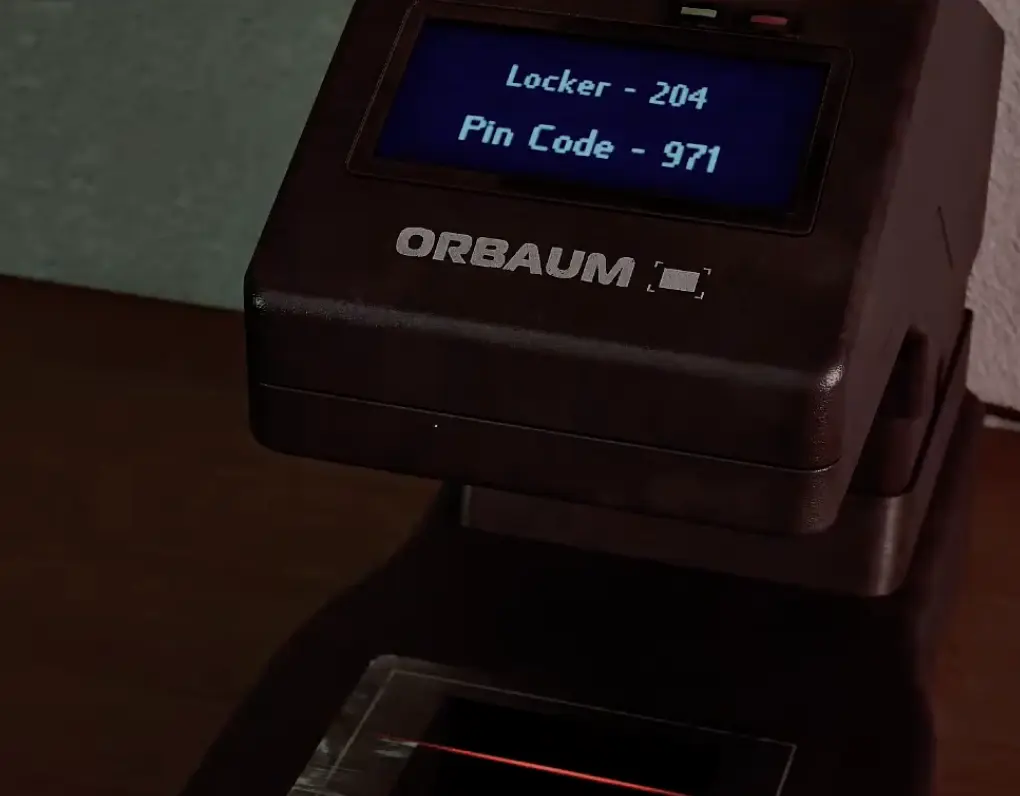
Take:
Mechanical Part #2
At this point you have two of the three pieces.
The last one is tied to the most time-consuming puzzle in Clara Woods.
Go to Upper Brae for the Tape Puzzle
The Upper Brae house changes depending on which recording is loaded into the player.
This is not just an audio clue. Loading a different tape changes the state of the house itself, including what can be found or interacted with.
The relevant states are built around:
- Today
- Yesterday
- Tomorrow
and the additional recording marked Do Not Play.
You need to move between these versions rather than trying to solve everything in a single state.
Use Yesterday to Find the Next Clues
Load Yesterday first.
Search the altered house for information that is not present in Today.
This version exposes additional records tied to the CEG employee and the failing compressor investigation.
You will also find values that become relevant to the later safe calculation.
Do not try to brute-force the safe yet. Clara Woods deliberately gives you several possible numbers before the final one becomes clear.
Use Do Not Play to Open the Rear Route
The Do Not Play recording changes the house more aggressively.
Use it to obtain the route or key that lets you access the rear section of the property.
Once that route is open, return to a safer house state before continuing.
The important reward is access to the item needed by the computer sequence.
Get the Ammonite Disk
Use the newly opened rear route to obtain the Ammonite Disk.
The disk belongs in the Upper Brae computer.
Load the required house state, insert the Ammonite Disk and read the current count stored on the machine.
The puzzle compares values from different points in time.
That is what turns the seemingly unrelated numbers around the house into a usable safe combination.
Upper Brae Safe Code: 129
After comparing the earlier and later values, the correct safe code is:
129
Open the safe.
Inside is the barcode for the final employee locker:
Locker 94
You are now one return trip away from completing the three-part device.
Open Locker 94 With 490
Go back to the CEG employee lockers and scan the Upper Brae barcode.
The result is:
Locker 94 — 490
Enter:
490
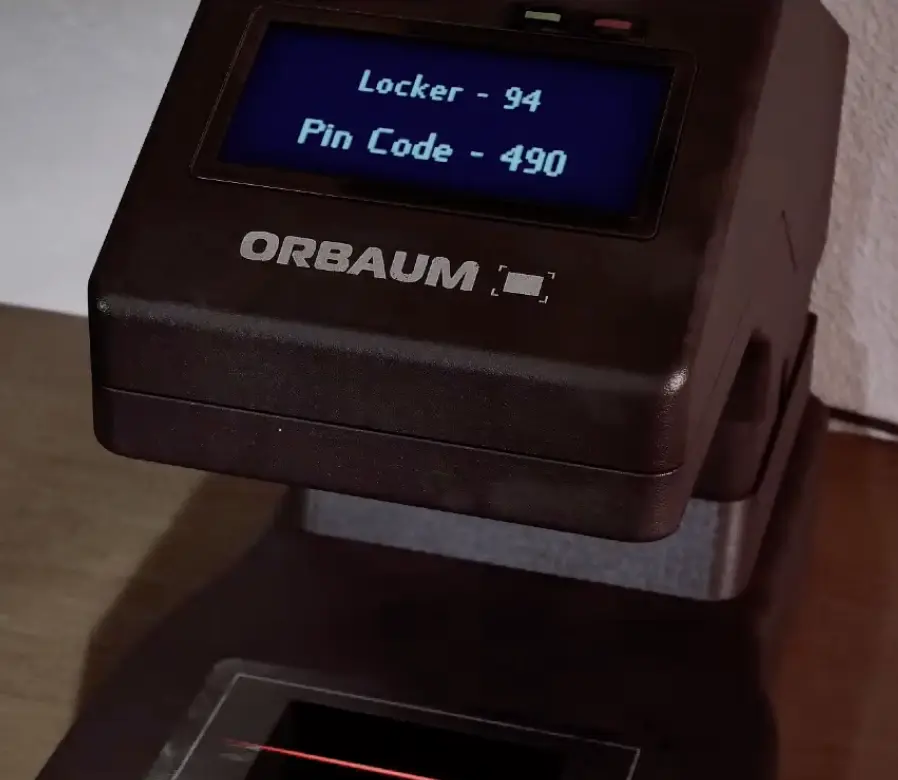
Take:
Mechanical Part #3
You should now have all three Mechanical Parts.
If you only have two, do not search random houses for a loose third component. Each part comes from one of the barcode-to-locker branches.
Combine the Three Mechanical Parts
Open the inventory and combine the pieces.
The parts have different shapes, so build the device by joining the two matching disc-like pieces first, then attach the cylindrical component.
The result is the completed Constructed Mechanical Device needed at the Strange Gate.
There is no fourth part.
Once the device appears in your inventory, the house-and-locker loop is complete.
Before using it at the gate, make a separate manual save if you want to collect multiple endings from the same NG+ run. This is one of the most useful branching points for adjusting the normal endings later; the all endings guide explains how to use that save without replaying the whole game.
Return to the Strange Gate
Head back toward the gate that previously blocked the route onward.
This is the same location that looked like the obvious way forward much earlier in Clara Woods but could not be used because the Mechanical Device was incomplete.
Insert the Constructed Mechanical Device into the gate mechanism.
The route opens.
Do not turn back toward the houses looking for another barcode or fourth Mechanical Part. The next objective is beyond the gate.
Continue Into the Tower
Opening the Strange Gate does not end Part 4.
Continue through the newly accessible route until Simon reaches the Tower area.
Zoe contacts Simon during this transition and confirms that he is at the tower. The person Simon has been following wanted him to come here, and the next destination is higher inside the building.
From this point onward, stop treating Clara Woods as an outdoor housing puzzle. The remaining section is an interior CEG route built around locked offices, terminals and access control.
Keep moving upward whenever the building gives you a working route.
Work Through the CEG Interior
The Tower contains a large amount of corporate material and several doors that can be reached before Simon has the access needed to open them.
Do not brute-force every number you see.
The important progression chain is to keep opening the currently available offices until you reach the employee-access system.
A later terminal asks for an Employee ID. Complete that lookup and continue through the terminal options until you can generate a new access card.
The key action is:
Generate Access Card
Once the system accepts the employee information, it produces Temporary Access.
That card is what allows Simon to continue through the locked Tower route.
Use the Temporary Access Card and Keep Going Up
Take the Temporary Access card back to the restricted route and use it to continue deeper into the Tower.
At this stage, your goal is no longer another Clara Woods safe or locker. Follow the newly opened interior path and keep working toward the upper levels.
The route eventually leads into a longer scene with Zoe.
Let that sequence finish completely.
Part 5 Starts After the Final Tower Scene
Part 4 only ends after Simon reaches the upper Tower section and finishes the scene with Zoe.
The next title shown is:
Part 5
and control changes to Richard Shaw.
That is the actual transition point.
Continue with the Part 5 Richard walkthrough once Richard becomes playable.