Silent Hill Townfall Part 5 Richard Walkthrough
Get through Part 5 as Richard, restore power in CEG HQ, collect the shotgun, recover the missing slides, finish the Boardroom sequence, and reach Part 6.
Updated:
Quick Answer
As Richard, work through CEG HQ until you reach the generator, restore the system with the three rear levers, then take the shotgun. When the objective changes to Project the Slides, search the lower offices for the missing material and carry it back to the Boardroom.
Part 5 changes playable character again. This time you control Richard Shaw, and most of the chapter takes place inside CEG HQ.
The building is the real obstacle. Richard moves between several floors, office sections unlock at different times, and important items are often far from the room where they are finally used. A door being locked does not necessarily mean its code or key is nearby, and reaching a keypad before the corresponding information has appeared can send you around the same floor for a long time.
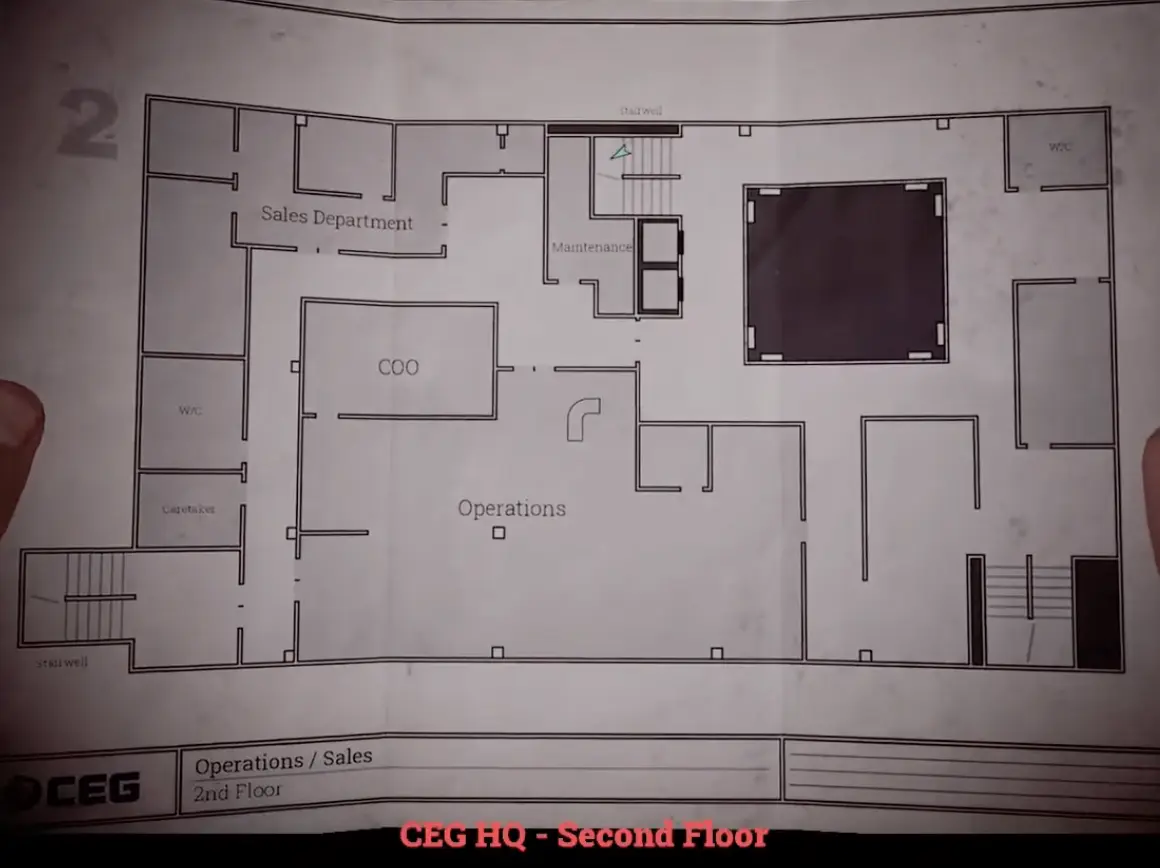
There is also a practical problem that makes the early section harder to read: Richard does not immediately have a useful building map. Until you find it, pay attention to floor signs, elevators, stairs, the Boardroom, IT and Maintenance rather than trying to remember every identical office corridor.
Start Part 5 as Richard
Part 5 begins immediately after the Clara Woods sequence and switches control from Simon to Richard.
Move through the available CEG interior and open the first accessible offices. There are documents, locked doors and numerical references everywhere, but not every number is meant for the first keypad you reach.
That distinction matters later. One of the easiest ways to lose time here is to remember a code, find another keypad on a different floor and assume the two belong together. The game does not always let Richard use a combination simply because you have personally seen the number somewhere else.
For the beginning of Part 5, keep following whichever office or utility route has actually opened instead of cycling through every locked keypad.
Restore Power Before Chasing More Locked Doors
The first major mechanical blocker is the generator / pump system.
The front controls can make it look as though you have completed the interaction, only for the system to report an error or leave the surrounding equipment without usable power.
Do not leave at that point.
Move around the unit and check the back. There are three separate levers that need to be operated as part of the power sequence.
Once the system is set correctly, the chapter advances and more of the building becomes usable.
This is also a good place to save. The CEG offices become more dangerous shortly afterward, and repeating the generator work because of a death several rooms later is unnecessary.
Take Richard’s Shotgun
Continue after the power sequence and let the next scene play.
Richard gains access to a shotgun.
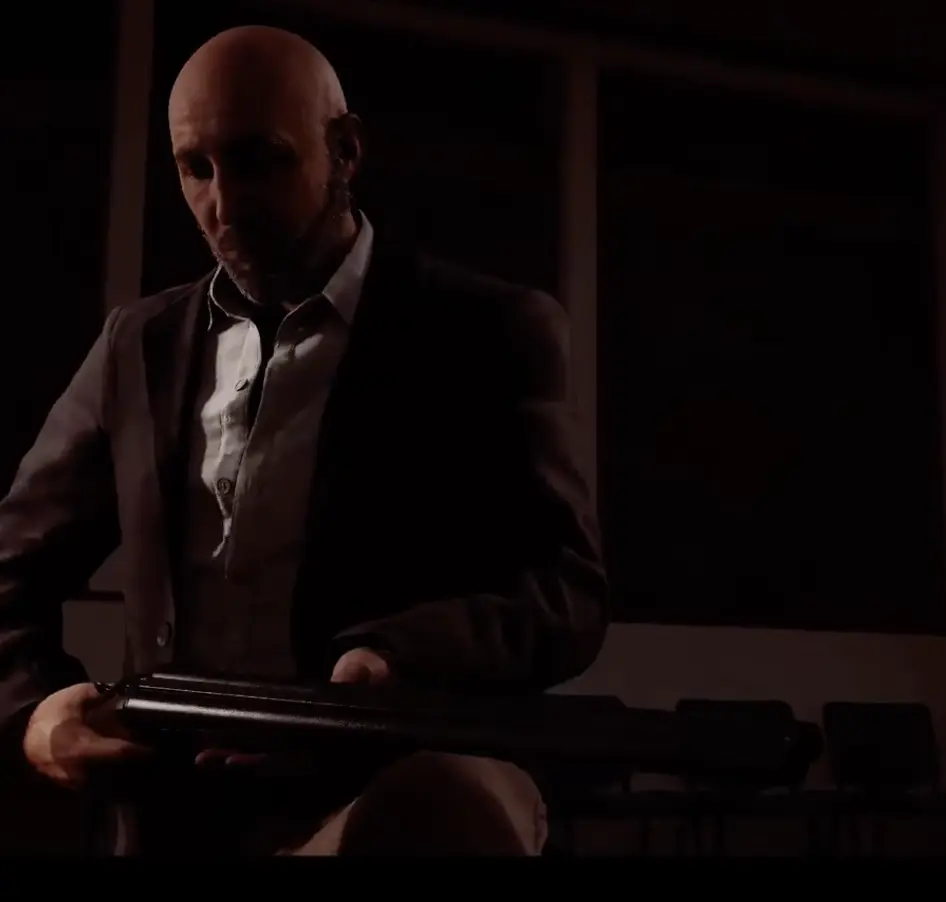
Part 5 places shotgun ammunition around later rooms, but that does not make every enemy worth shooting. Some of the threats in CEG HQ can kill Richard extremely quickly, while ordinary encounters can often be avoided by changing floors, closing distance to another doorway or using a distraction.
I keep shells for places where an enemy is physically blocking the only route forward. Spending several rounds in an office that I will never revisit leaves less margin once the chapter starts putting dangerous enemies directly beside doors and stairwells.
Find the CEG HQ Map
As you move deeper into the offices, keep searching accessible side rooms until you find the CEG HQ map.
This changes how I navigate the rest of the chapter. A room that appears close on the current floor may actually require an elevator or staircase from another section, and several later objectives send Richard from the top of the building almost all the way back down before making him return.
When an objective is clearly on another level, use the floor connections instead of checking every red door on the current corridor again.
Work Through the Newly Opened Floors
Restoring power and progressing through the first office section opens more of CEG HQ.
At this stage, use access items on the doors that actually have matching readers and continue through the newly available rooms. Do not assume that every keycard or number immediately belongs to the closest locked door.
Richard’s route repeatedly works like this:
new office access → document or item → another floor → newly usable room
The chapter becomes particularly confusing when you are carrying information for more than one floor at once. The safest way to keep the route straight is to finish the currently opened section before testing unrelated keypads elsewhere.
Eventually the active objective changes and points you toward the Boardroom.
Go to the Boardroom When the Objective Changes
Once the game starts referring to the Boardroom, head there instead of continuing to clear ordinary offices.
The important objective becomes:
Project the Slides
The projector is not the difficult part. The missing material is.
You can reach the Boardroom and still be unable to complete the presentation because Richard does not yet have everything needed for it. Searching the Boardroom itself over and over will not produce the missing slides.
The required route pulls you back through the building.
Search the Lower Offices for the Missing Slides
Leave the upper Boardroom area and work back through the lower levels, including the office sections around IT and Maintenance that have become available.
This is a genuine cross-building fetch rather than a hidden interaction beside the projector. During my run, the easy mistake was assuming the missing material had to be somewhere on the same upper floor because the projector objective had already appeared.
It is not.
Keep following the accessible lower-office route until you recover the missing slides.
Once they are in Richard’s inventory, stop searching the lower floor. The objective is now back upstairs.
Return to the Boardroom
Take the elevator or stairs back to the upper section and return to the Boardroom.
Use the projector with the recovered slides.
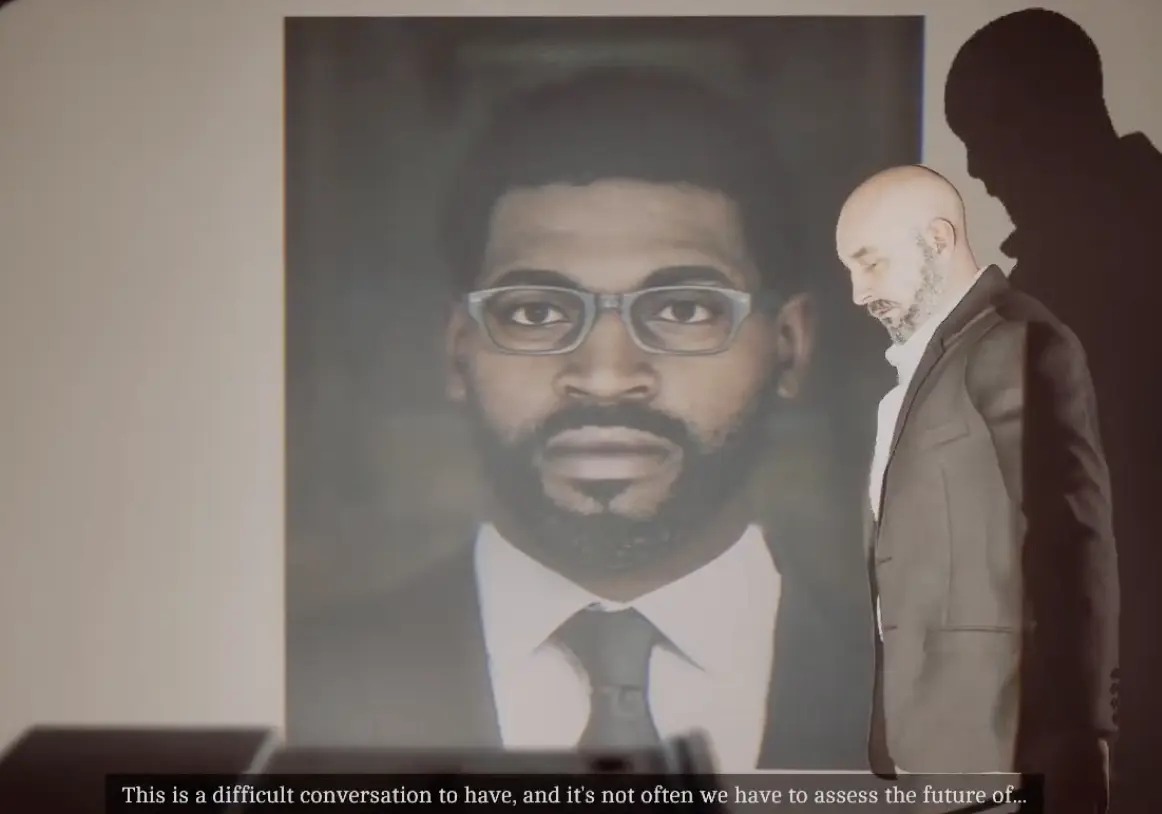
The slides are not simply inserted and forgotten. Their arrangement matters.
Use the information presented with the Boardroom material to put the presentation into its intended sequence. When the order is correct, the full corporate presentation can continue.
Do not treat every number or letter appearing in this section as another keypad combination. Some of the information here is describing sequence and alignment rather than a door PIN.
Once the presentation runs correctly, the story moves forward.
Simon Reaches Richard
After the Boardroom sequence, Simon reaches Richard.
The two finally confront what Richard has been asking Simon to do and why he needed him to reach this part of CEG HQ. Zoe is still central to the next step, and Richard makes it clear that there is a door he has never been able to open himself.
Let the conversation finish before leaving the area.
Part 5 is not over the instant Simon appears. Control continues through another short sequence, now with Simon involved directly.
Keep the Shotgun Available
The shotgun remains important after Richard’s section, and there is more ammunition around the late CEG route.
Do not empty it into minor enemies immediately before the character transition. The final part of the game introduces much more aggressive encounters, and keeping several shells is more useful than clearing a corridor that can be crossed without fighting.
Richard’s long office search is finished at this stage. The remaining objective is no longer to locate another Boardroom item or recover another slide.
Follow the newly opened route.
Match Alarm Code 77289 and Release the Clamp
Near the end of Part 5, the control panel shows the active alarm:
77289
The nearby reference sheet splits each alarm into two parts and pairs it with a coordinate range. Find the row for:
772 - 89
Its matching coordinates are:
A5 - D7
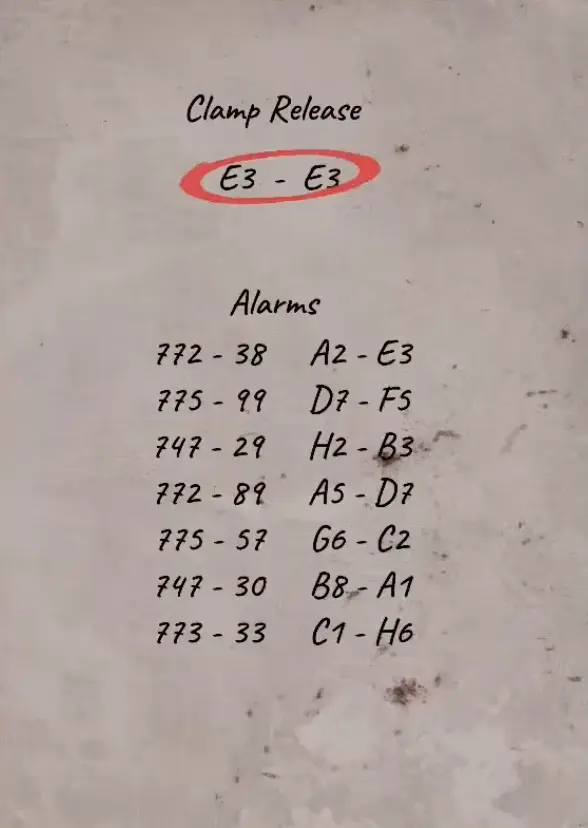
Keep those two pieces of information separate. A5-D7 is the coordinate pair associated with the current alarm; it is not the Clamp Release setting.
The same sheet lists the clamp instruction as:
Clamp Release — E3 - E3
This distinction matters because entering E3-E3 while treating it as the alarm answer does not resolve the whole sequence.
Once the alarm and clamp information have been applied to the mechanism, the remaining interaction becomes a visual alignment task.
Match the Rotating Sections to the Reference Image
The final interaction uses movable sections that need to line up with the reference image.
Work from the top downward and rotate one section at a time. Changing several levels together makes it much harder to tell which section is breaking the pattern.
The letter-number labels are no longer another five-digit password. Use the displayed reference pattern and adjust the sections until the image lines up correctly.
When the alignment is accepted, continue forward. The next major transition leads into:
Part 6