Orc Incremental Trials Guide: How I Approach Each Rule Set
Trials make me rebuild around a restriction instead of carrying my normal army inside. I unlock them through the Blight Tree, read the rule first, then spend only on Units, spells and survival tools that can still contribute.
Updated:
Quick Answer
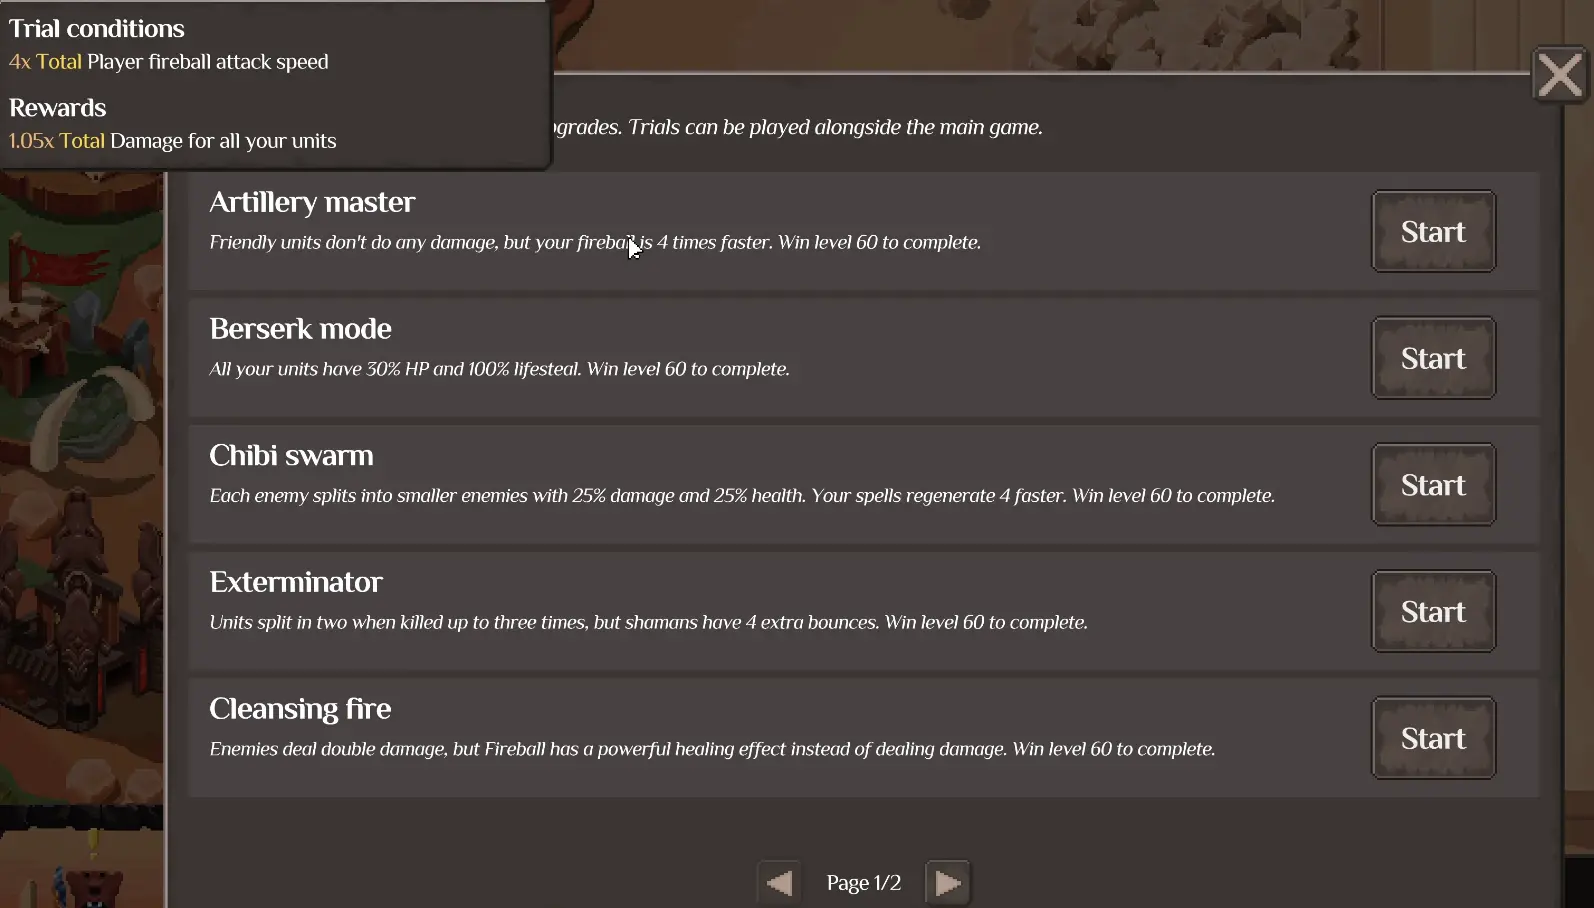
Unlock Trials through the Blight Tree, then read the condition before choosing the first cards. The Trial I entered did not carry over the temporary upgrades I had been relying on in my main run, so I treat each challenge as its own progression problem. In Artillery Master, friendly Units deal no damage and Fireballs attack 4× faster, which turns the army into a survival screen while I build Fireball damage and push toward Level 60.
I Unlock Trials After the Main Rebirth Loop Is Already Working
Trials appear deep enough in permanent progression that I can see the route before I necessarily want to buy it.
Early on, other Blight purchases have a more immediate effect. Gold improvements shorten the rebuild after Dark Rebirth, card upgrades make the Portal less punishing, and broad health or damage can fix a wall that is blocking normal progression right now.
Trials become more attractive once that foundation is already doing its job.
By then, the early levels return quickly after a reset, Warpath can carry a stable formation through multiple waves, and another small stat node has to compete with an unlock that creates an entirely new source of permanent progress.
That was the point where I moved through the Tree and opened Trials.
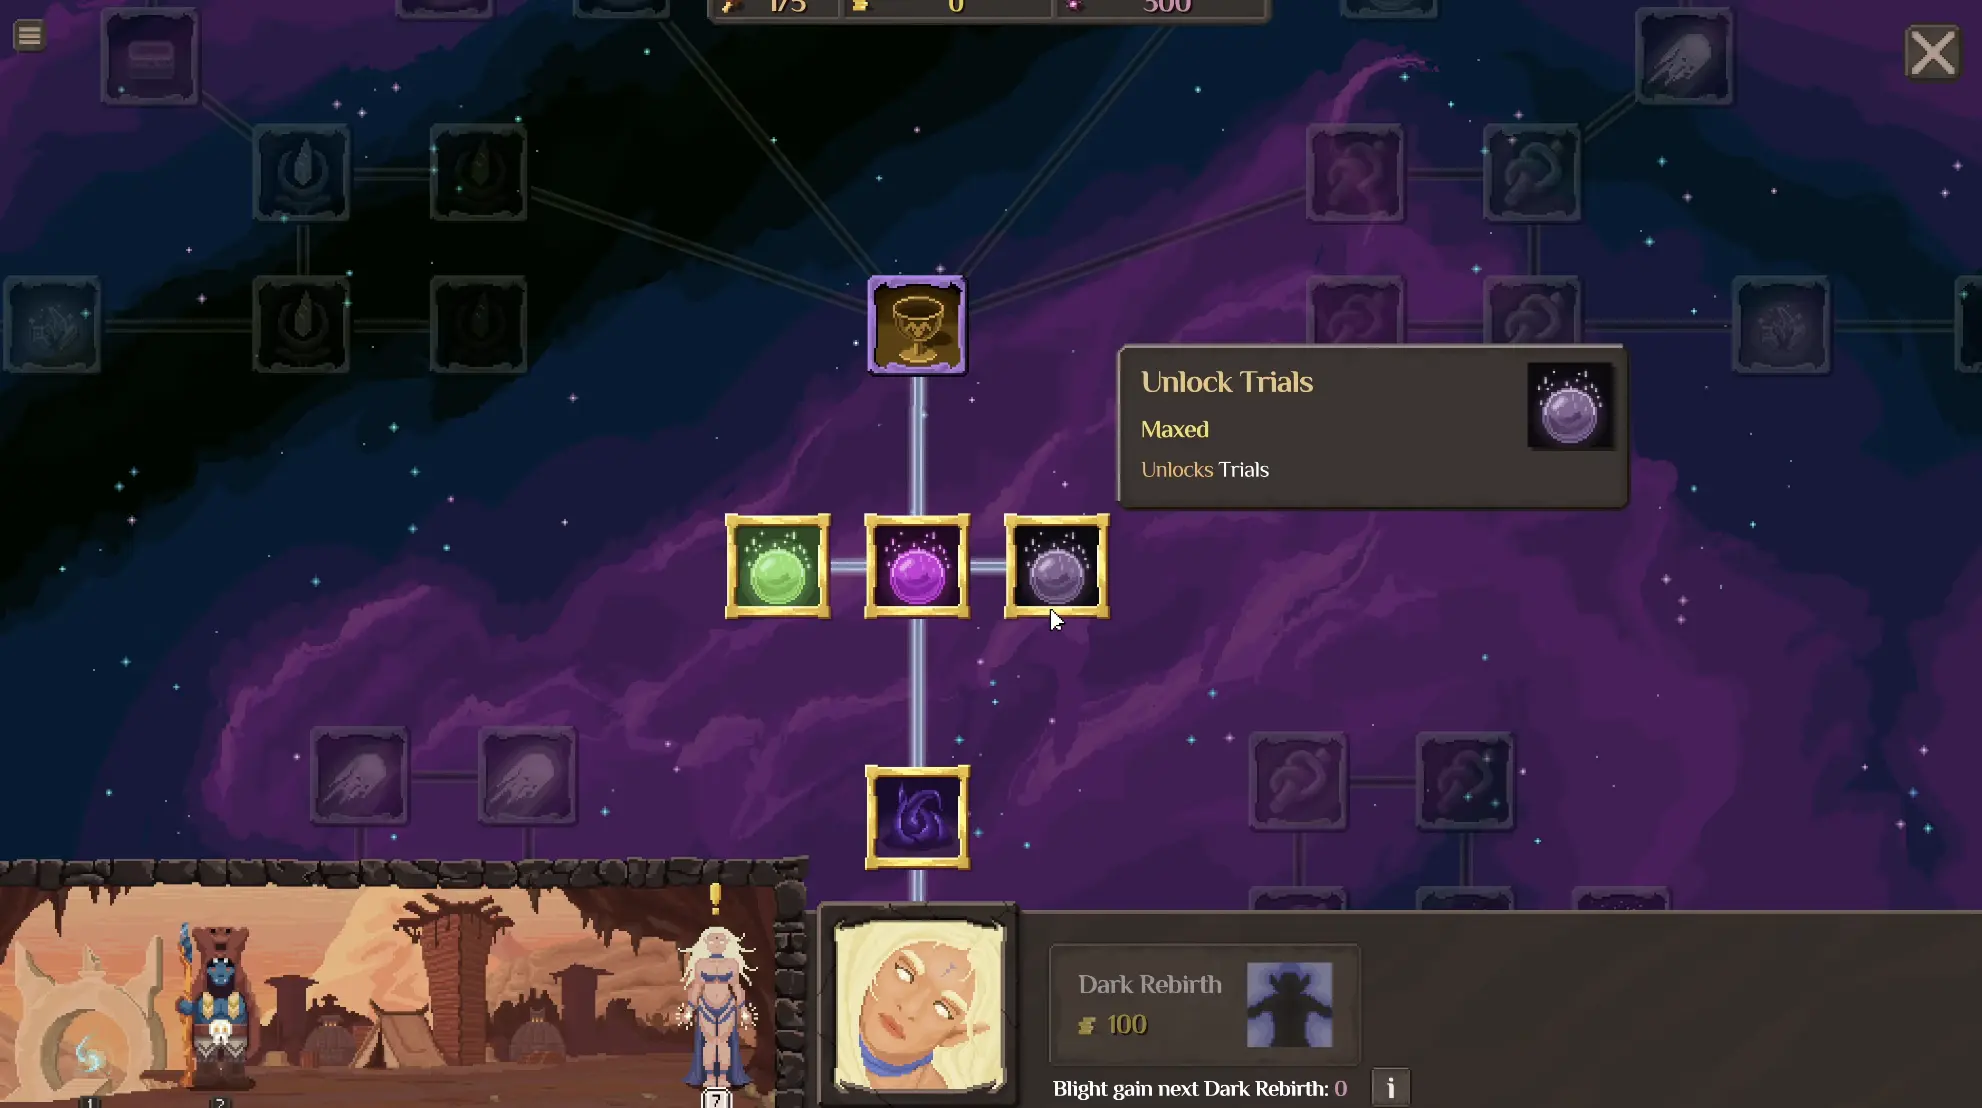
The specific route and surrounding permanent upgrades belong in the Blight Tree guide. Once the node is unlocked, the more important question becomes what kind of game Trials are actually asking me to play.
Starting a Trial Does Not Throw Away My Main Run
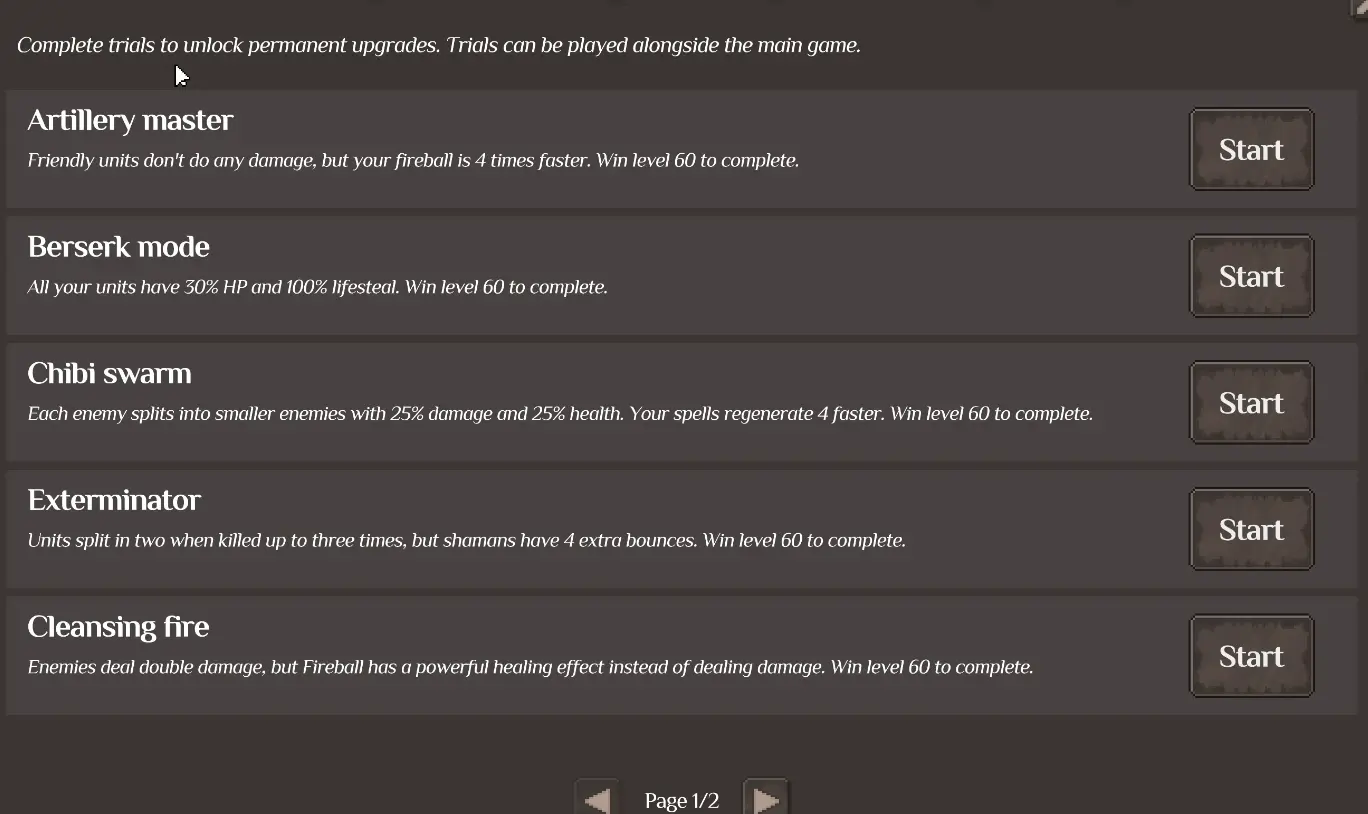
The Trials screen makes one important distinction clear: Trials can be played alongside the main game, and completing them unlocks permanent upgrades.
That changes how I schedule them.
A Trial is not another Dark Rebirth. I do not need to destroy a strong main formation simply because I want to test one. If my normal run is still pushing efficiently toward a boss or a useful permanent breakpoint, I can leave that progression intact and work on a Trial separately.
That makes Trials especially useful when my normal run has settled into a slower stretch. Instead of spending the whole session watching one Gold farm crawl toward the next purchase, I have another progression route with its own permanent rewards.
I would not leave the entire system untouched until every normal-game unlock is finished for that reason. A useful Trial reward can feed back into the runs I am still building.
The First Page Already Changes the Rules in Five Different Ways
The first set of Trial cards makes it obvious that there is no single “Trial build.”
Each challenge removes or exaggerates a different part of the normal game.
Artillery Master
This is the one I actually entered and spent time testing.
The rule gives the player 4× total Fireball attack speed, while friendly Units deal no damage. The goal is Level 60, and the displayed permanent reward is Life Steal for all Units.
The normal relationship between army and player damage is completely reversed.
Berserk Mode
This rule cuts allied Units down to 30% of their normal health while giving them 100% Life Steal.
That immediately shifts the question from raw durability toward whether the army can keep attacking. A Unit that stops connecting also stops using the mechanic that is supposed to compensate for the reduced health.
I would approach this as a sustain-through-damage challenge rather than copy a normal tank-heavy formation.
Chibi Swarm
This Trial fills the battlefield with additional pressure through enemy splitting, while the smaller enemies shown by the rule retain only a fraction of the original health and damage. The same card also gives spells 4× regeneration.
That combination points toward repeated spell use and reliable crowd clearing.
The danger is not necessarily one exceptionally durable target; it is allowing the extra bodies to multiply faster than the formation can remove them.
Exterminator
Exterminator pushes the splitting mechanic farther and gives Shamans +4 bounces.
That is a very different incentive from Artillery Master. Instead of removing allied damage, it appears designed to reward chain damage as the enemy count grows.
A Shaman-heavy approach is the first thing I would test here because the Trial itself is strengthening the exact behavior that becomes more valuable in a crowded battlefield.
Cleansing Fire
Cleansing Fire changes Fireball from an offensive tool into healing while the enemies deal 2× damage.
That flips the player’s role again.
Instead of spending Fireballs to remove dangerous ranged enemies, I would be watching which allied Units are about to collapse and using the player ability to keep the formation intact.
Five cards are enough to establish the rule I use for every Trial:
the Trial condition outranks my favorite main-game build.
A Unit, Totem or spell is valuable only if its normal strength still exists under the altered rules.
Artillery Master Immediately Exposed What Does Not Carry Over
My biggest surprise came as soon as I entered Artillery Master.
I had already invested heavily into Fireball progression during normal runs, so the 4× Fireball attack speed condition initially looked as if it would multiply an already-developed player build.
That was not what I found inside.
The familiar temporary progression was not waiting for me. The Trial started as its own progression state, and I had to build the challenge from there.
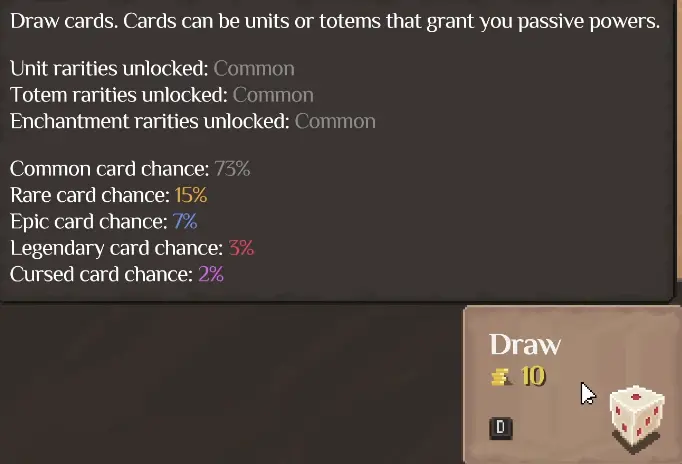
This is worth knowing before spending time preparing the main game for a Trial.
A powerful normal formation does not automatically become a powerful Trial formation, and stacking temporary Fireball upgrades outside Artillery Master is not a shortcut to its Level 60 requirement.
What I do carry into the decision is experience with the systems: which stats matter, how to position Units and which kinds of cards become expensive mistakes.
Artillery Master Makes the Player the Entire Damage Engine
The full condition explains exactly how this Trial should be read:
Player Fireballs attack 4× faster.
Friendly Units deal no damage.
Reach Level 60.
Unlock Life Steal for all Units.
This makes offensive Unit stats almost meaningless inside the challenge.
A Catapult can be one of my strongest normal progression cards because its long-range AoE can clear an entire cluster. Here, if friendly Units deal no damage, that advantage disappears.
The same thing happens to a high-damage Shaman or an offensive enchantment. The tooltip can still look impressive while the Trial rule has already removed the reason I would normally select it.
Units now have another job:
create enough time and space for Fireballs to finish every fight.
That changes which Portal cards I accept and which upgrades deserve Gold.
In Artillery Master, Health Is Part of My Damage Output
Because the Units cannot kill anything, their contribution is measured in seconds rather than damage.
If an Orc survives two more enemy attacks, that gives me time for more Fireballs.
If a support effect keeps the frontline standing through another group, that has effectively increased my total offensive output even though the Unit itself has dealt zero damage.
This is why a high-health Common card can be more useful here than a Rare damage dealer whose main advantage has been disabled.
I look for maximum health, healing, defensive effects and enough Unit capacity to put several independent health pools between the enemy and the end of the fight.
That is a very different way to value a Portal draw from the normal game.
In my regular build, a three-Power Catapult can justify its cost by killing several enemies at once. In Artillery Master, three Power spent on one body has to compete directly with the survival time I might get from several cheaper Units.
If the expensive card does not have a defensive property that matters, I would rather buy time.
Fireball Damage and Attack Speed Get My Offensive Gold
Once allied damage is gone, the offensive upgrade tree becomes much easier to filter.
Fireball damage directly reduces the number of casts needed to kill each enemy. Fireball attack speed reduces the time between those casts, and the Trial’s 4× total attack speed makes that side of the build central from the first levels onward.
I still watch which part of the equation is failing.
If the army survives comfortably while enemies take too long to die, Fireball offense deserves the next investment.
When Units collapse before I have enough time to finish the wave, another damage purchase may not solve anything. Health, sustain or a better formation can create more effective Fireball casts than another small offensive increase.
That gives me a useful rhythm inside Artillery Master: after a failure, I do not buy both sides blindly. I decide whether I ran out of damage or time.
Formation Still Matters When Units Deal Zero Damage
Removing allied damage does not remove positioning.
A fragile Unit running ahead of the frontline is still throwing away survival time. A durable body sitting behind weaker cards is still wasting the stat that made me choose it.
I arrange Artillery Master closer to a defensive screen than a normal Warband.
The toughest bodies meet the enemy first. Anything with useful healing or defensive support stays far enough back to survive, but close enough to help the Units absorbing pressure. Cards whose offensive role has been disabled are only included when their health or utility still earns the Power cost.
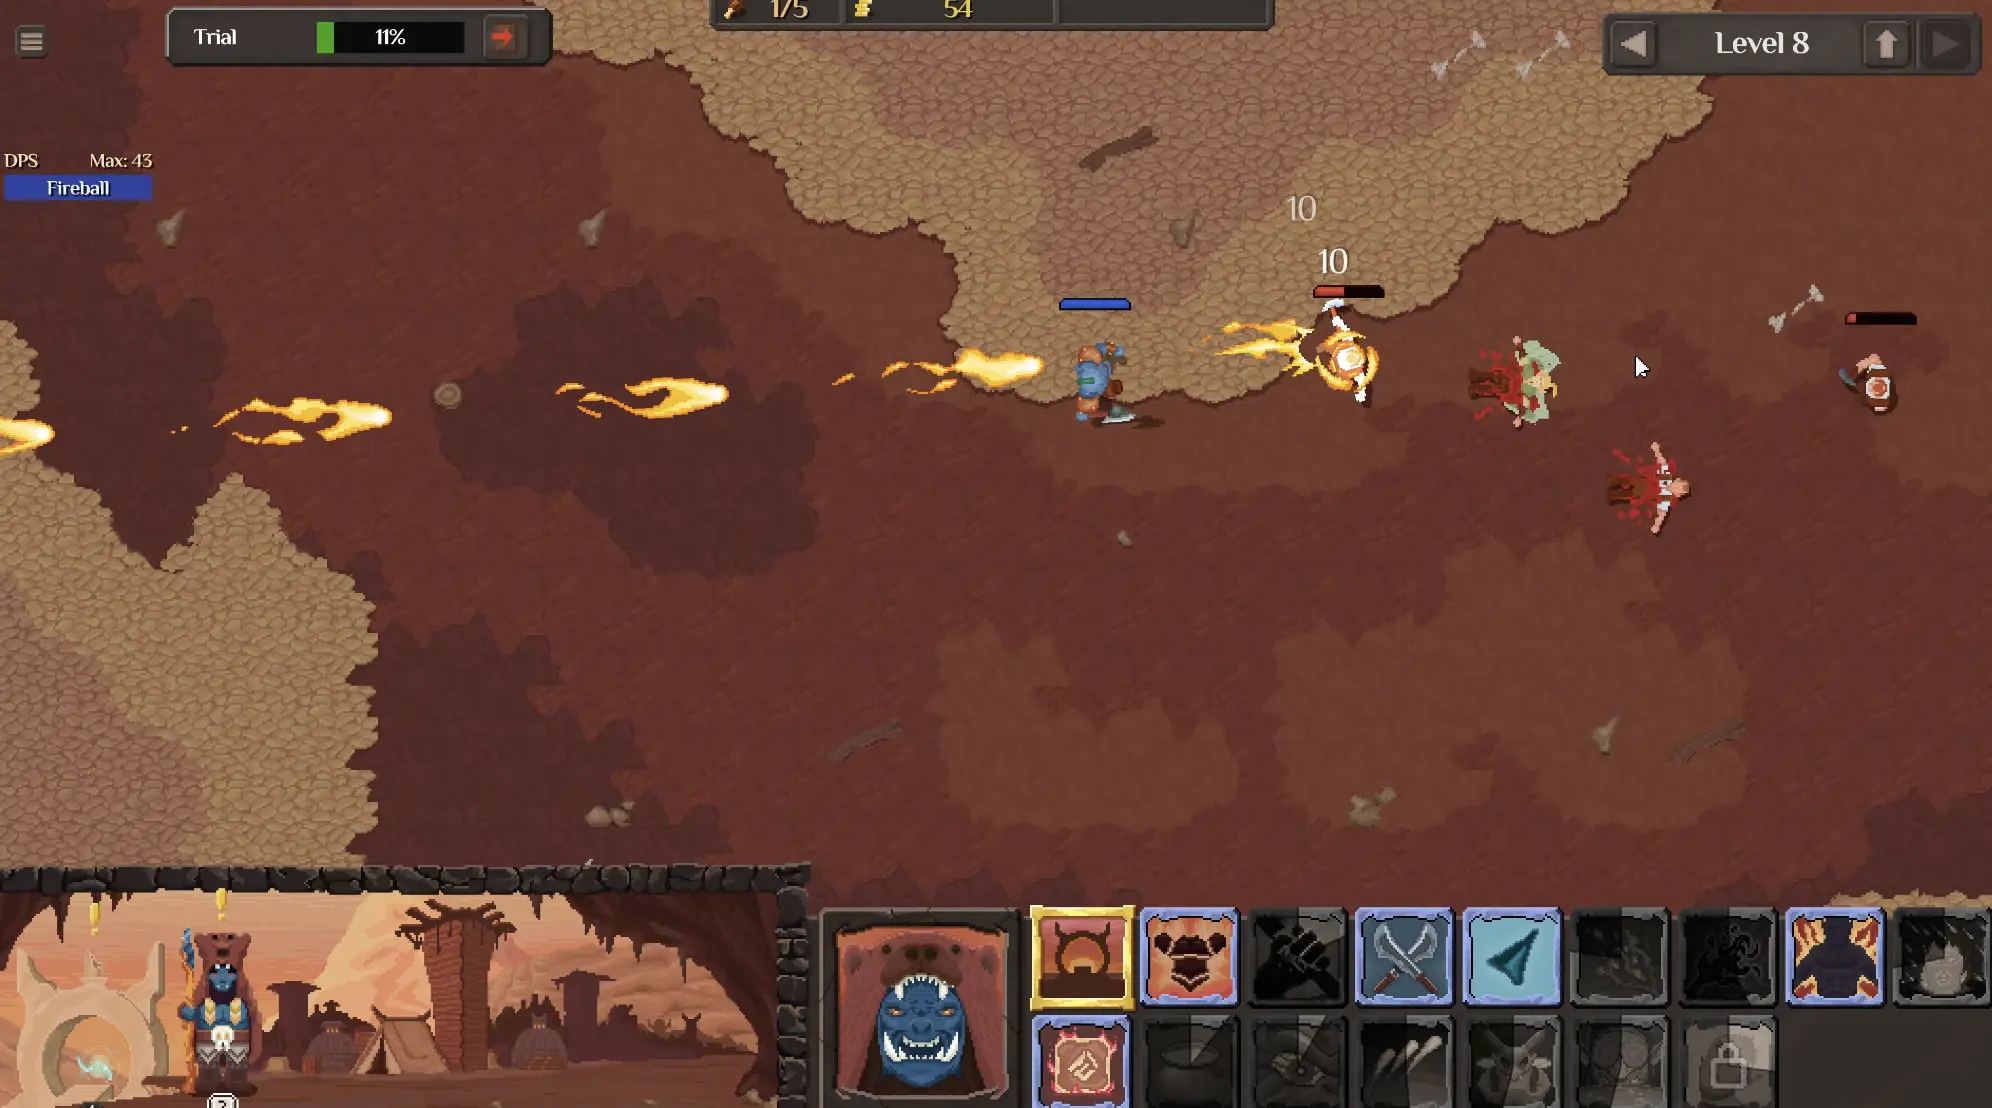
When a level fails, the death order tells me more than the upgrade menu.
If one fragile card consistently disappears before the rest of the army has engaged, I move it.
If the whole formation folds together while enemies still have substantial health, survivability is probably lagging.
If the Warband remains on the field for a long time and the enemy simply refuses to die, Fireball output has become the bottleneck.
That diagnosis prevents me from spending on a stat whose function the Trial has already removed.
Level 60 Makes Early Waste More Expensive Than It Looks
Artillery Master does not ask for one special boss kill.
The target is Level 60.
That turns small inefficient decisions into a much larger problem later because every poor purchase delays dozens of subsequent levels.
During the opening I therefore keep the plan narrow. Gold either increases Fireball output or keeps the defensive screen alive. A card or upgrade outside those two jobs has to provide something unusually useful before I spend around it.
That does not mean I refuse every interesting Unit.
A Rare or Epic card with substantially better survivability can still help. Healing remains relevant. Capacity upgrades can be valuable because additional bodies mean additional time before the enemy reaches the end of the formation.
The distinction is functional rather than rarity-based.
A card is good here when it advances the Trial’s actual win condition, even if it would be mediocre in my main run.
Life Steal Is a Permanent Reward I Actually Want Outside Trials
The Level 60 reward for Artillery Master is Life Steal for all Units, which makes the challenge much more attractive than a one-off achievement.
I had already seen how useful Life Steal could become in ordinary formations.
One Rare Dragon I rolled had 468 Health, 28 Damage, 0.85 Attack Speed, and restored 10 Health on hit through Life Steal.

The strength is not the ten health from one hit viewed in isolation.
A Unit that stays engaged and attacks repeatedly can keep converting offense into survival. On a piece capable of frequent attacks or interacting with several enemies, that sustain becomes much more noticeable.
A random Life Steal enchantment normally affects one card in one run.
A Trial reward feeds permanent progression.
That is the main reason I consider Trials before normal progression is completely exhausted: a successful challenge can improve builds I have not even rolled yet.
Berserk Mode Should Reward Consistent Contact More Than Passive Tanking
Berserk Mode presents almost the opposite problem from Artillery Master.
Instead of removing Unit damage, it ties survival closely to dealing damage. With Units at only 30% health but receiving 100% Life Steal, a large health bar alone is not the entire answer.
I would be much more interested in Units that can start attacking quickly and continue connecting.
Attack speed becomes attractive because more hits mean more opportunities to recover health. Area damage or multi-target interactions may also help if the Life Steal calculation rewards those connections as effectively as it does in normal play.
Control and positioning still matter because a low-health Unit that gets disabled or killed before it begins attacking cannot benefit from the Trial’s main advantage.
This is the first thing I would test when I move deeper into Berserk Mode:
which Unit archetypes can sustain themselves reliably enough that the 30% health penalty stops being the deciding factor?
That question is much more useful than importing my normal highest-health formation.
Chibi Swarm Looks Like a Crowd-Control Test, Not a Boss-Damage Test
Chibi Swarm produces the opposite battlefield shape.
Enemies can leave smaller enemies behind, while those reduced versions retain only a fraction of the original health and damage. Spells regenerate 4× faster, giving the player a much more active role in controlling the growing number of targets.
That points me toward area damage, chain attacks and frequent spell use.
A setup built entirely around slow single-target damage may kill the first enemy successfully and still fall behind as the battlefield fills with the next generation of targets.
The reduced health of the smaller enemies should reward attacks that can hit many things at once.
This is also where I would reconsider abilities I normally save for bosses. Four-times spell regeneration changes the cost of using them aggressively, so holding every spell for a perfect moment may leave value unused.
The rule set is telling me what kind of pressure to expect before the first build is even assembled.
Exterminator Gives Shamans a Reason to Become the Center of the Build
Exterminator takes the splitting concept in another direction and gives Shamans +4 bounces.
That bonus immediately catches my attention because chain damage becomes more valuable as the number of available targets grows.
In the main game, Shaman builds were already capable of reaching enemies outside the first melee cluster. Extra bounces directly reinforce that strength.
Here I would build outward from Shamans rather than add them as a secondary damage option.
The frontline only needs to keep the swarm from reaching the casters too early. Gold spent on Shaman attack speed, damage or effects that strengthen Spellcasters then has a much clearer purpose than an unrelated specialist upgrade.
There is still a point where more Shamans can leave the formation too fragile. The Trial bonus does not remove the need for enough frontline to let those additional bounces happen.
So the build question becomes one of balance: how few defensive bodies can I get away with while still giving the empowered Shamans enough time to clear the split waves?
Cleansing Fire Turns My Fireball Habit Upside Down
Cleansing Fire is the Trial that would punish my normal muscle memory most directly.
Enemies deal 2× damage, while Fireball becomes a healing tool rather than the offensive spell I use throughout normal progression.
That changes target selection completely.
I am no longer looking for the dangerous Archer or the weakest enemy to finish. My attention moves back onto the Warband, particularly whichever Unit is absorbing the most dangerous part of the enemy attack.
The doubled incoming damage also means late healing can be too late. I would rather use Fireball proactively on the Unit that is about to take the next burst than wait until several cards are already collapsing.
This Trial should therefore reward reading the formation rather than the enemy health bars.
The exact Unit build still matters, but the player’s job has become keeping the build functional under twice the normal pressure.
I Read Every Trial as a Resource Filter
The five visible rules look very different, but they all simplify one part of the decision-making once I take the condition seriously.
Artillery Master tells me Unit offense is wasted.
Berserk Mode makes attacking part of survival.
Chibi Swarm encourages repeated crowd clearing and faster spell use.
Exterminator points directly toward Shaman chains.
Cleansing Fire turns the player’s normal damage spell into sustain.
That lets me reject upgrades much more aggressively than I do in a normal run.
A powerful effect can still be useless under a Trial rule. Conversely, a card I would normally reroll can become one of the best options when the challenge amplifies exactly what it does.
I Am Comfortable Leaving a Trial Before Level 60
My first Artillery Master attempt did not need to become a forced completion run.
Once I had confirmed the separate progression state, the role of Units, the Fireball economy and the Level 60 objective, continuing with a weak setup would only have turned useful information into a long grind.
Leaving was fine.
The next attempt starts with a much clearer plan: Fireball offense supplies kills, the Warband supplies time, and every early purchase can be judged against those two jobs.
That is how I approach the other Trials as well.
If the first attempt exposes a bad assumption, I would rather leave with that answer than spend a large amount of time rescuing a build assembled before I understood the restriction.
Trials are persistent challenges, not one-chance events.
A failed or abandoned attempt can still make the next run substantially better.
Trials Become a Second Permanent Progression Track
Dark Rebirth and the Blight Tree improve the account through repeated normal runs.
Trials ask for something different: solve a deliberately distorted version of those systems and bring the reward back into the broader game.
That makes them more than optional challenge rooms.
They test whether I understand why a build works.
Artillery Master takes Unit damage away and forces me to think about Units as survival time. Berserk Mode ties survivability to attacking. Exterminator makes a familiar Shaman strength much more important. Cleansing Fire takes an ability I normally use offensively and asks me to manage the formation with it instead.
The strongest normal build therefore is not automatically the best Trial build.
What carries between them is the decision-making.
I read the restriction before spending, identify which normal assumptions are no longer true, choose Units and upgrades that still affect the win condition, then use each failed level to decide whether the next purchase belongs in damage, survival or utility.
That is what makes Trials useful even after the normal progression loop is already comfortable: they do not merely ask for a stronger version of the same army.
They ask me to build for a different game rule and reward me permanently when that new solution works.