Orc Incremental Achievements: How I Unlock All 28
Most achievements are easier once permanent progression has made older content trivial. I let milestones unlock naturally, then clean up boss conditions, dense-wave challenges, Warpath, unusual survivor states and Trials with builds suited to each requirement.
Updated:
Quick Answer
I let the progression achievements happen on their own and save the awkward conditions for later. Once older bosses and waves are comfortably below my current power, I use them for Swift Victory, Fireball Finisher, No Magic Needed, No One Left Behind, Fireball Barrage, Mass Rupture and the Warpath pair. I leave 10 Dark Rebirths, Trials and Bird Hunter running in the background rather than slowing early progression to force them.
All 28 Orc Incremental Achievements
The achievement list mixes three very different kinds of goals. Some simply record normal progression, several ask me to manipulate a fight in a specific way, and a smaller group depends on systems that arrive much later.
Trying to complete them in list order makes the early game worse for no real benefit. I use the requirement column to see what must eventually happen, but the last column is the part that determines when I actually care about it.
| Achievement | Requirement | When I handle it |
|---|---|---|
| Defeat the Level 10 Boss | Defeat the boss at Level 10 | Normal progression |
| Totem Rush | Activate 4 Totems within 3 seconds | Once I can hold four useful Totems |
| Win Your First Battle | Win the first battle | Automatic opening milestone |
| Blink and They’re Gone | Kill 20 enemies within 3 seconds | Dense weak wave with strong AoE |
| First Chieftain | Recruit your first Chieftain | Normal progression |
| First Dark Rebirth | Perform your first Dark Rebirth | Normal permanent progression |
| Fireball Finisher | Defeat a boss with a Fireball | Return to an older boss |
| First Blight Tree Node | Purchase your first Blight Tree node | Immediately after early Blight becomes useful |
| No Magic Needed | Defeat a boss without using Fireballs or spells | Older boss after Units can carry alone |
| No One Left Behind | Defeat a boss without any allied Unit dying | Strong survivability run against an older boss |
| Reach Level 60 | Reach Level 60 | Normal progression |
| Black Hole Crowd | Catch 10 enemies in a Black Hole | Wait for a dense wave before casting |
| Defeat Grub | Defeat Grub | Normal progression |
| Swift Victory | Defeat a boss within 10 seconds | Late cleanup on an easier boss |
| Fireball Barrage | Kill 10 enemies with Fireballs within 5 seconds | Weak grouped enemies after Fireball scaling |
| Mass Rupture | Rupture 10 enemies within 3 seconds | Group Rupture / Totem setup |
| Unlock Every Recruitable Unit | Unlock every recruitable Unit | Late roster progression |
| All Families Survive | Win with every Unit family still alive | After roster and capacity are broad enough |
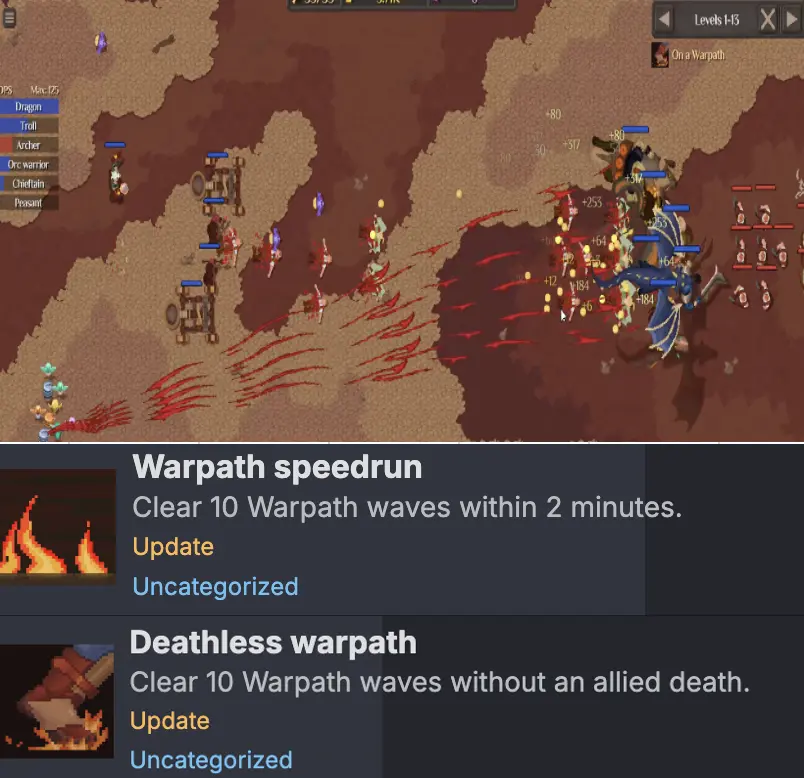
| Warpath Speedrun | Clear 10 Warpath waves within 2 minutes | Strong late build on easier levels |
| Last One Standing | Win a level above 100 with only one allied Unit alive | Late progression or controlled cleanup |
| Rapid Revival | Revive 3 allies within 5 seconds | Once multiple revival effects are available |
| Defeat Snake | Defeat Snake | Late normal progression |
| Deathless Warpath | Clear 10 Warpath waves without an allied death | Pair with Warpath Speedrun |
| Spellstorm | Use every spell within 5 seconds | After the full spell set is available |
| First Trial | Complete your first Trial | Trial progression |
| 10 Dark Rebirths | Perform 10 Dark Rebirths | Let normal reset cycles accumulate |
| Master of Trials | Complete every Trial | Long-term Trial completion |
| Bird Hunter | Kill 100 birds | Background progress across many runs |
The Opening Achievements Are Better Left Alone
I do not alter my first runs for Win Your First Battle, Defeat the Level 10 Boss, First Chieftain, First Dark Rebirth, First Blight Tree Node, Reach Level 60 or the later boss milestones.
They sit directly on the route I already need to follow.
Trying to accelerate the achievement side can actually slow the account down. For example, forcing weak Dark Rebirths just to increase the reset count gives up productive runs, while deliberately assembling strange mixed formations early for completion conditions can consume Gold and Power that would have pushed another unlock.
The progression route is enough for these milestones. I start actively hunting achievements only when the condition asks me to win in a way I would not normally choose.
I Use Older Bosses as an Achievement Playground
Four boss achievements become much easier if I stop trying to earn them at the progression wall:
Fireball Finisher, No Magic Needed, No One Left Behind and Swift Victory.
They want incompatible things, so I do not attempt all four in one fight.
For Fireball Finisher, I let the army remove most of the boss health, then slow down and reserve Fireballs for the end. An older boss gives me enough control that the Units are not desperately racing to survive while I wait for the correct final hit.
No Magic Needed is almost the opposite. I want a formation strong enough to handle the same fight without my intervention. Rather than attempt this when Fireballs are still a major part of early damage, I return after permanent Unit upgrades have pushed that boss well below my current power.
No One Left Behind favors survivability. Healing, a durable frontline and useful sustain matter more than squeezing every possible point of burst into the formation. If a Unit repeatedly dies in the last few seconds, I leave the achievement and come back after the account gains more permanent health rather than rebuilding an otherwise successful progression run around it.
Swift Victory is the easiest proof that waiting pays off.

When I returned with much stronger permanent progression, burst damage did the work that an elaborate special setup would have struggled to accomplish earlier.
Dense Waves Let Me Clear Several Different Conditions With the Same Account
The next group is less about raw account progression and more about finding the correct battlefield.
Blink and They’re Gone, Black Hole Crowd, Fireball Barrage and Mass Rupture all become easier when many enemies are alive close together.
That does not mean they want the same build.
For Blink, I need enough burst or AoE to erase a large group almost simultaneously. Catapults, Shaman chains and other effects that spread through several targets make far more sense than a boss-oriented single-target setup.
Black Hole Crowd is mostly a patience test. I hold the ability until the wave has actually produced enough targets. Spending Black Hole on the first dangerous enemies may be correct for progression, but it ruins the achievement attempt by emptying the spell before the battlefield is crowded enough.
Fireball Barrage requires much tighter control because my Fireballs need to secure the kills.
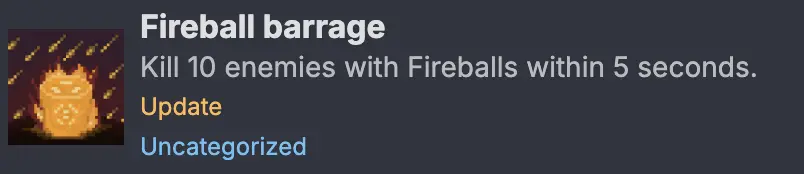
If the army is doing too much work, I step back to a level where I can control the fight rather than piling even more damage onto the Units. Once the Fireballs themselves are reliably killing each target, the five-second window becomes much easier to satisfy.
Mass Rupture Became a Totem-Timing Problem
Mass Rupture looked awkward until I had a way to apply the status to an area.
The useful interaction came from Amethyst Idol. Its three-Totem trigger heals allied Units for 10% of their maximum HP and applies Rupture within 160 units.
That is exactly the kind of effect I want when several enemies need the status almost at once.

I keep the Totems available until the enemy count is high enough, then trigger the combination into the group. Because the same run already wants several Totems ready in a short window, it is also a good place to watch for Totem Rush instead of building an entirely separate account state for that achievement.
The exact Totem interactions belong in the build guide. For achievement cleanup, I only care that the status can reach enough targets in the required window.
All Families Survive Gets Easier After the Roster Stops Being the Problem
This achievement can tempt me into making a terrible formation.
The challenge is not simply obtaining every Unit family. I need the required mix on the field and still have all of them alive when the battle ends.
That is much easier later, when extra permanent health, better card quality and a broader roster give me room to carry one Unit family that would not normally make the strongest version of the formation.
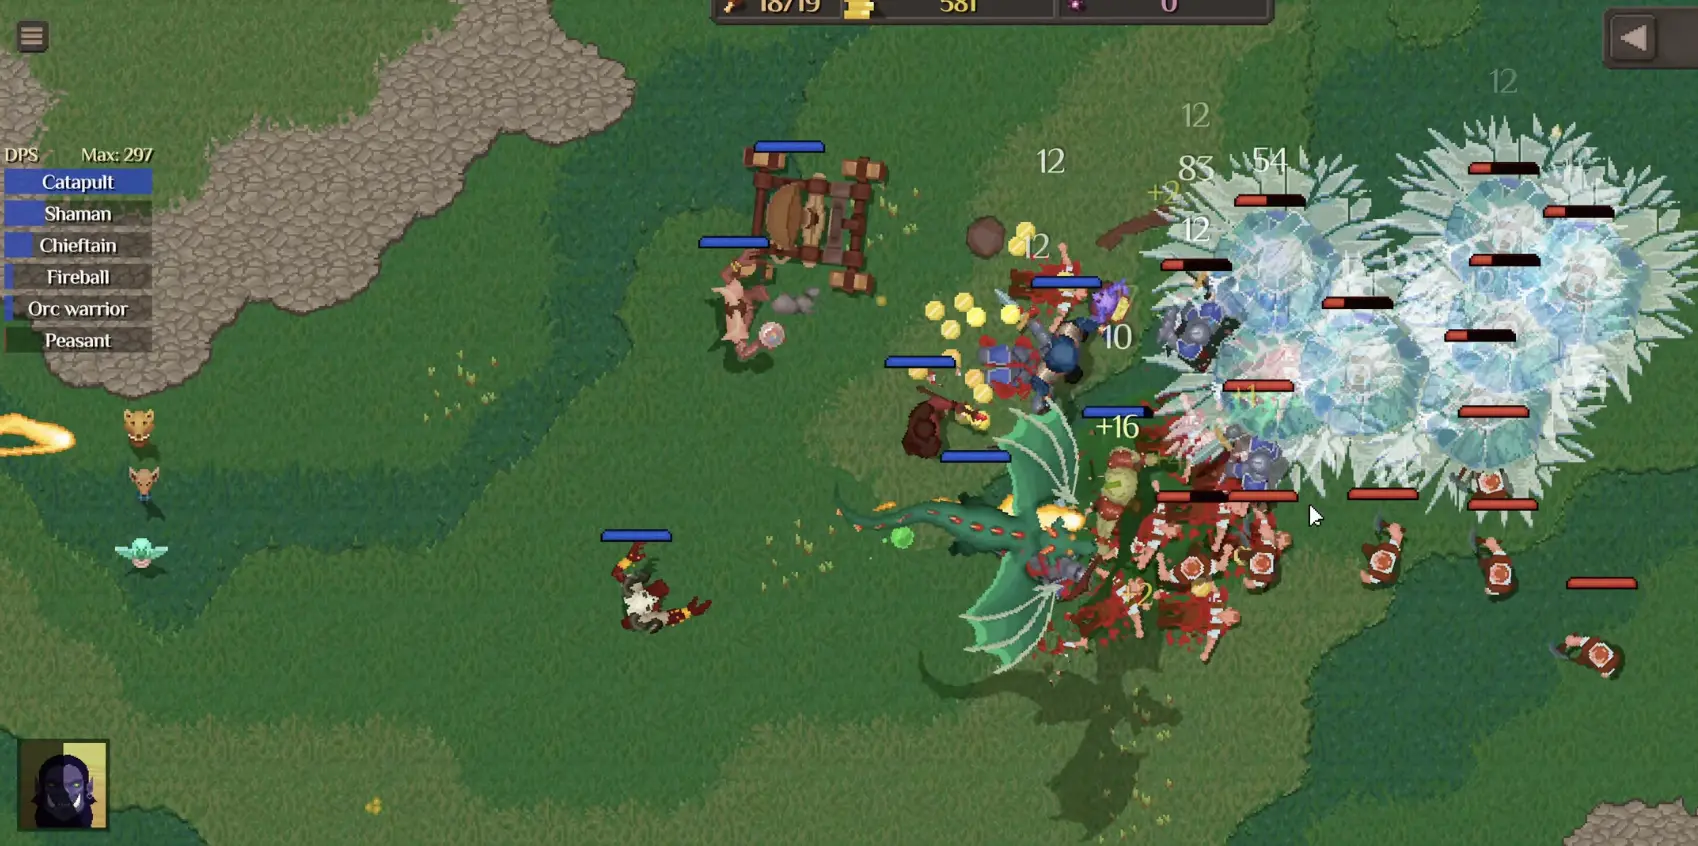
I choose an easier level, put the most durable Units in front and protect whichever family has the weakest representative. The objective is not to build the highest-DPS mixed roster; it is to finish one controlled fight without losing the piece that exists only to satisfy the family requirement.
Once that is done, I go straight back to the formation I actually want to progress with.
Unlocking the Full Recruitable Roster Happened With Juggernaut
Unlock Every Recruitable Unit did not require me to collect every rarity, enchantment or version of every card.
It completed when progression finally opened the last recruitable Unit in the roster.
For my run, that point came with Juggernaut.

That makes this one much less grindy than the name suggests.
I let normal progression unlock the roster rather than wasting Portal rerolls trying to collect cards that are not yet available.
Warpath Speedrun and Deathless Warpath Belong in the Same Attempt
These two are among the best achievements to combine.
A mature build can satisfy both if I deliberately return to levels that are well below the current progression wall. I want enemies weak enough to disappear immediately, while the formation is durable enough that no Unit is put at serious risk across the ten-wave sequence.
That is how I cleared them together.
I would not attempt the pair on my highest available levels. At the progression wall, even a good formation can spend too much time on one enemy or lose a Unit to a difficult wave, invalidating one or both conditions.
Returning to weaker content solves both risks at once.
Warpath itself — including how it starts and why Auto-Progress matters — stays with the progression guide. Here I only use it as the vehicle for these two completion conditions.
Last One Standing Can Happen During a Fight That Looks Lost
Some achievements reward a deliberately clean setup. Last One Standing can arrive from the opposite situation.
My unlock happened above Level 100 after the formation collapsed until only a Witch Doctor remained, but the fight ended before that last survivor died.
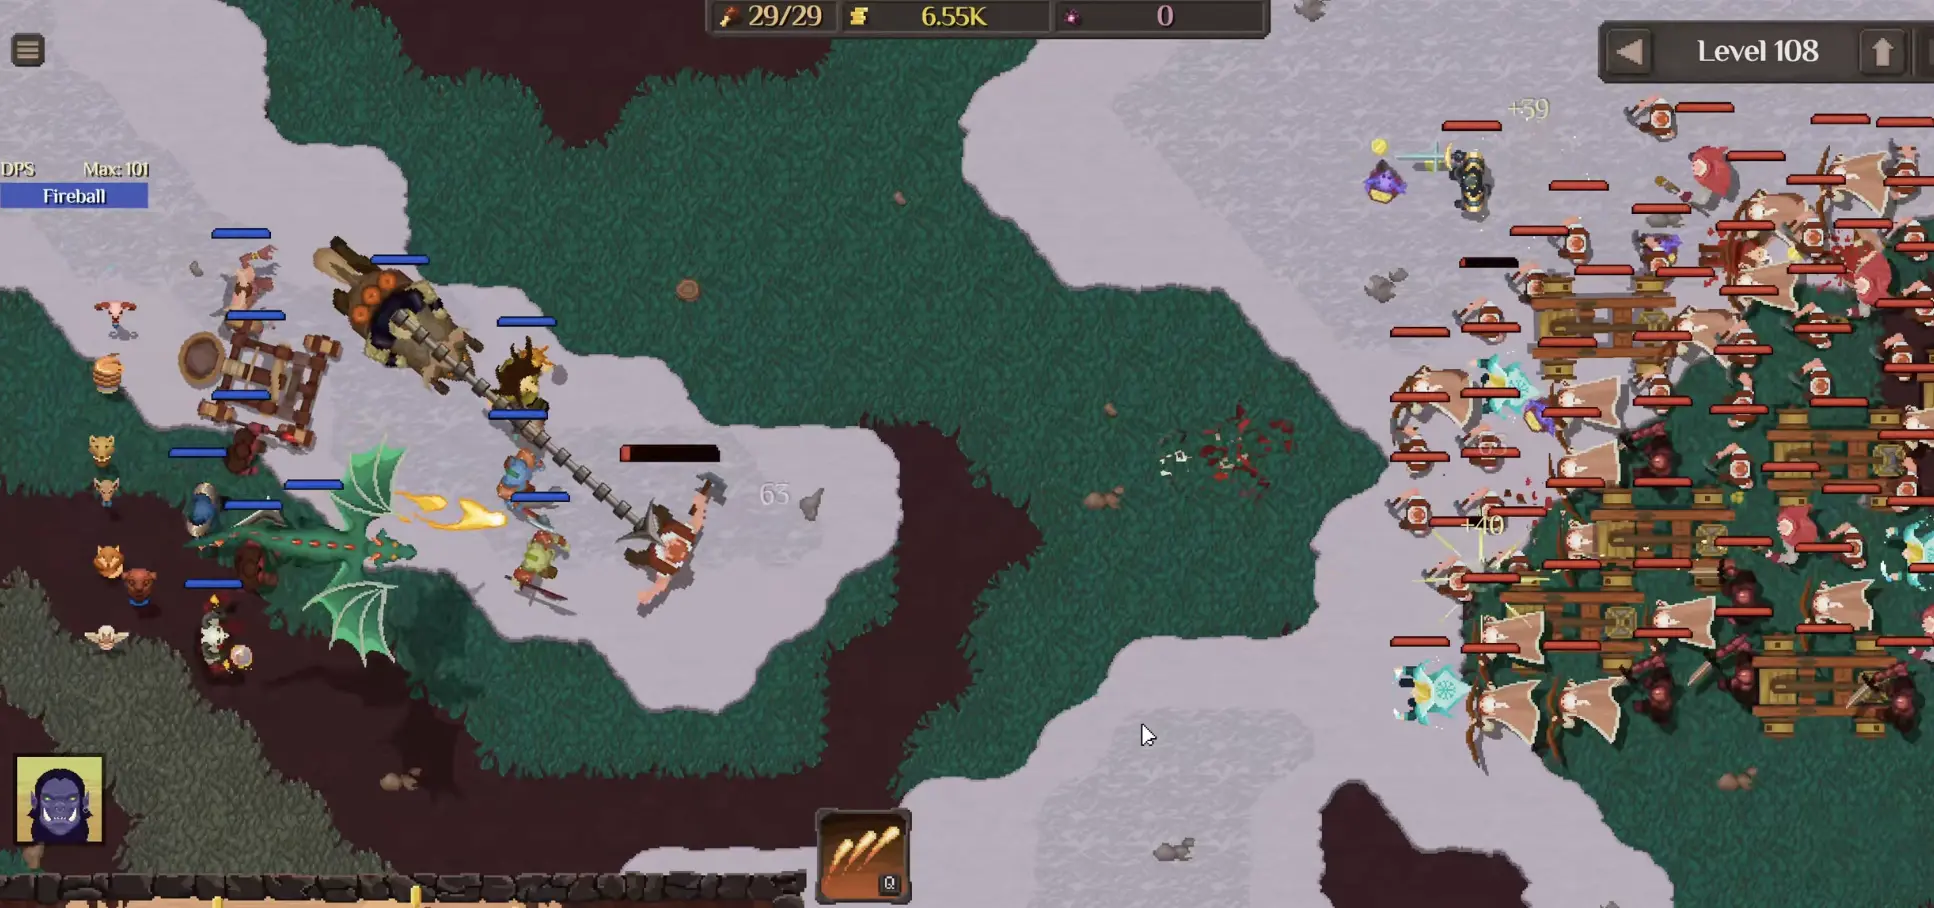
Because the finish state is so specific, I let close late-game wins play out before trying to engineer it. A fight that looks ugly can be exactly what the achievement needs.
If it remains missing during final cleanup, then I reduce the formation on a Level 101+ fight I can already win and look for a setup where several Units are expendable but one survivor can still finish the encounter.
Too much permanent survivability can actually make the final state harder to arrange, which is why this is one of the few achievements I would not simply solve by becoming infinitely stronger.
Rapid Revival Needs the Mechanic Before It Needs the Fight
Rapid Revival is not something I try to brute-force with ordinary Units.
I first need enough revival effects in the available card and Totem pool to make several revives possible in a short period.
One effect I encountered could revive an expired Fighter at 20% HP when an allied Spellcaster died. Mechanics like that are the foundation of the attempt.
Once several compatible revival triggers are available, I want enemies strong enough to kill multiple intended targets close together without wiping the whole formation before the revives occur.
That is why I leave this until late cleanup.
Without a functioning revival engine, intentionally killing three allies accomplishes nothing.
Spellstorm Is Mostly About Saving the Buttons
Spellstorm became simple once the entire spell set was available.
The main risk was spending an ability normally during combat and then discovering that everything was not ready at the same time.
I choose a safe wave, wait for every spell I need, then use the set in one quick sequence.

A difficult boss is a bad place to do this because normal play encourages me to spend healing, control or damage abilities whenever the fight needs them. Completion is easier when the battlefield gives me enough breathing room to ignore optimal spell timing for a few seconds.
Ten Dark Rebirths Should Arrive Through Real Progression
I did not spam low-value resets just to push the Dark Rebirth counter.
By the time the account had permanent Gold, Blight, card and combat improvements, rebuilding was already much faster than it had been during the opening. Rebirth cycles naturally accumulated while I worked toward useful permanent upgrades.

That route also avoids sabotaging early progression for a requirement that the game already expects repeated runs to satisfy.
The Dark Rebirth guide covers the actual decision of when ending a cycle is worth the Blight. I let the achievement counter follow those useful resets rather than decide them.
First Trial and Master of Trials Stay Inside the Trial Progression
The achievement list contains a first-completion milestone and an all-Trials completion milestone, but I do not duplicate the individual Trial conditions here.
Trials have their own progression state, restrictions, builds and permanent rewards. They are too substantial to reduce to achievement cleanup.
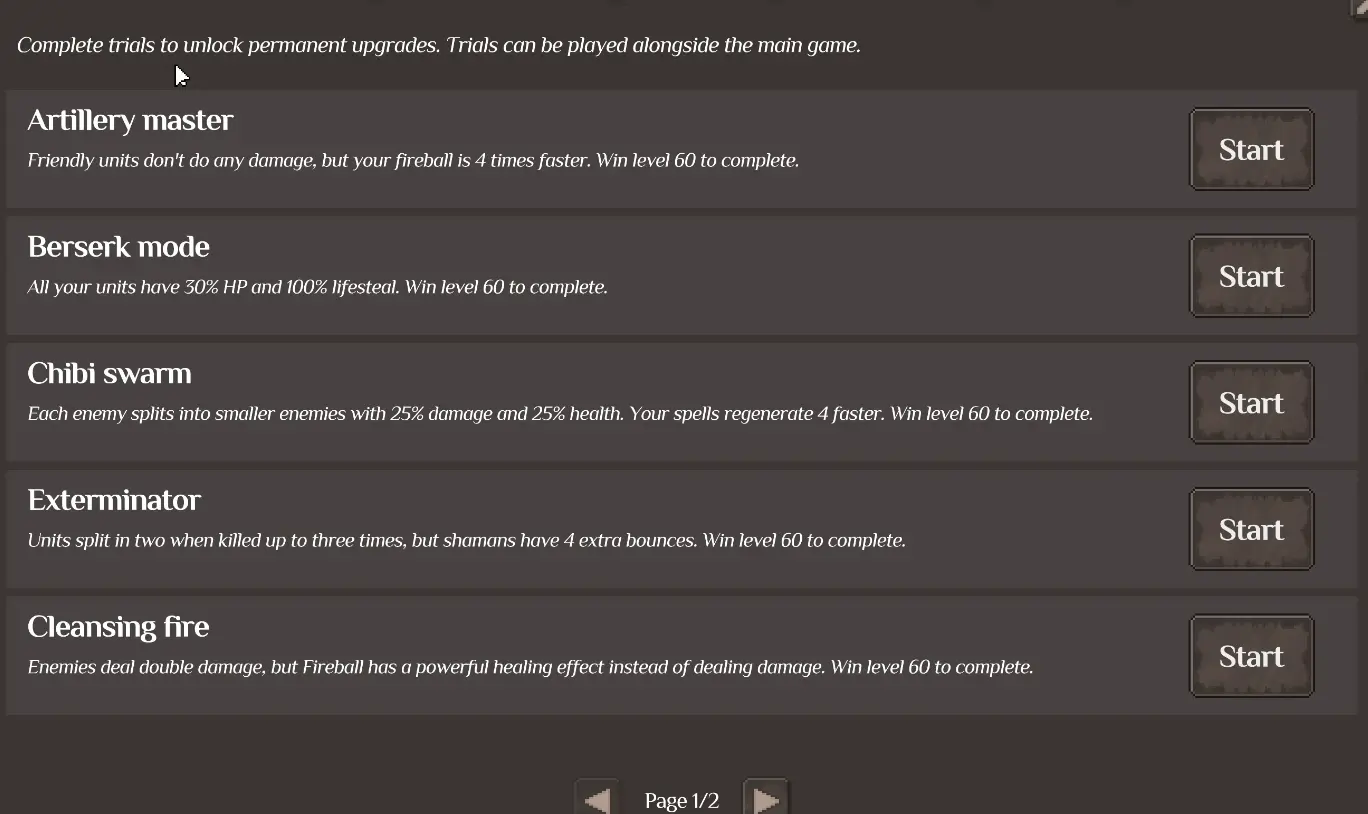
The Trials guide is where I handle those altered rules. On the achievement side, the plan is simply to complete that system rather than force a separate achievement-specific route.
This also prevents one of the biggest repetition problems in the cluster: Artillery Master, Berserk Mode, Chibi Swarm, Exterminator and Cleansing Fire do not need to be explained a second time here.
Bird Hunter Is the Achievement I Refuse to Farm Early
A requirement of 100 birds makes Bird Hunter look like something I should start grinding immediately.
I do the opposite.
Birds appear during normal progression and can be killed as I see them, so every Dark Rebirth cycle can add incidental progress while I am doing something that already improves the account.
Stopping a productive run to wait for bird spawns trades permanent progression for a counter that will keep increasing naturally anyway.
I only consider dedicated farming if Bird Hunter is still unfinished after the rest of the account is essentially complete.
Until then, every bird is free progress.
The Cleanup Route I Use After Normal Progression
Once the account is strong enough that older content is safe, I stop thinking about the achievement list as 28 separate tasks.
I work through environments.
I start with an older boss, where I can control Fireball Finisher, No Magic Needed, No One Left Behind and Swift Victory without risking current progression.
Then I look for dense weaker waves. That is where Blink and They’re Gone, Black Hole Crowd, Fireball Barrage, Mass Rupture and Totem Rush become much easier to arrange.
A mature formation then goes back to easier content for the Warpath pair, giving me a chance to earn Speedrun and Deathless from the same ten waves.
After that I deal with the conditions that need a specific late-game state: All Families Survive, Last One Standing, Rapid Revival and Spellstorm.
The remaining achievements are not really cleanup fights at all. Full roster progression, Snake, repeated Dark Rebirths, Trials and Bird Hunter continue advancing while the rest of the account develops.
That ordering is what keeps achievement hunting from fighting the game.
By the time I deliberately manipulate a fight for one missing unlock, I am usually changing how an old encounter ends, not sacrificing progression just to prove that I can complete it.